Skateboard Mini Ramp
Complete (rebuilt) · April 15, 2023 · Backyard
A backyard skateboard mini ramp finished with Ramp Armor, tile, and pool coping — and the year-later teardown and rebuild.
- Type
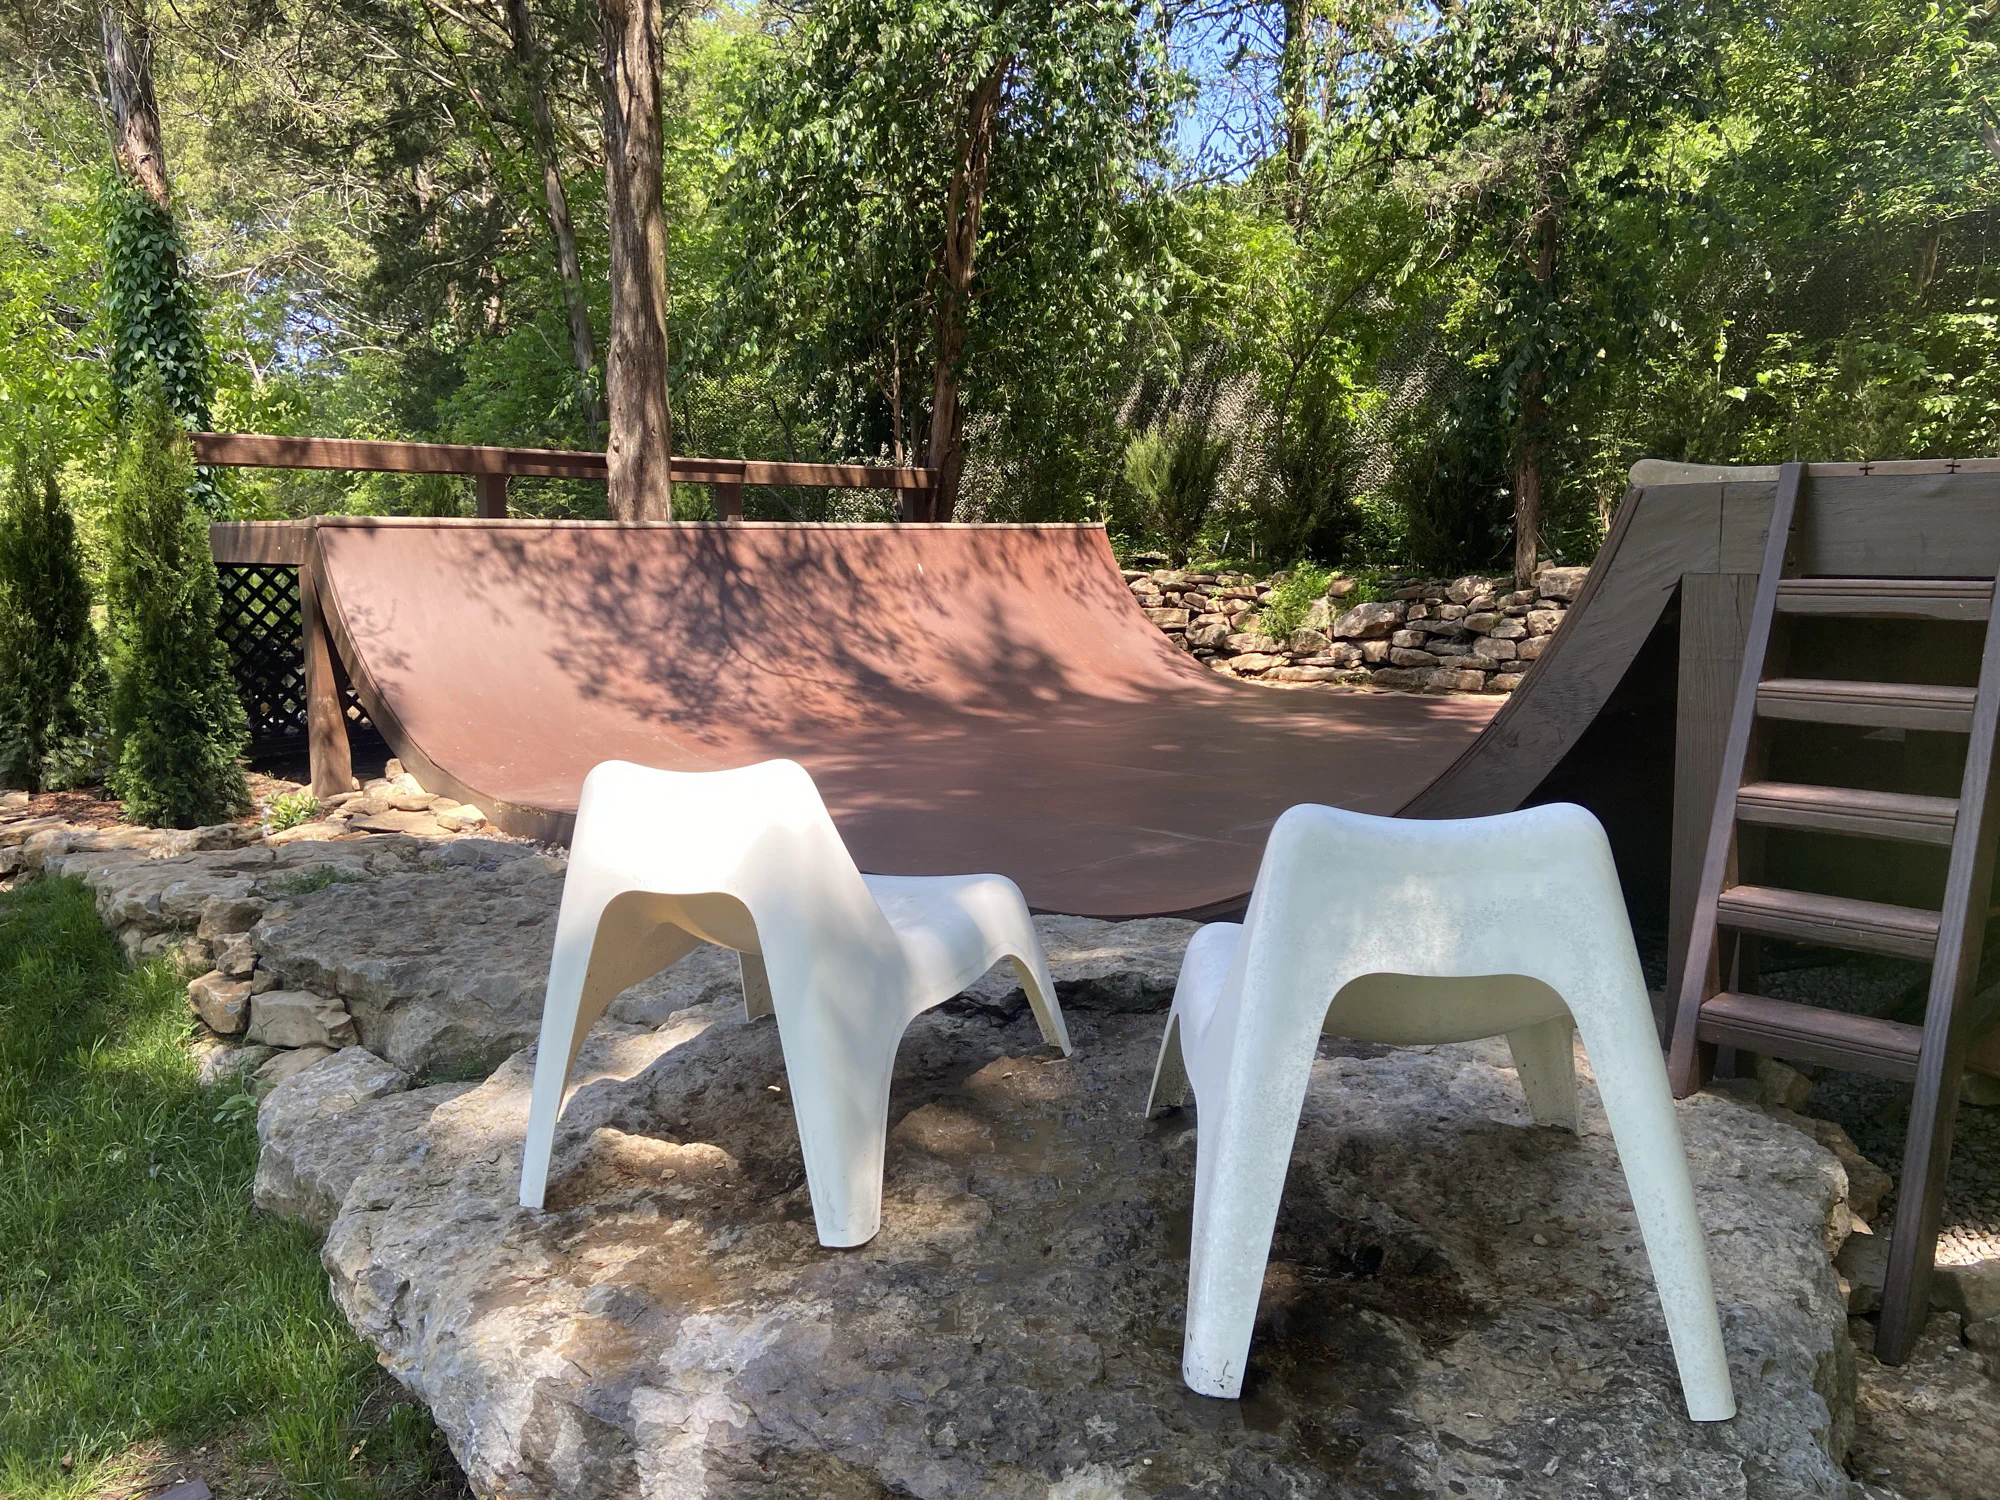
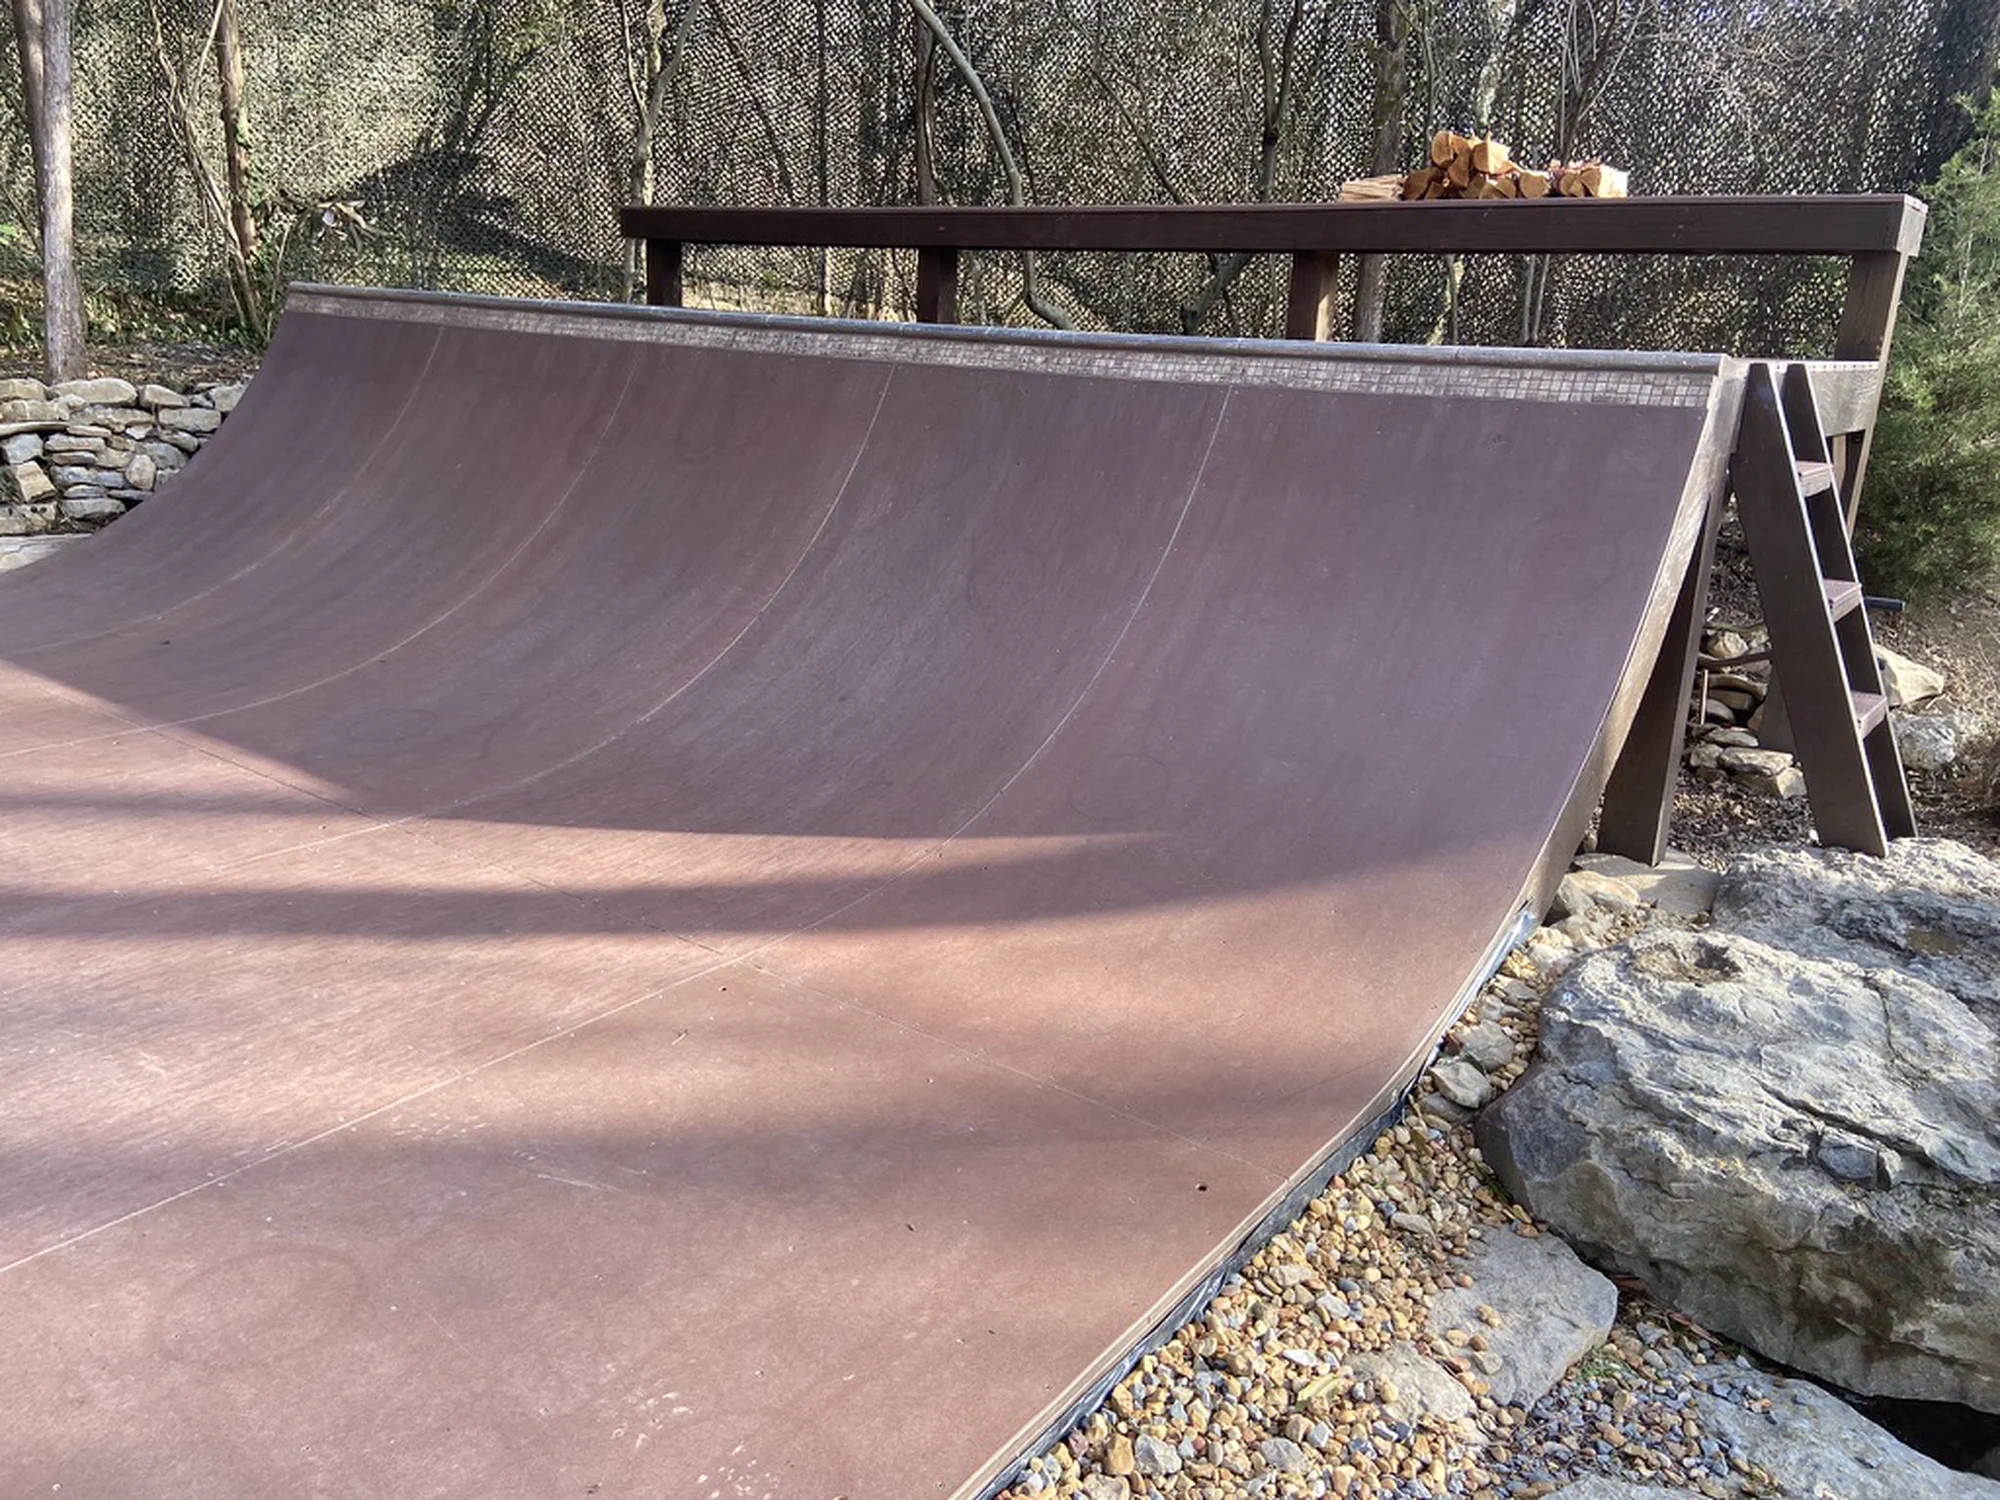
- 4' tall mini ramp, 20' wide, ~9' flat
- Surface
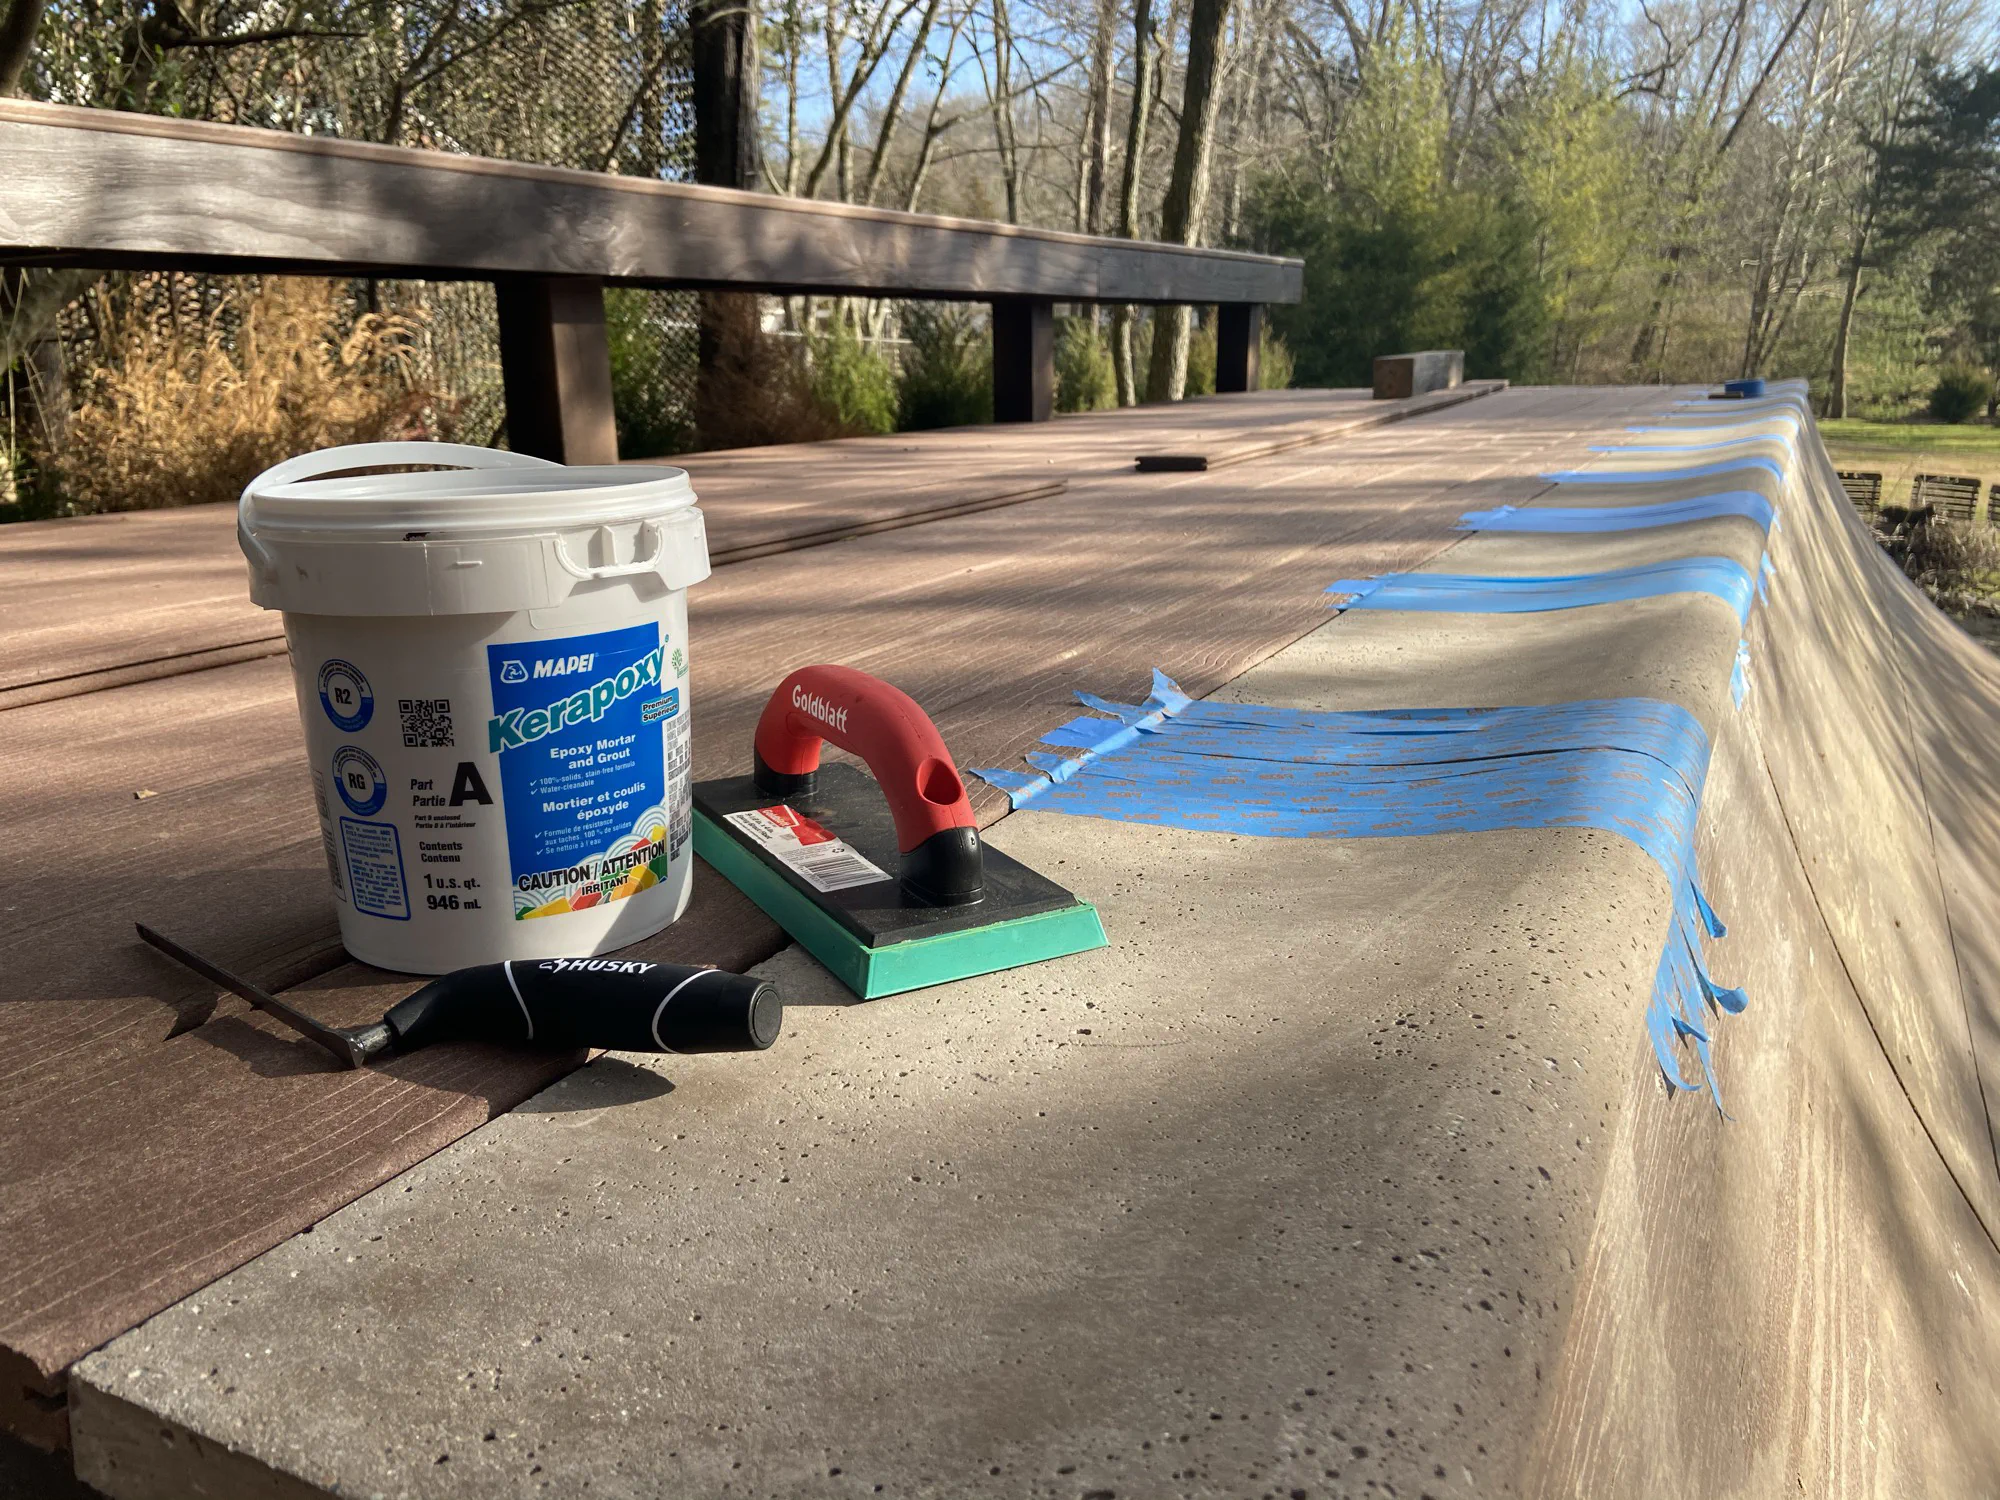
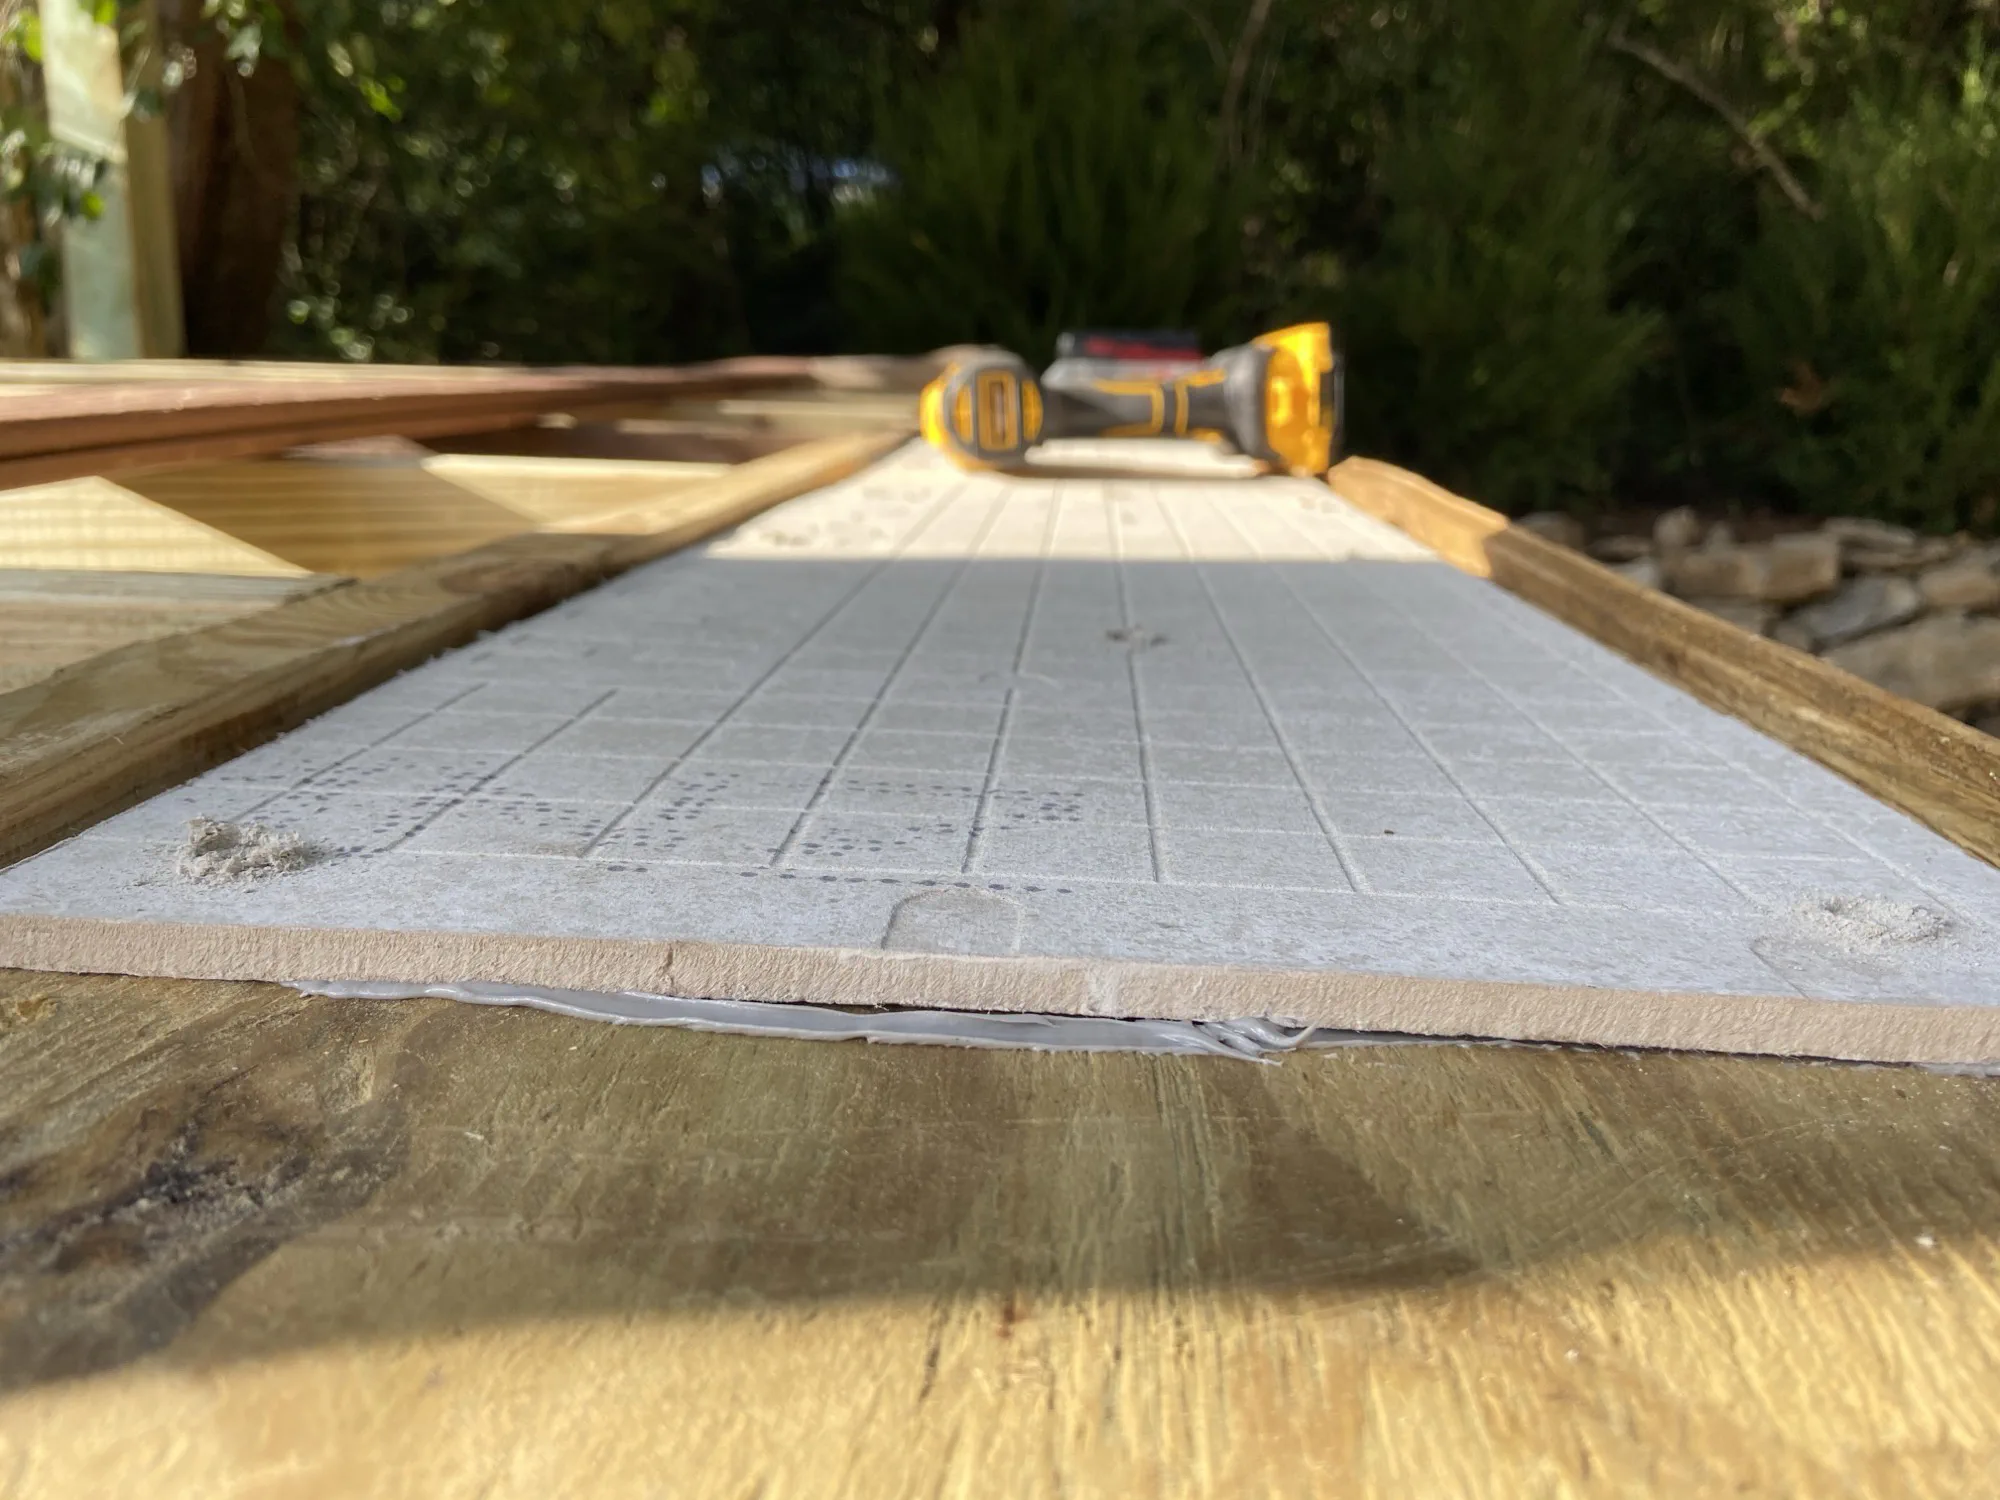
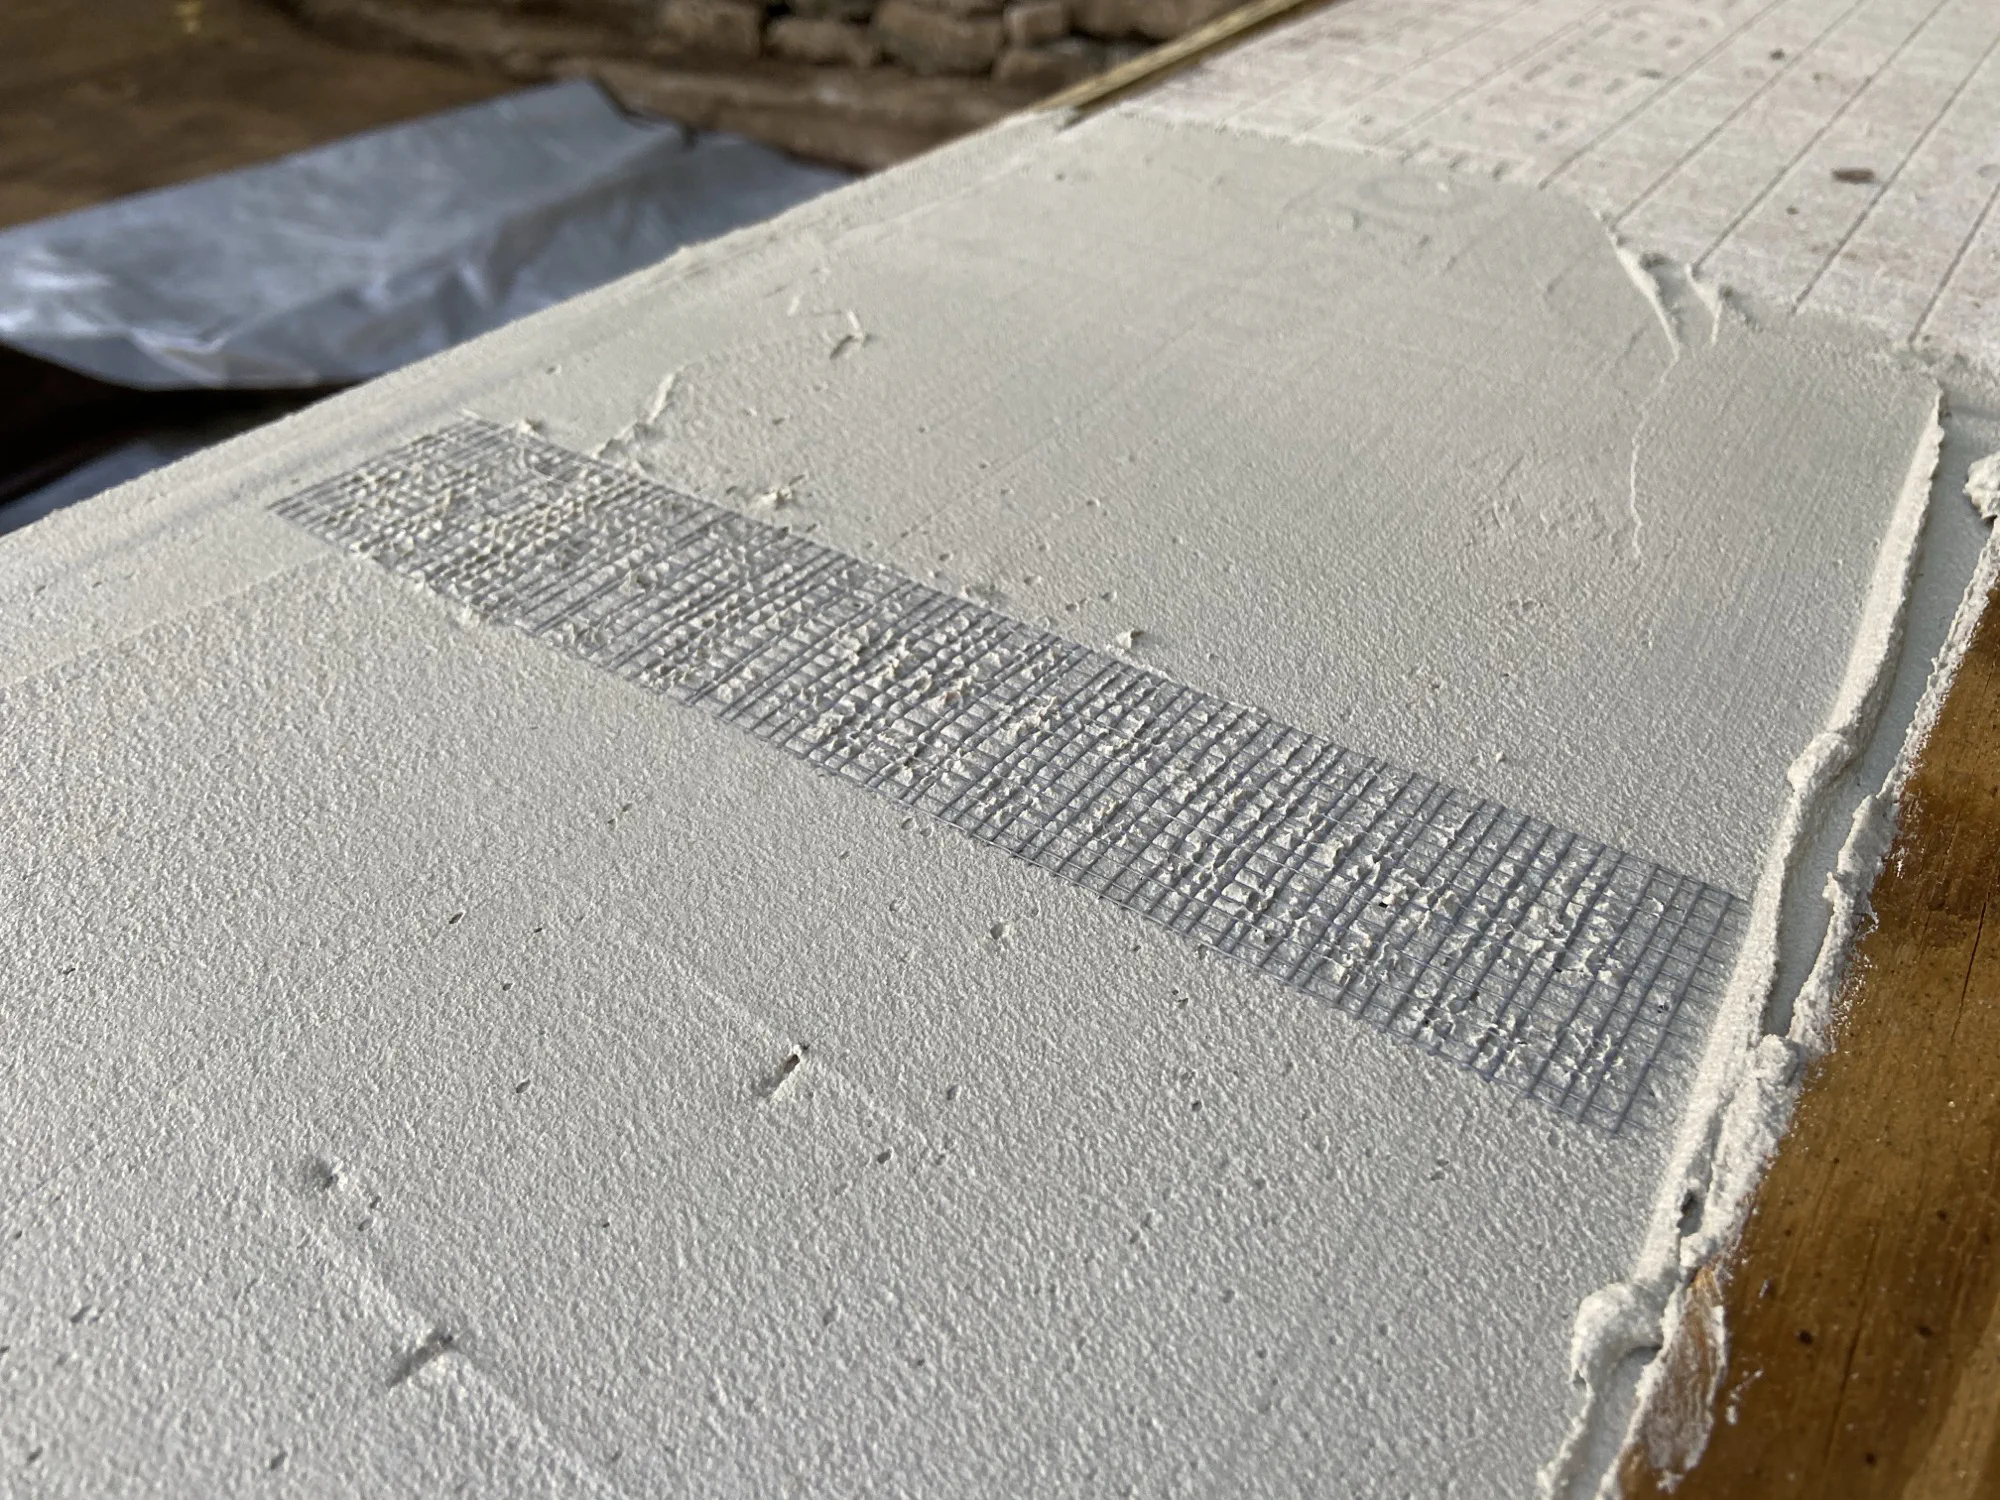
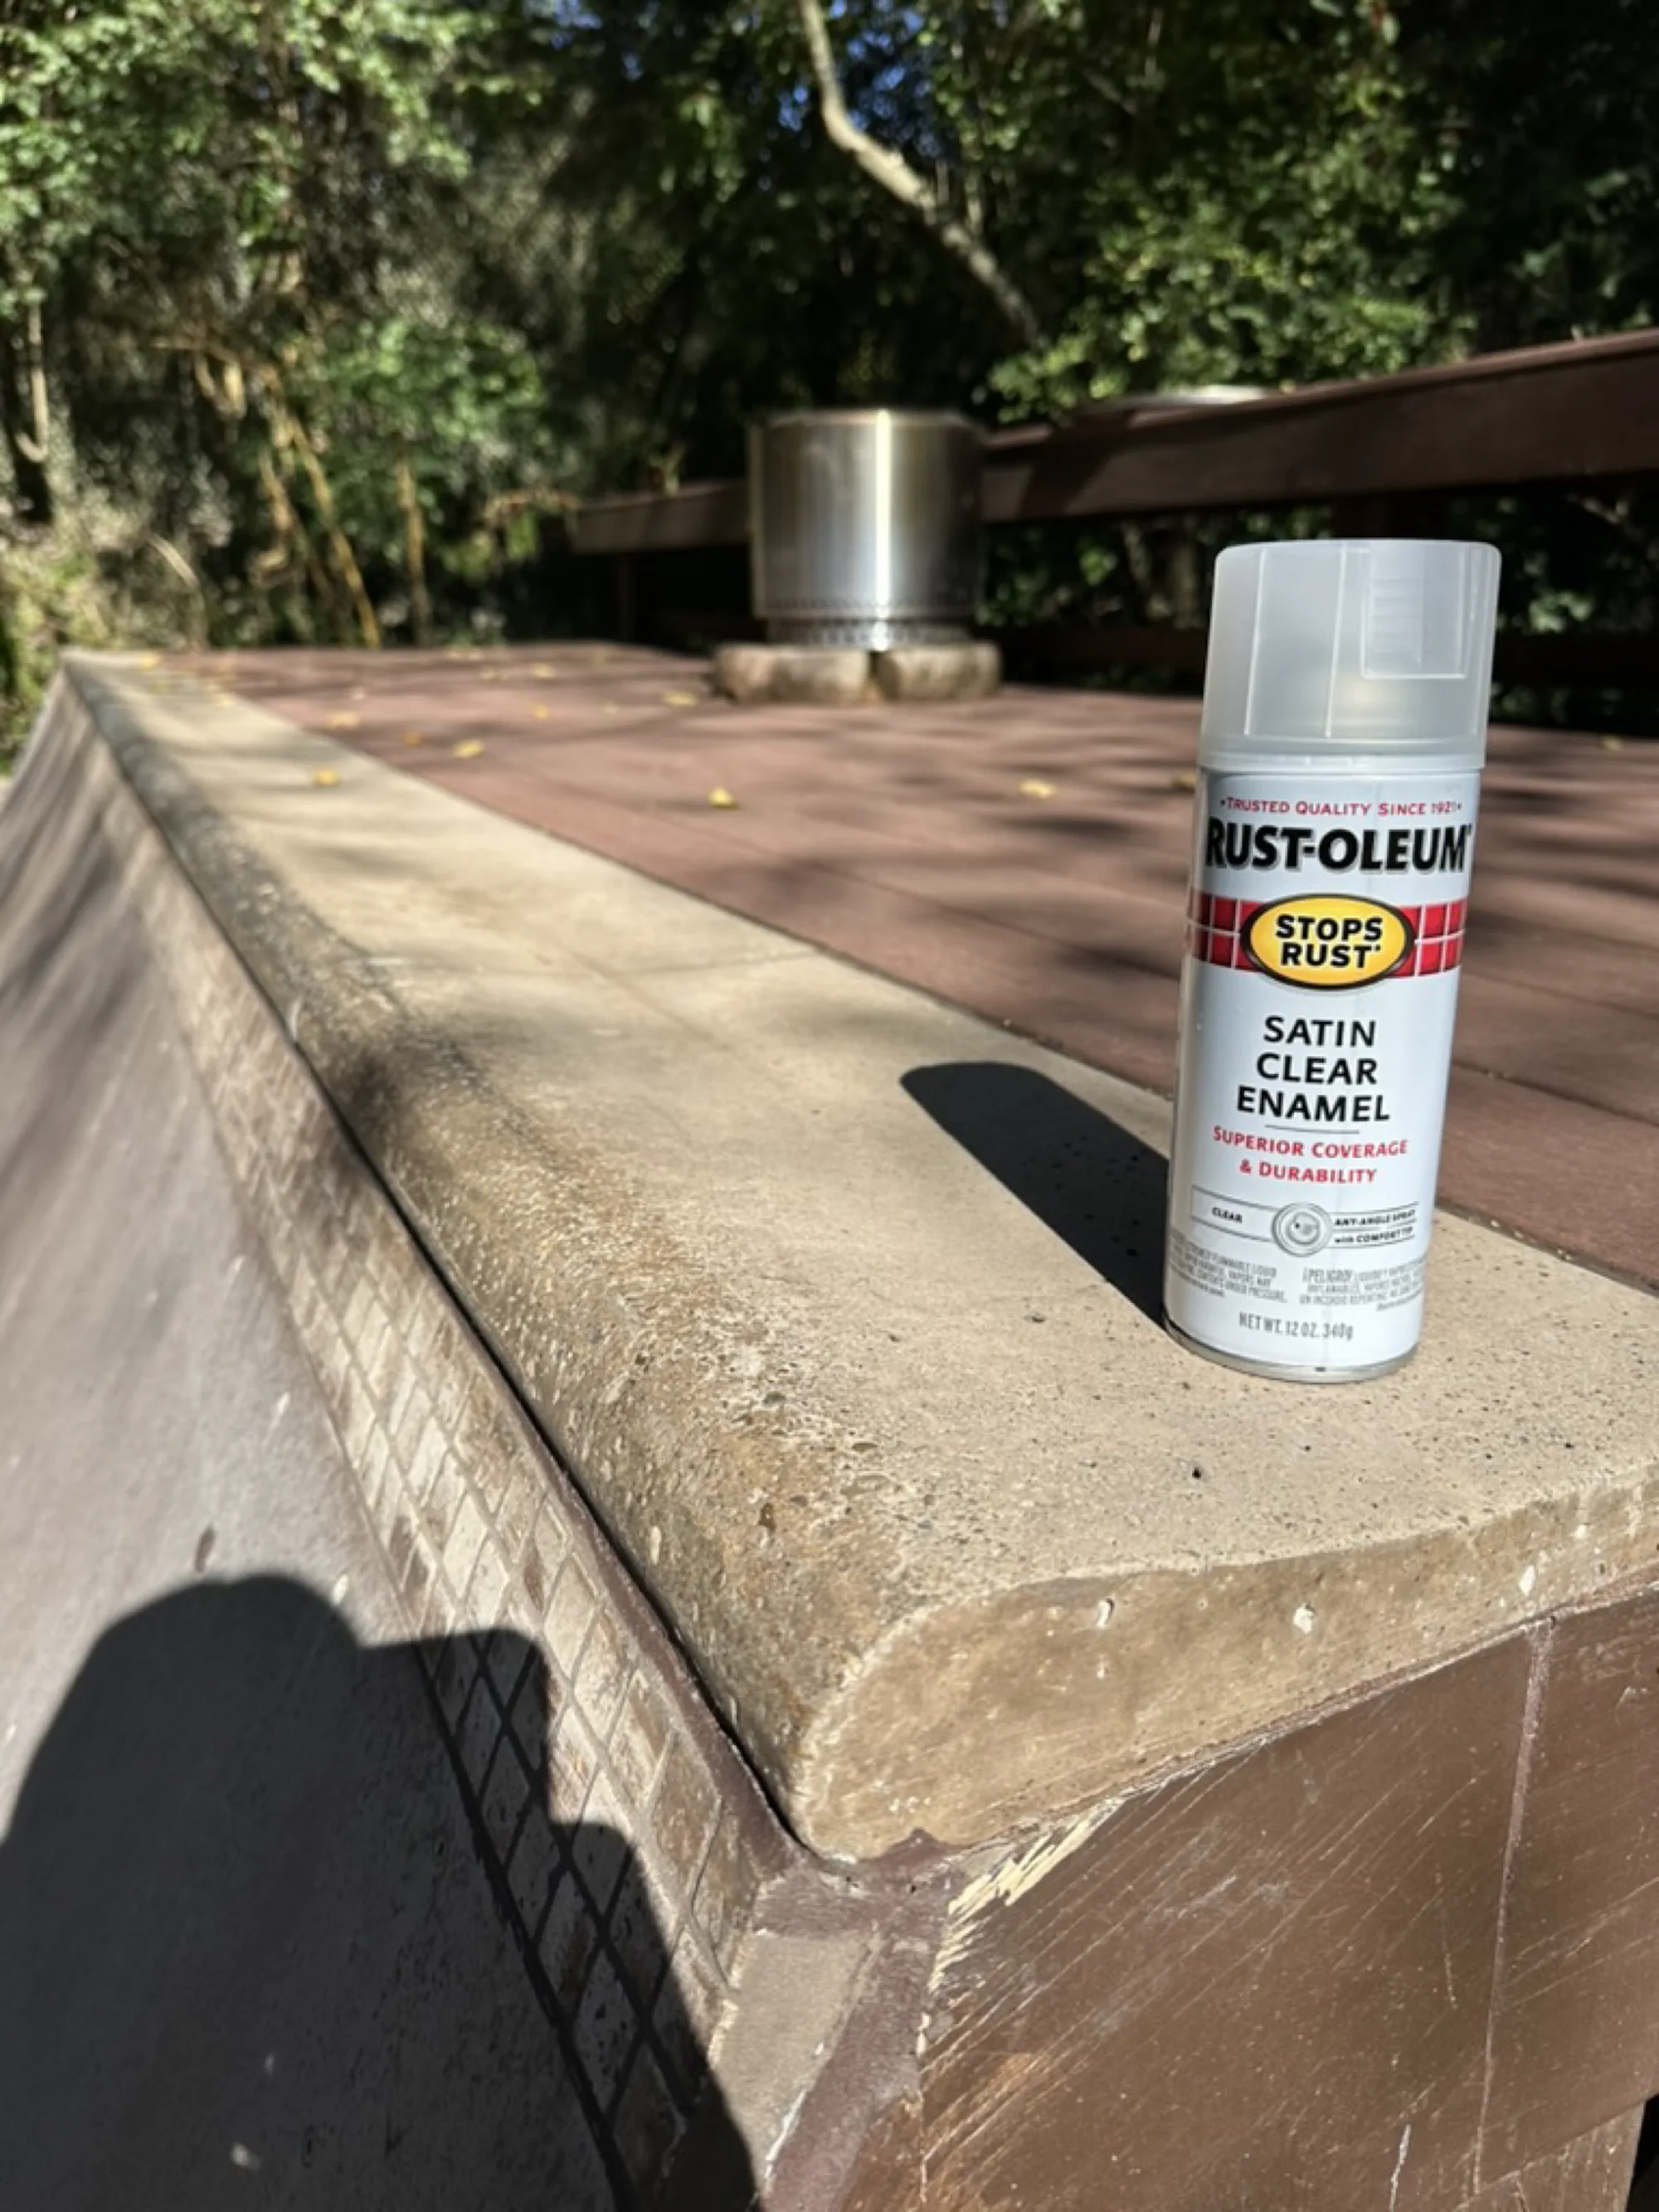
- Ramp Armor over plywood
- The unusual bit
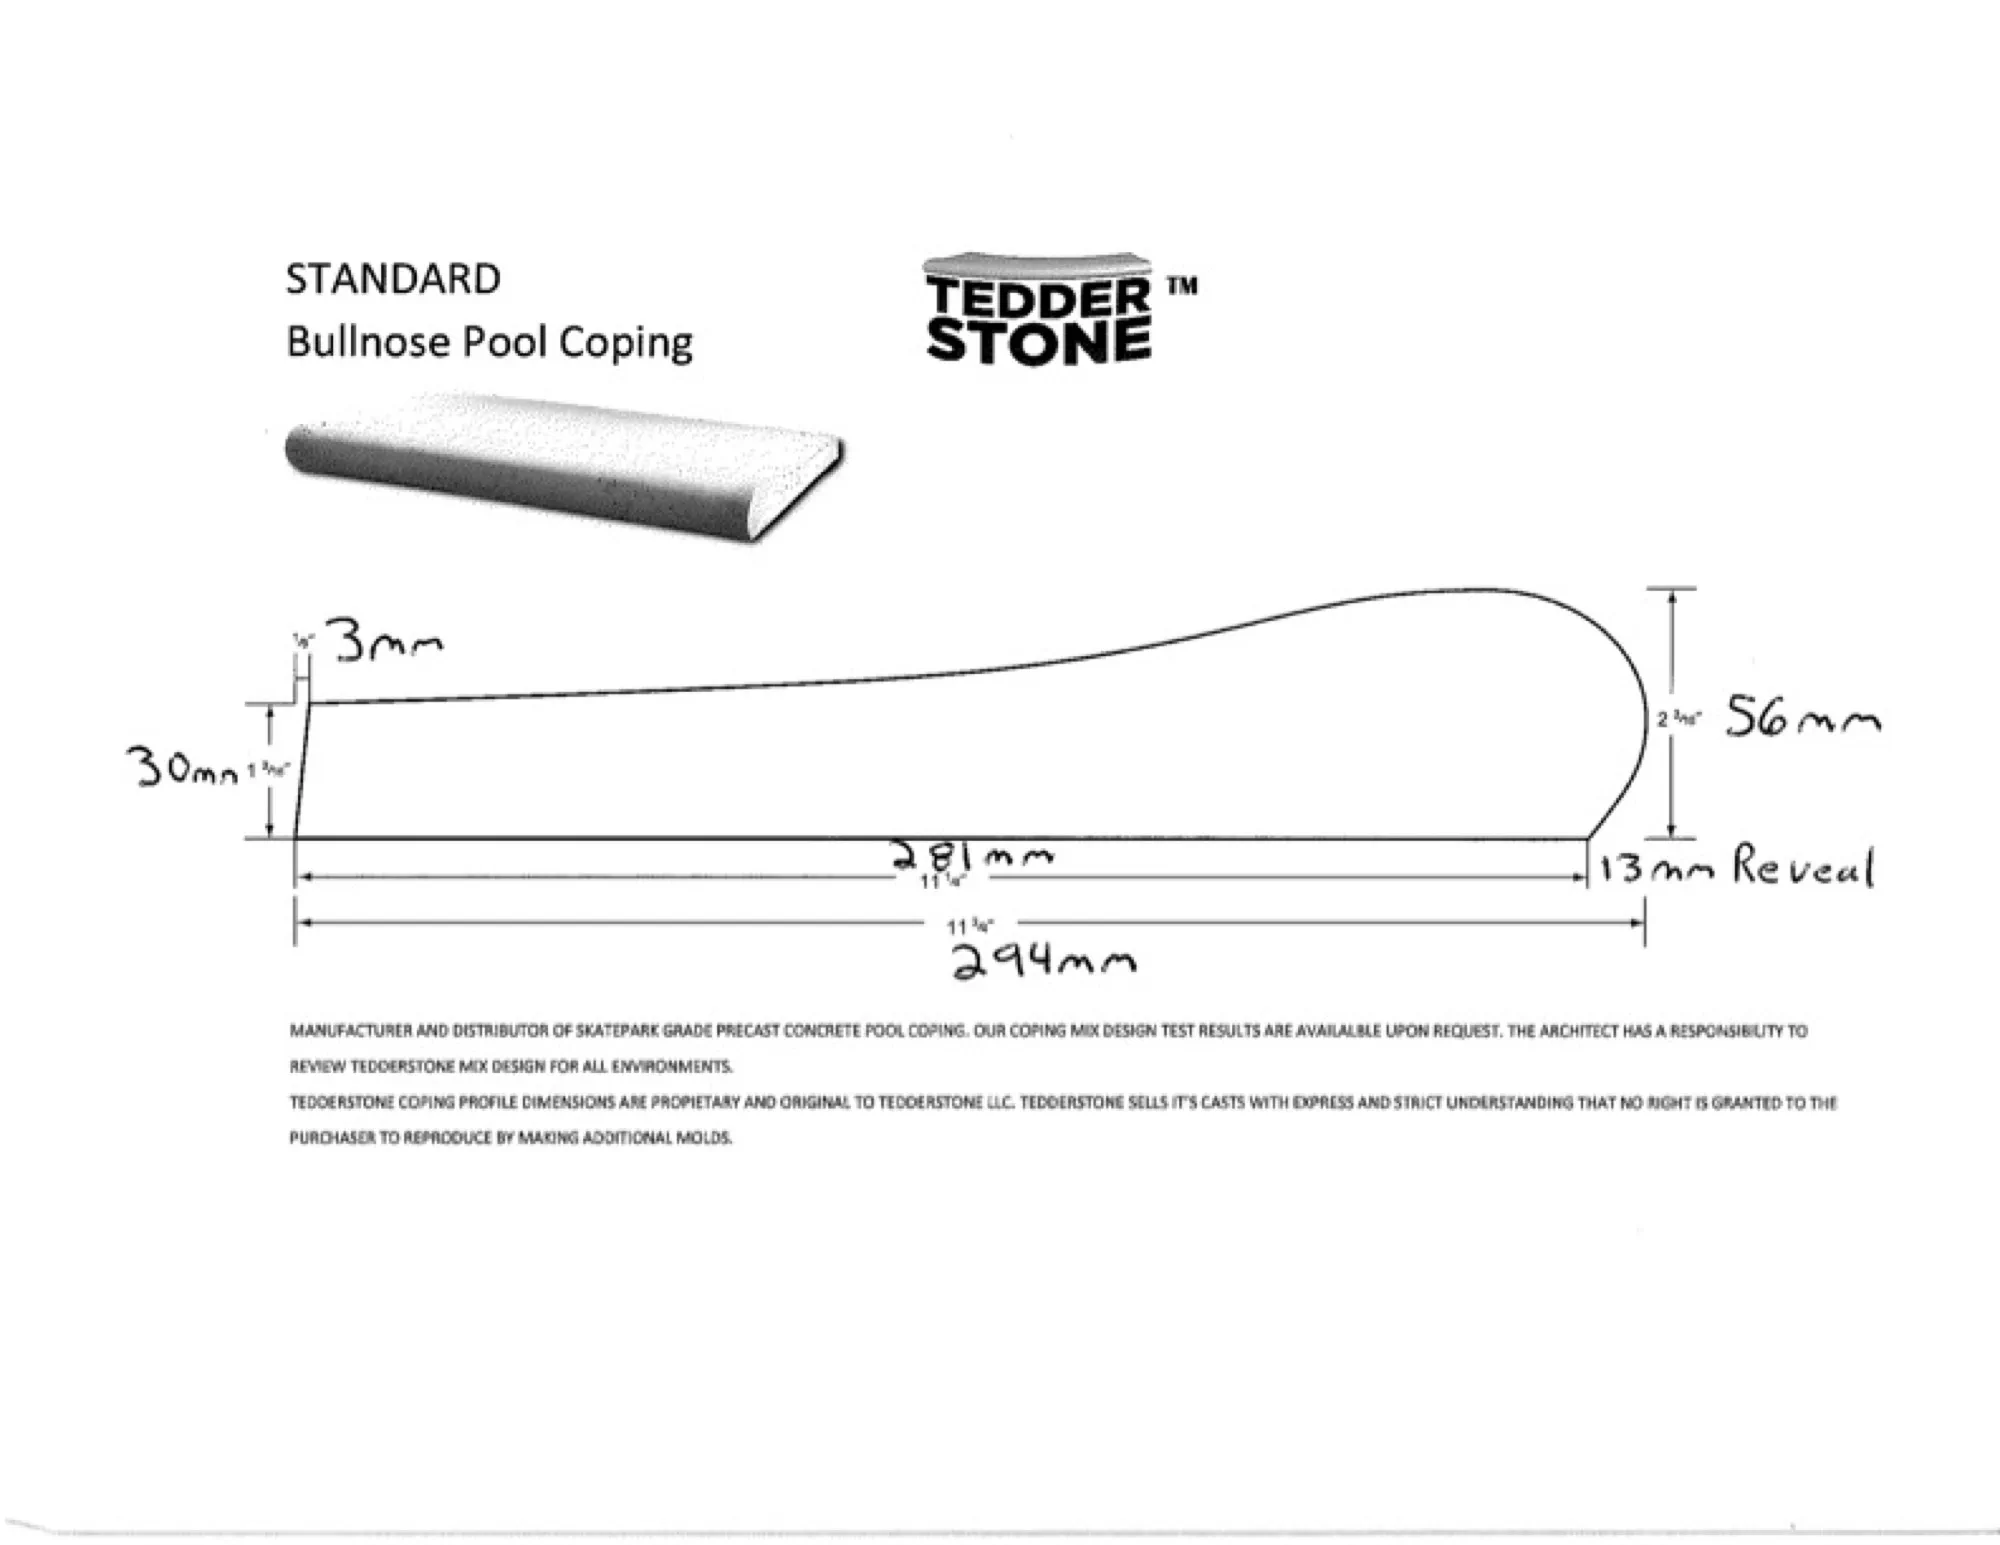
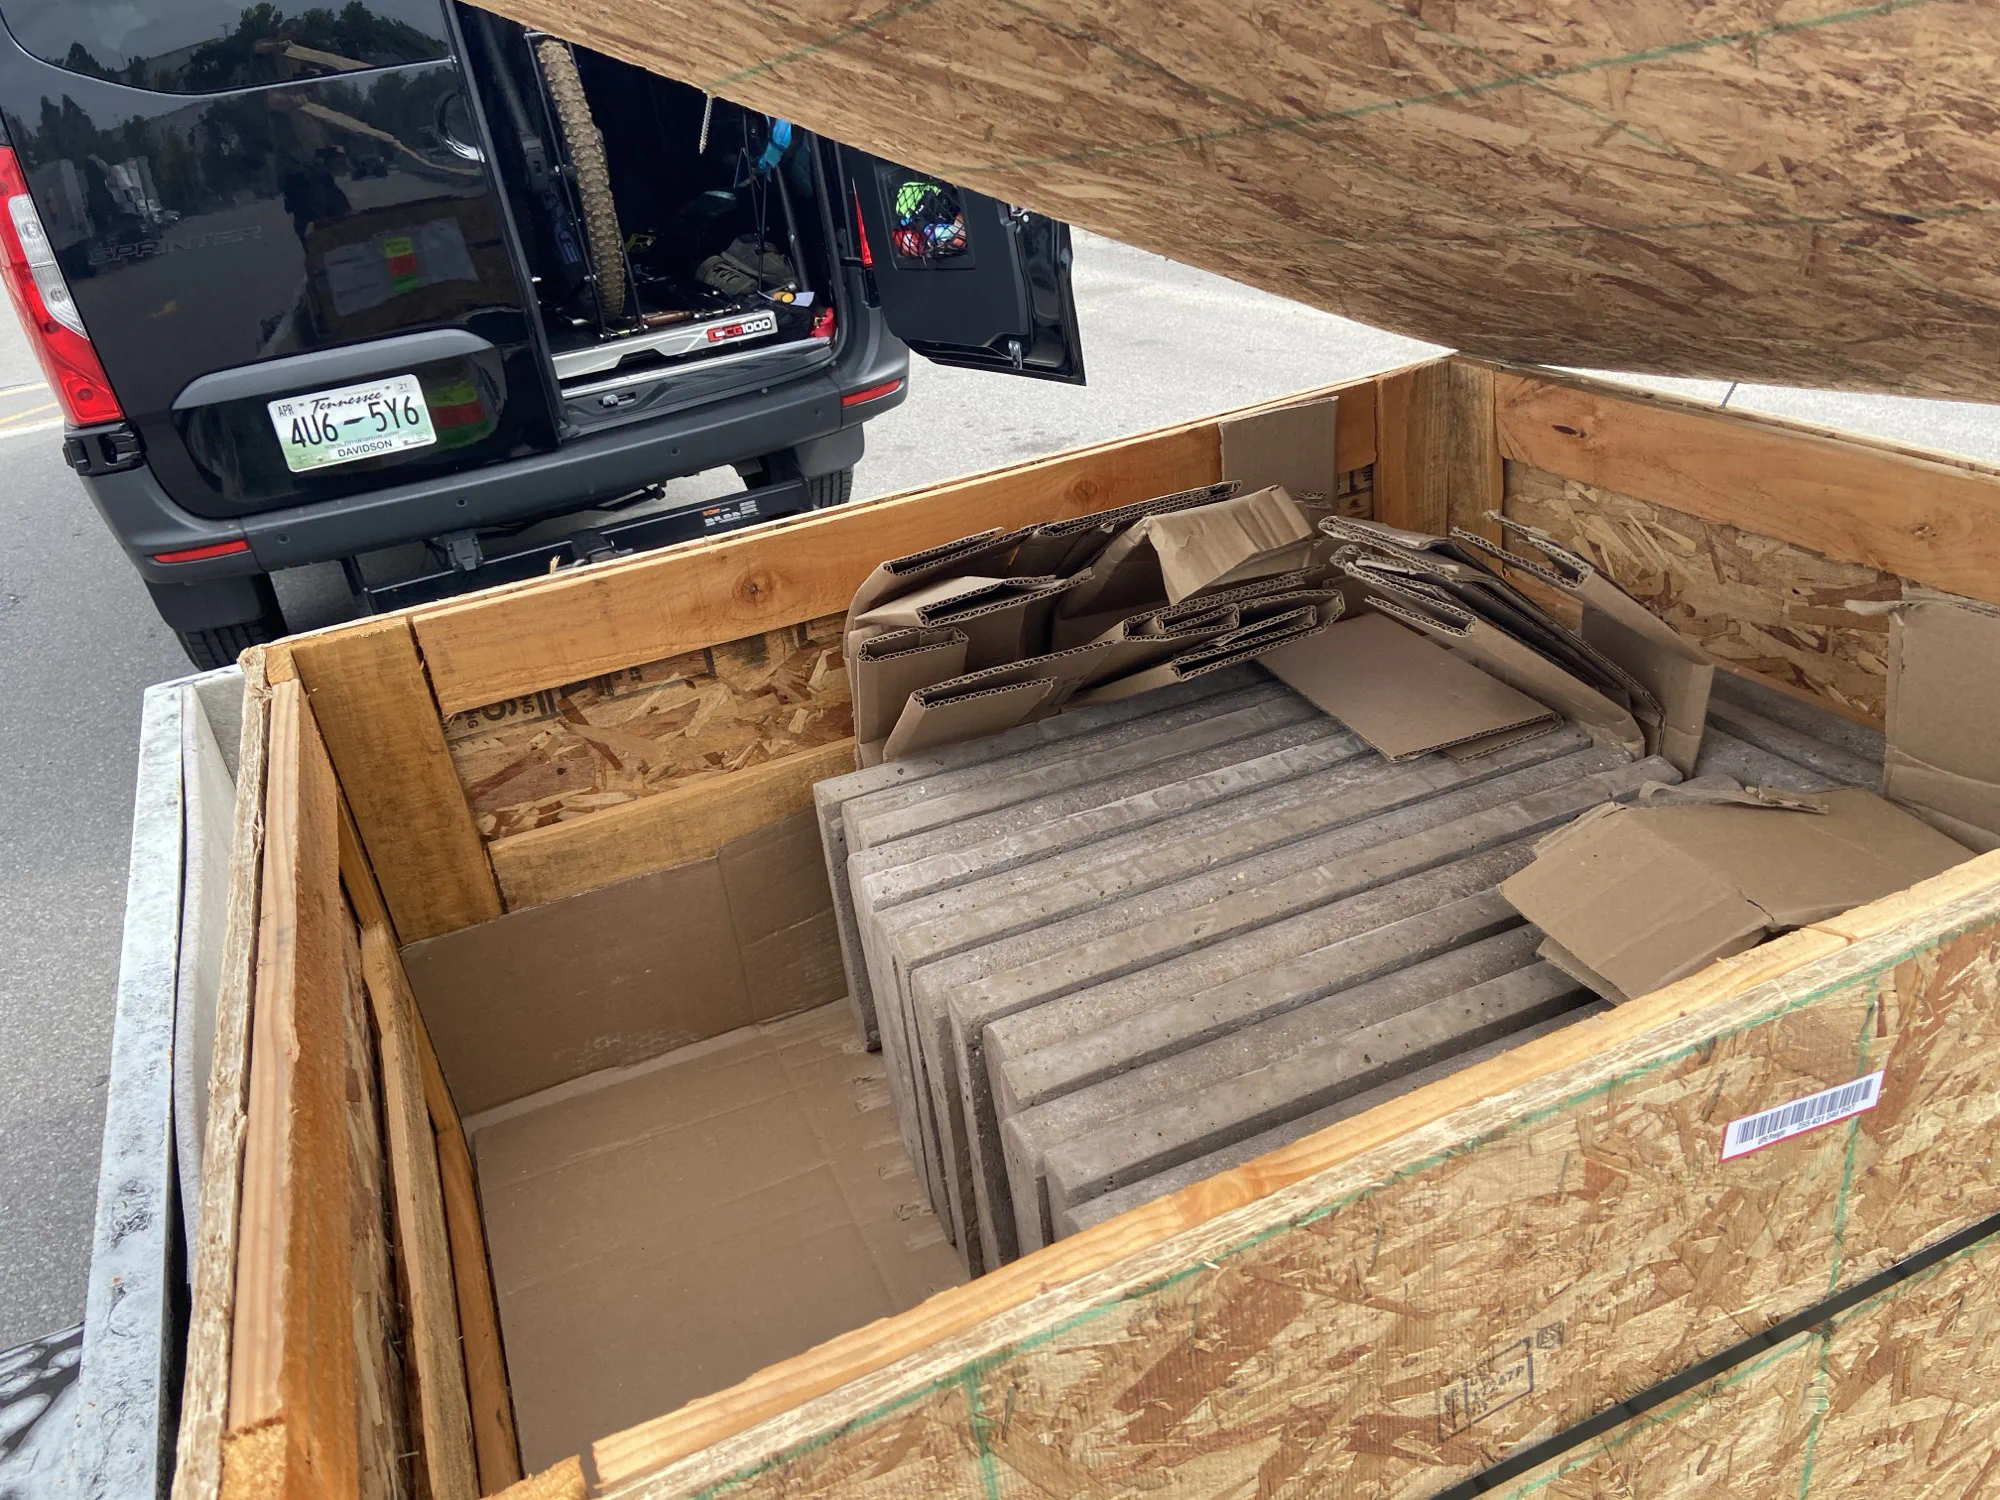
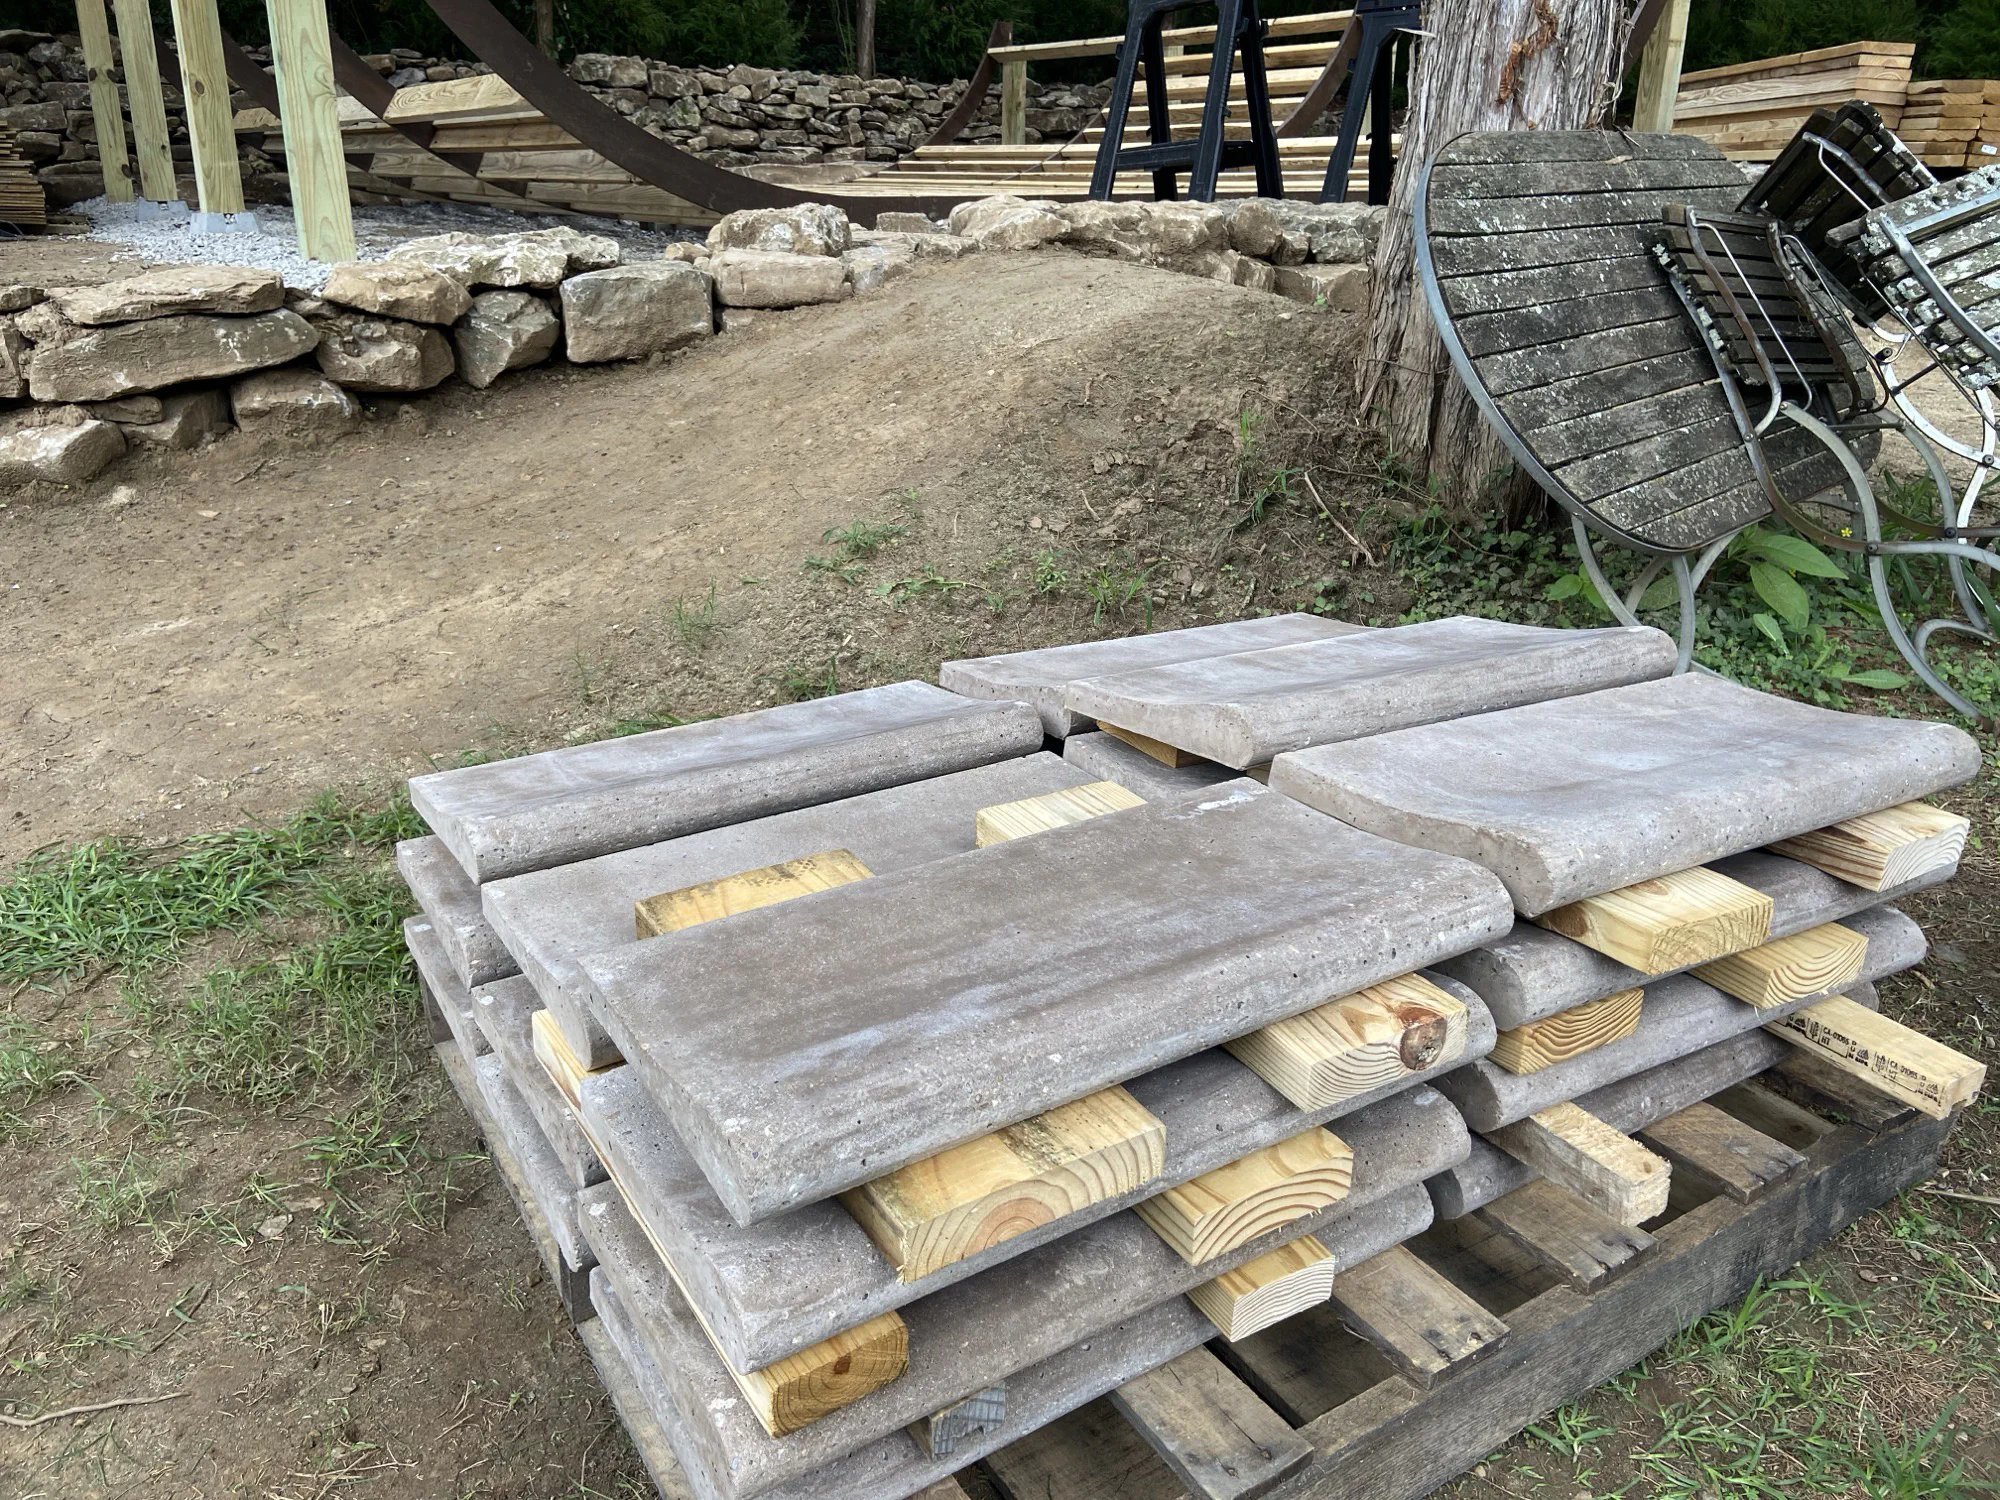
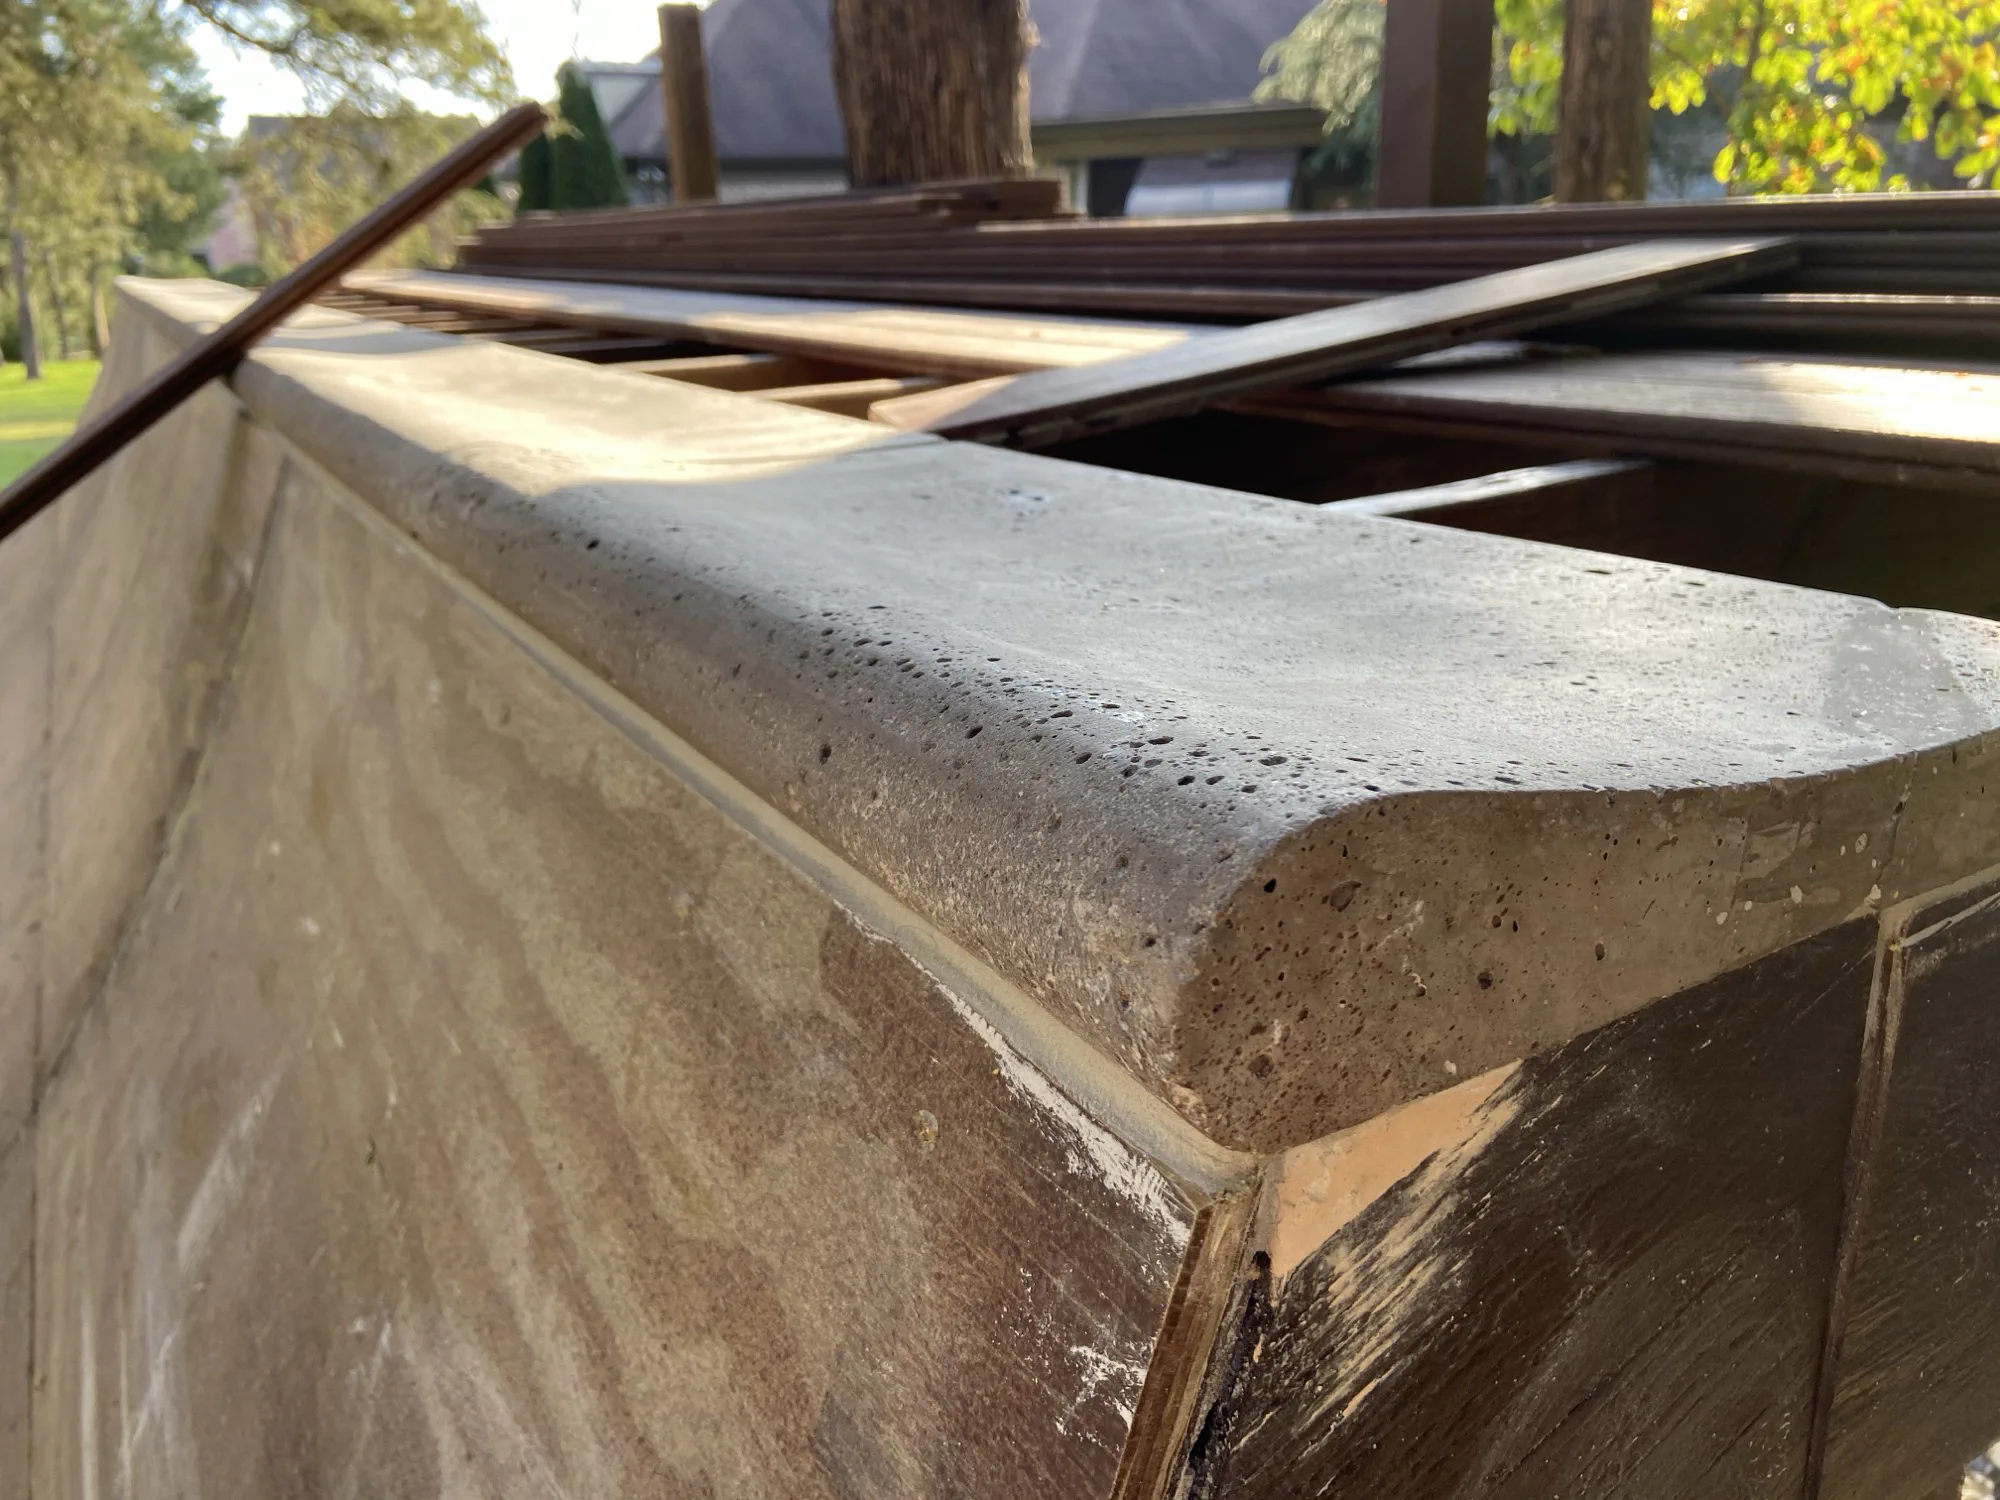
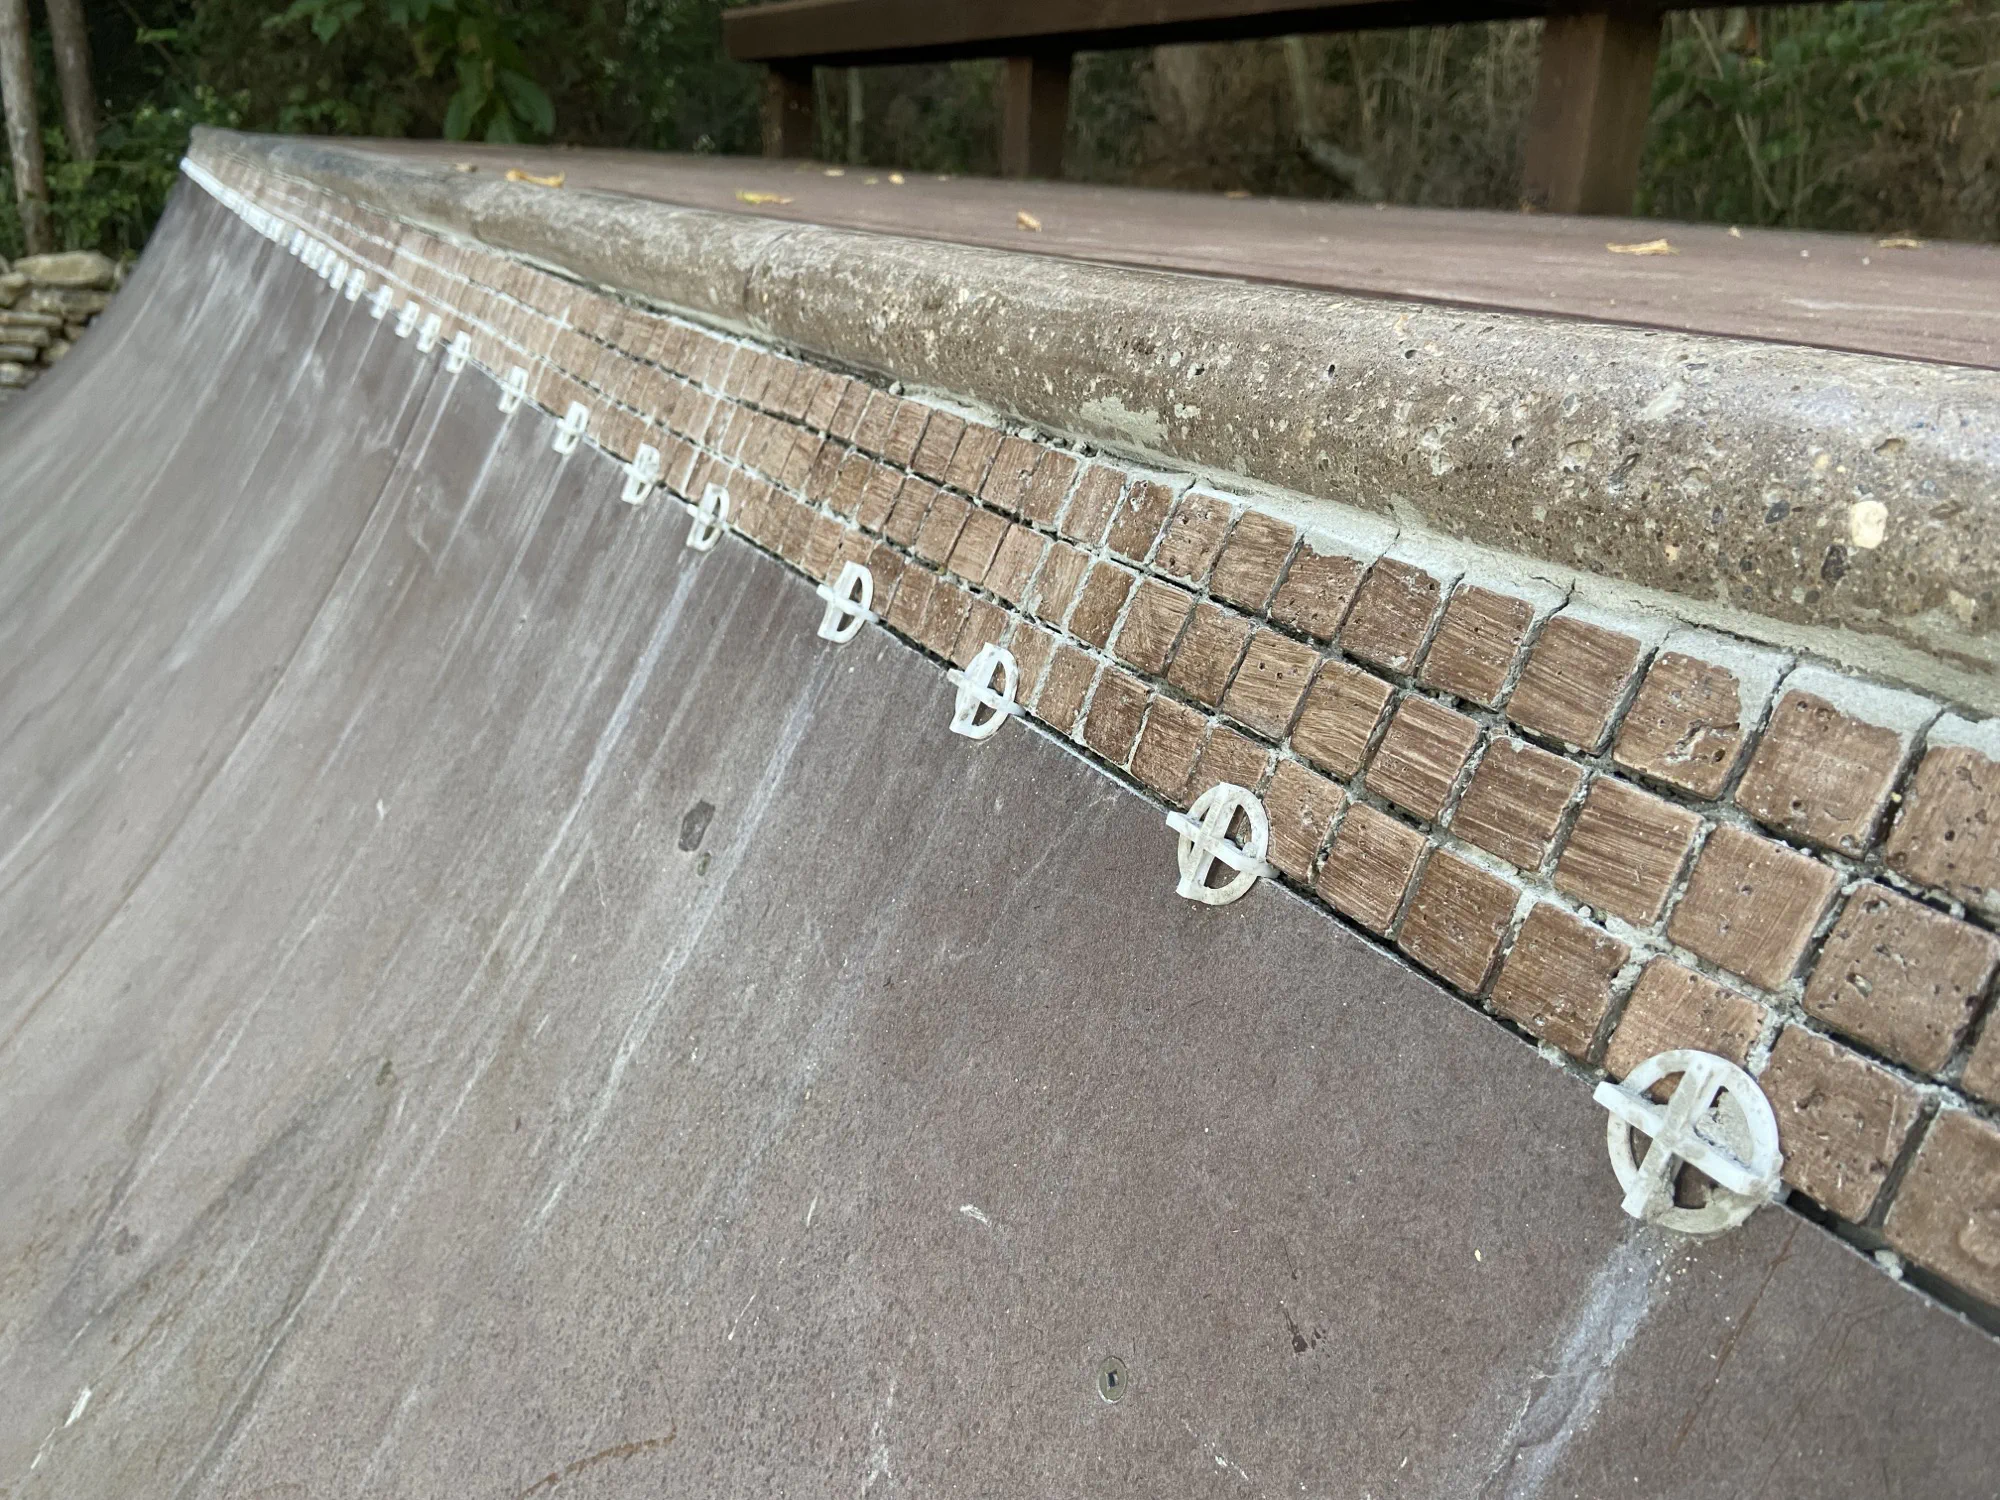
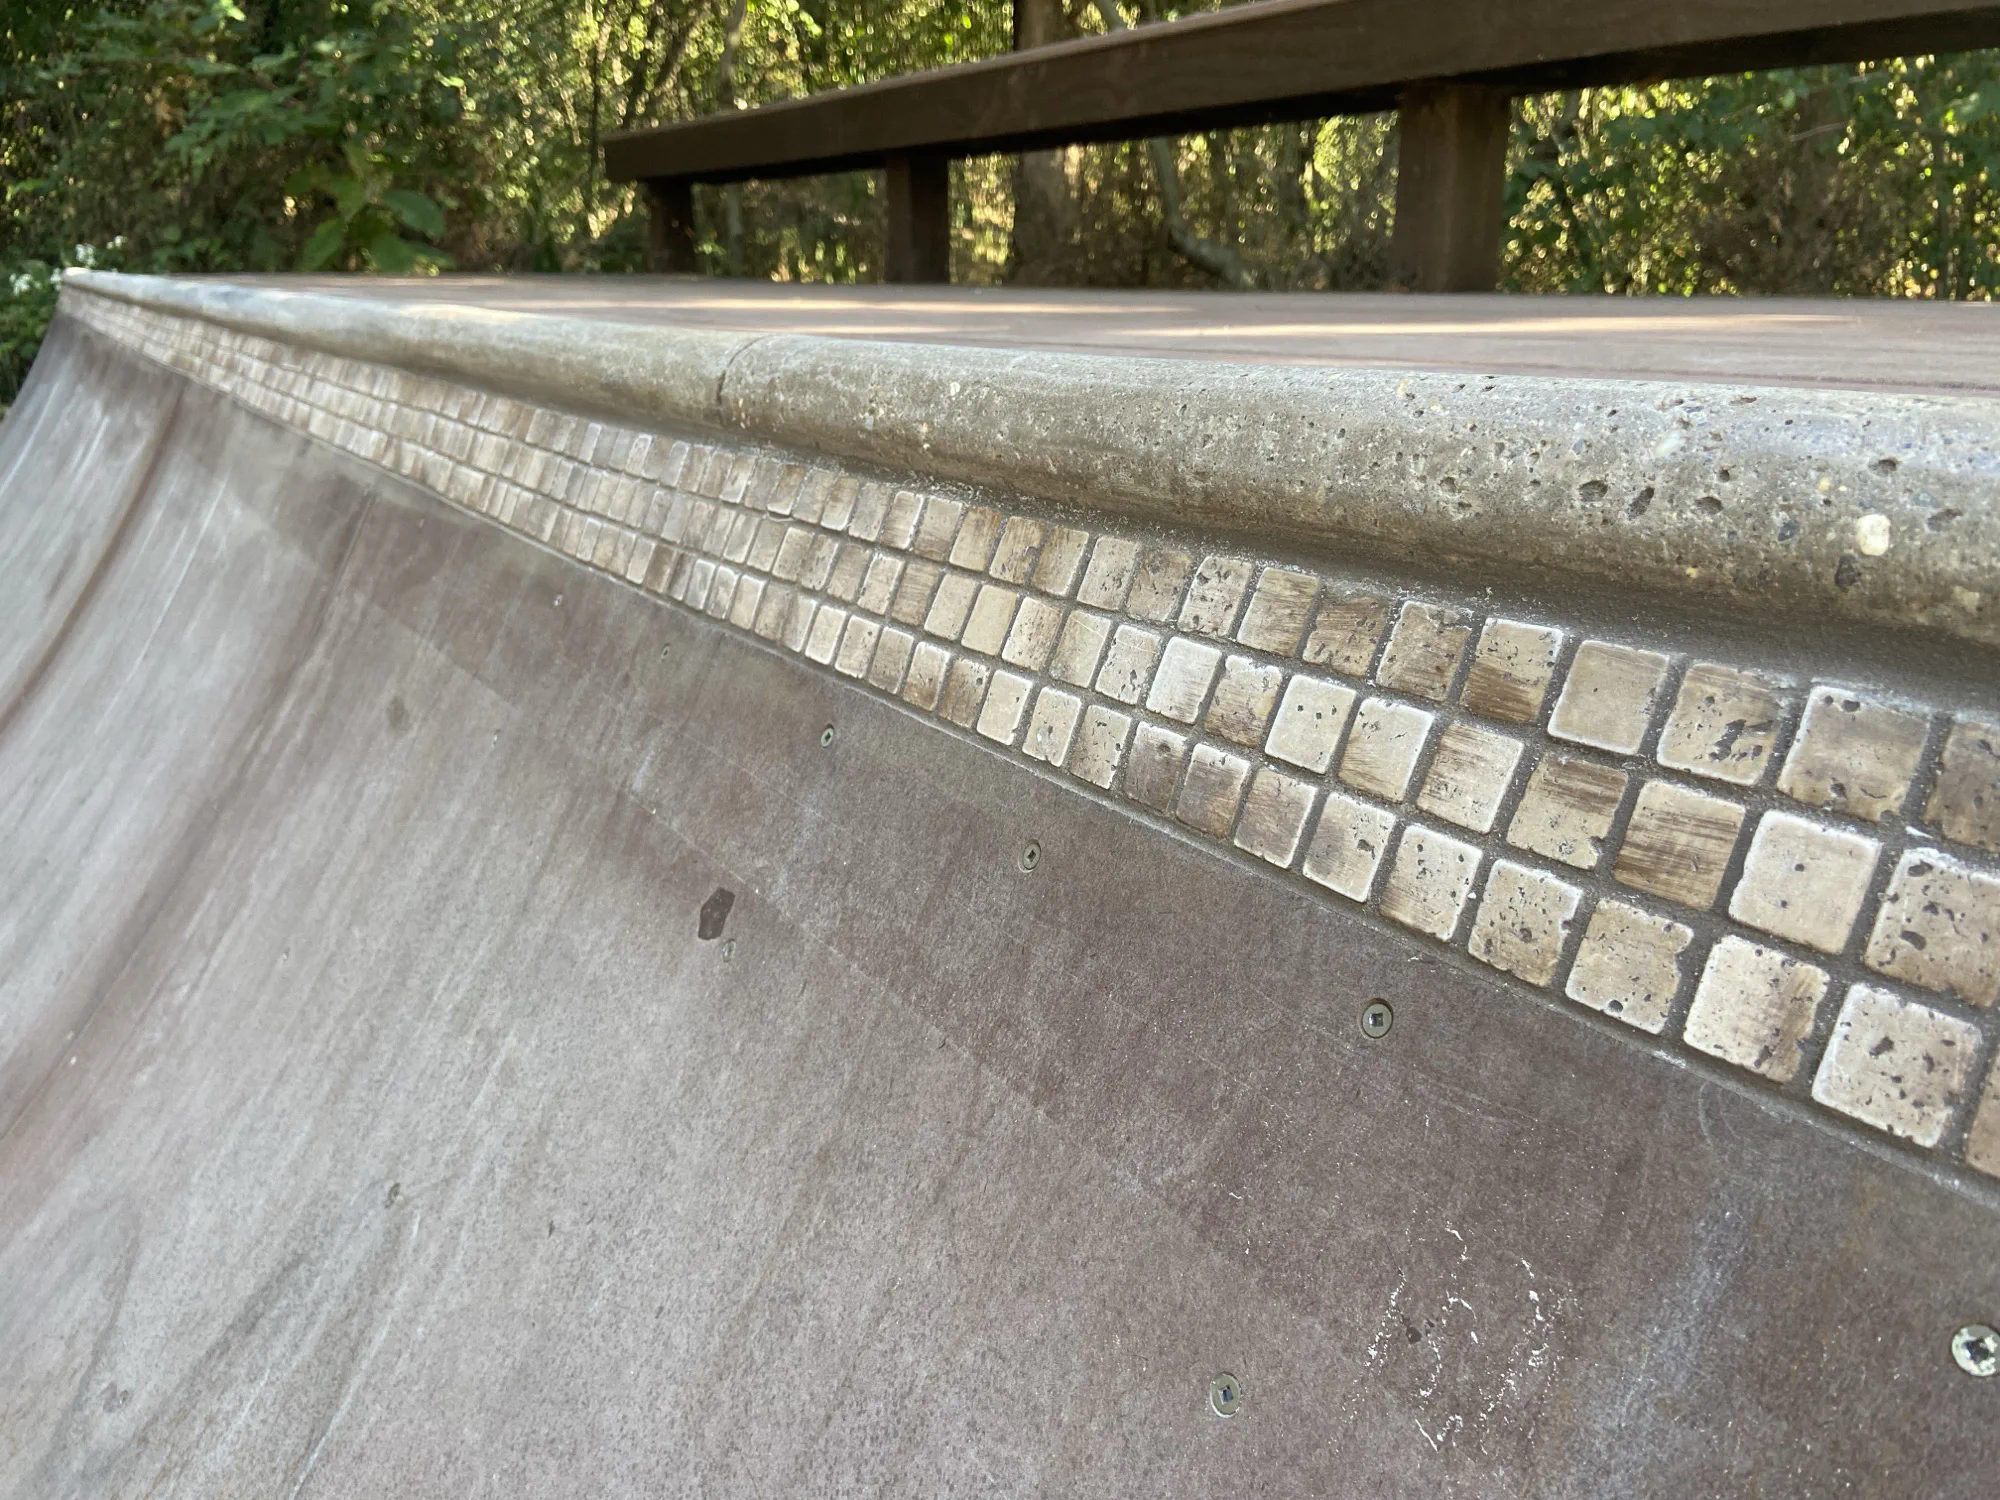
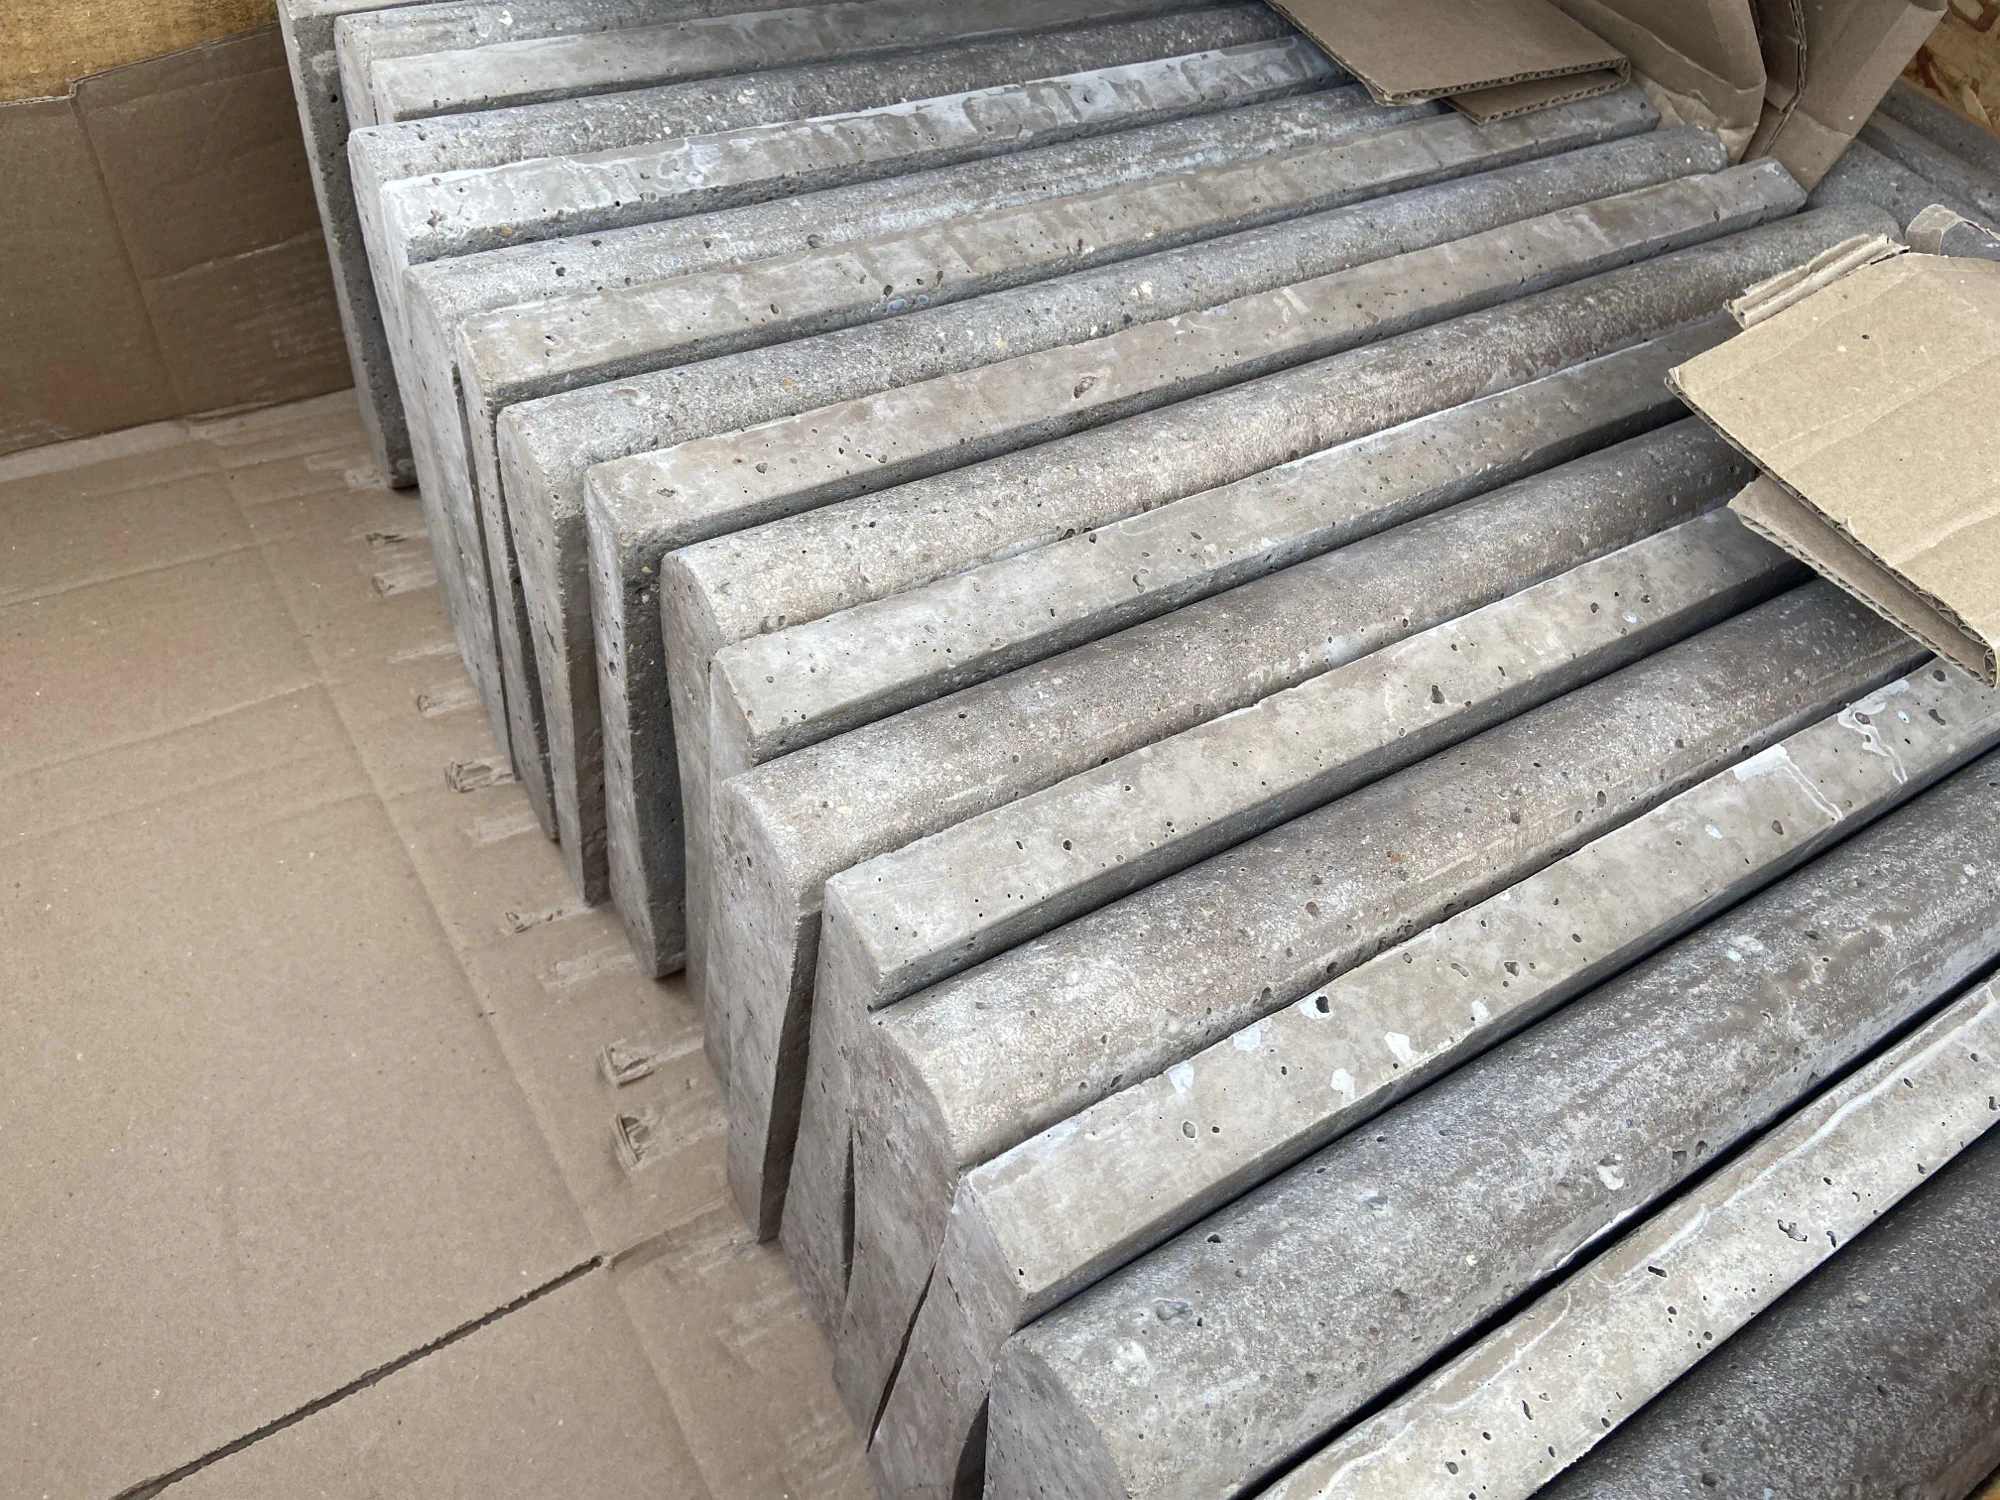
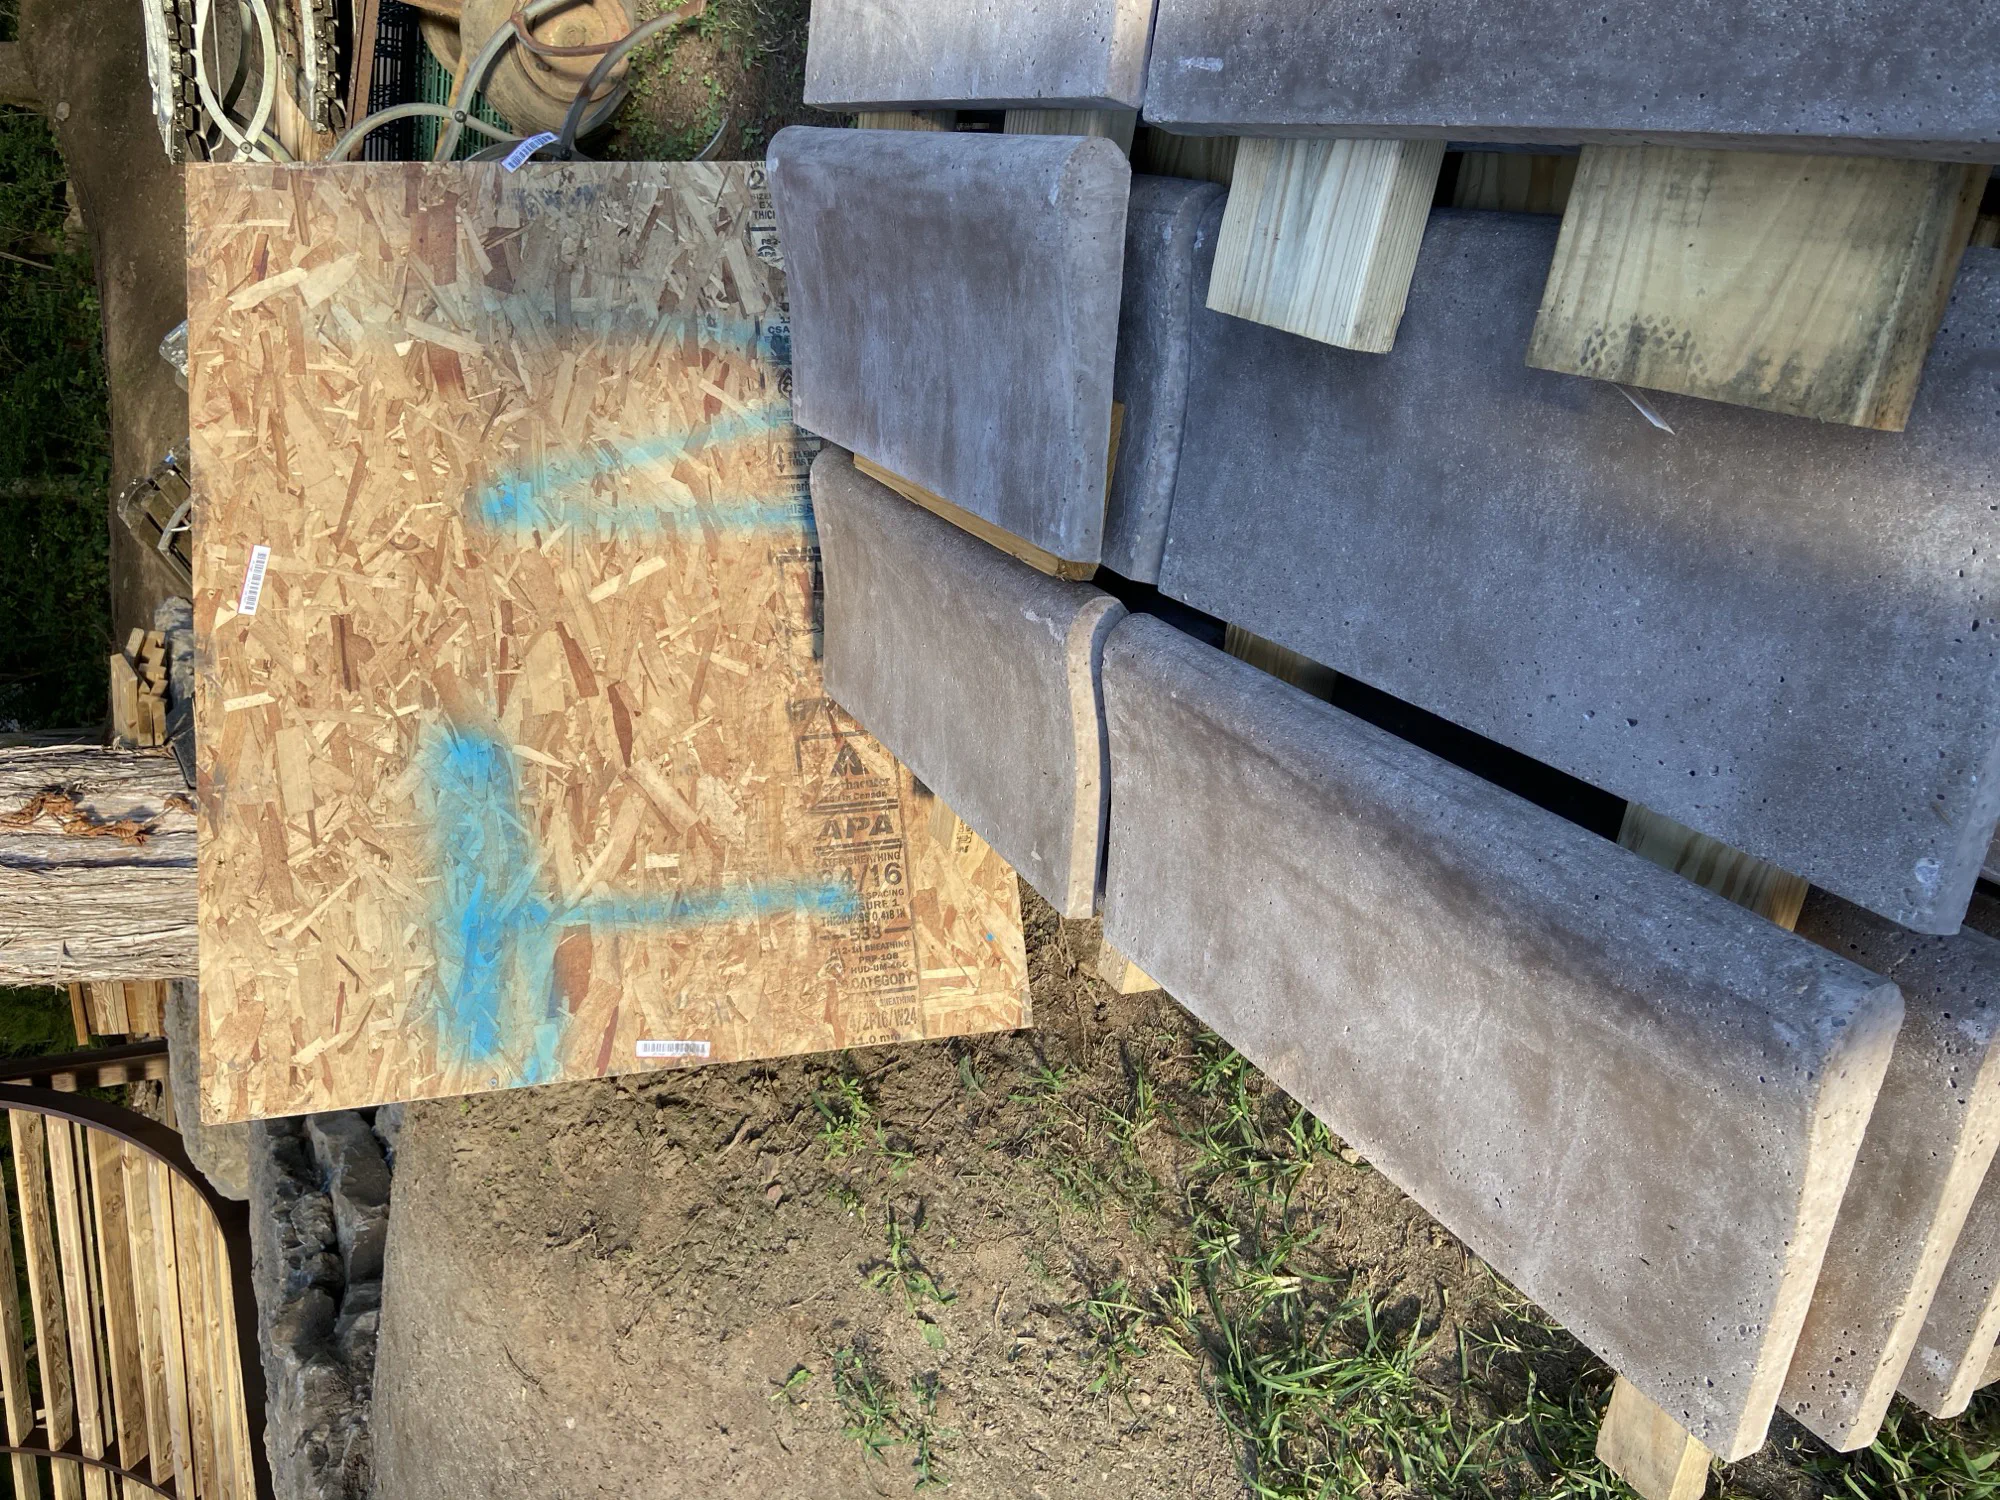
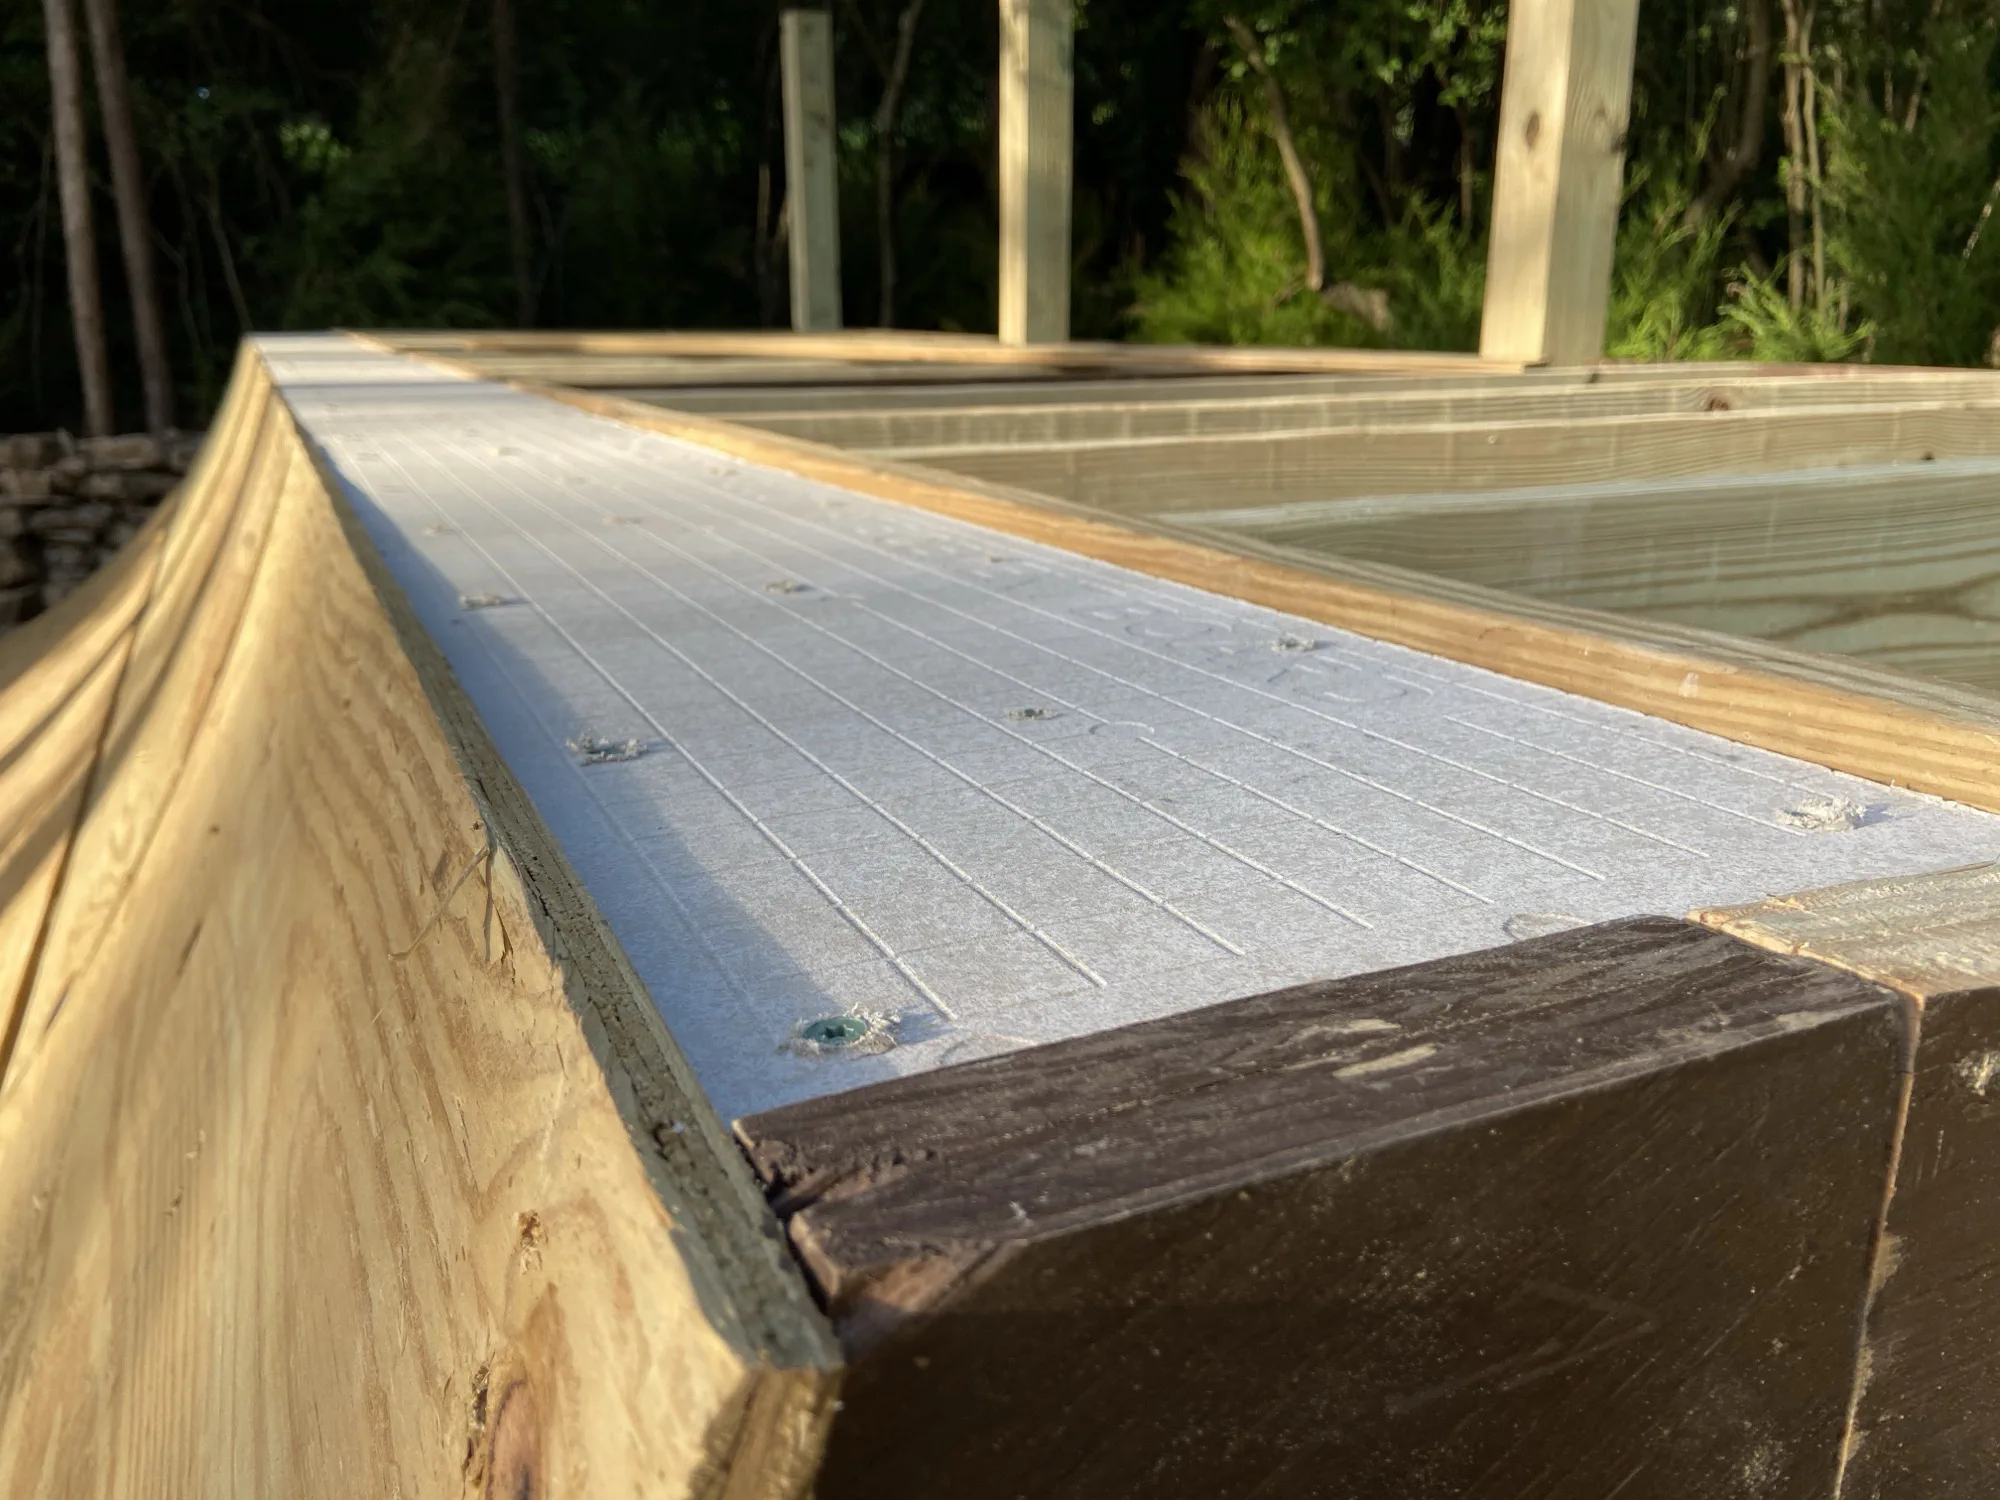
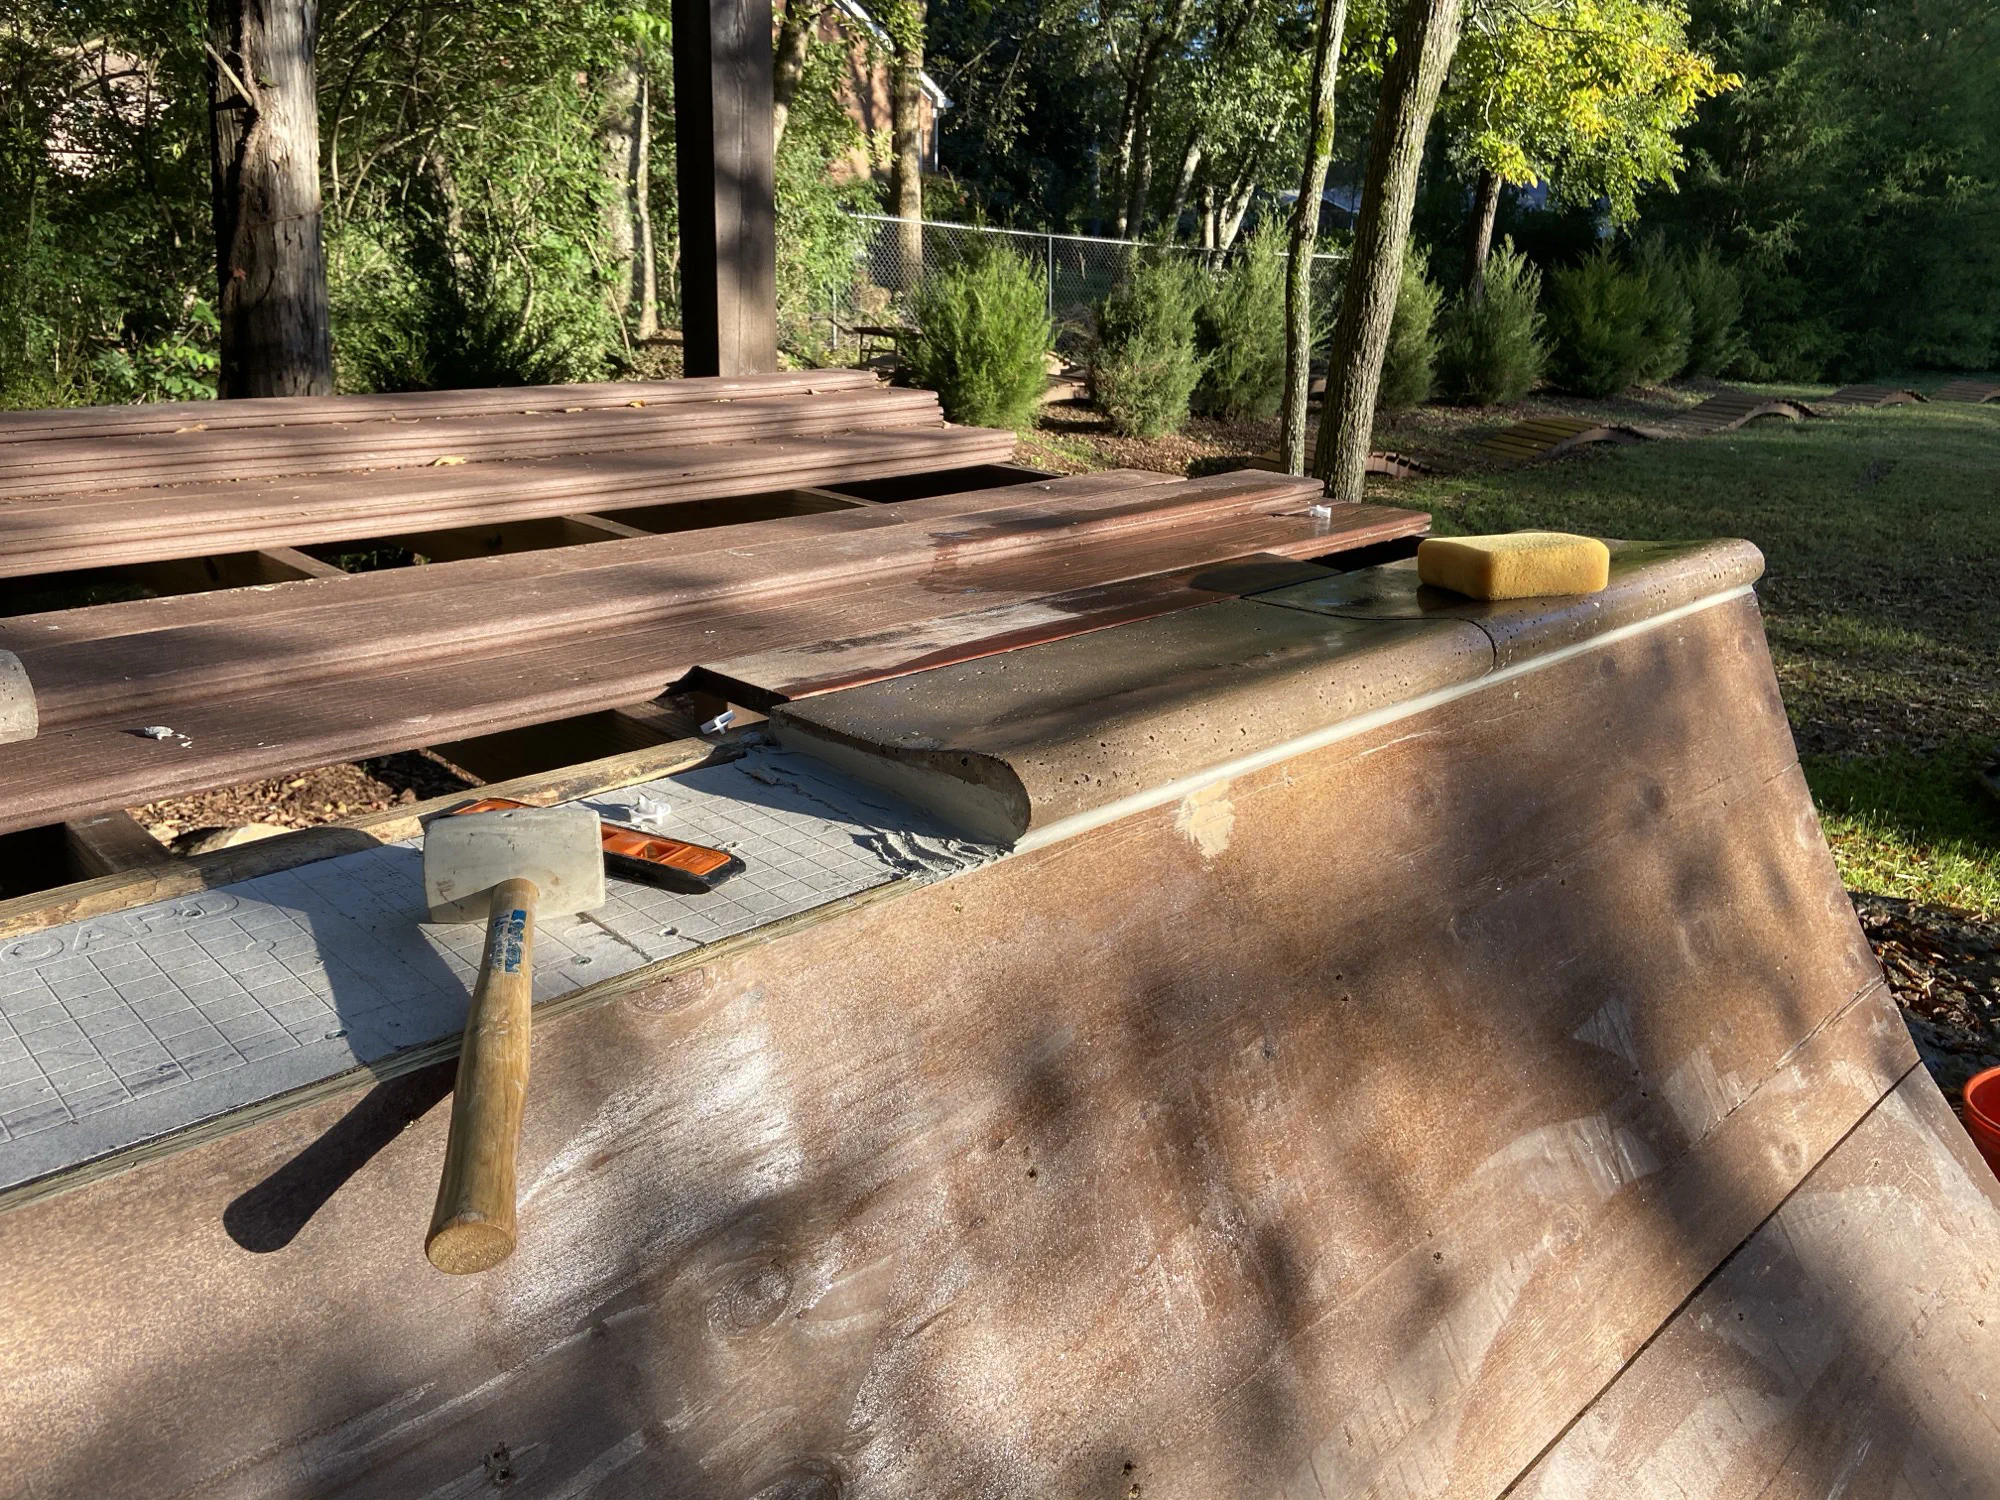
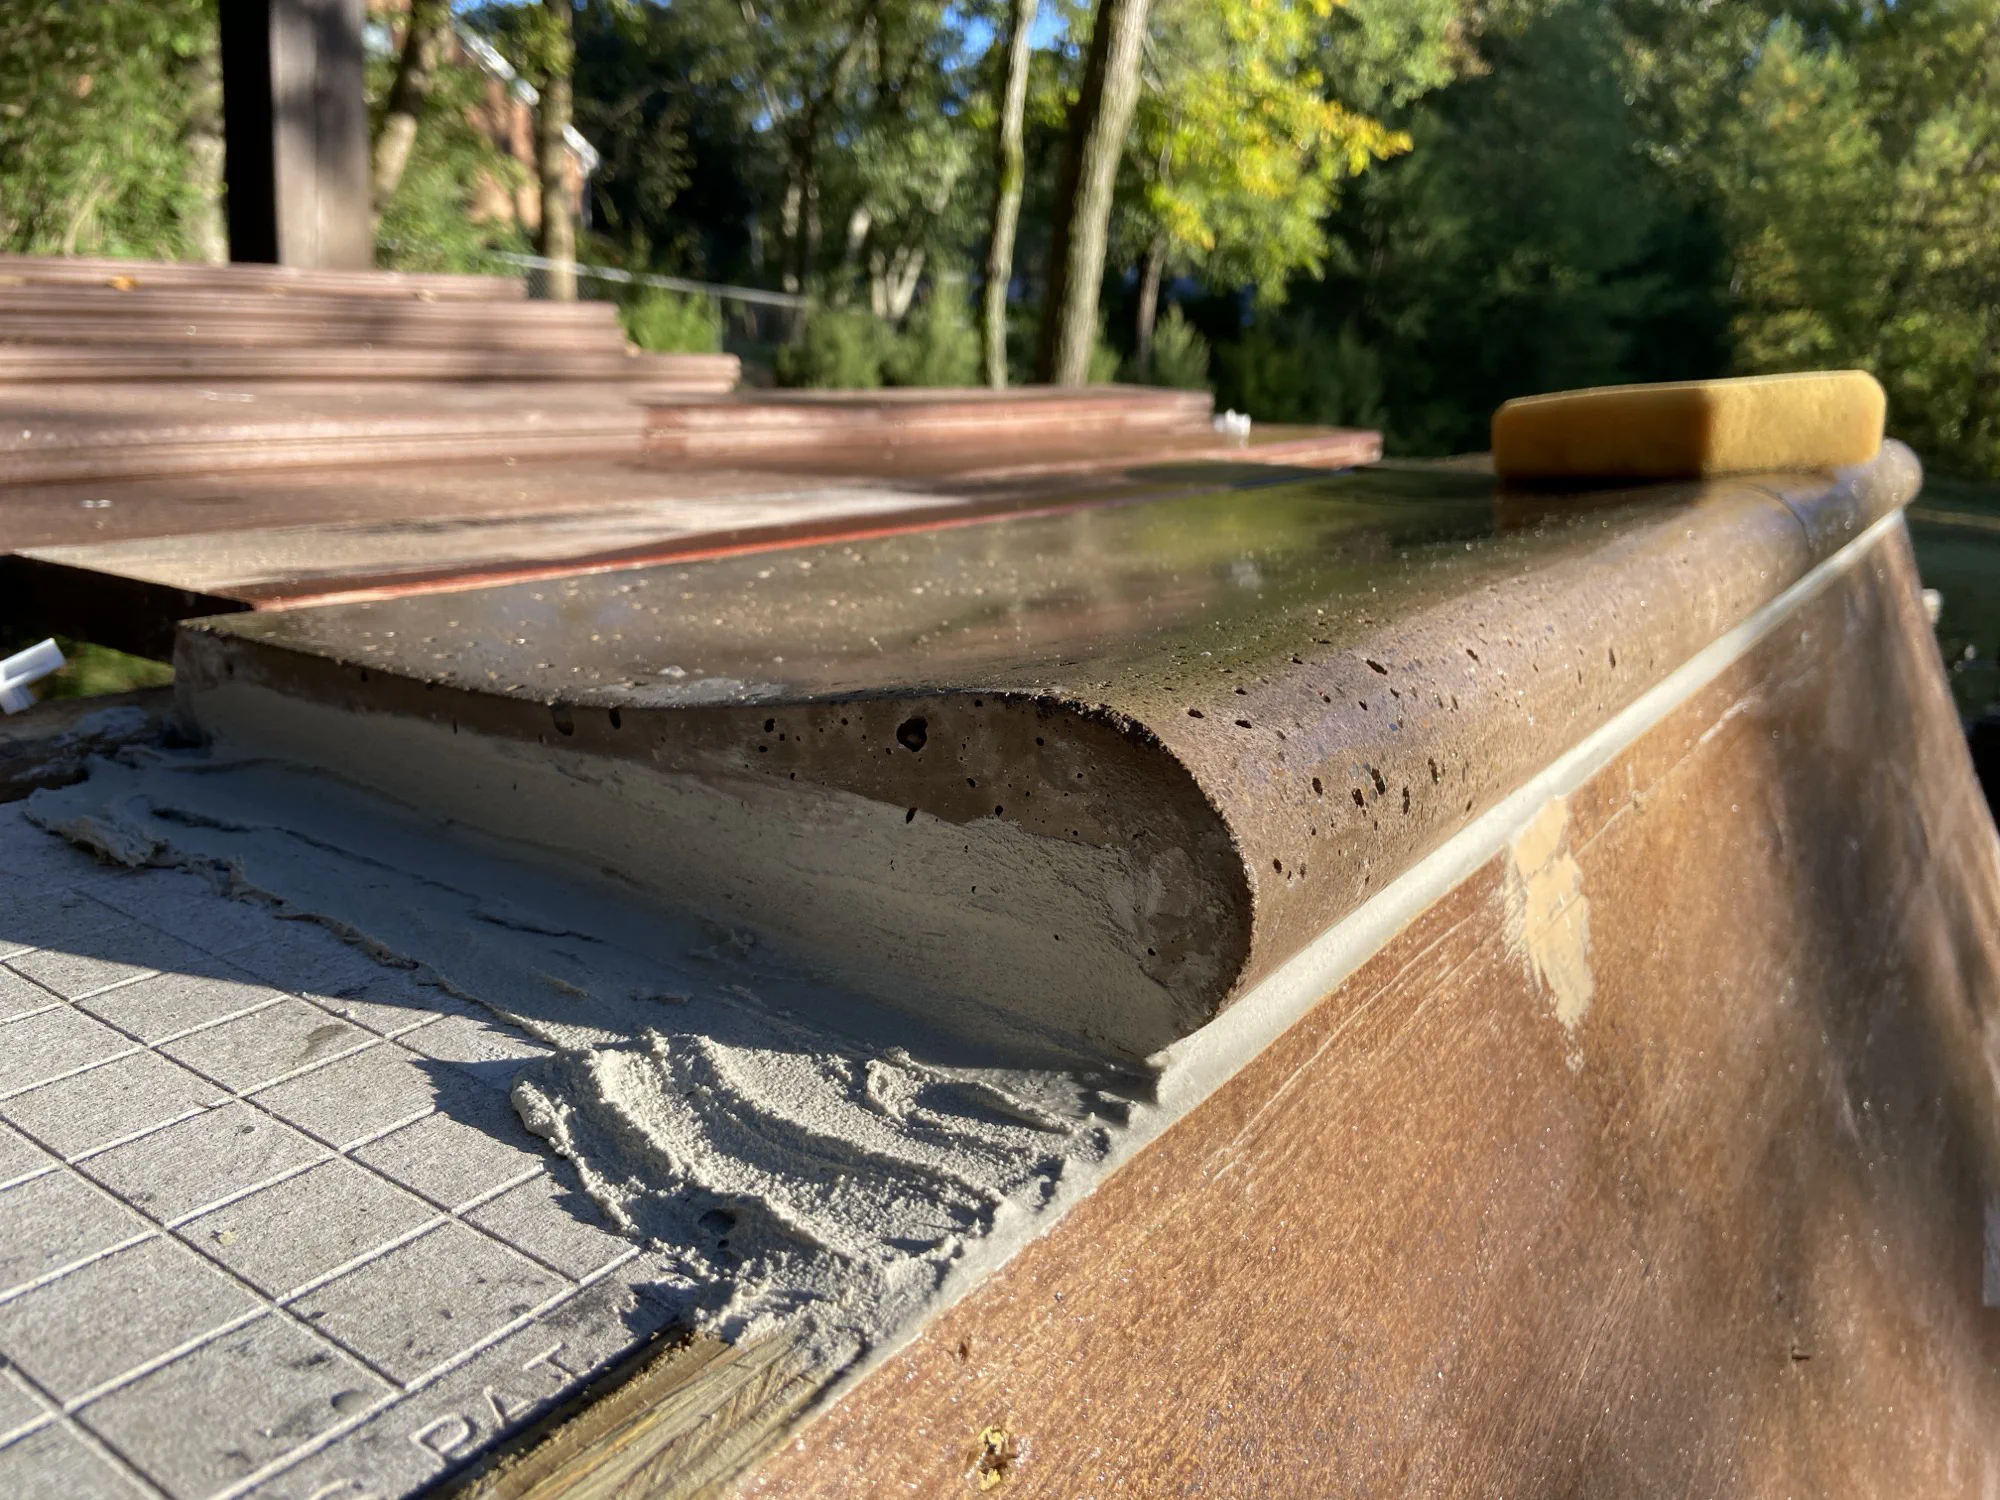
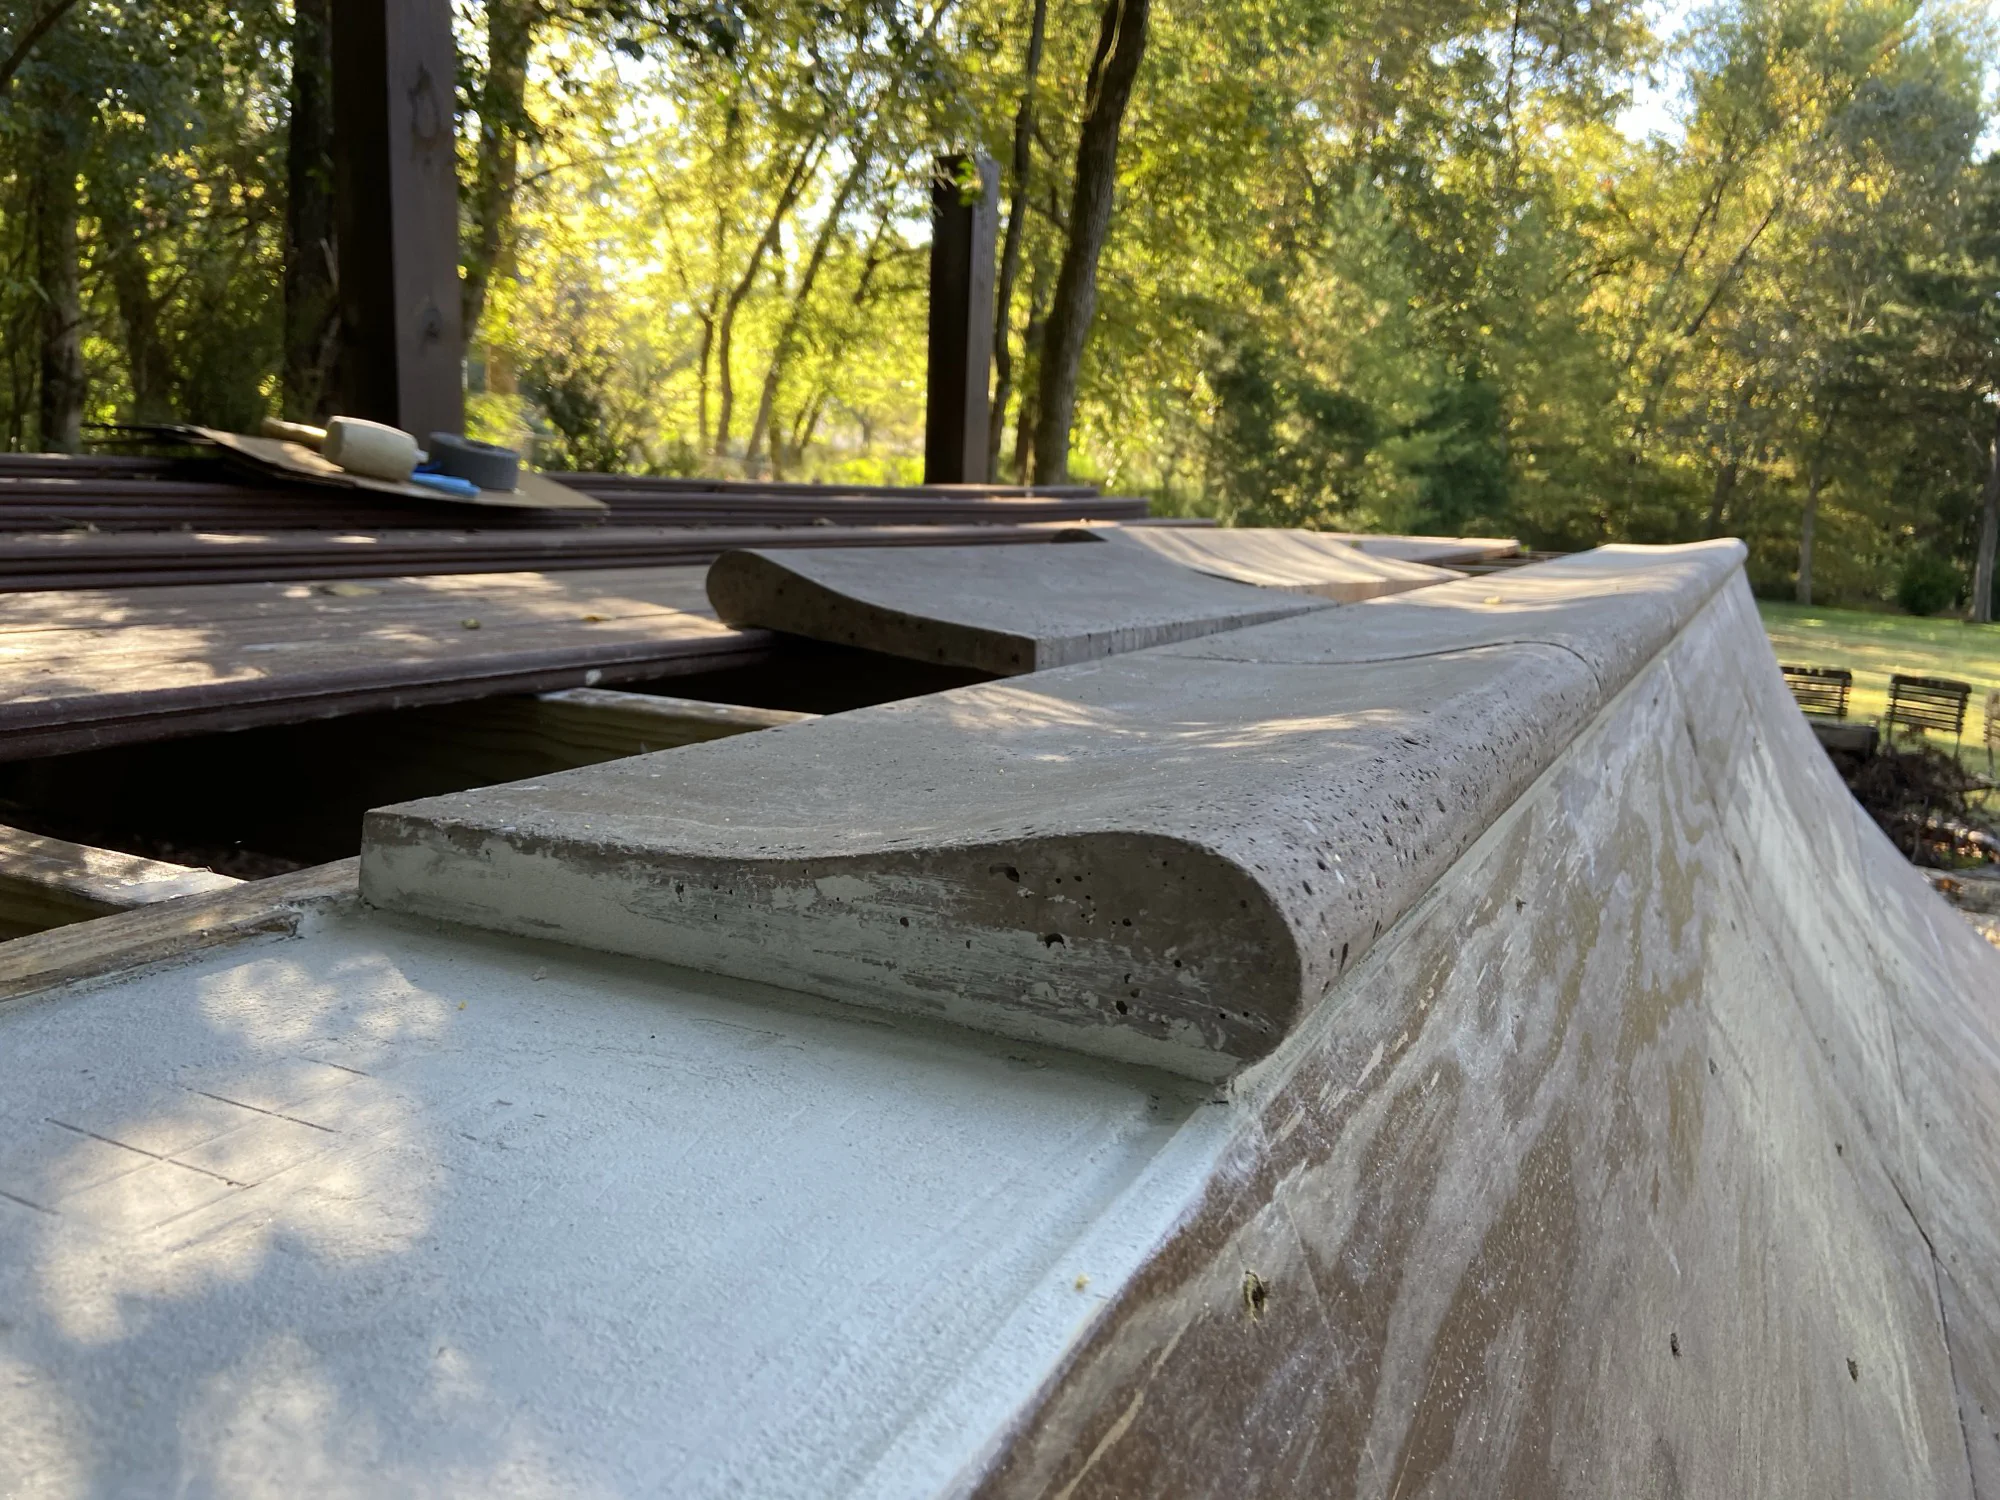
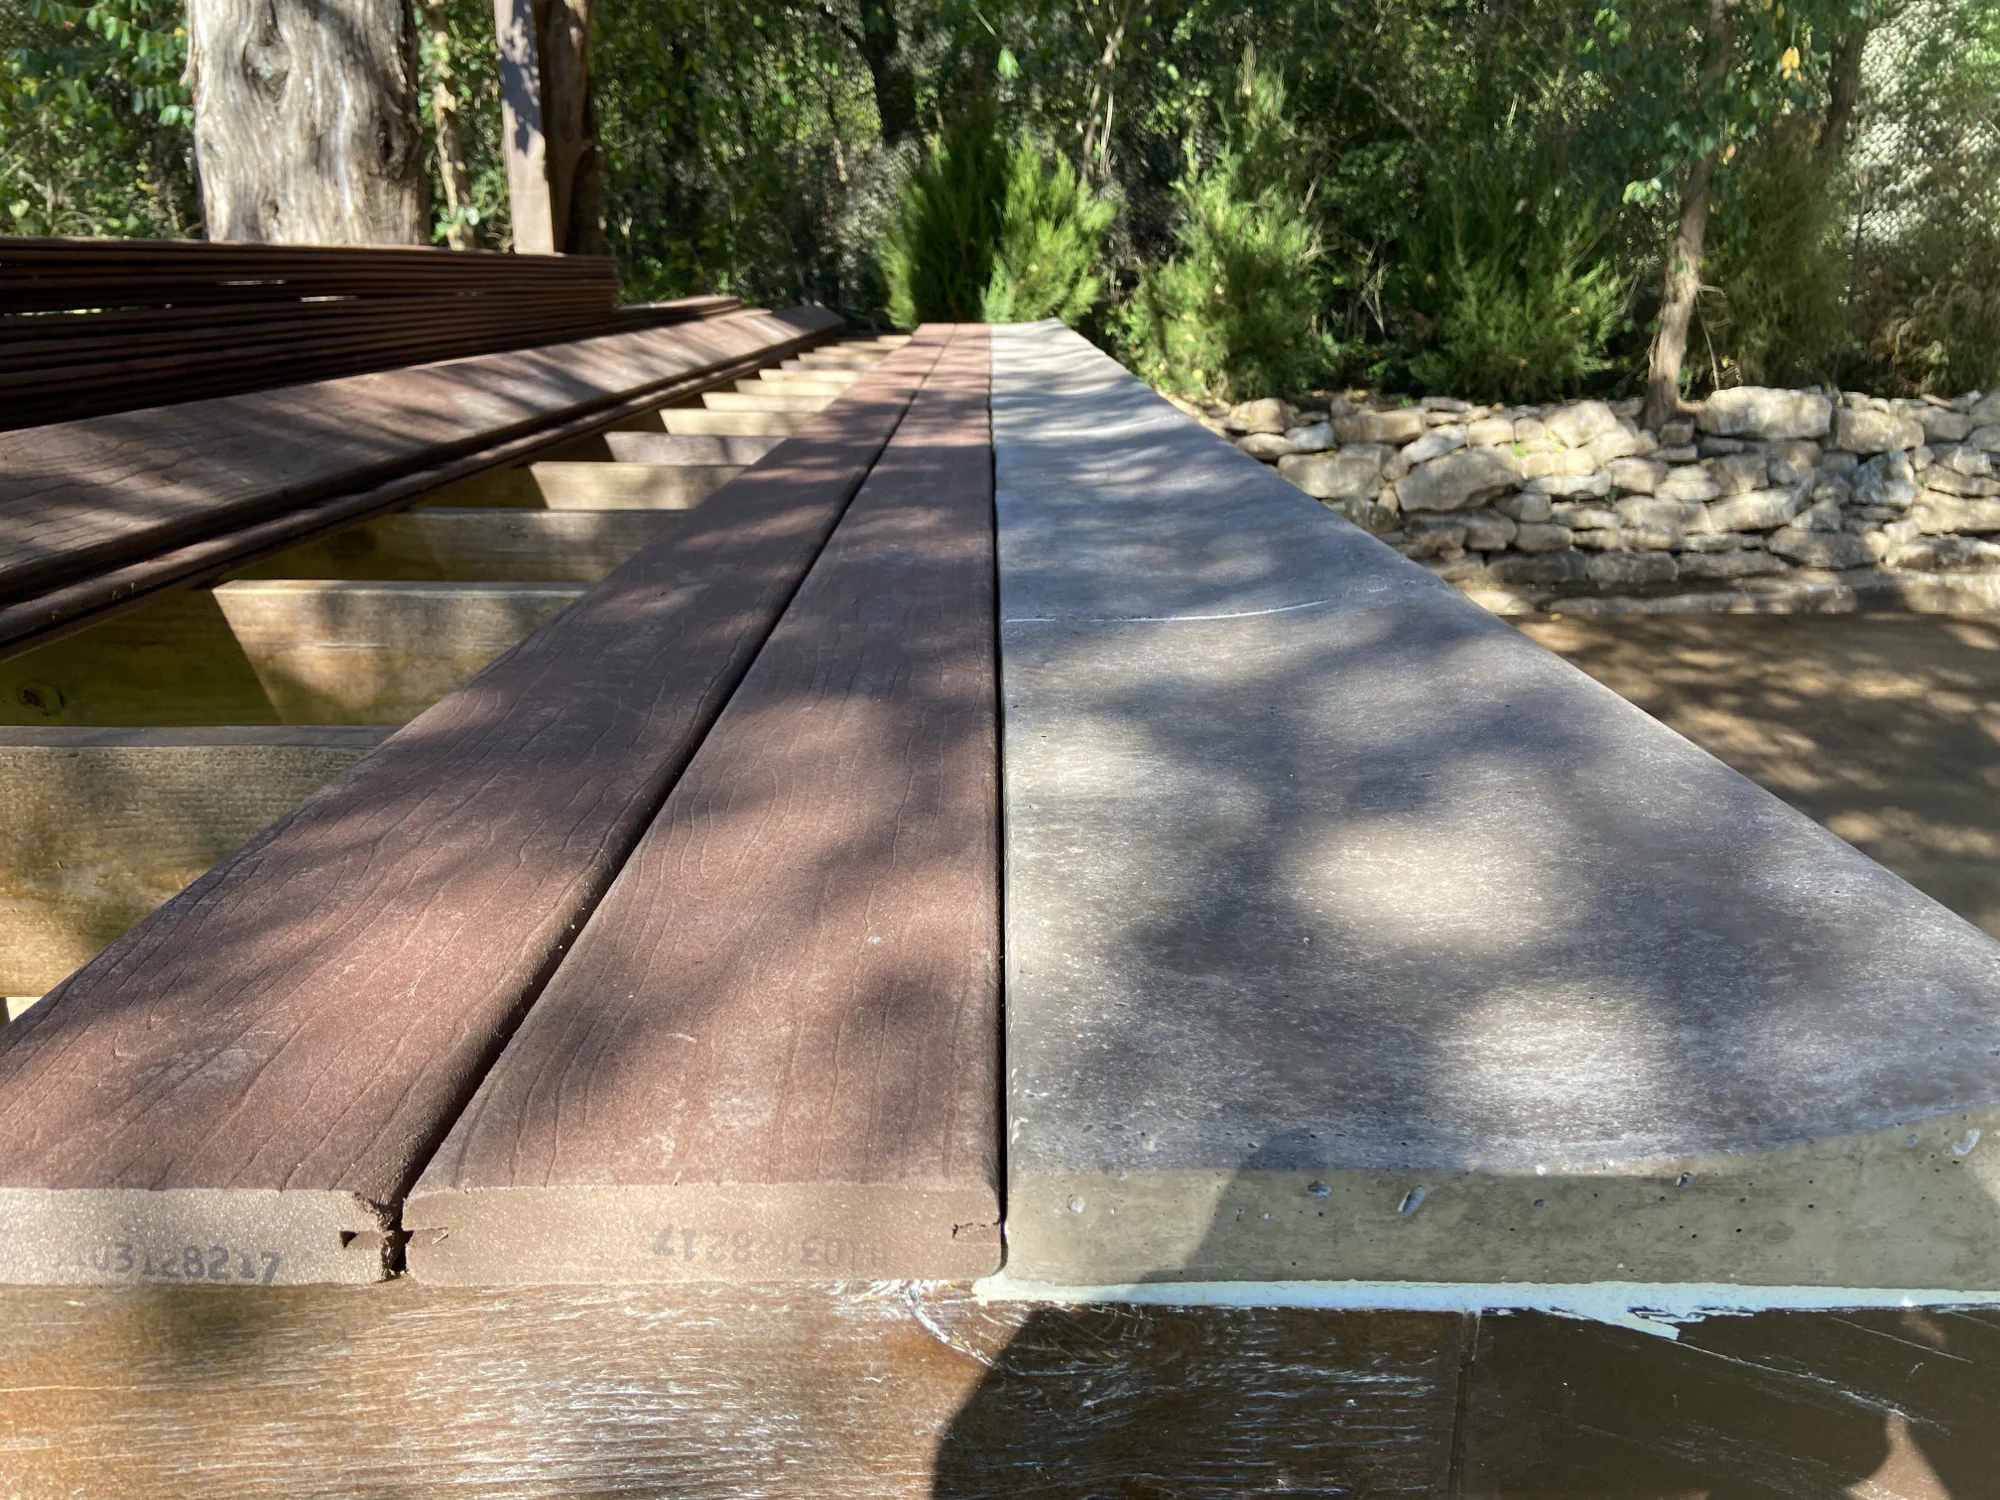
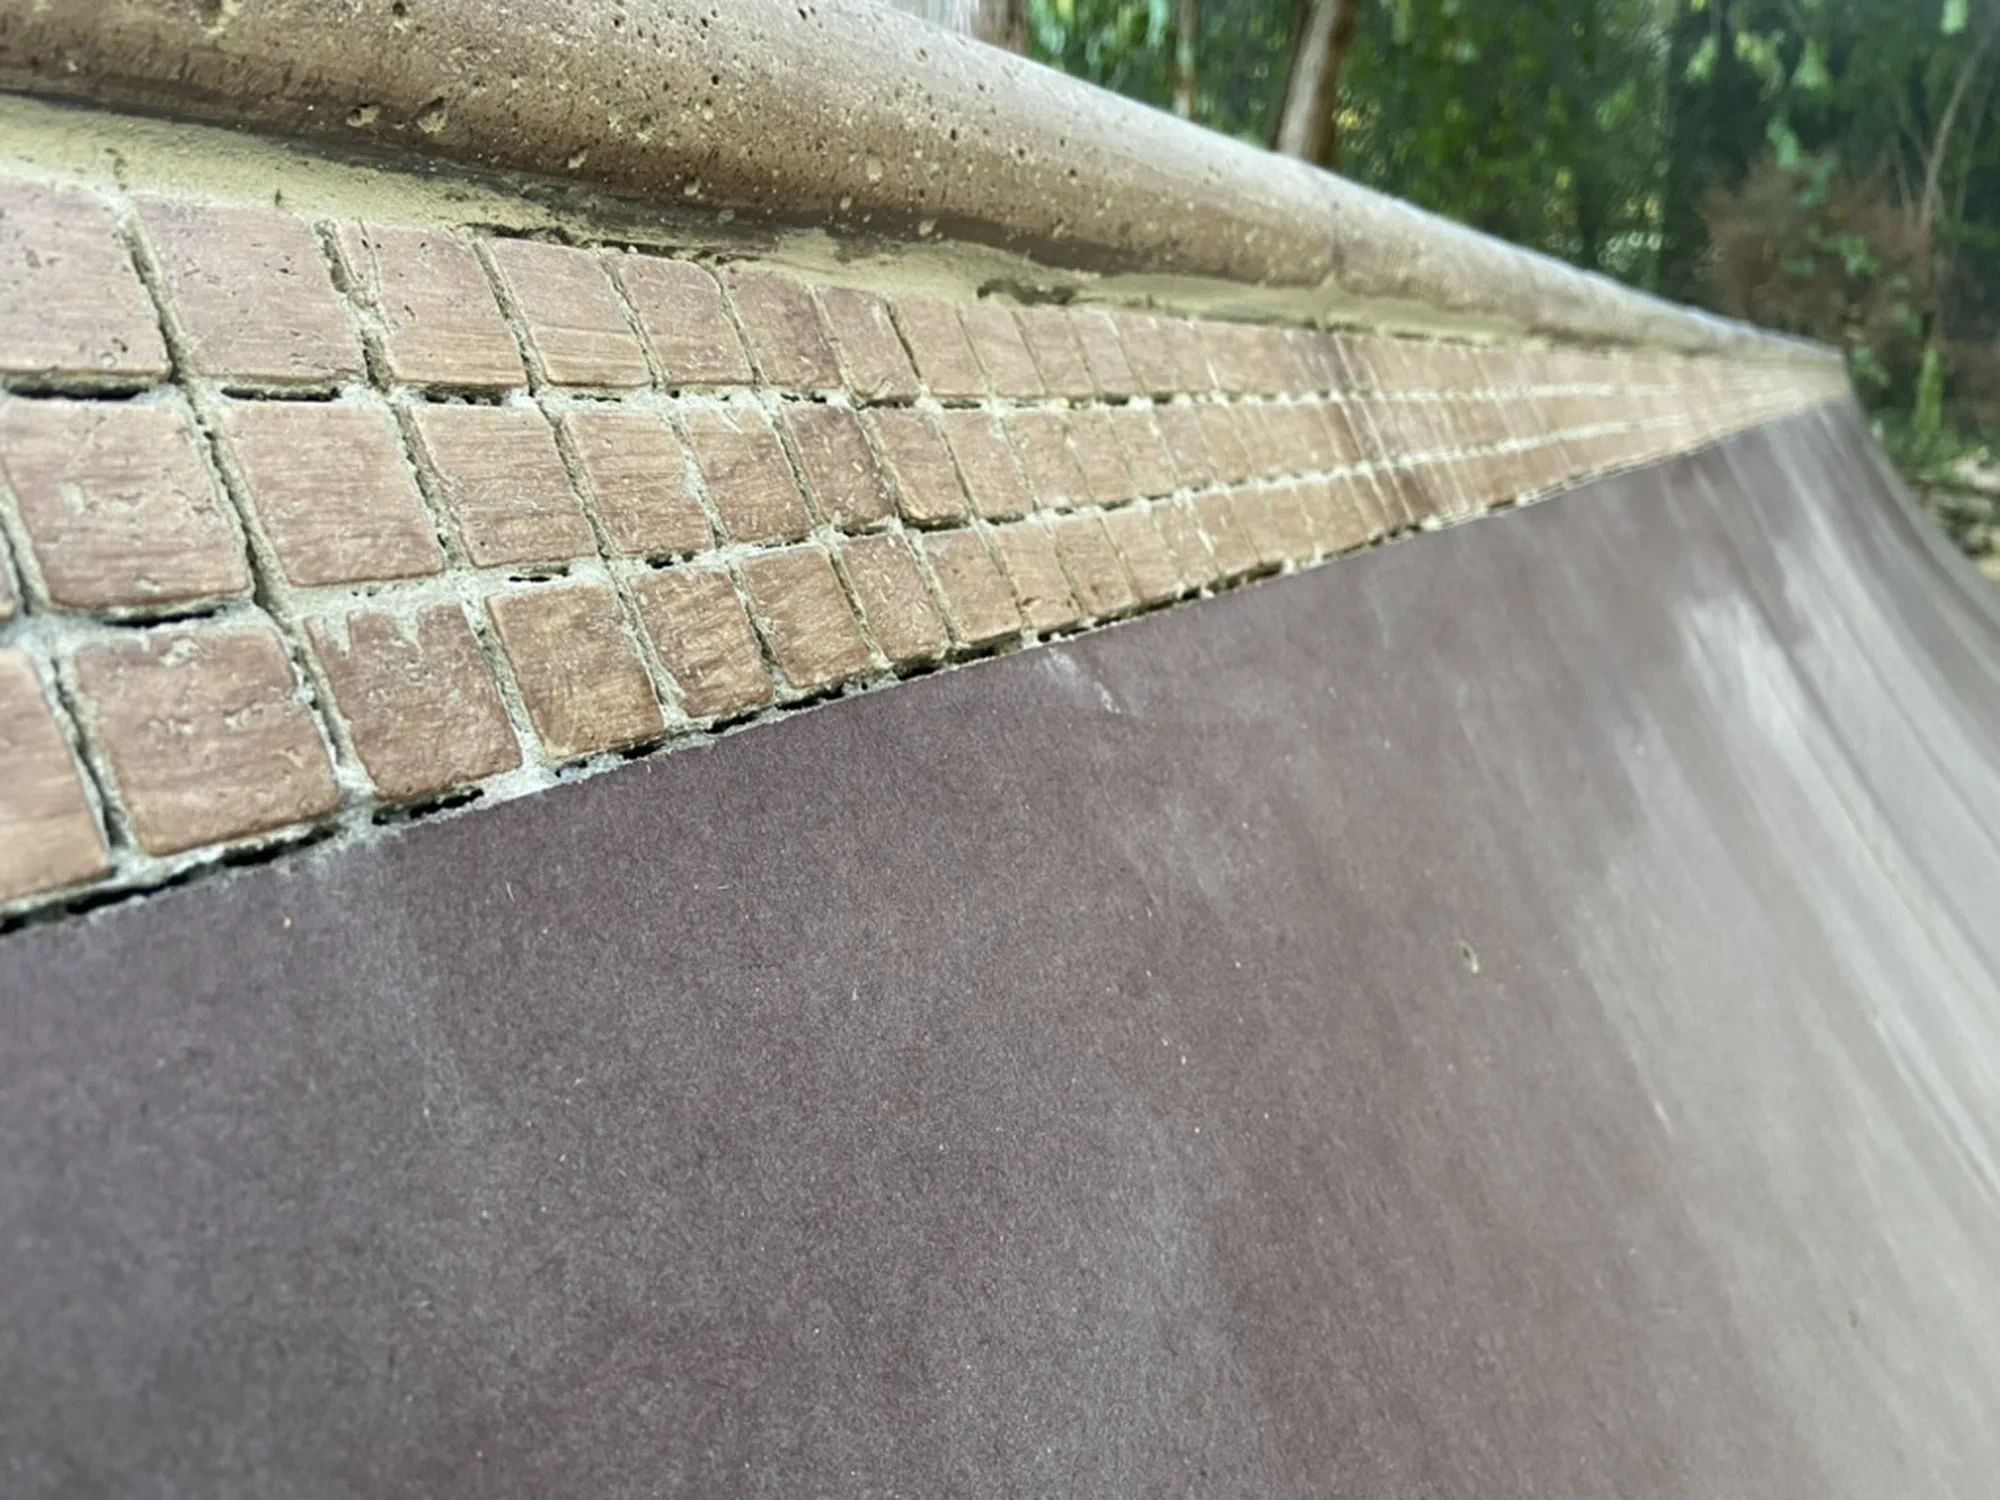
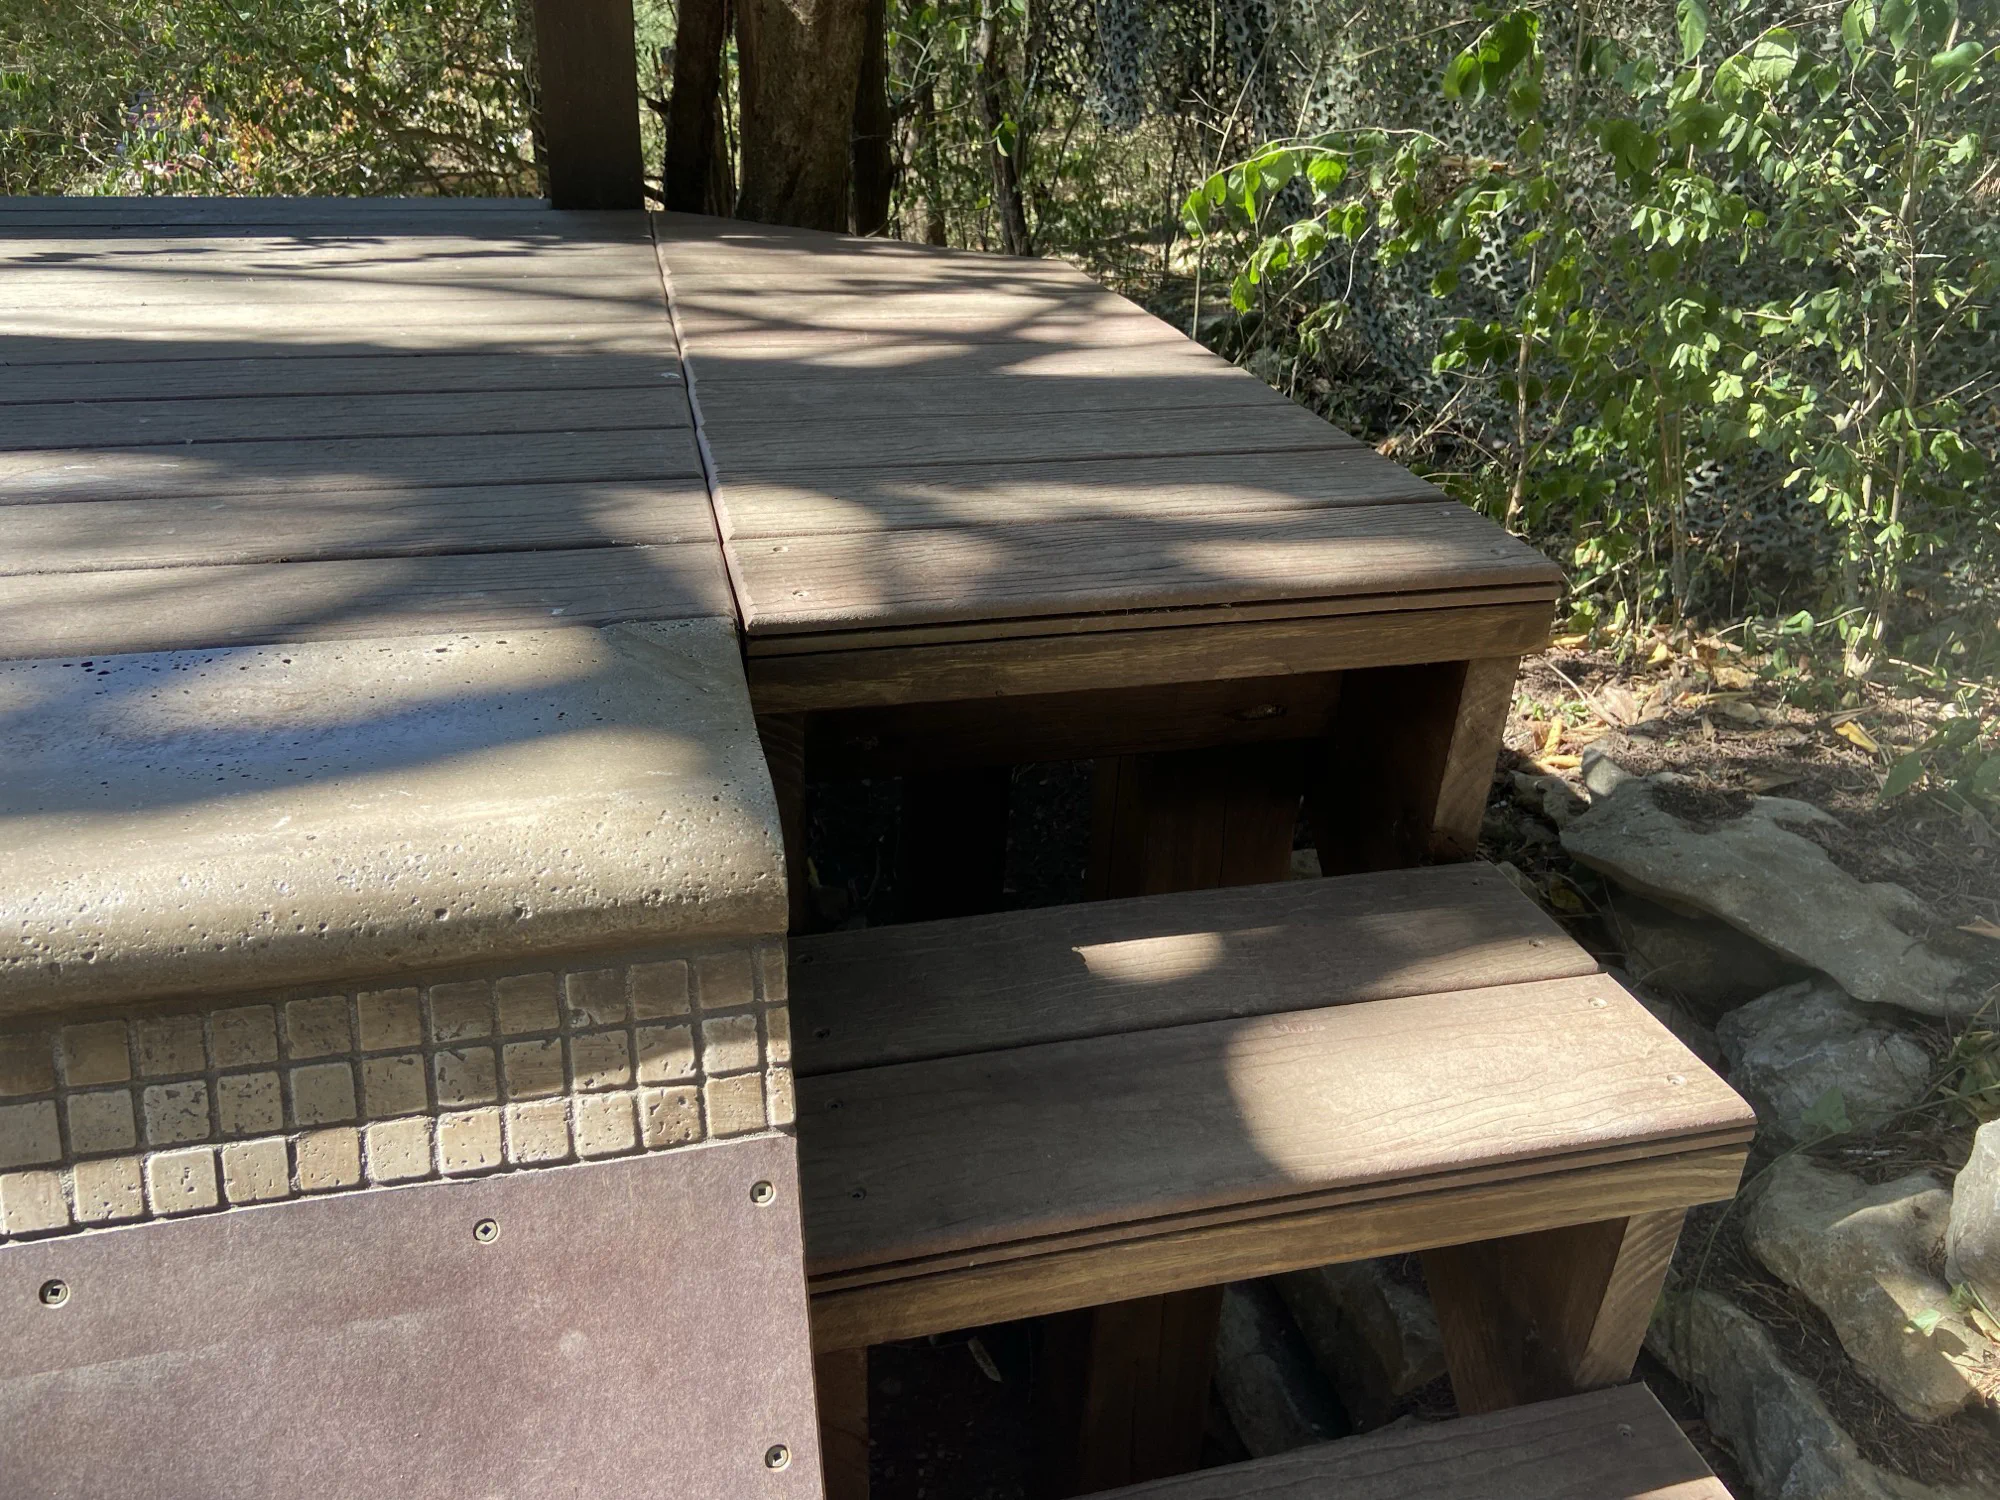
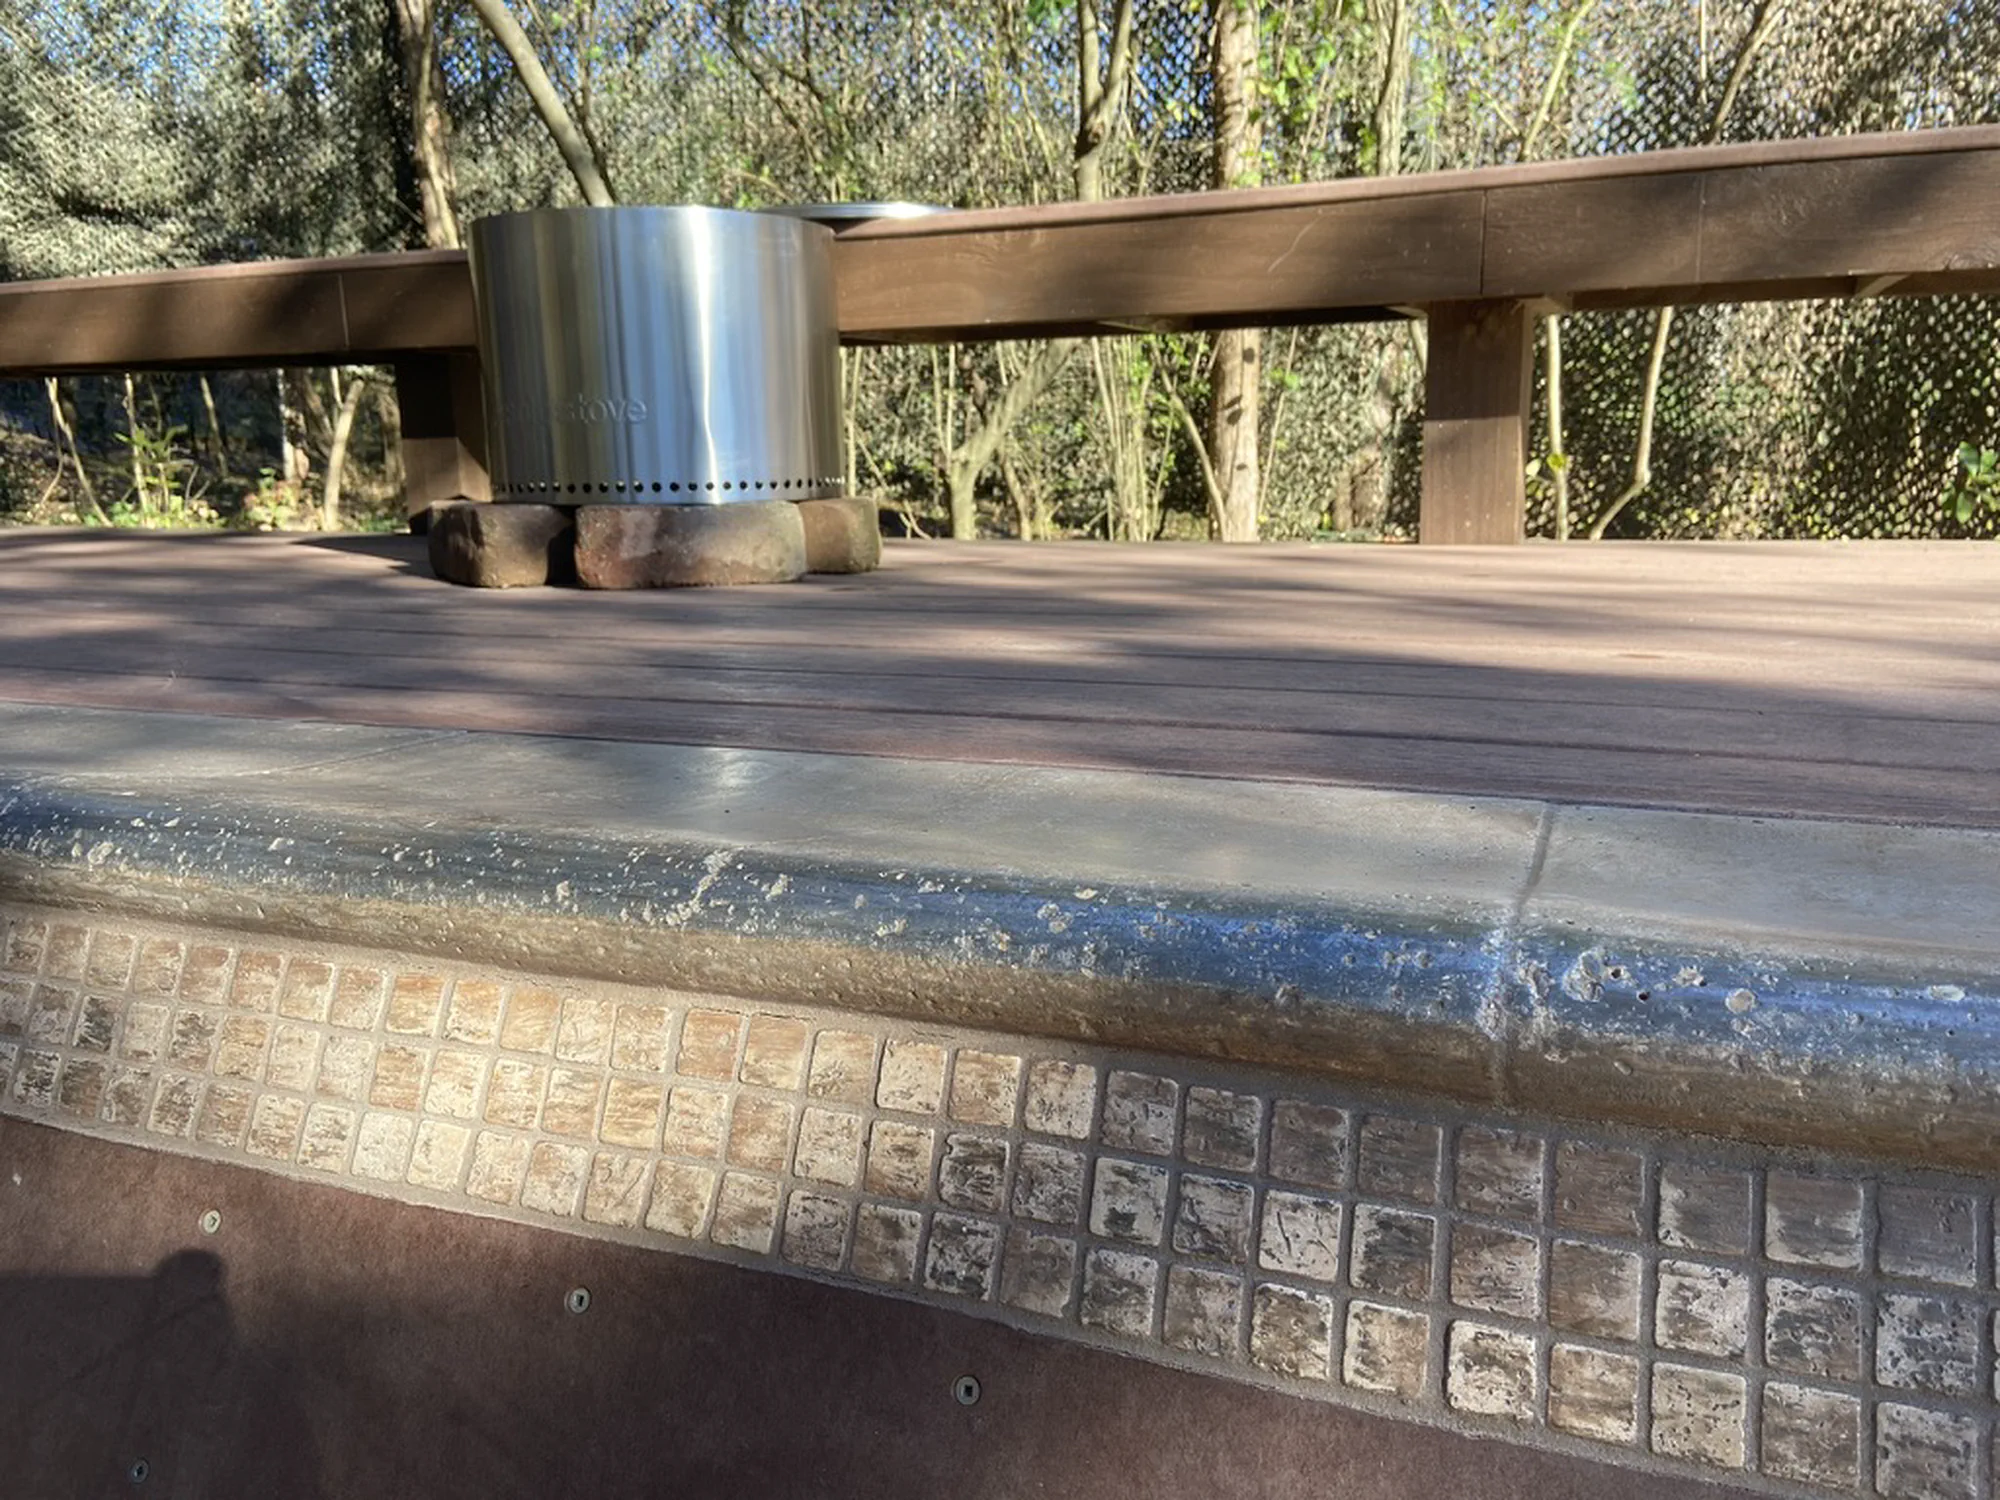
- Pool coping and mosaic tile with composite decks
- The twist
- Rebuilt coping-to-coping by hand to fix an elliptical radius fail
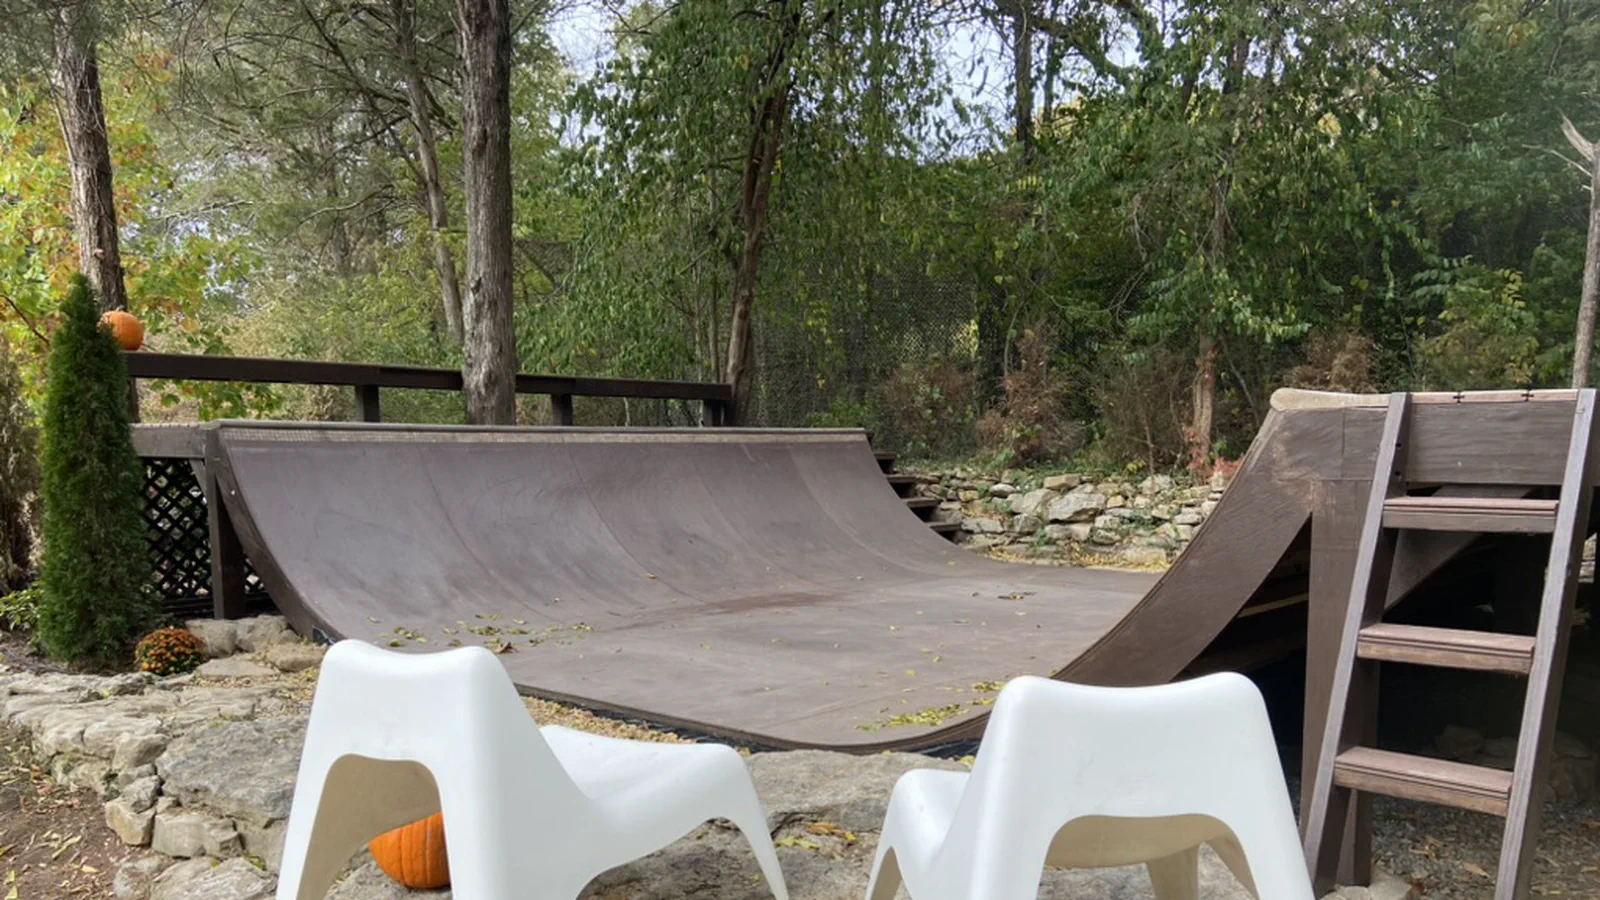
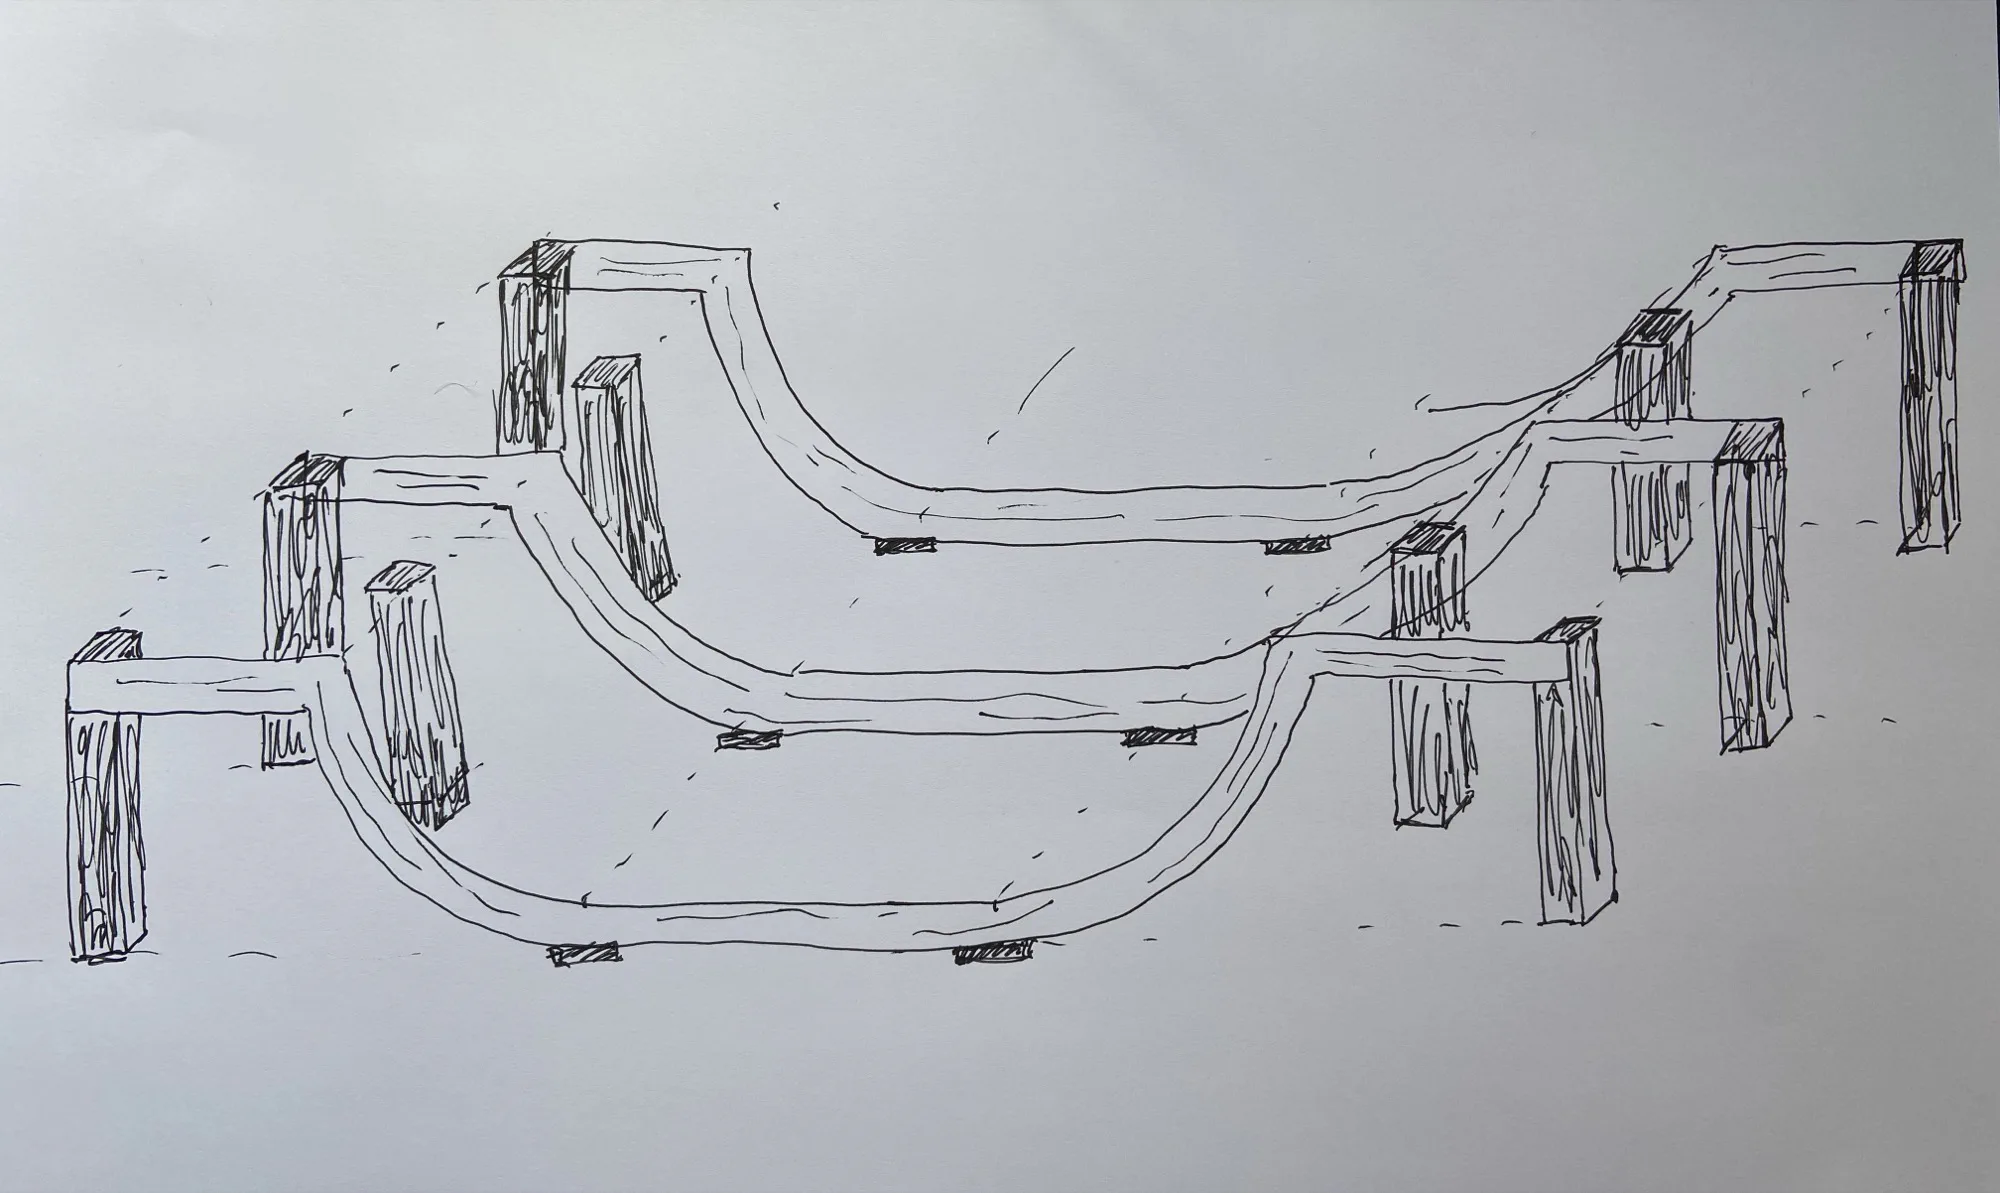
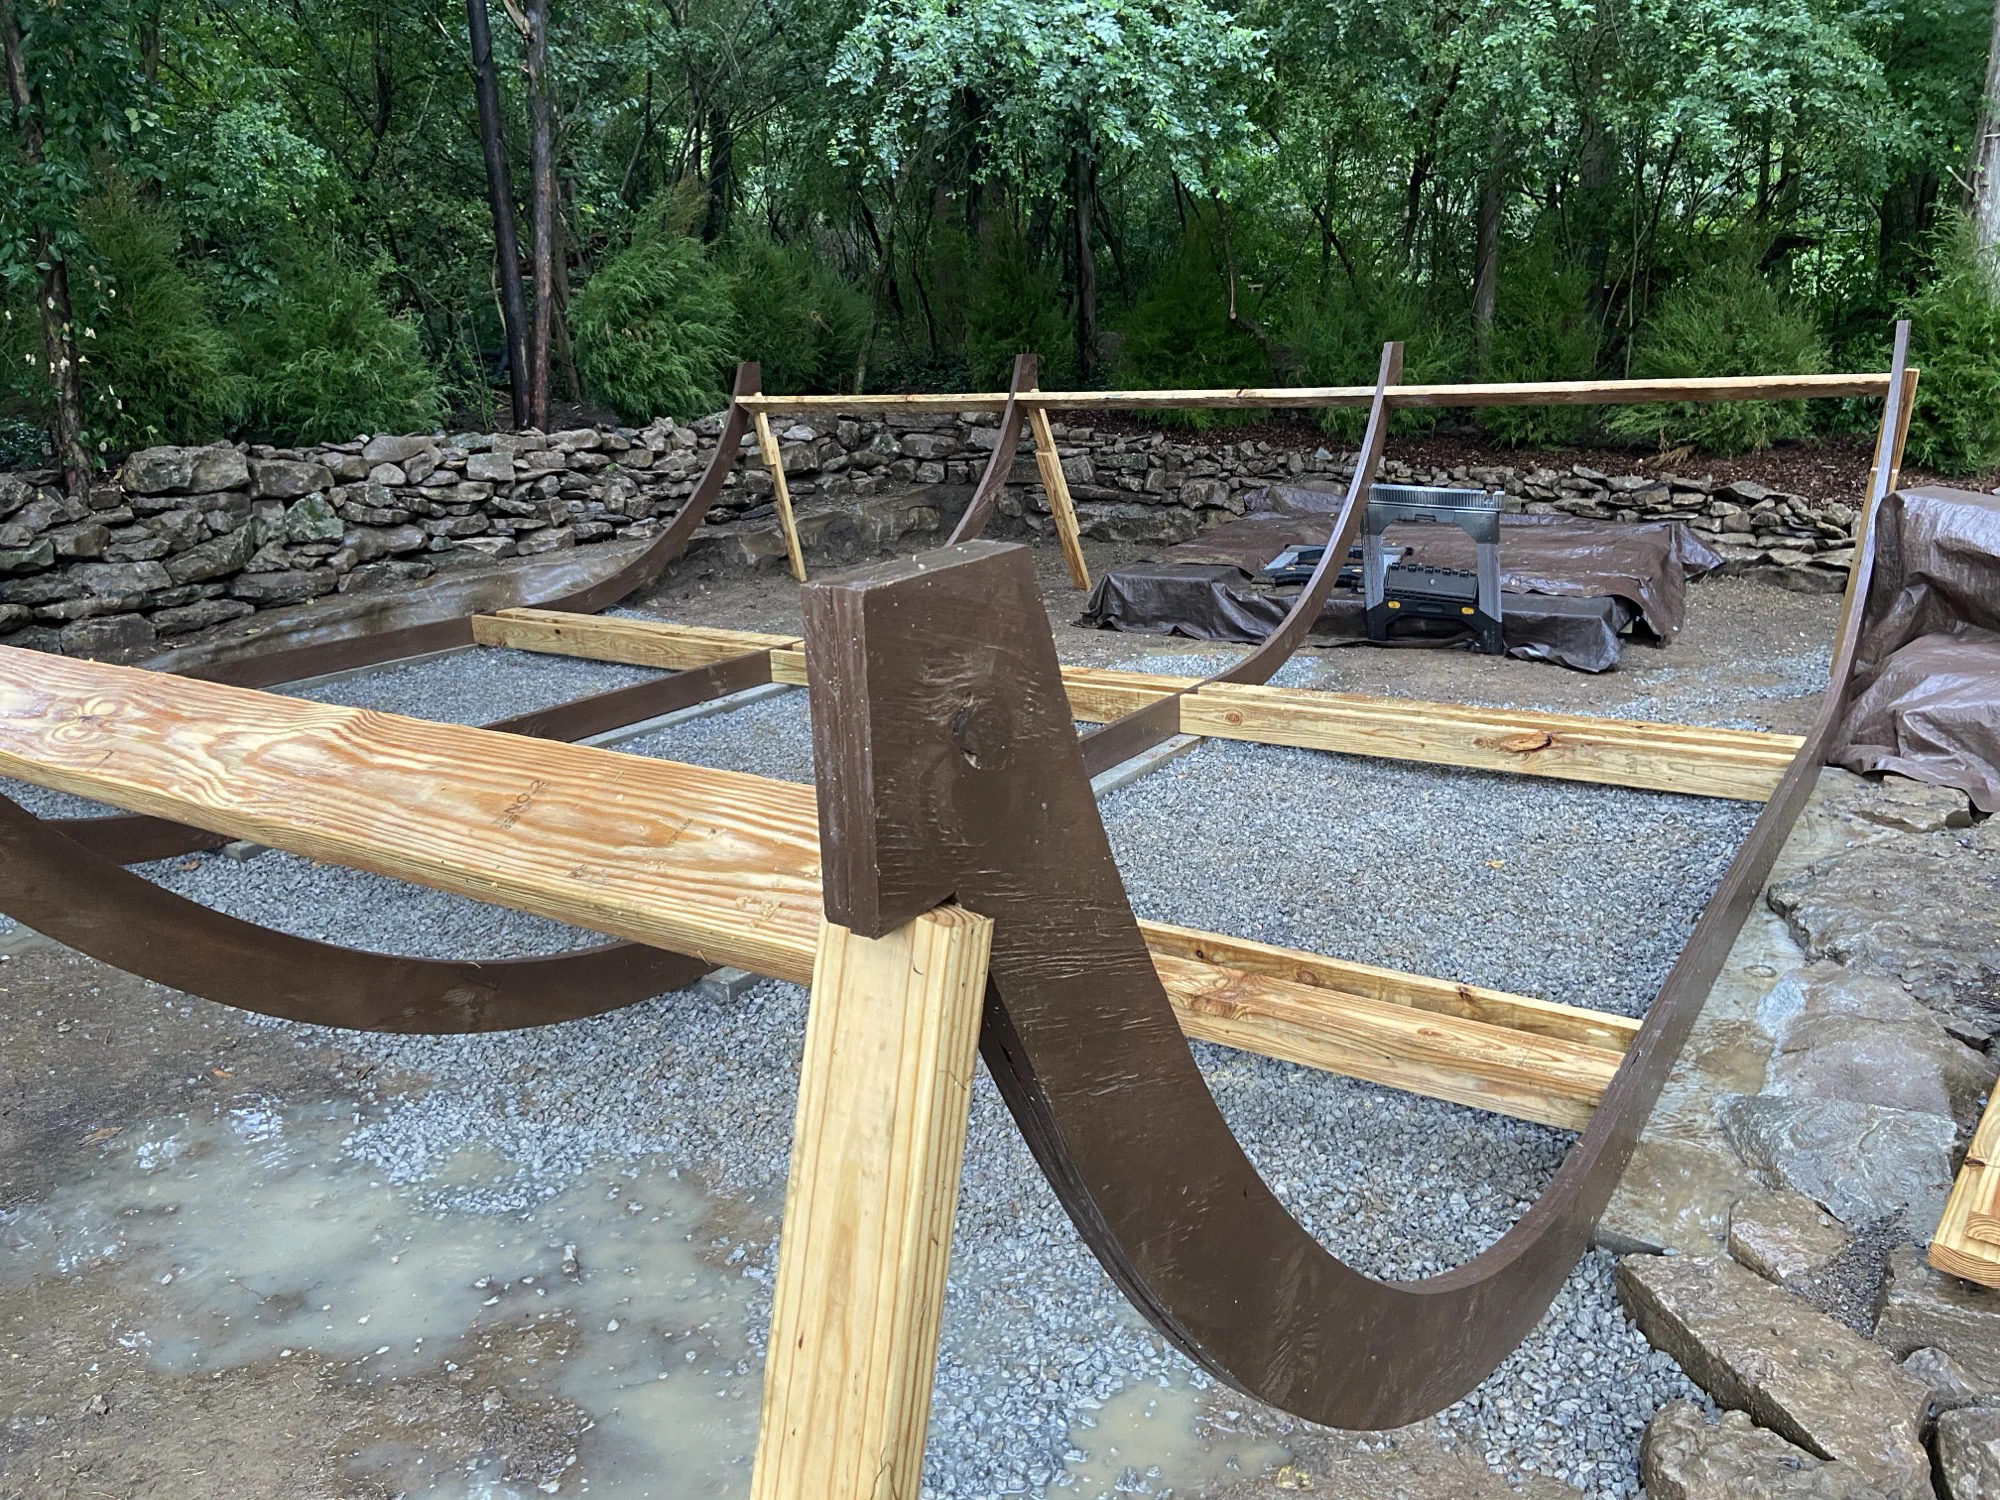
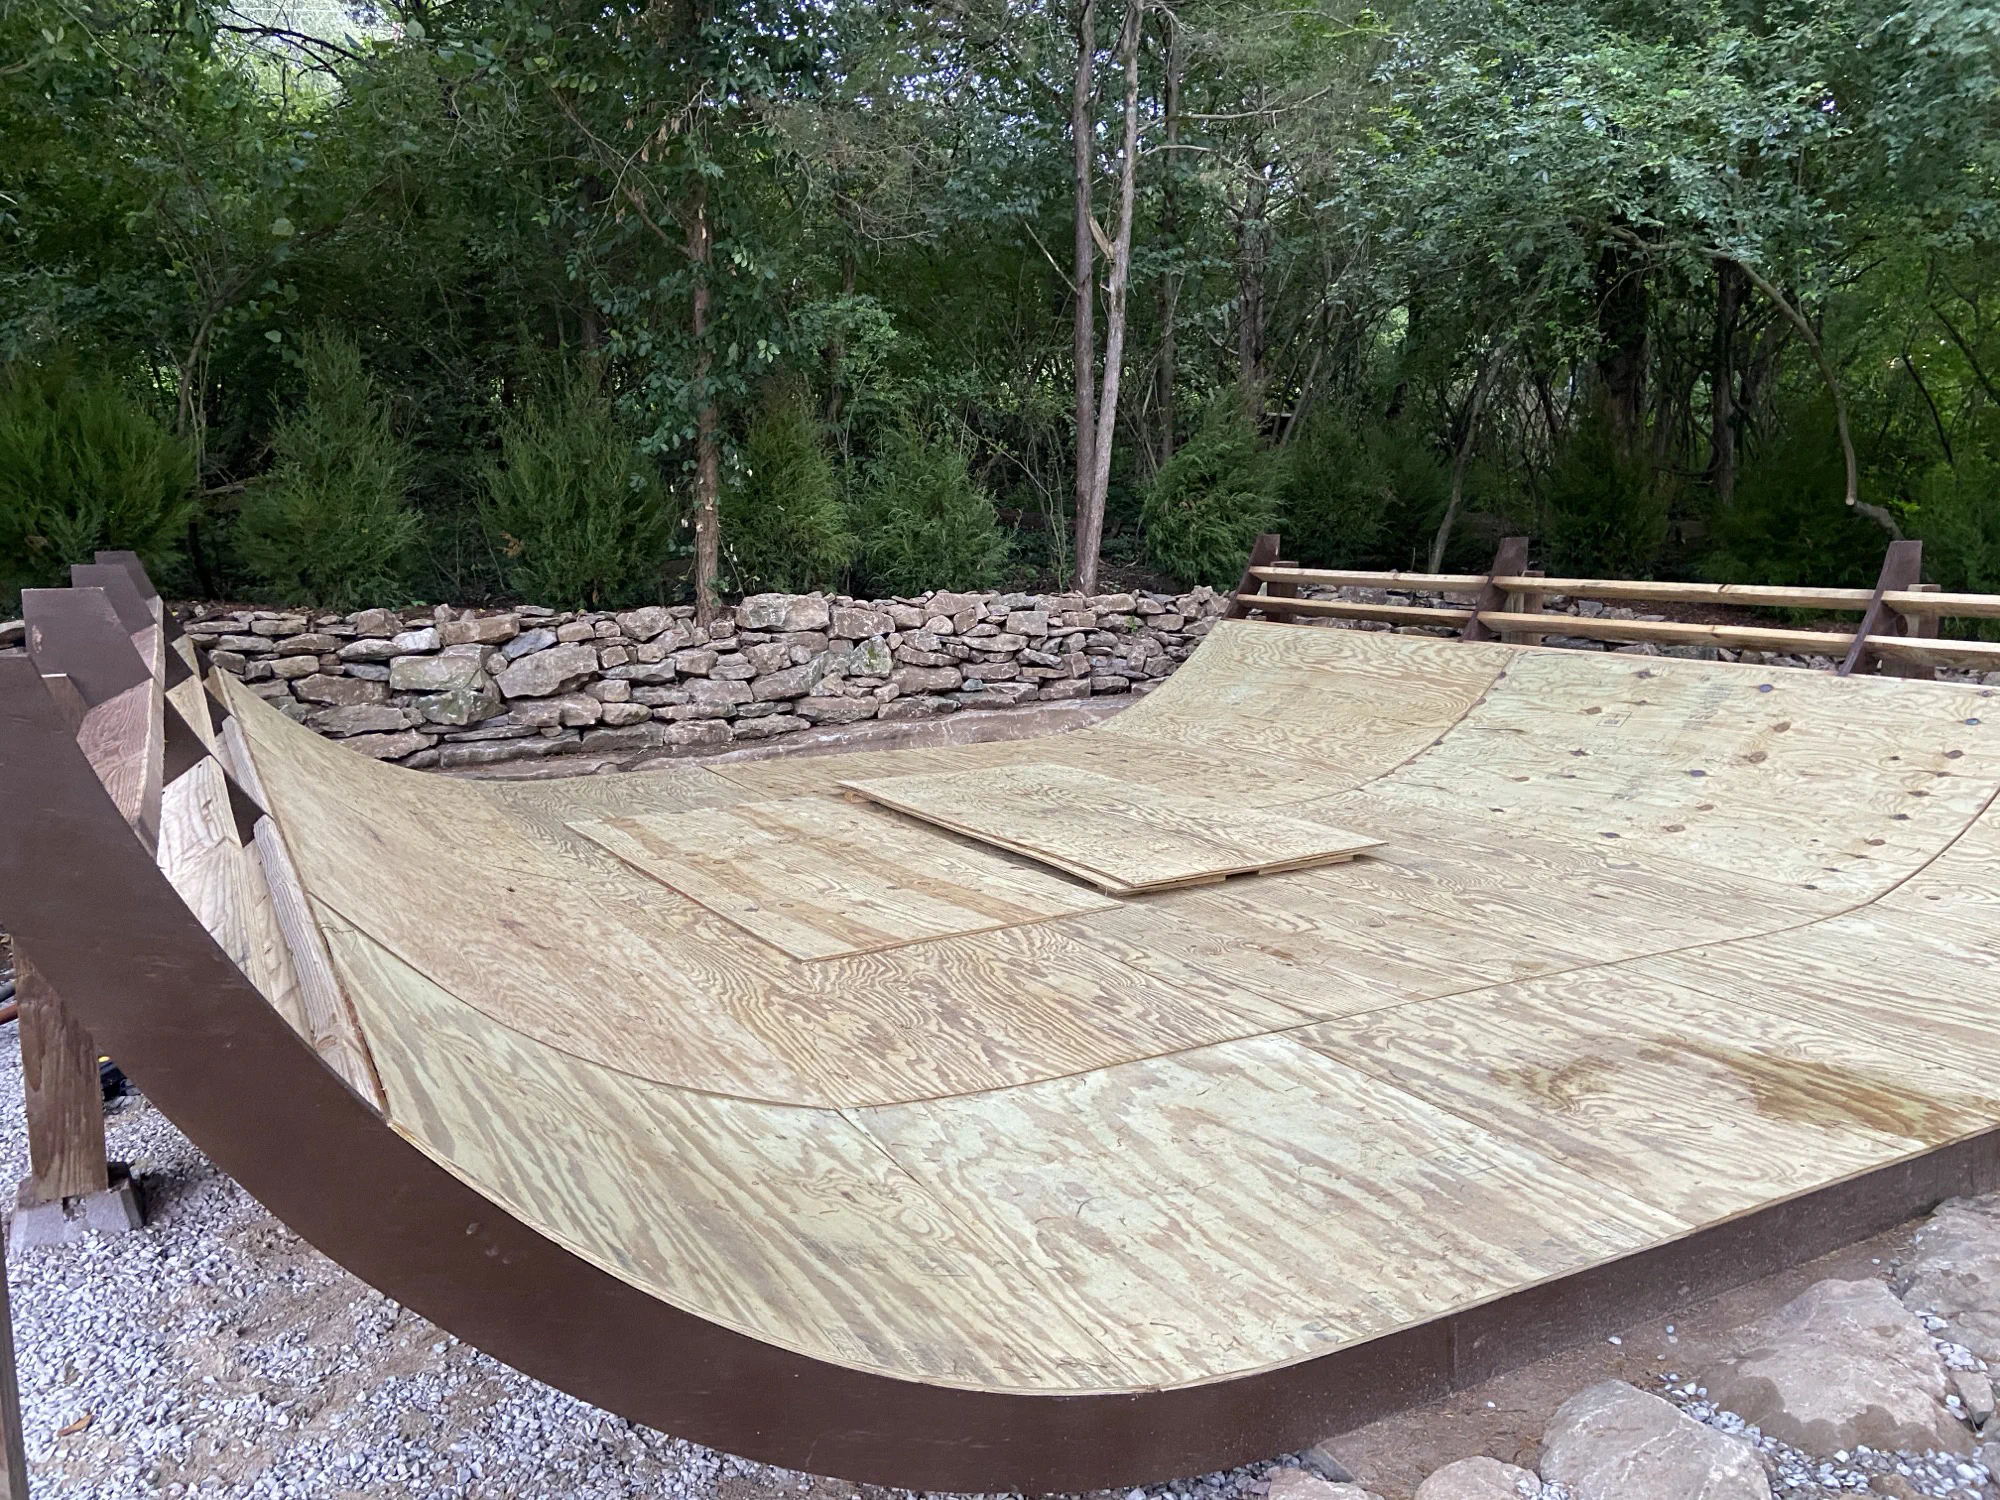
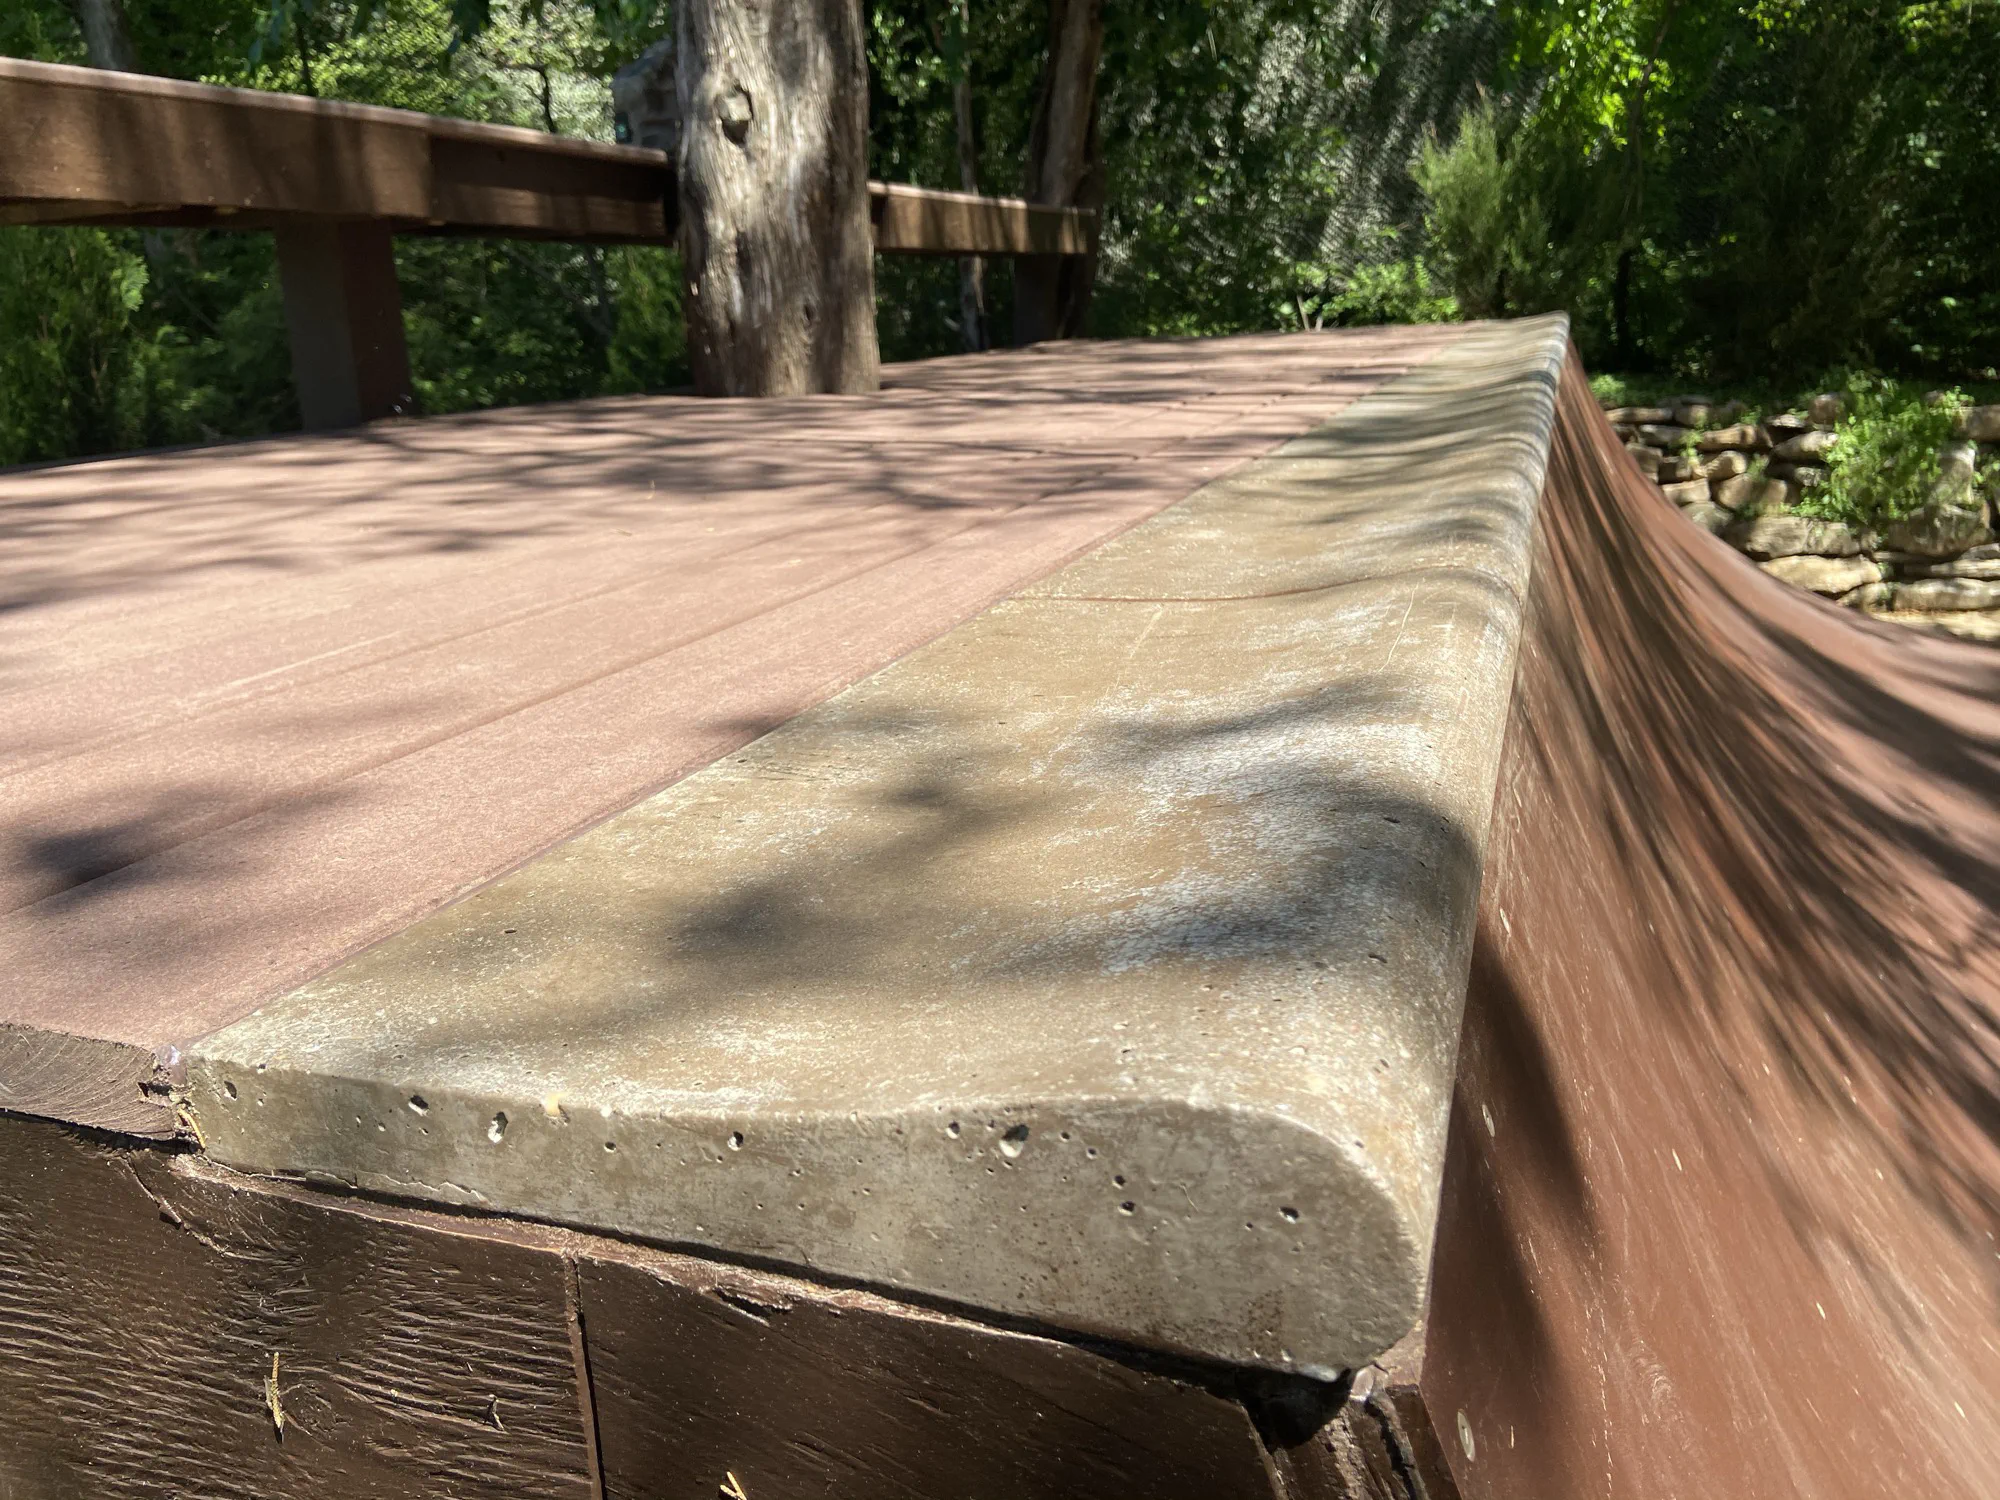
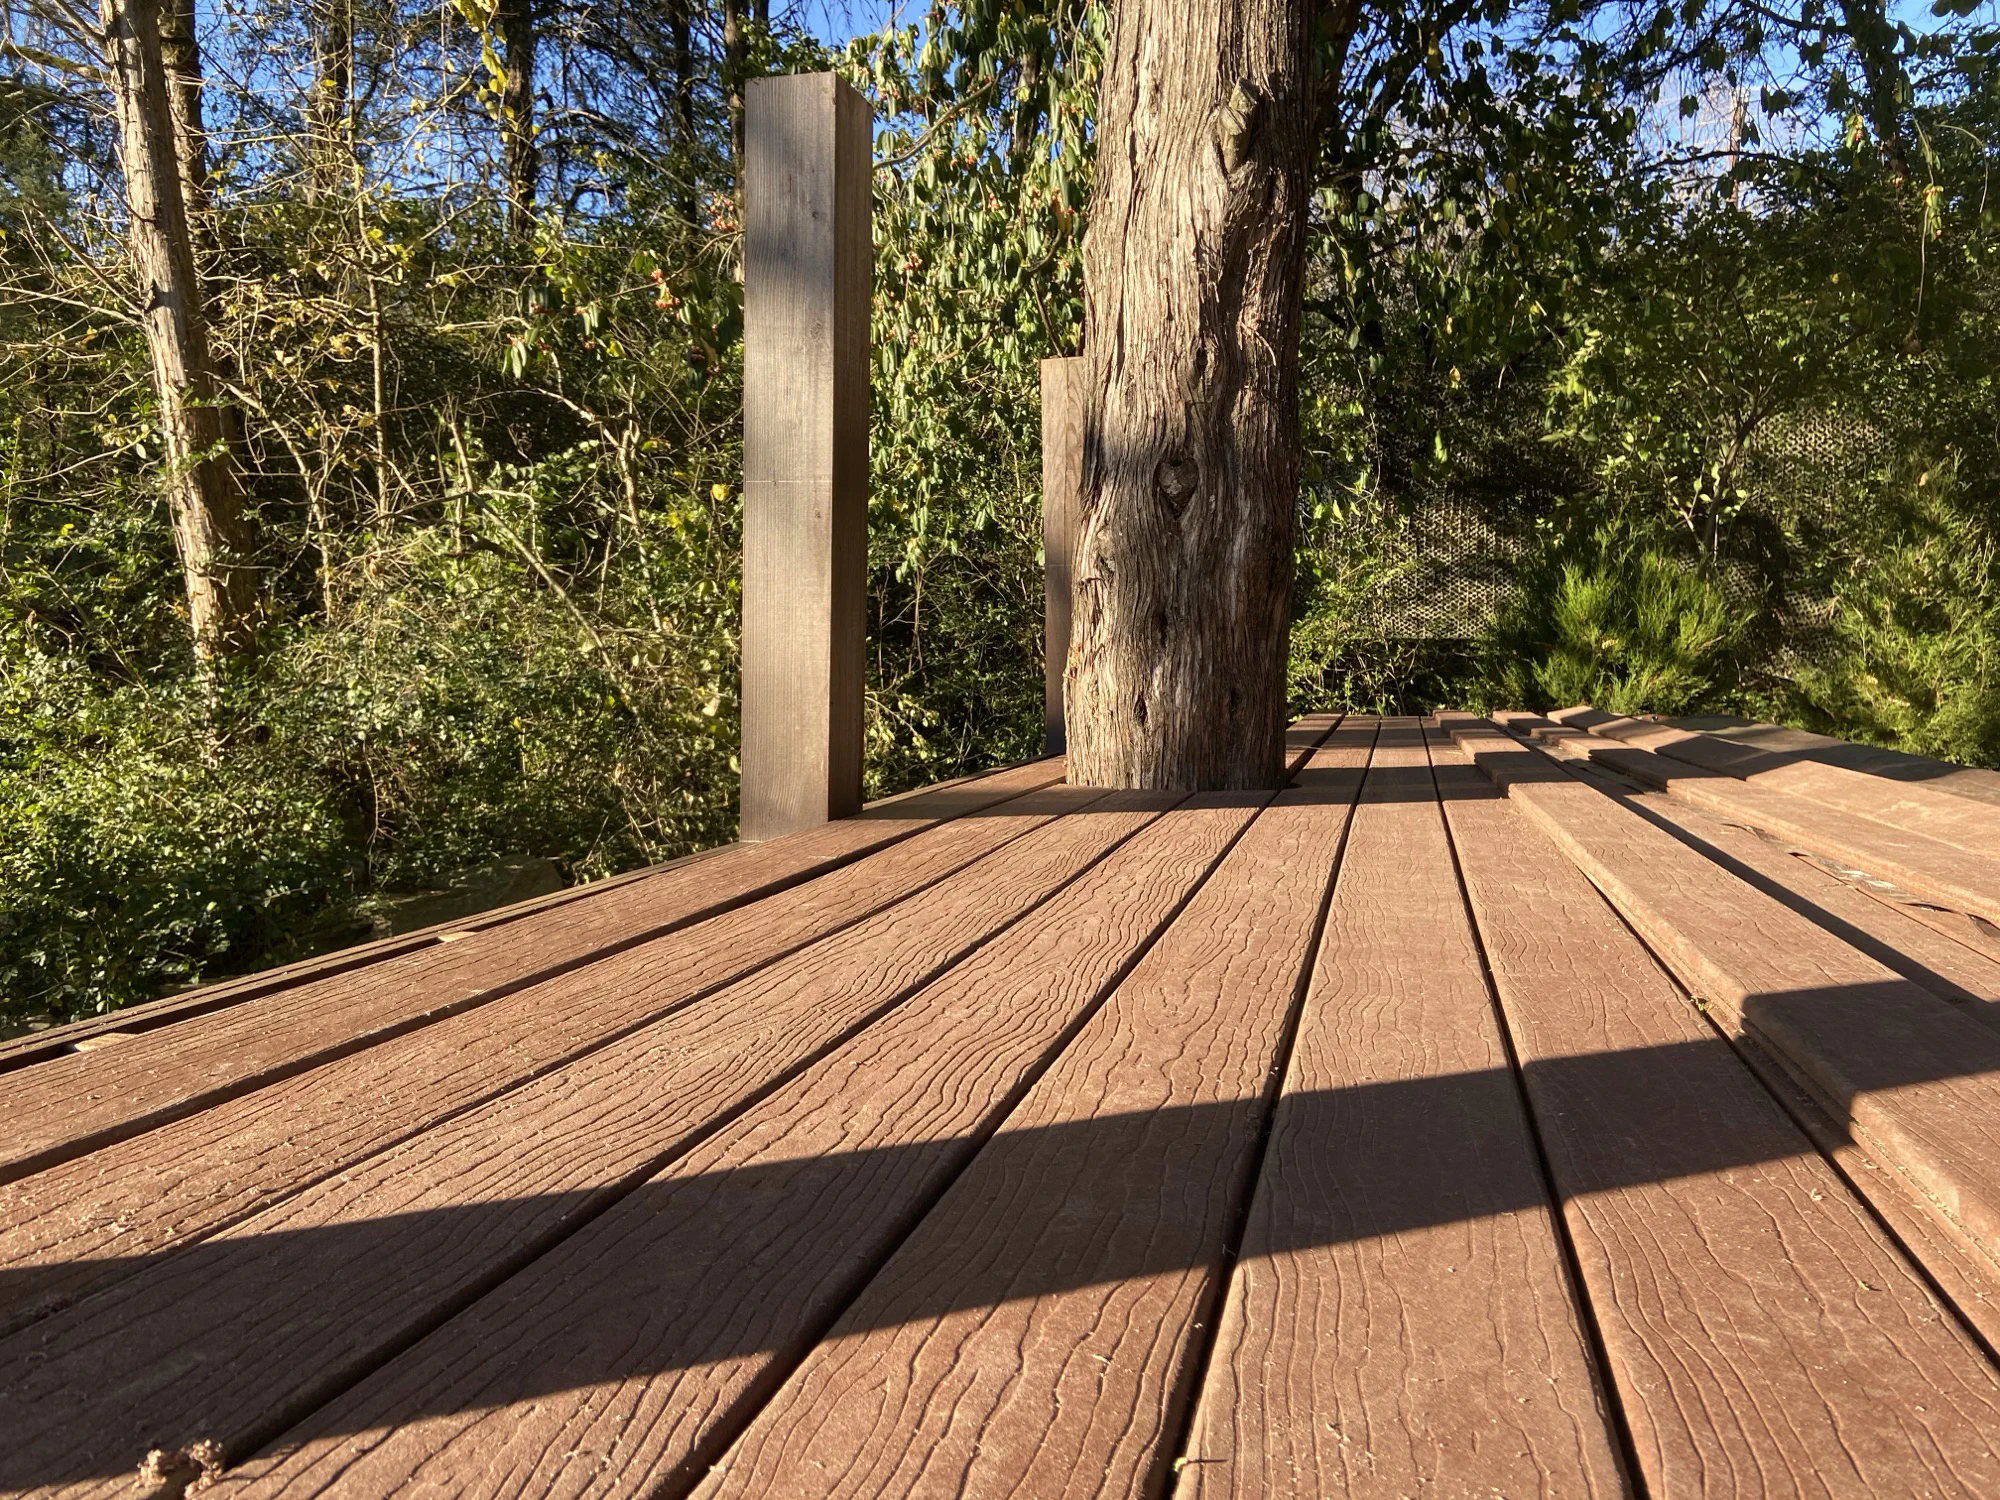
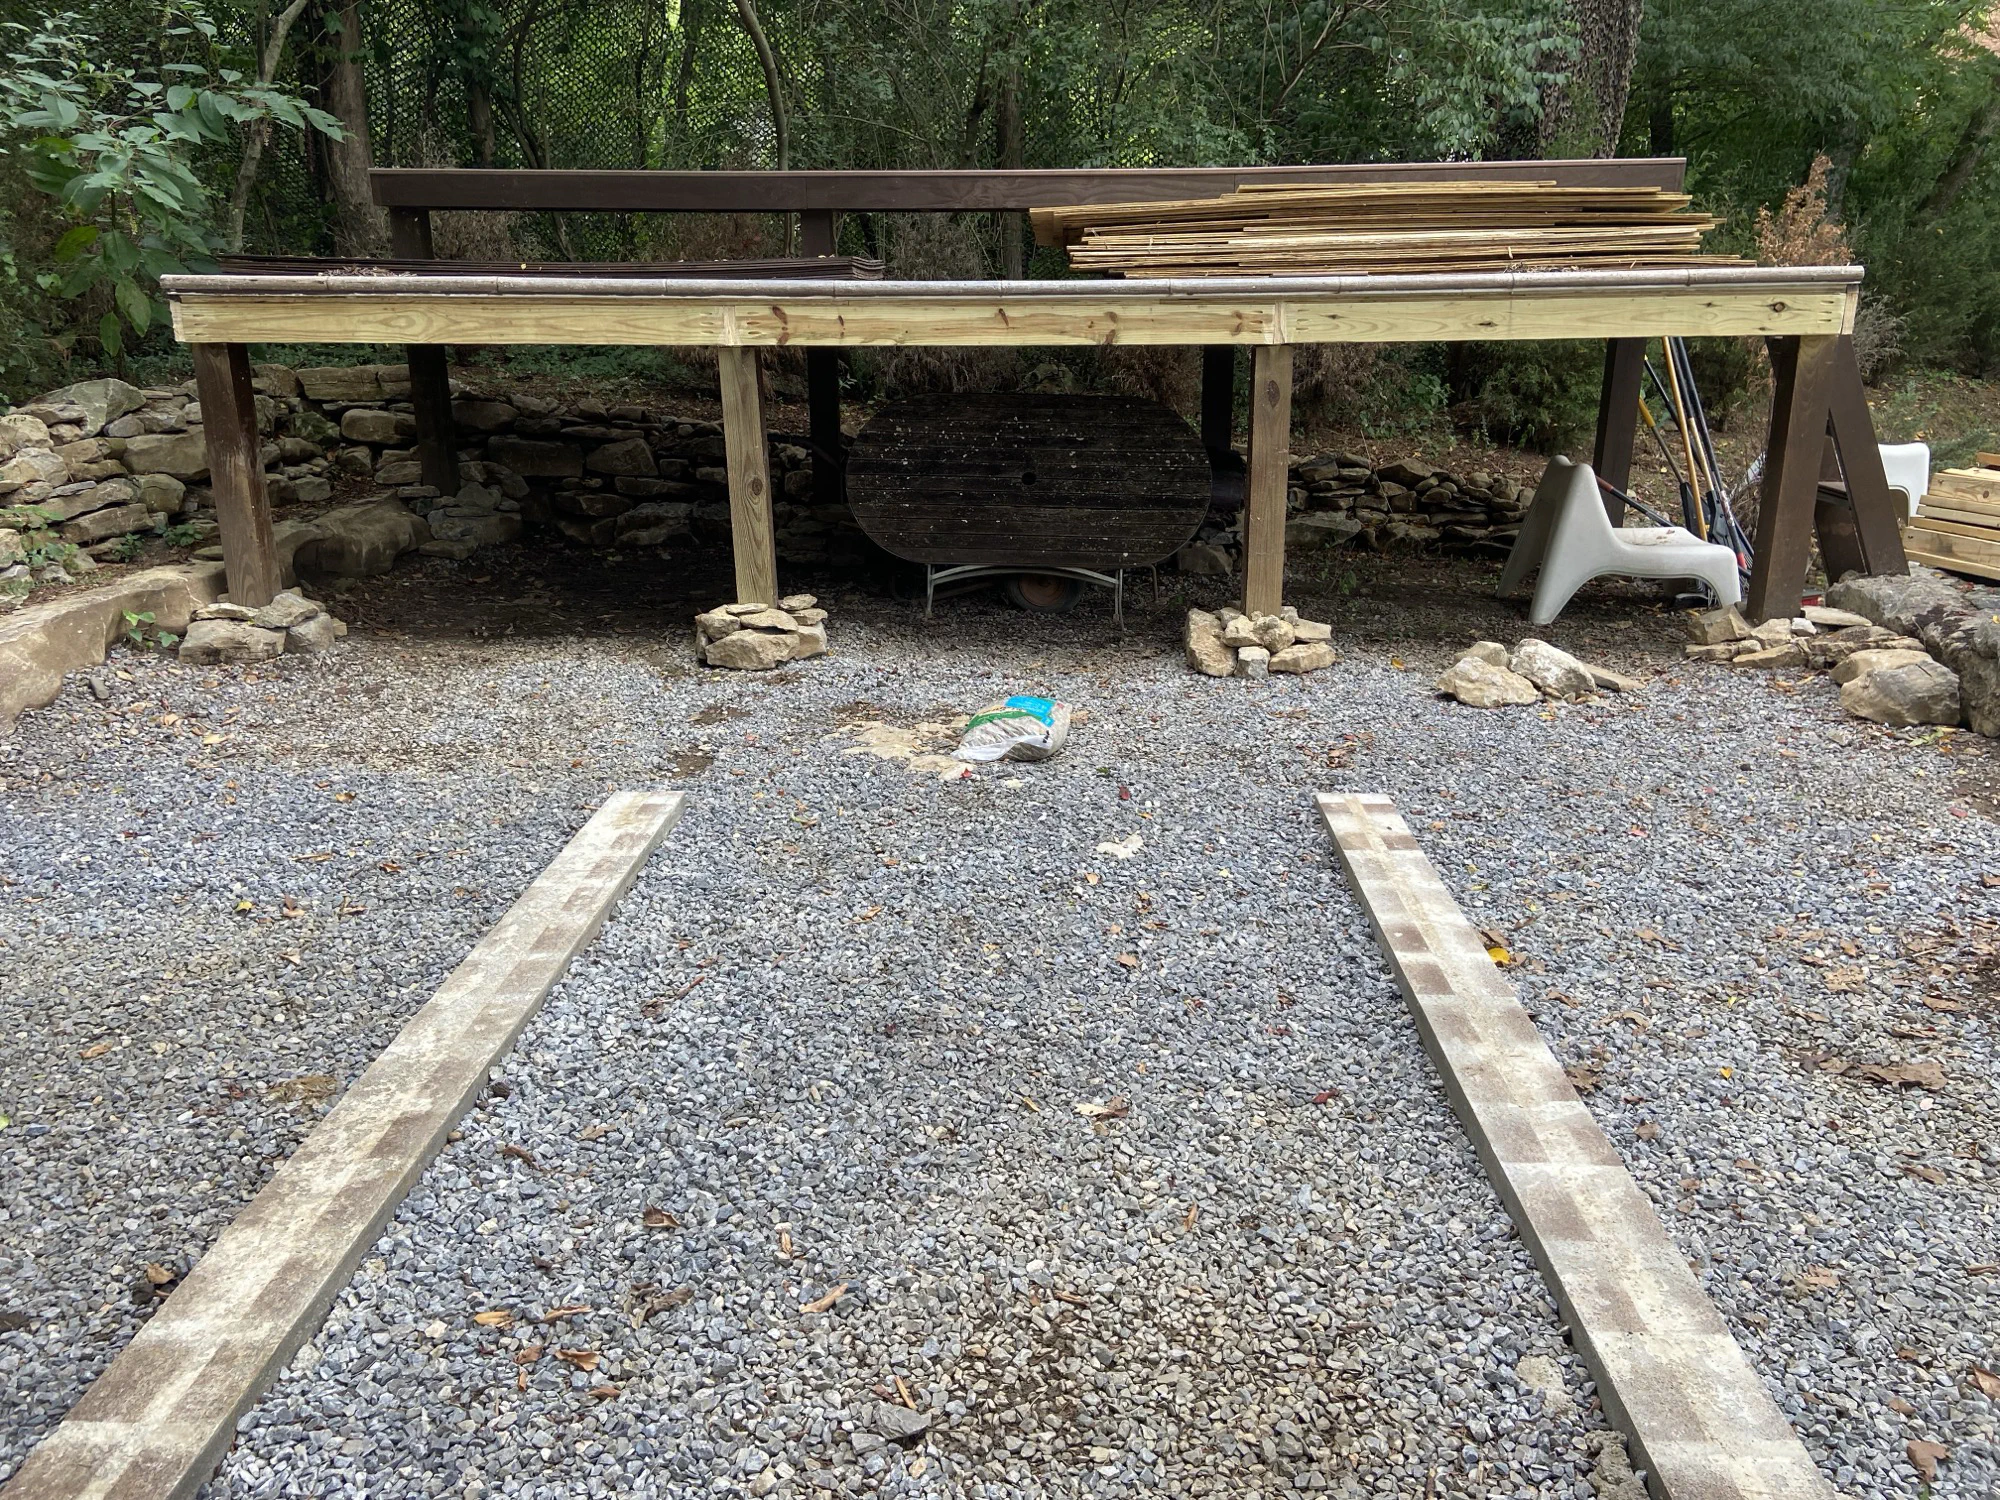
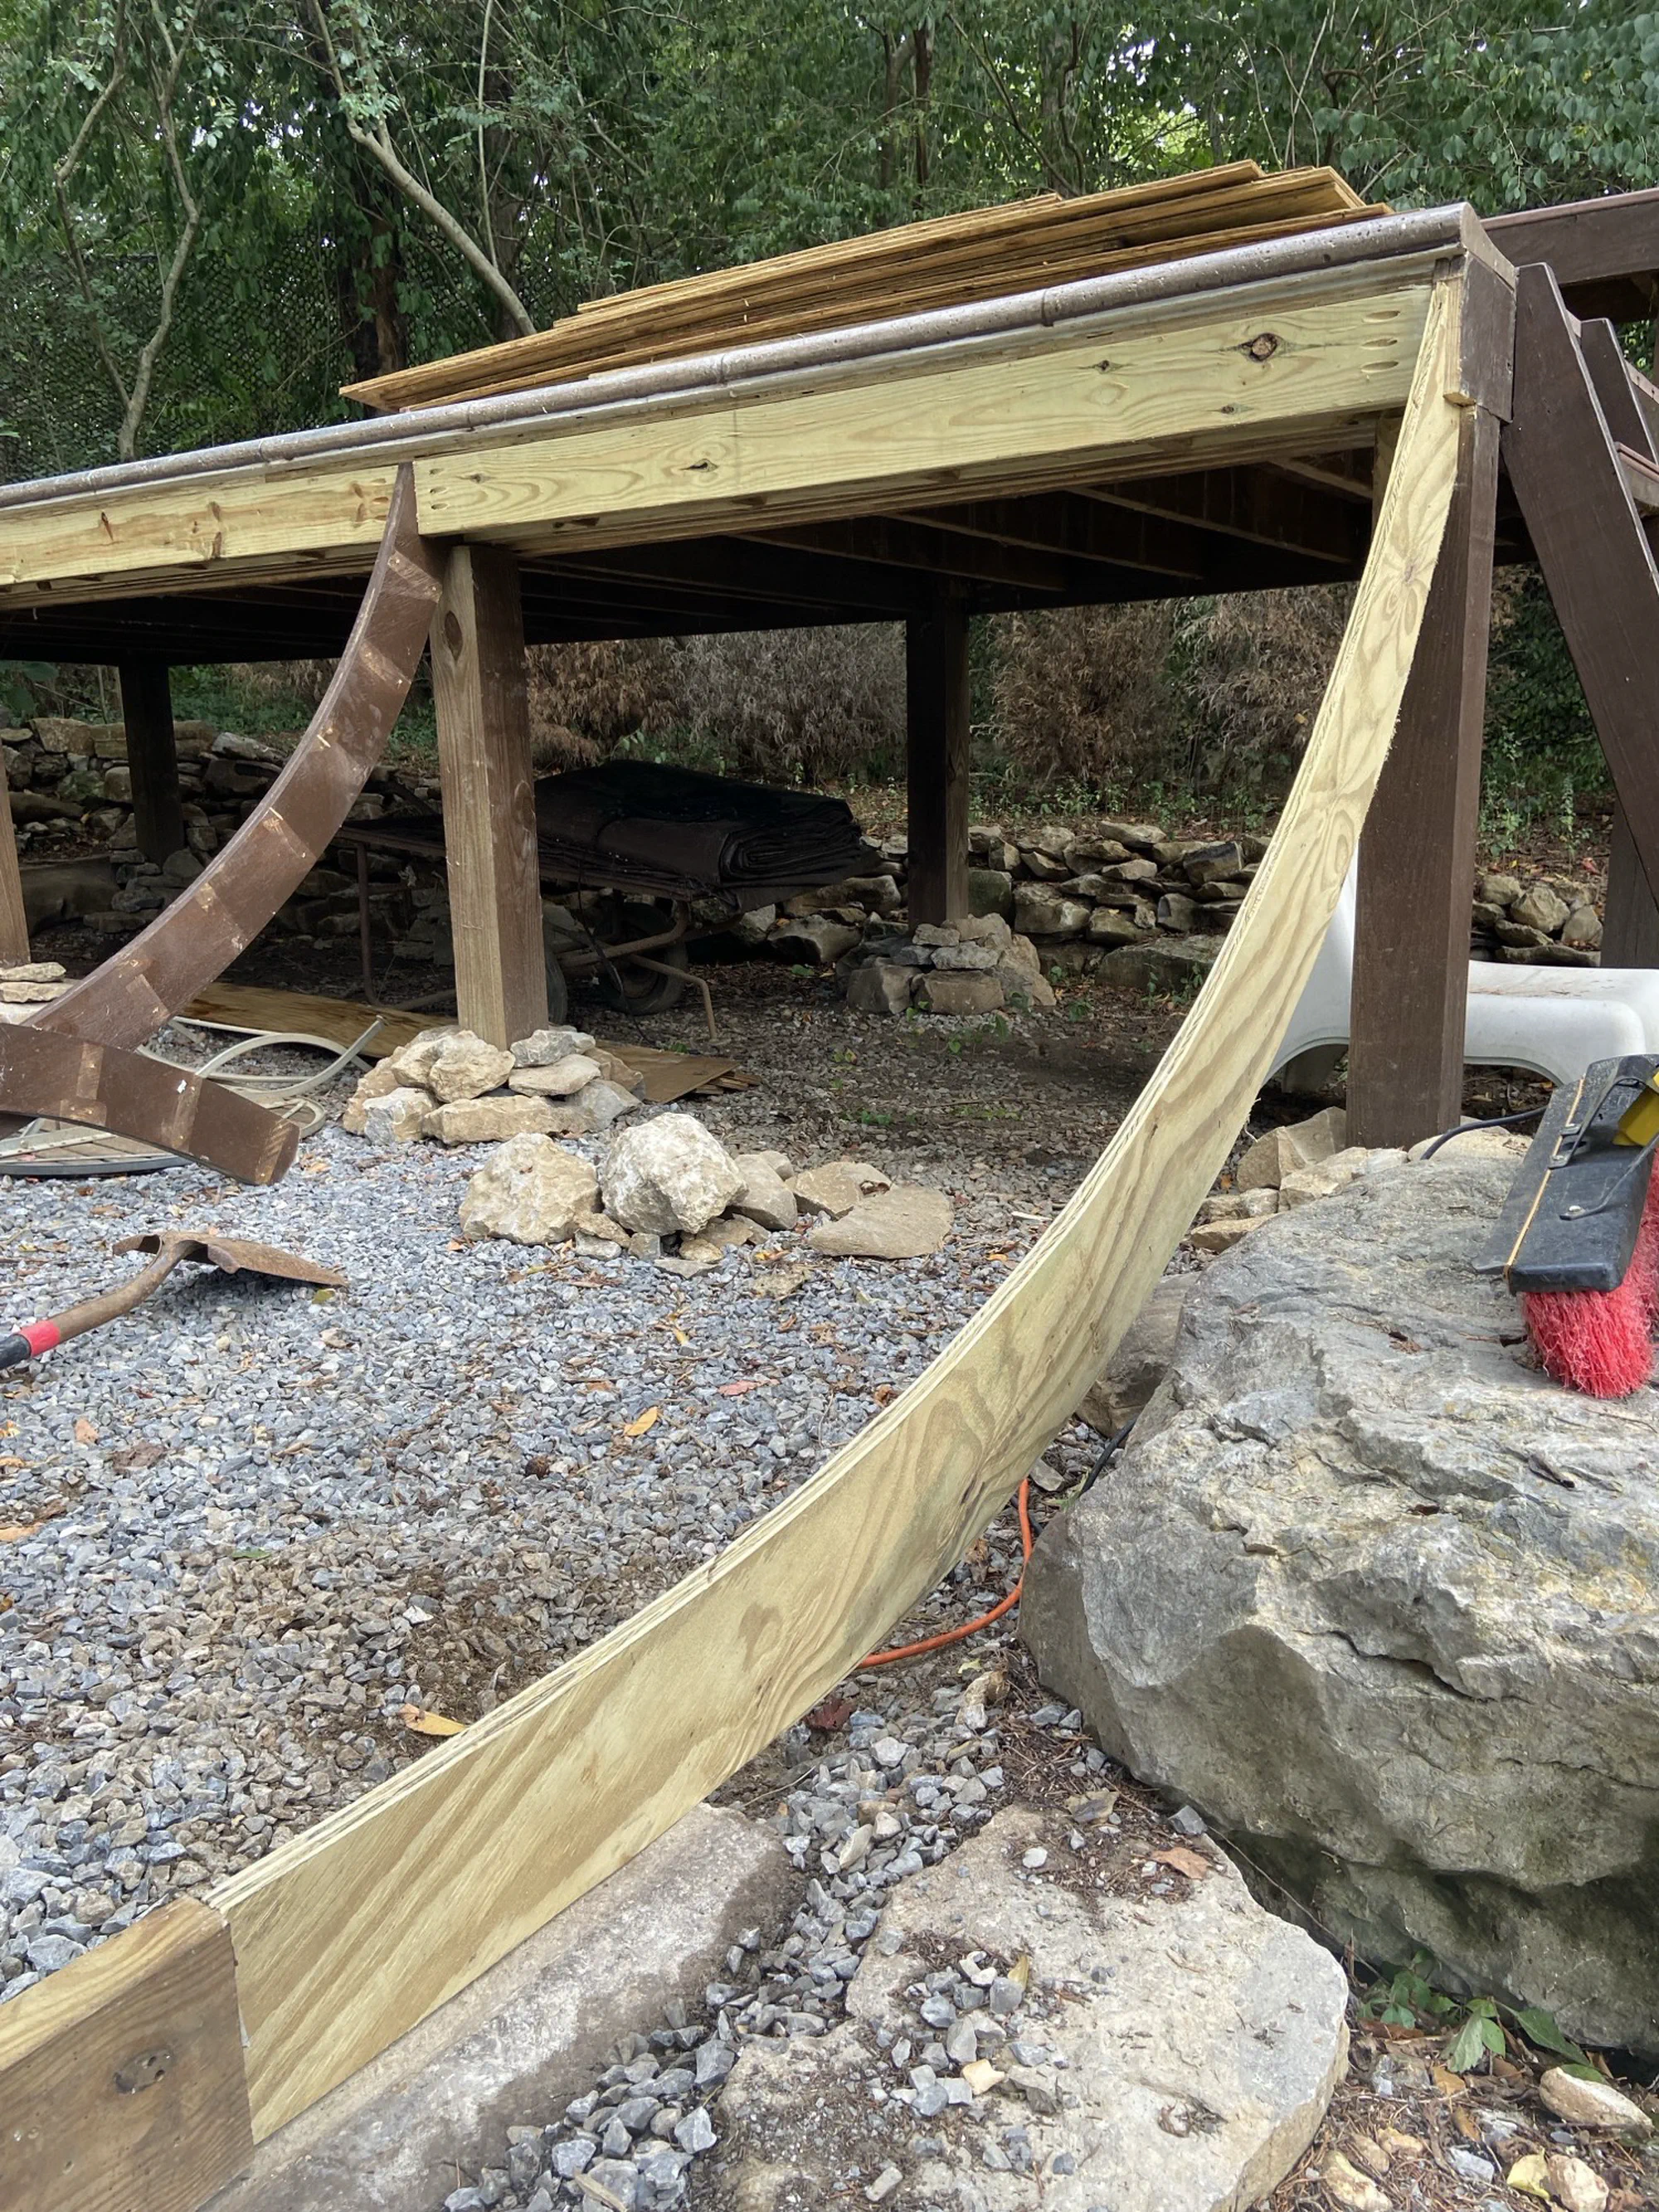
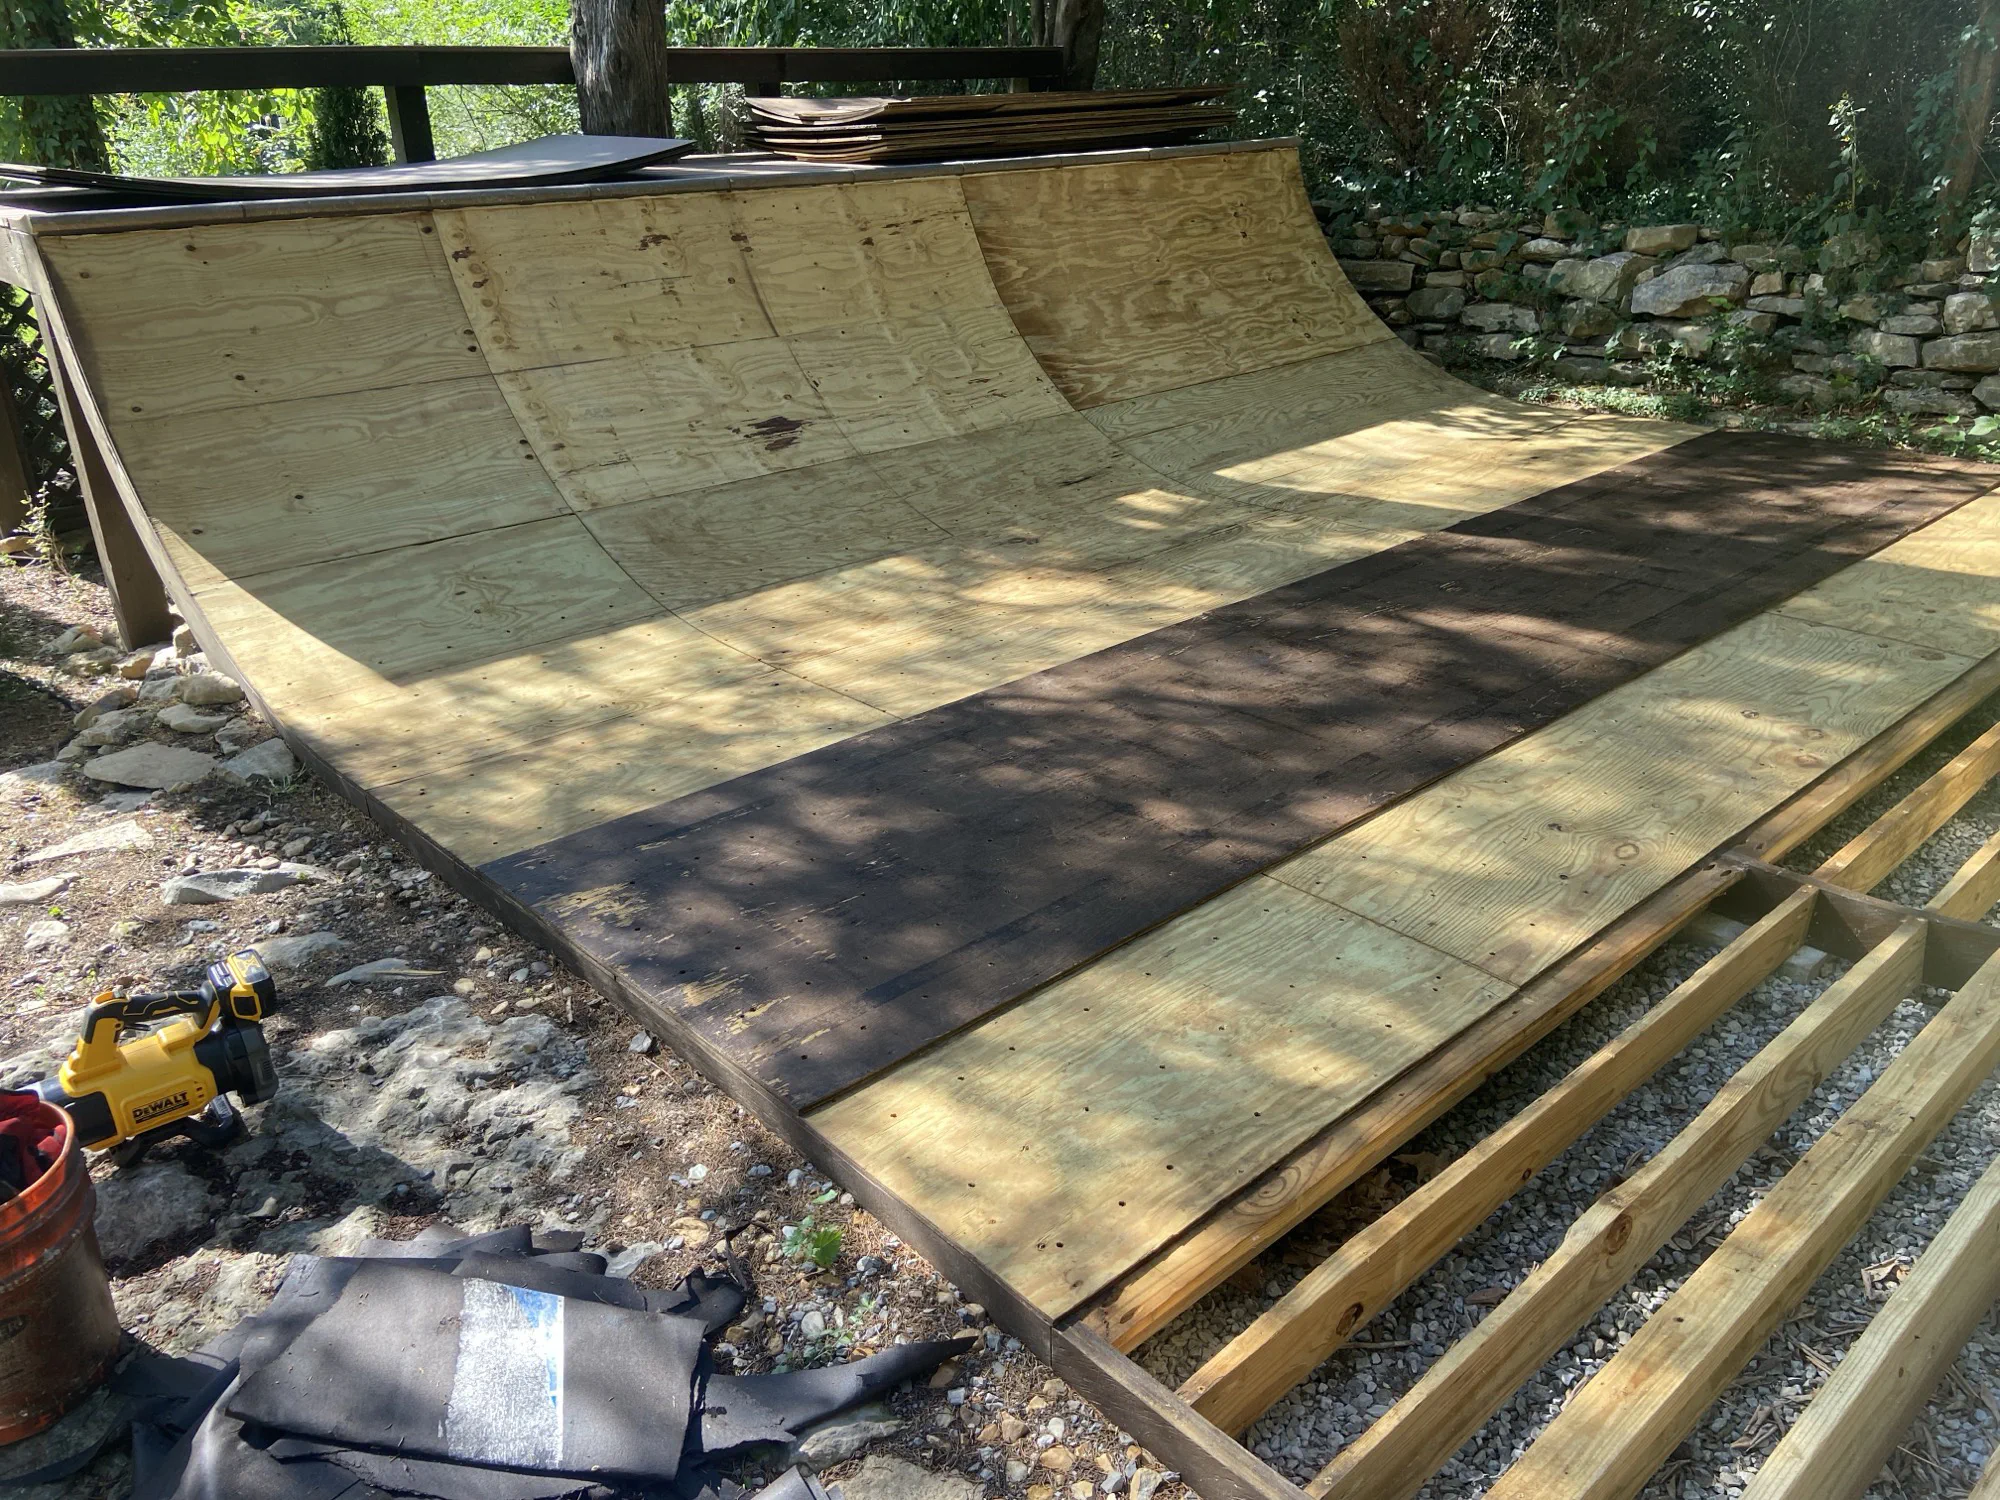
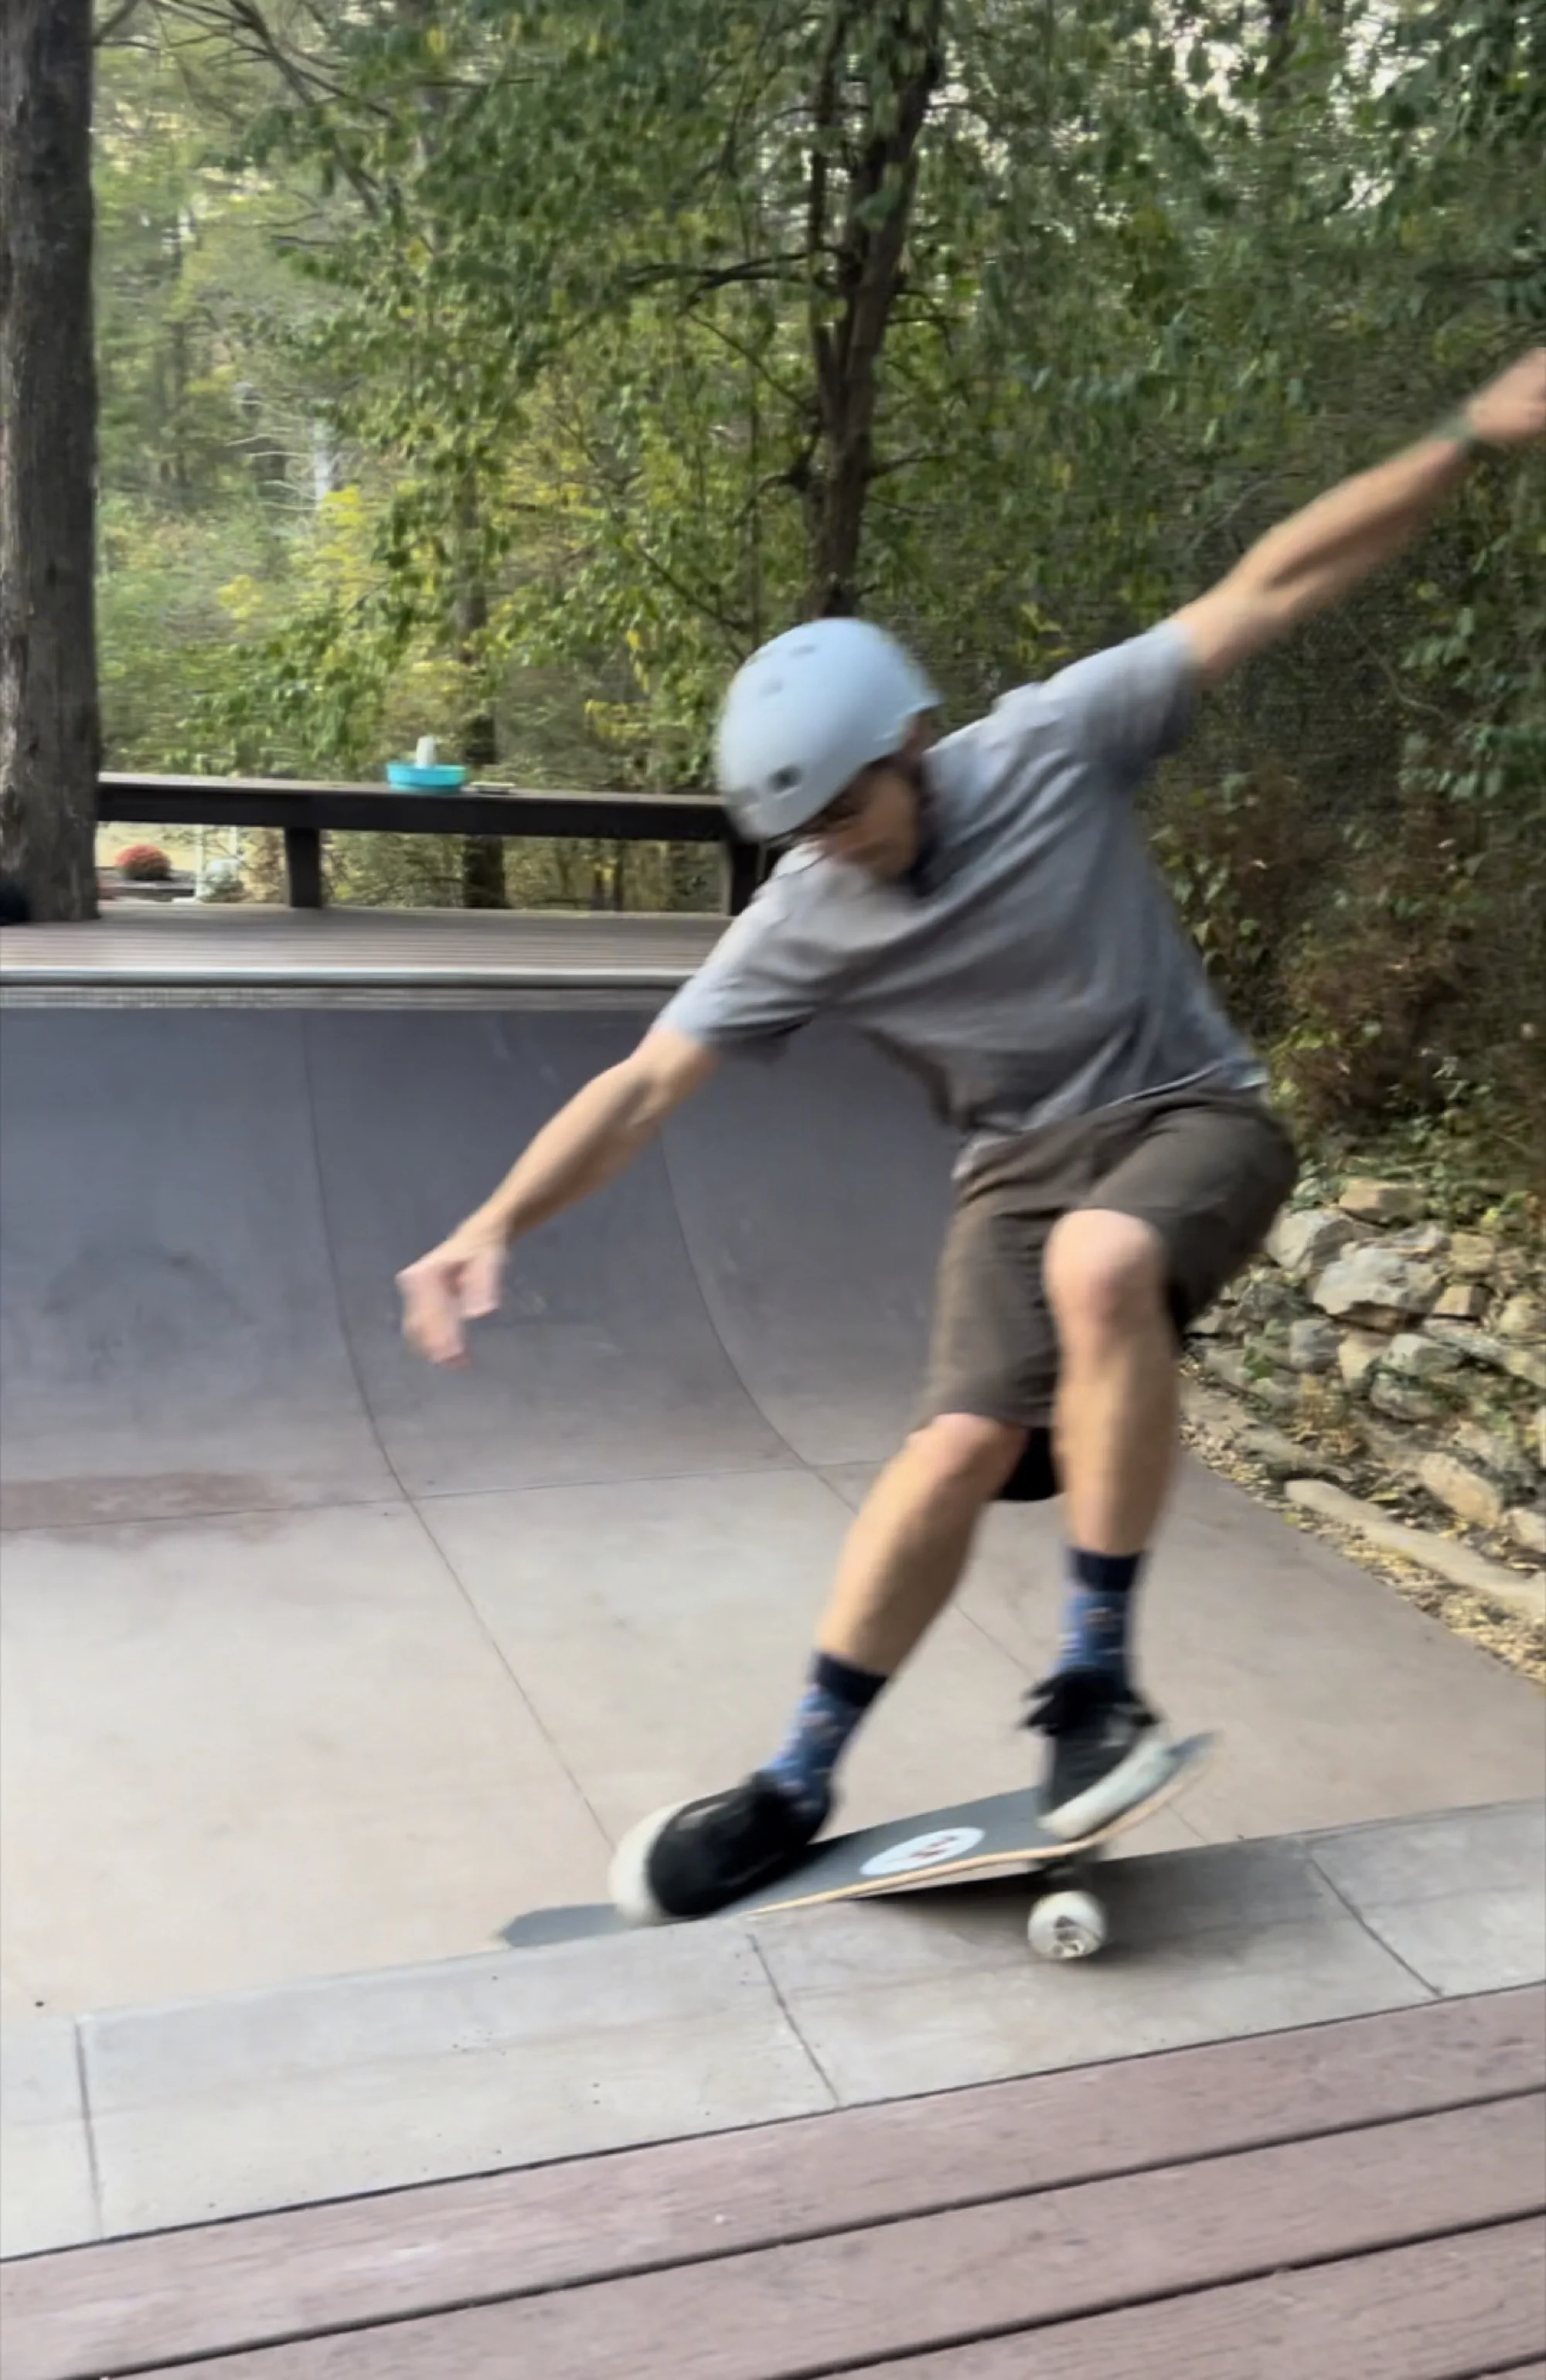
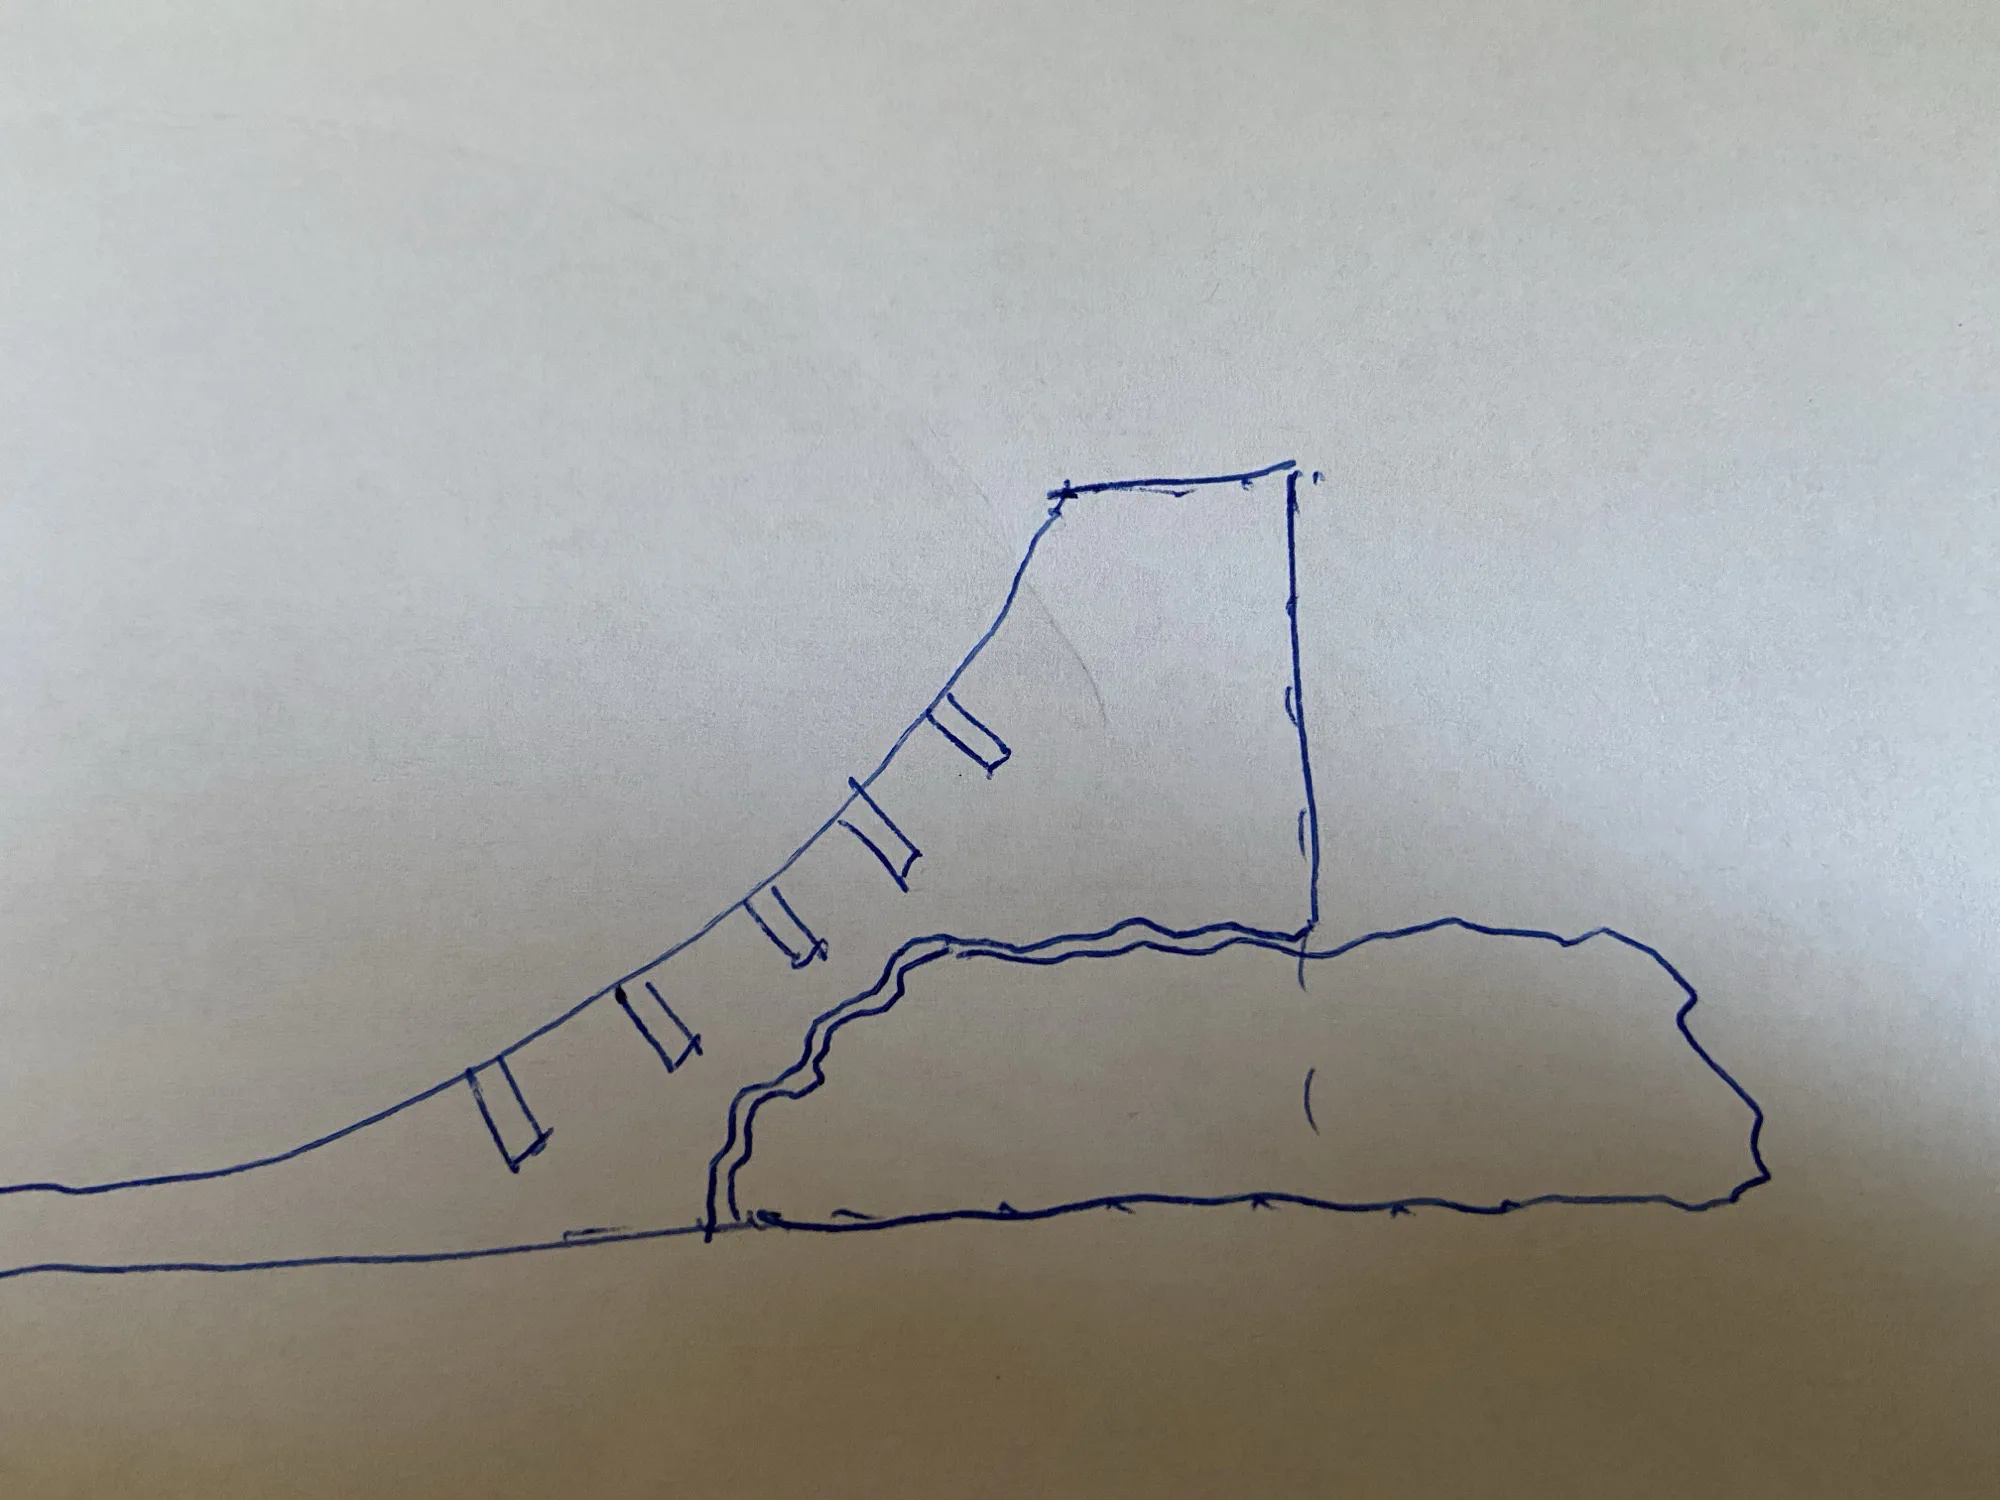
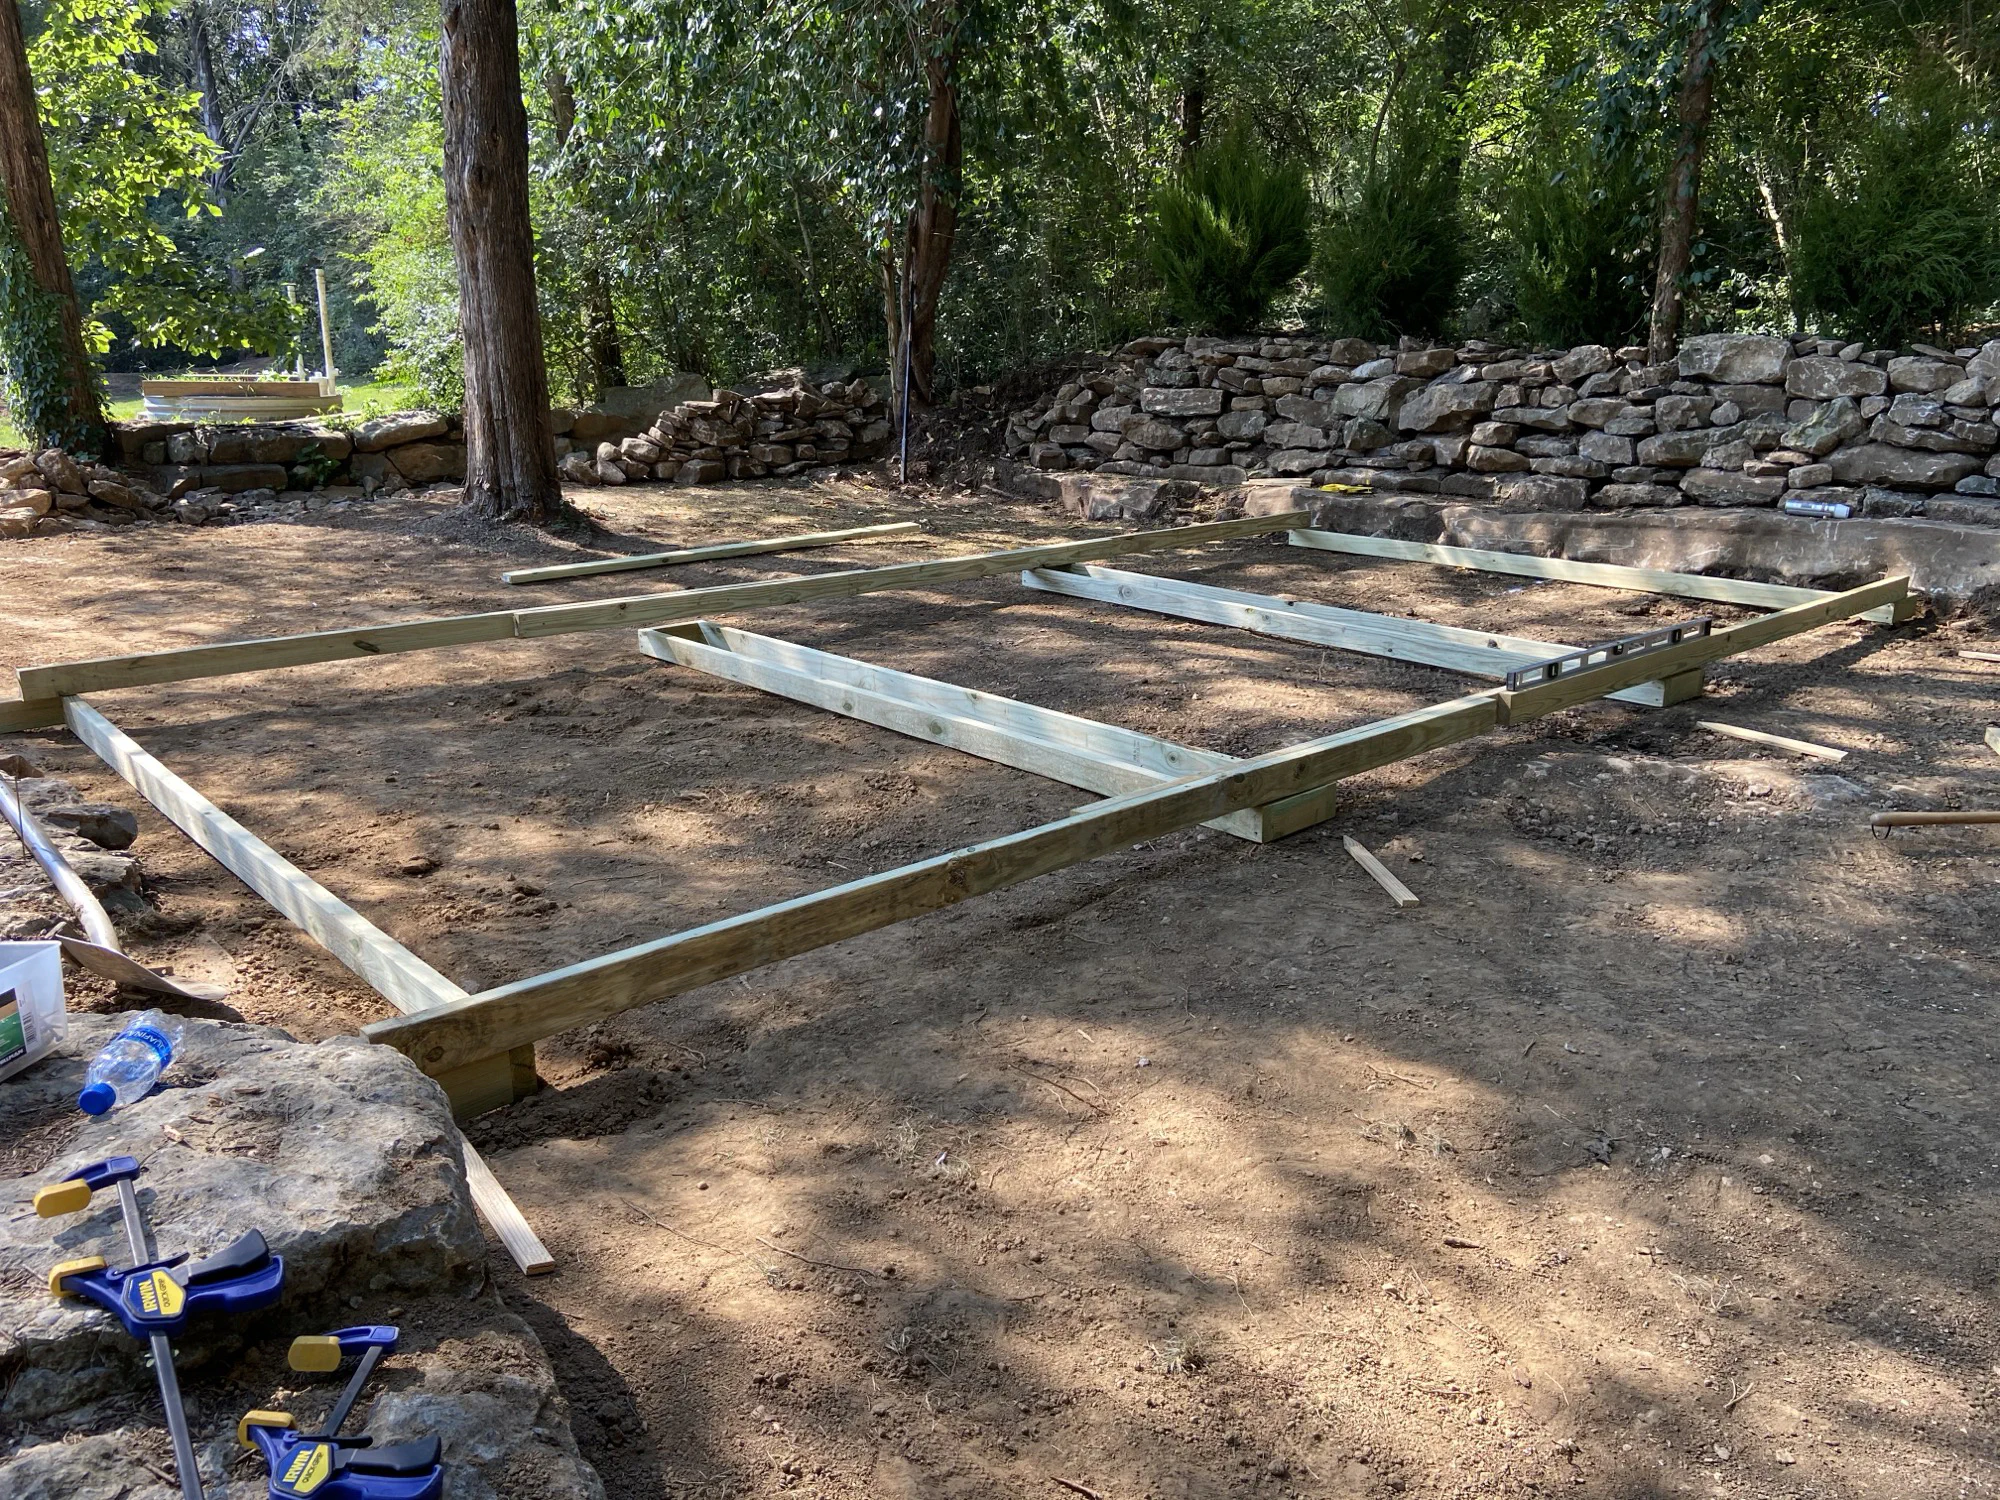
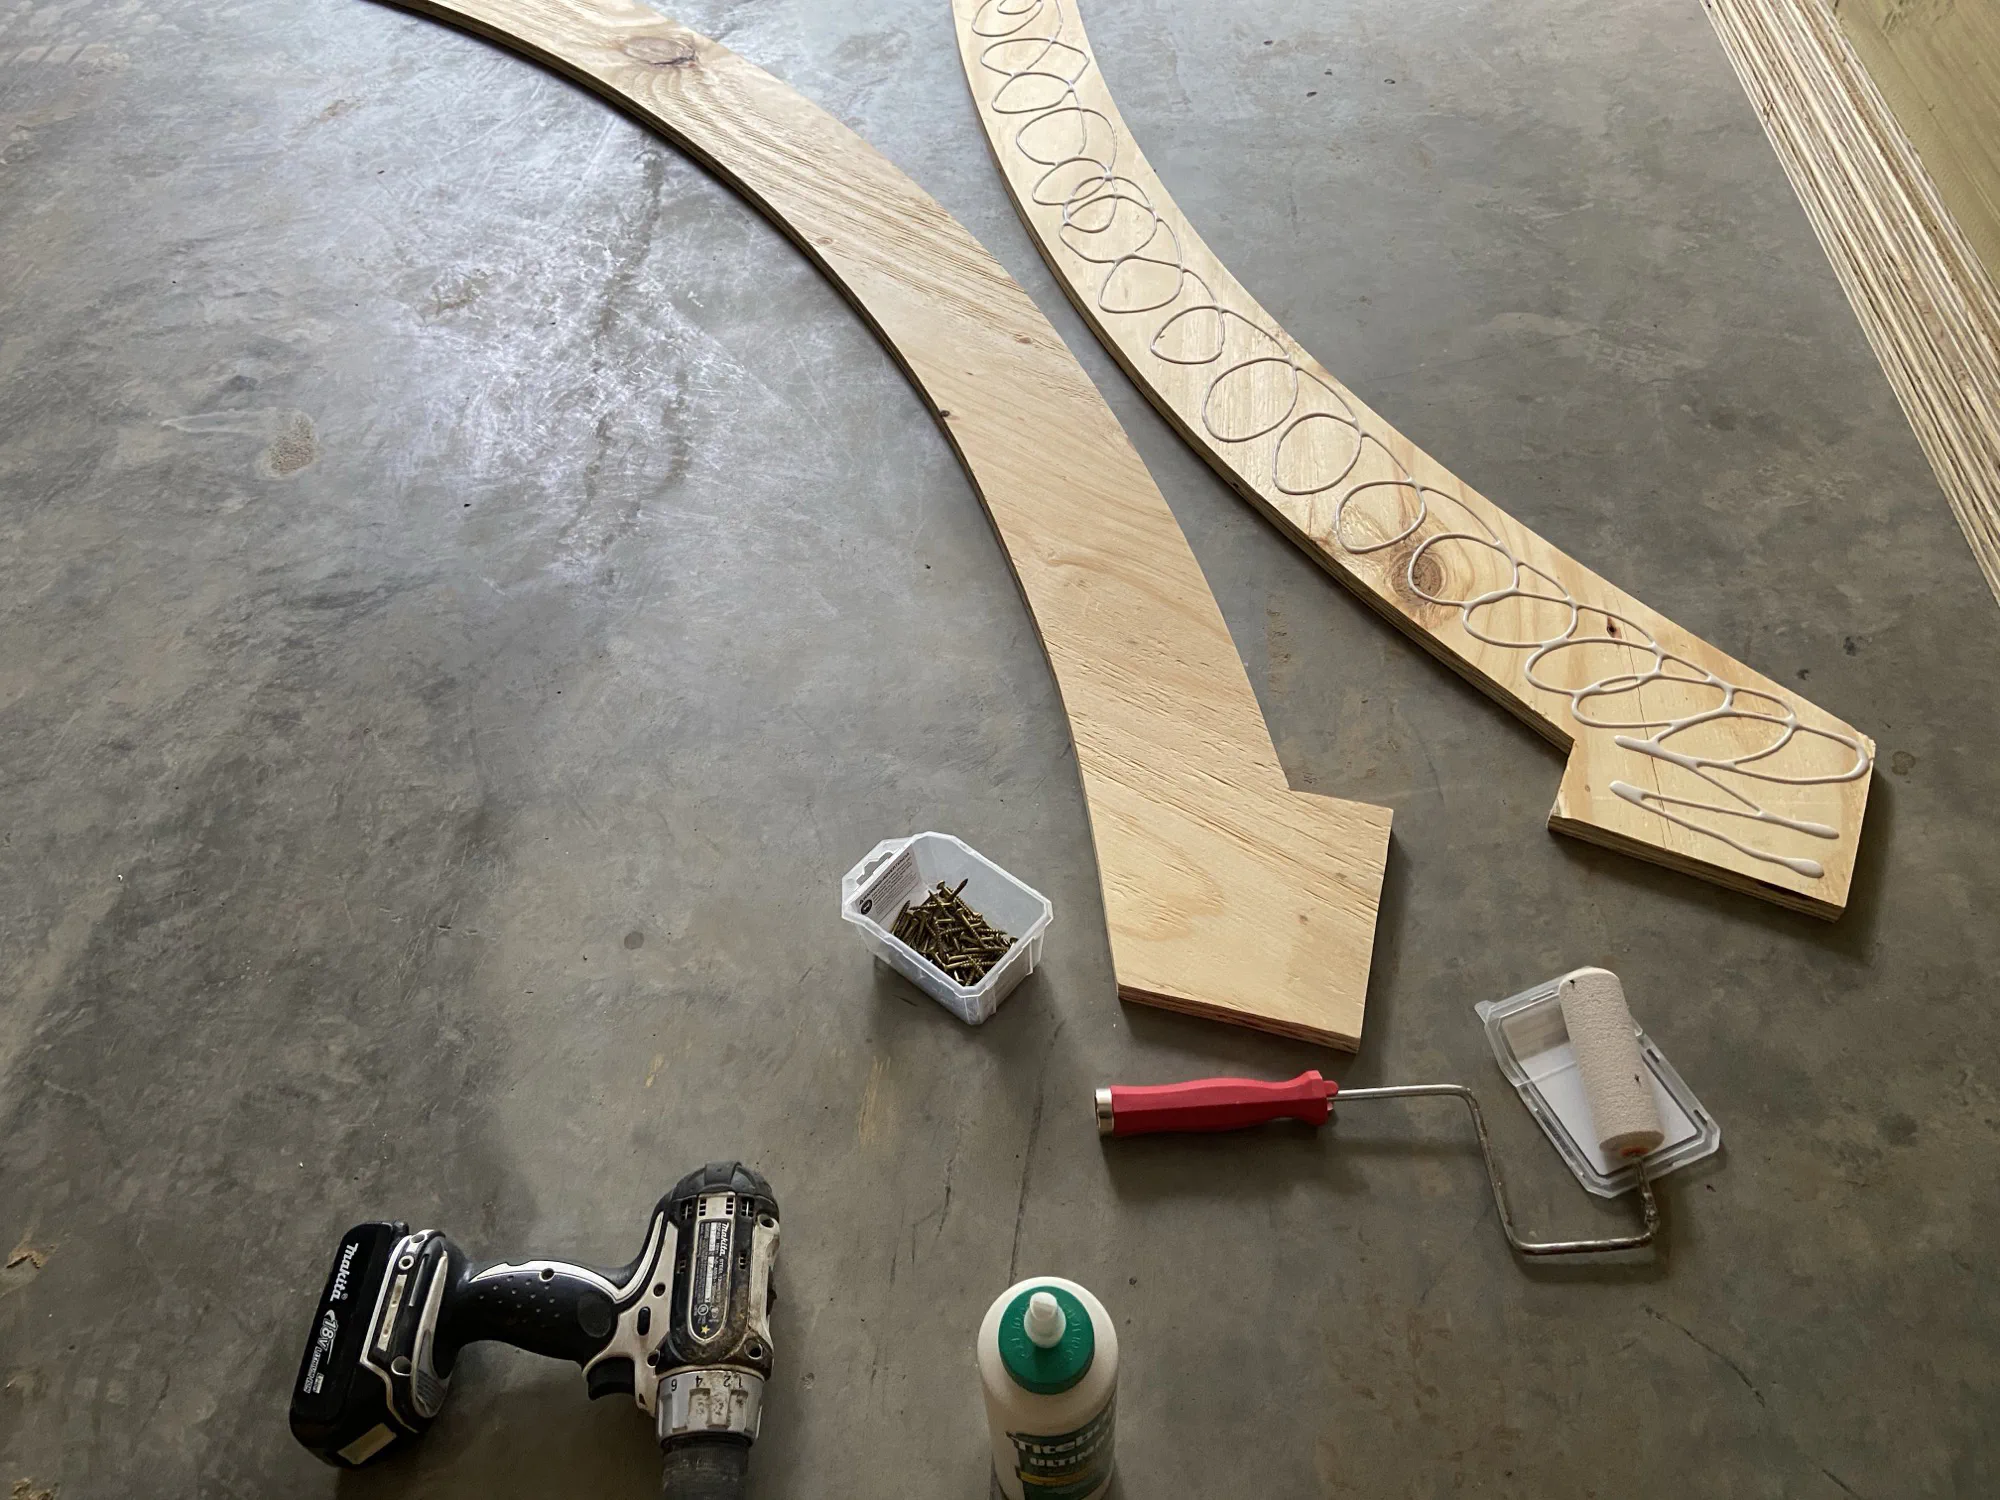
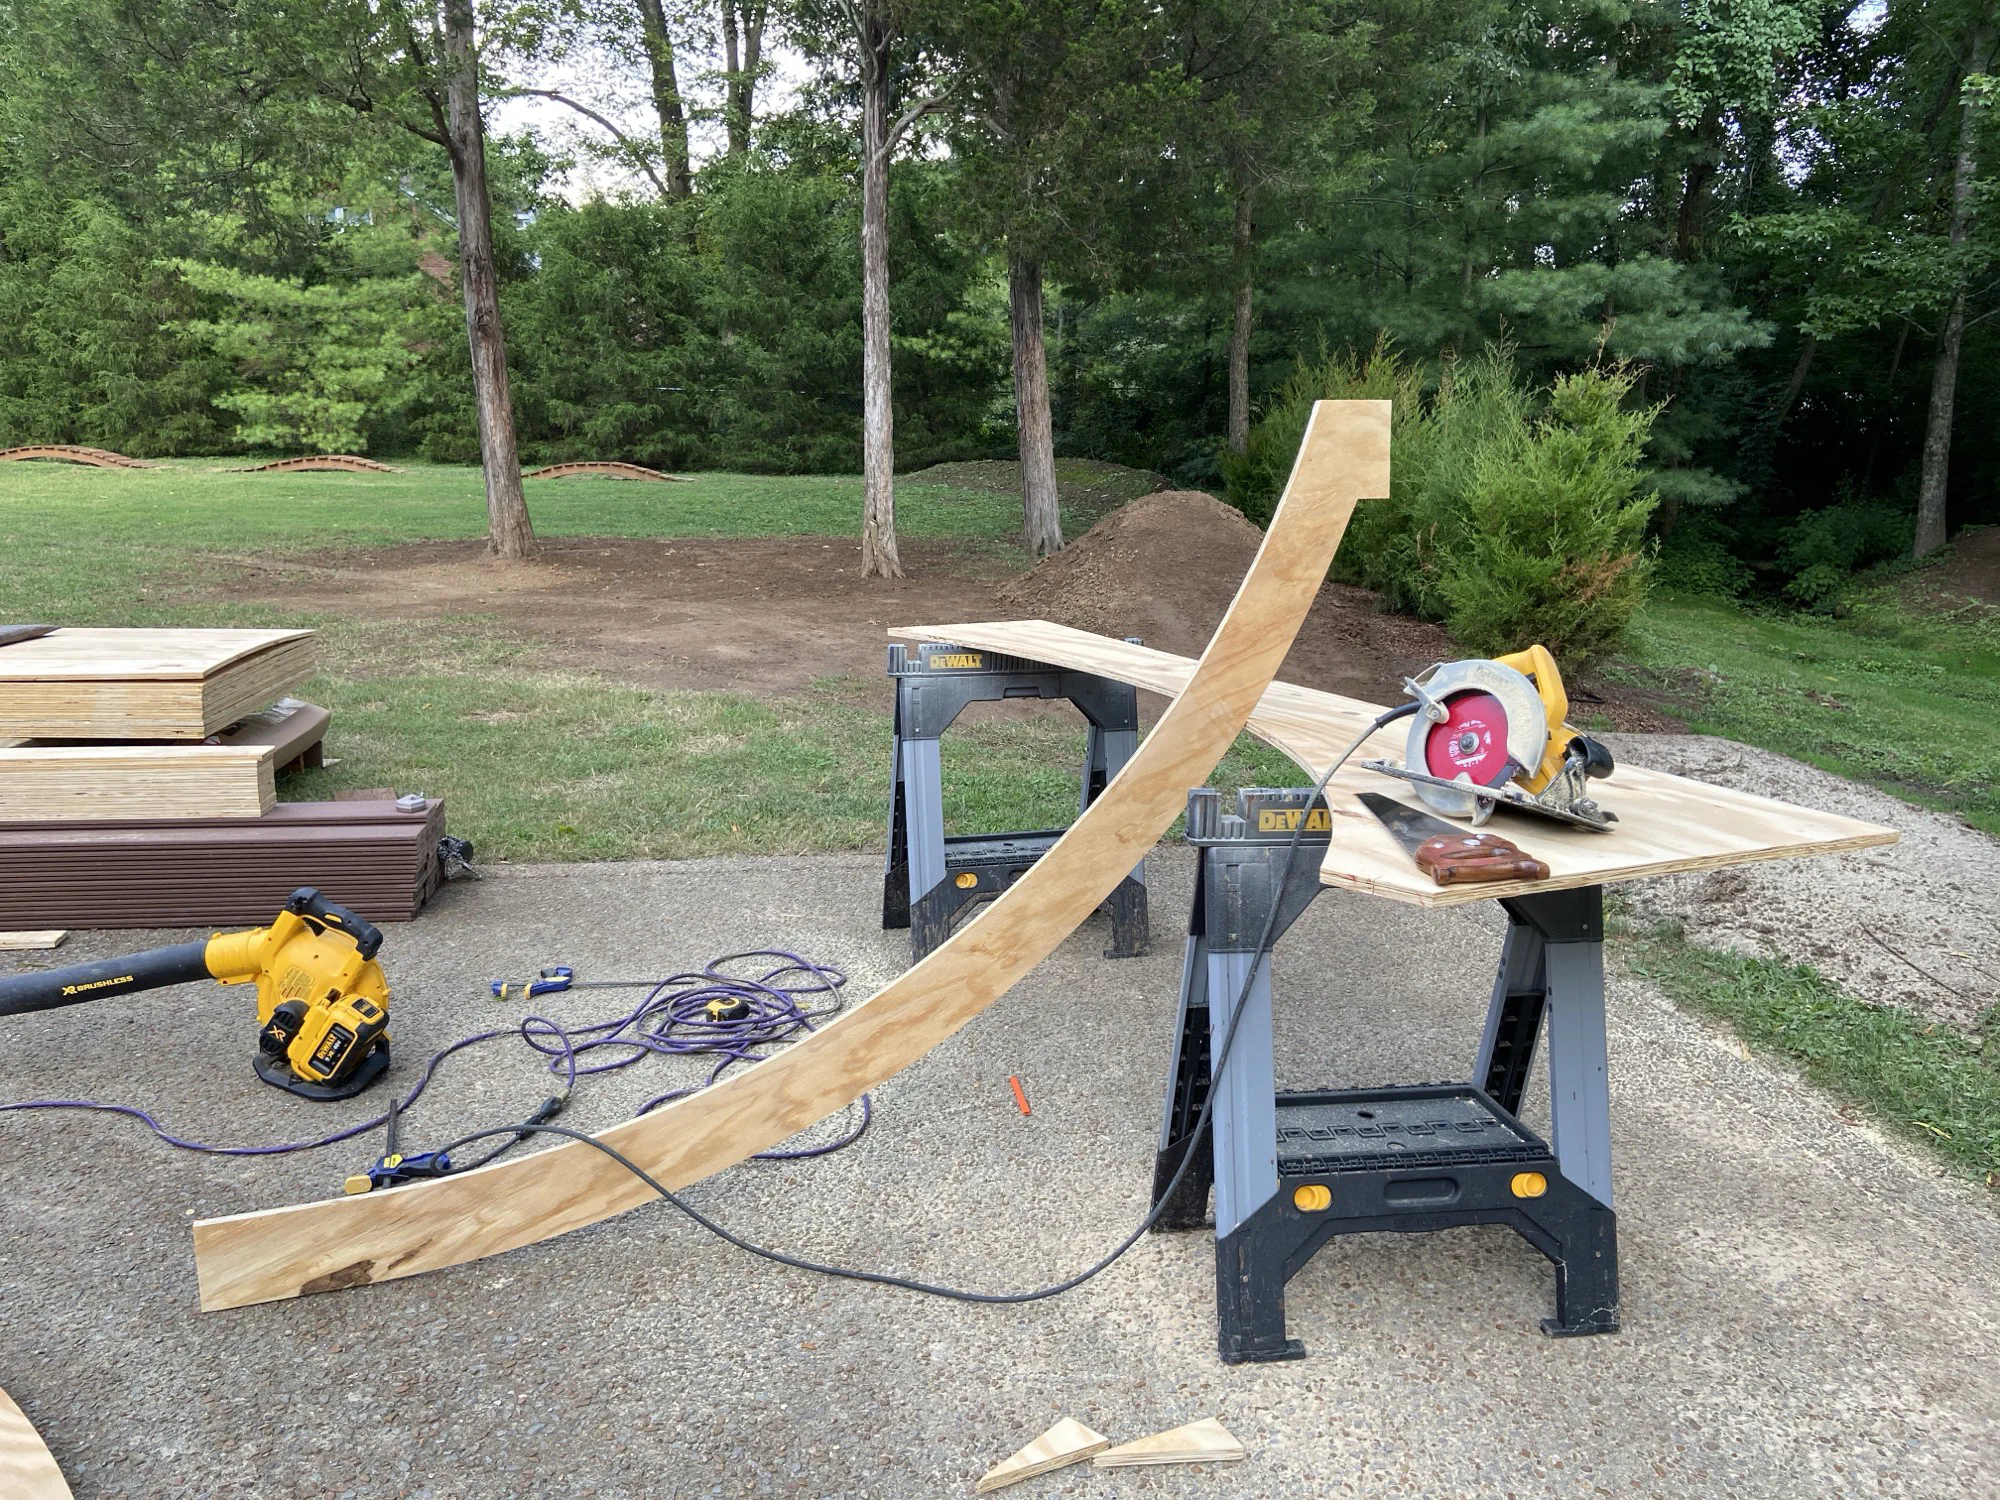
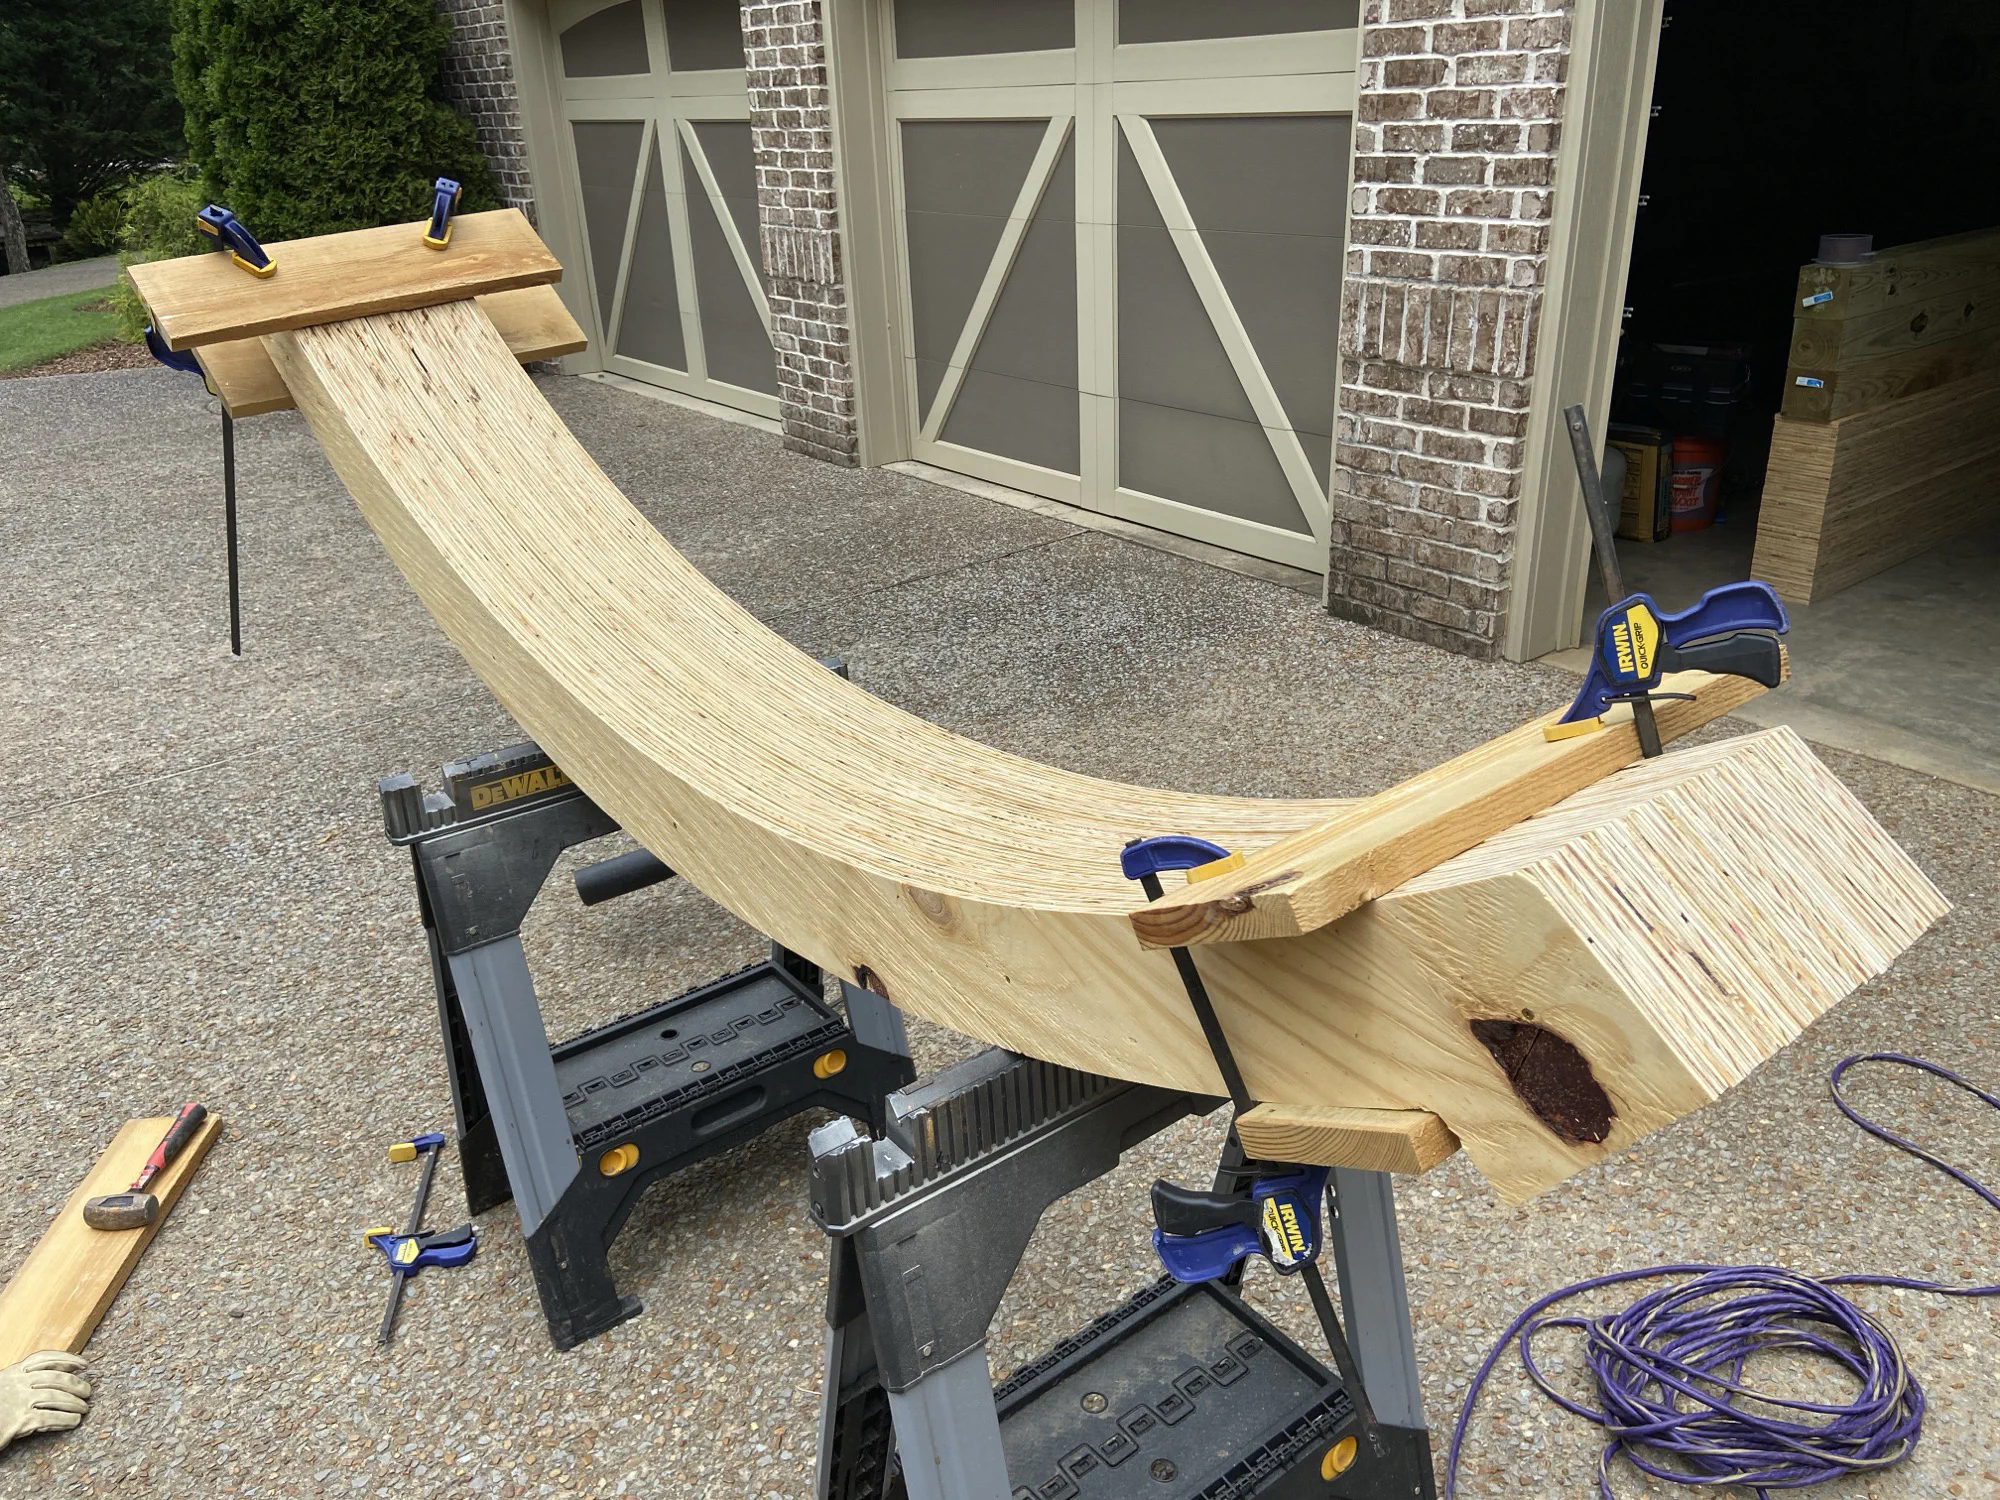
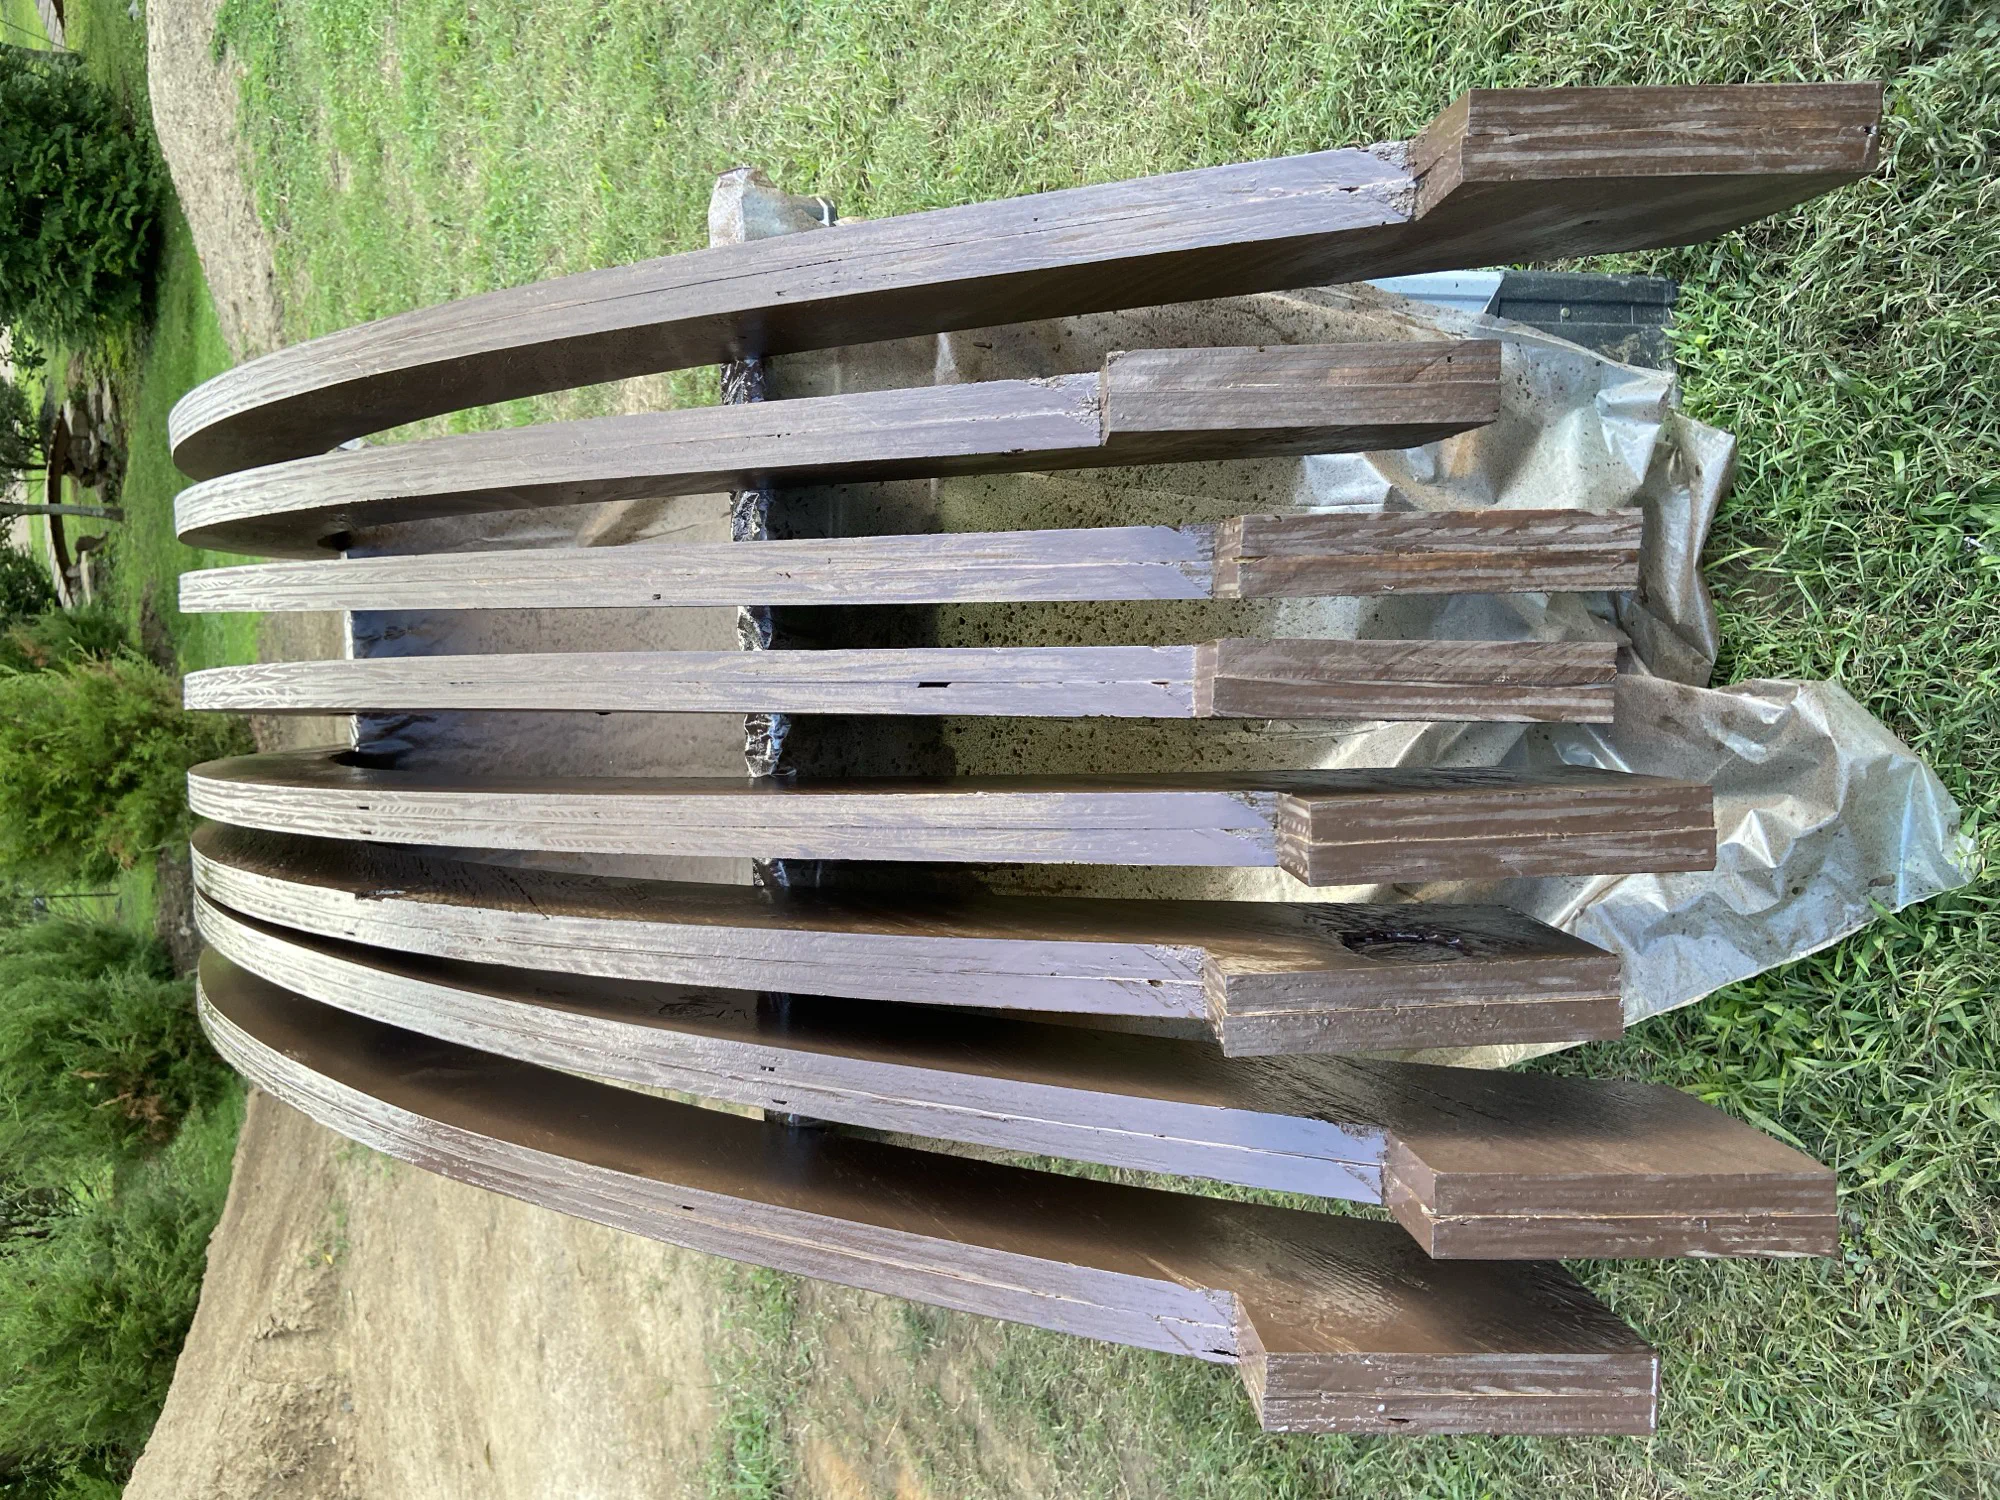
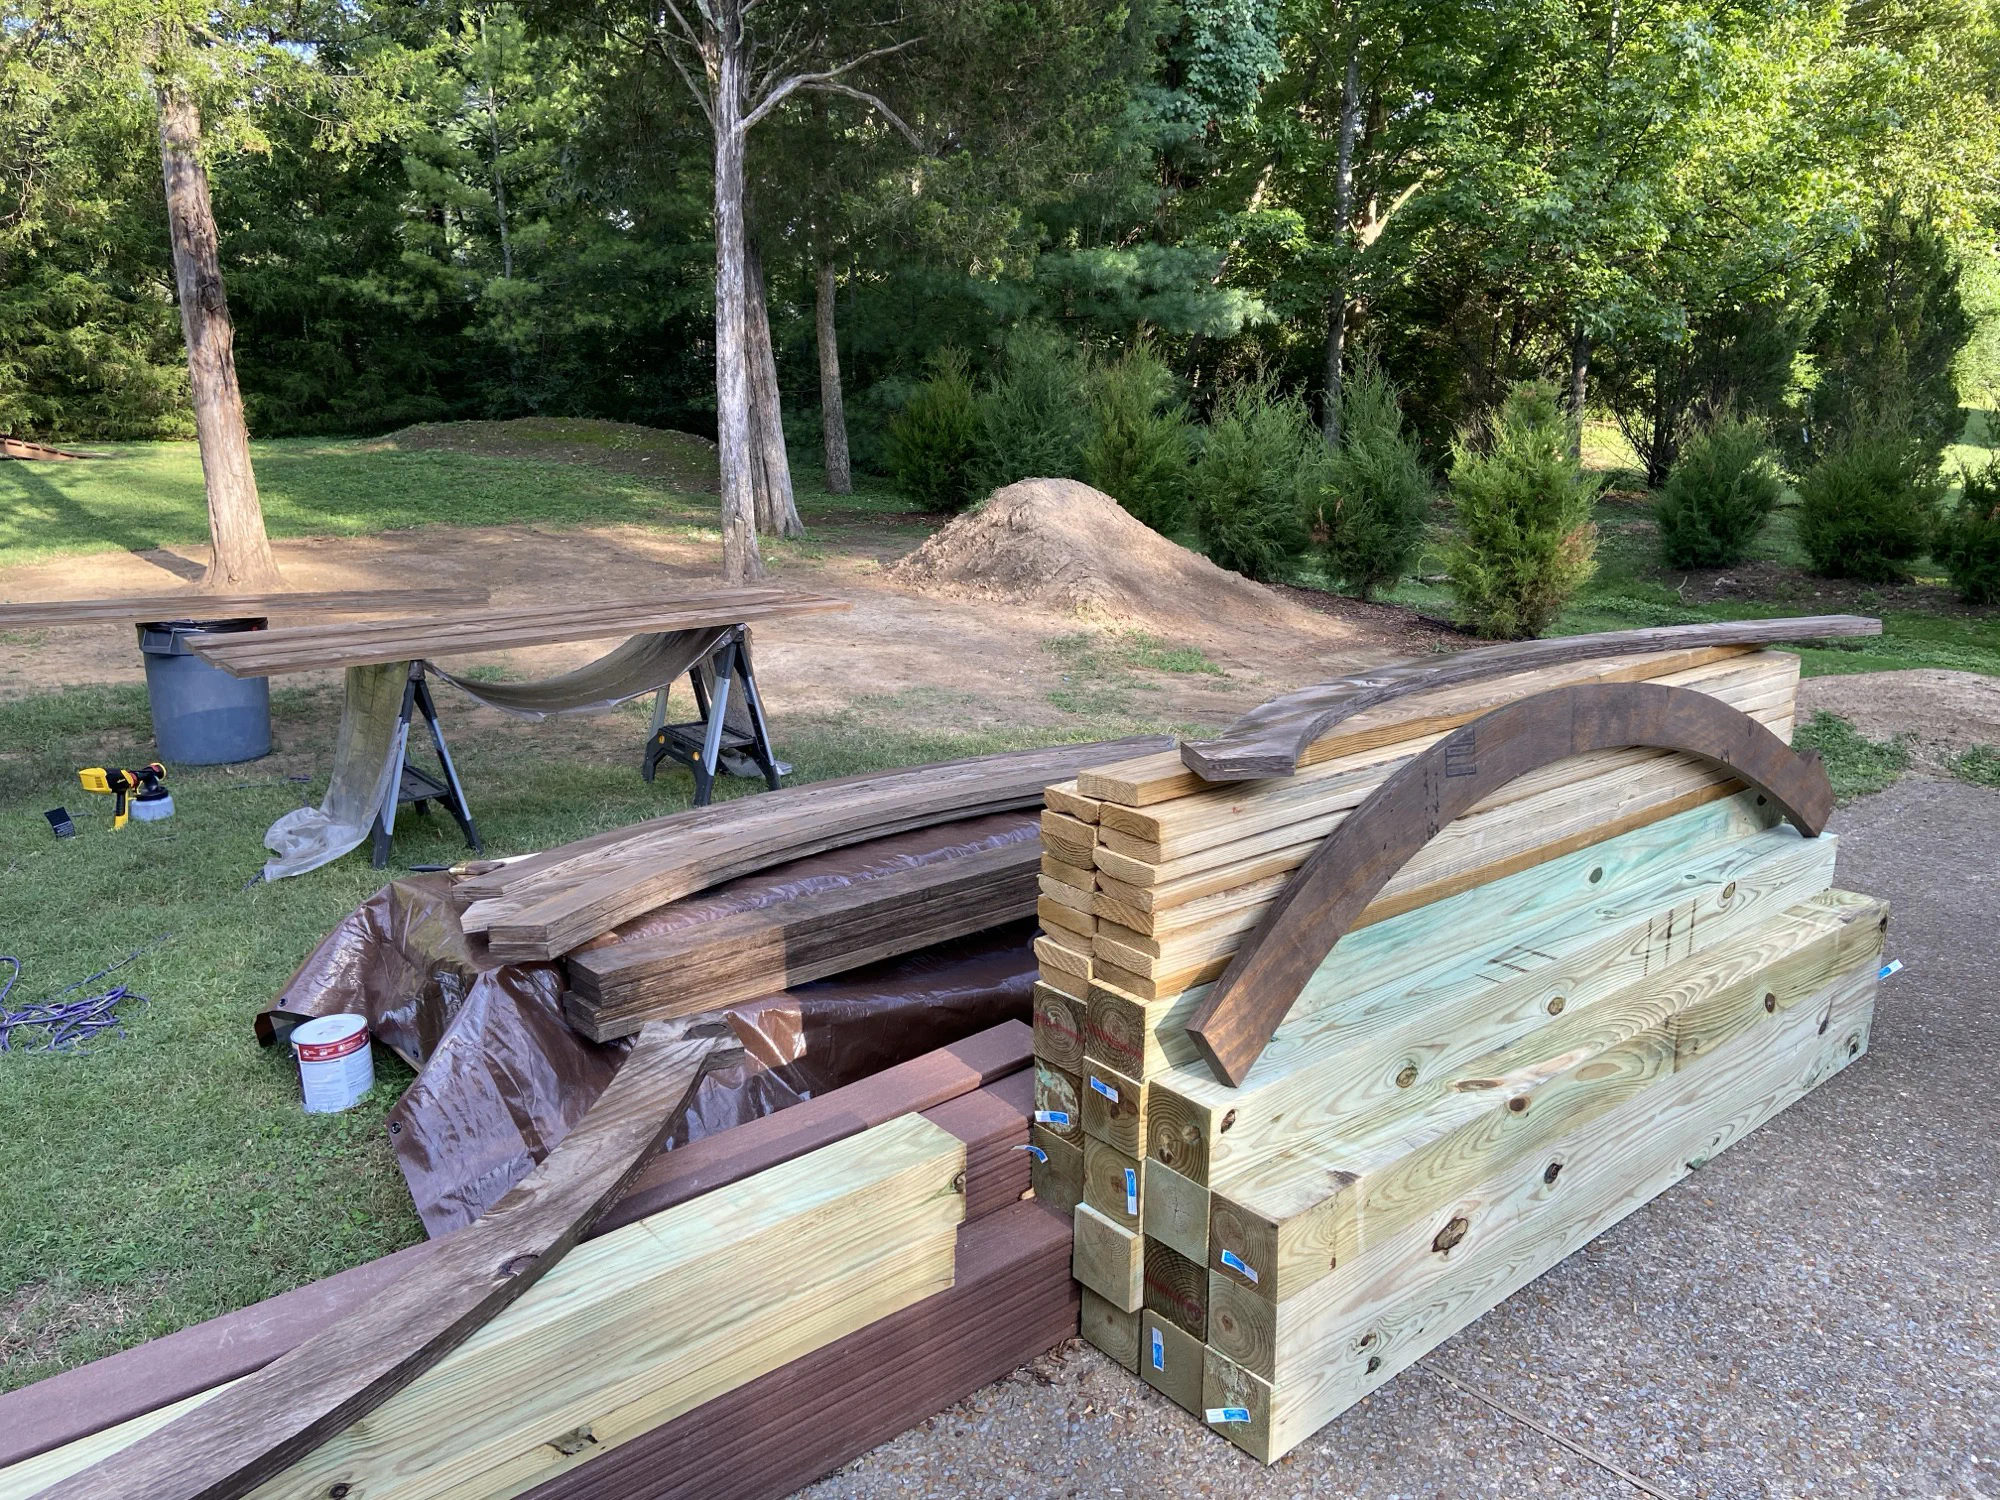
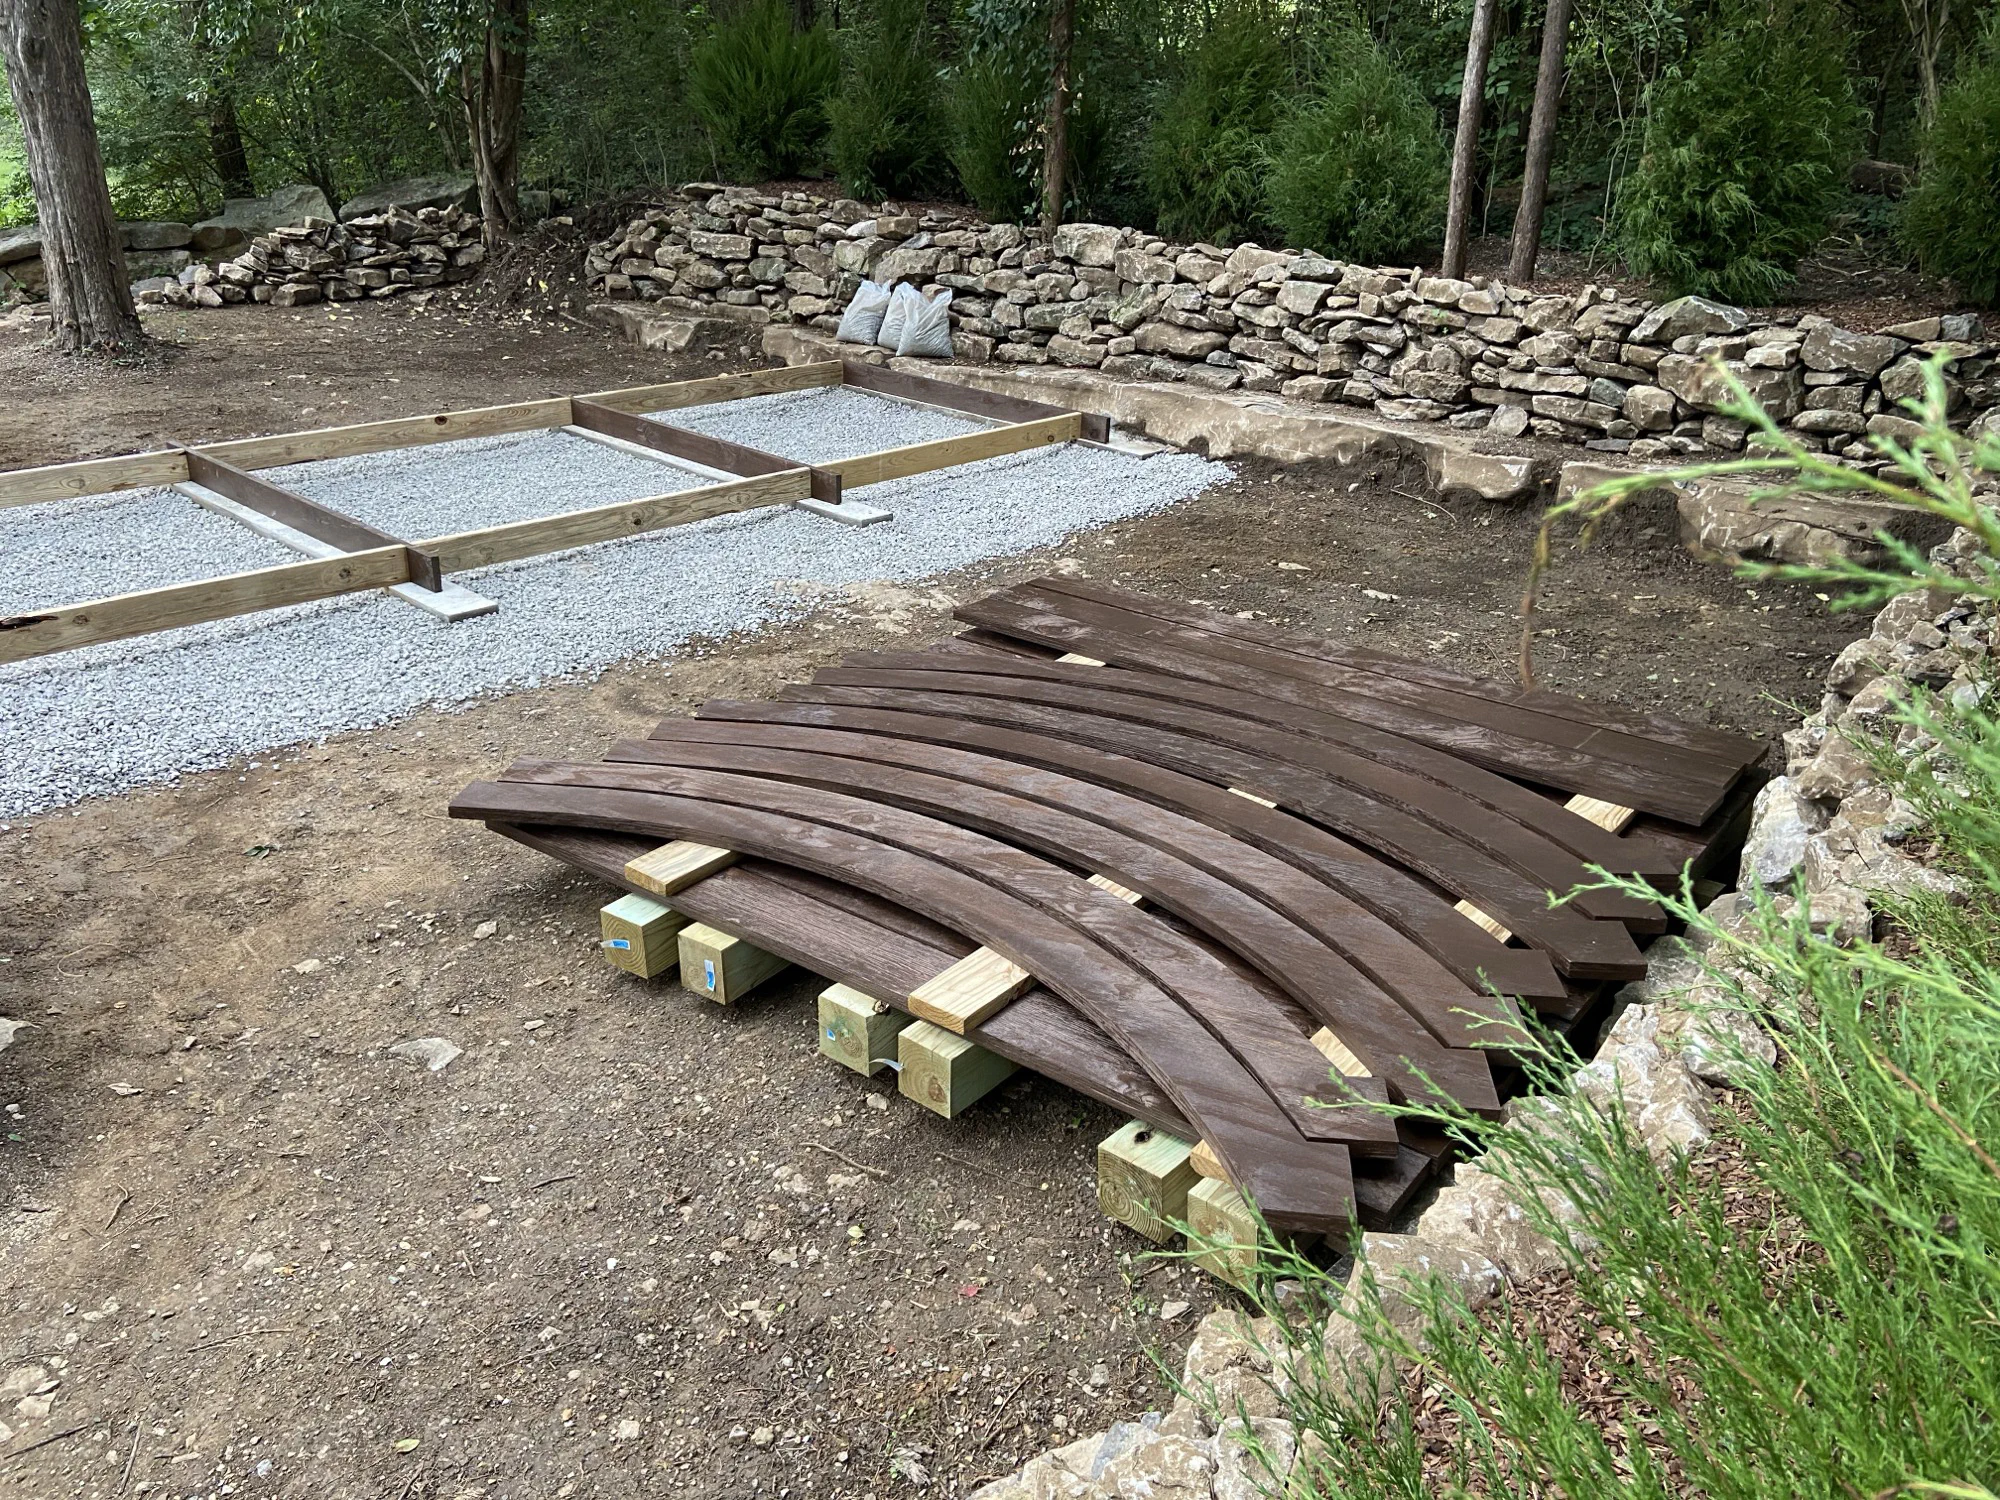
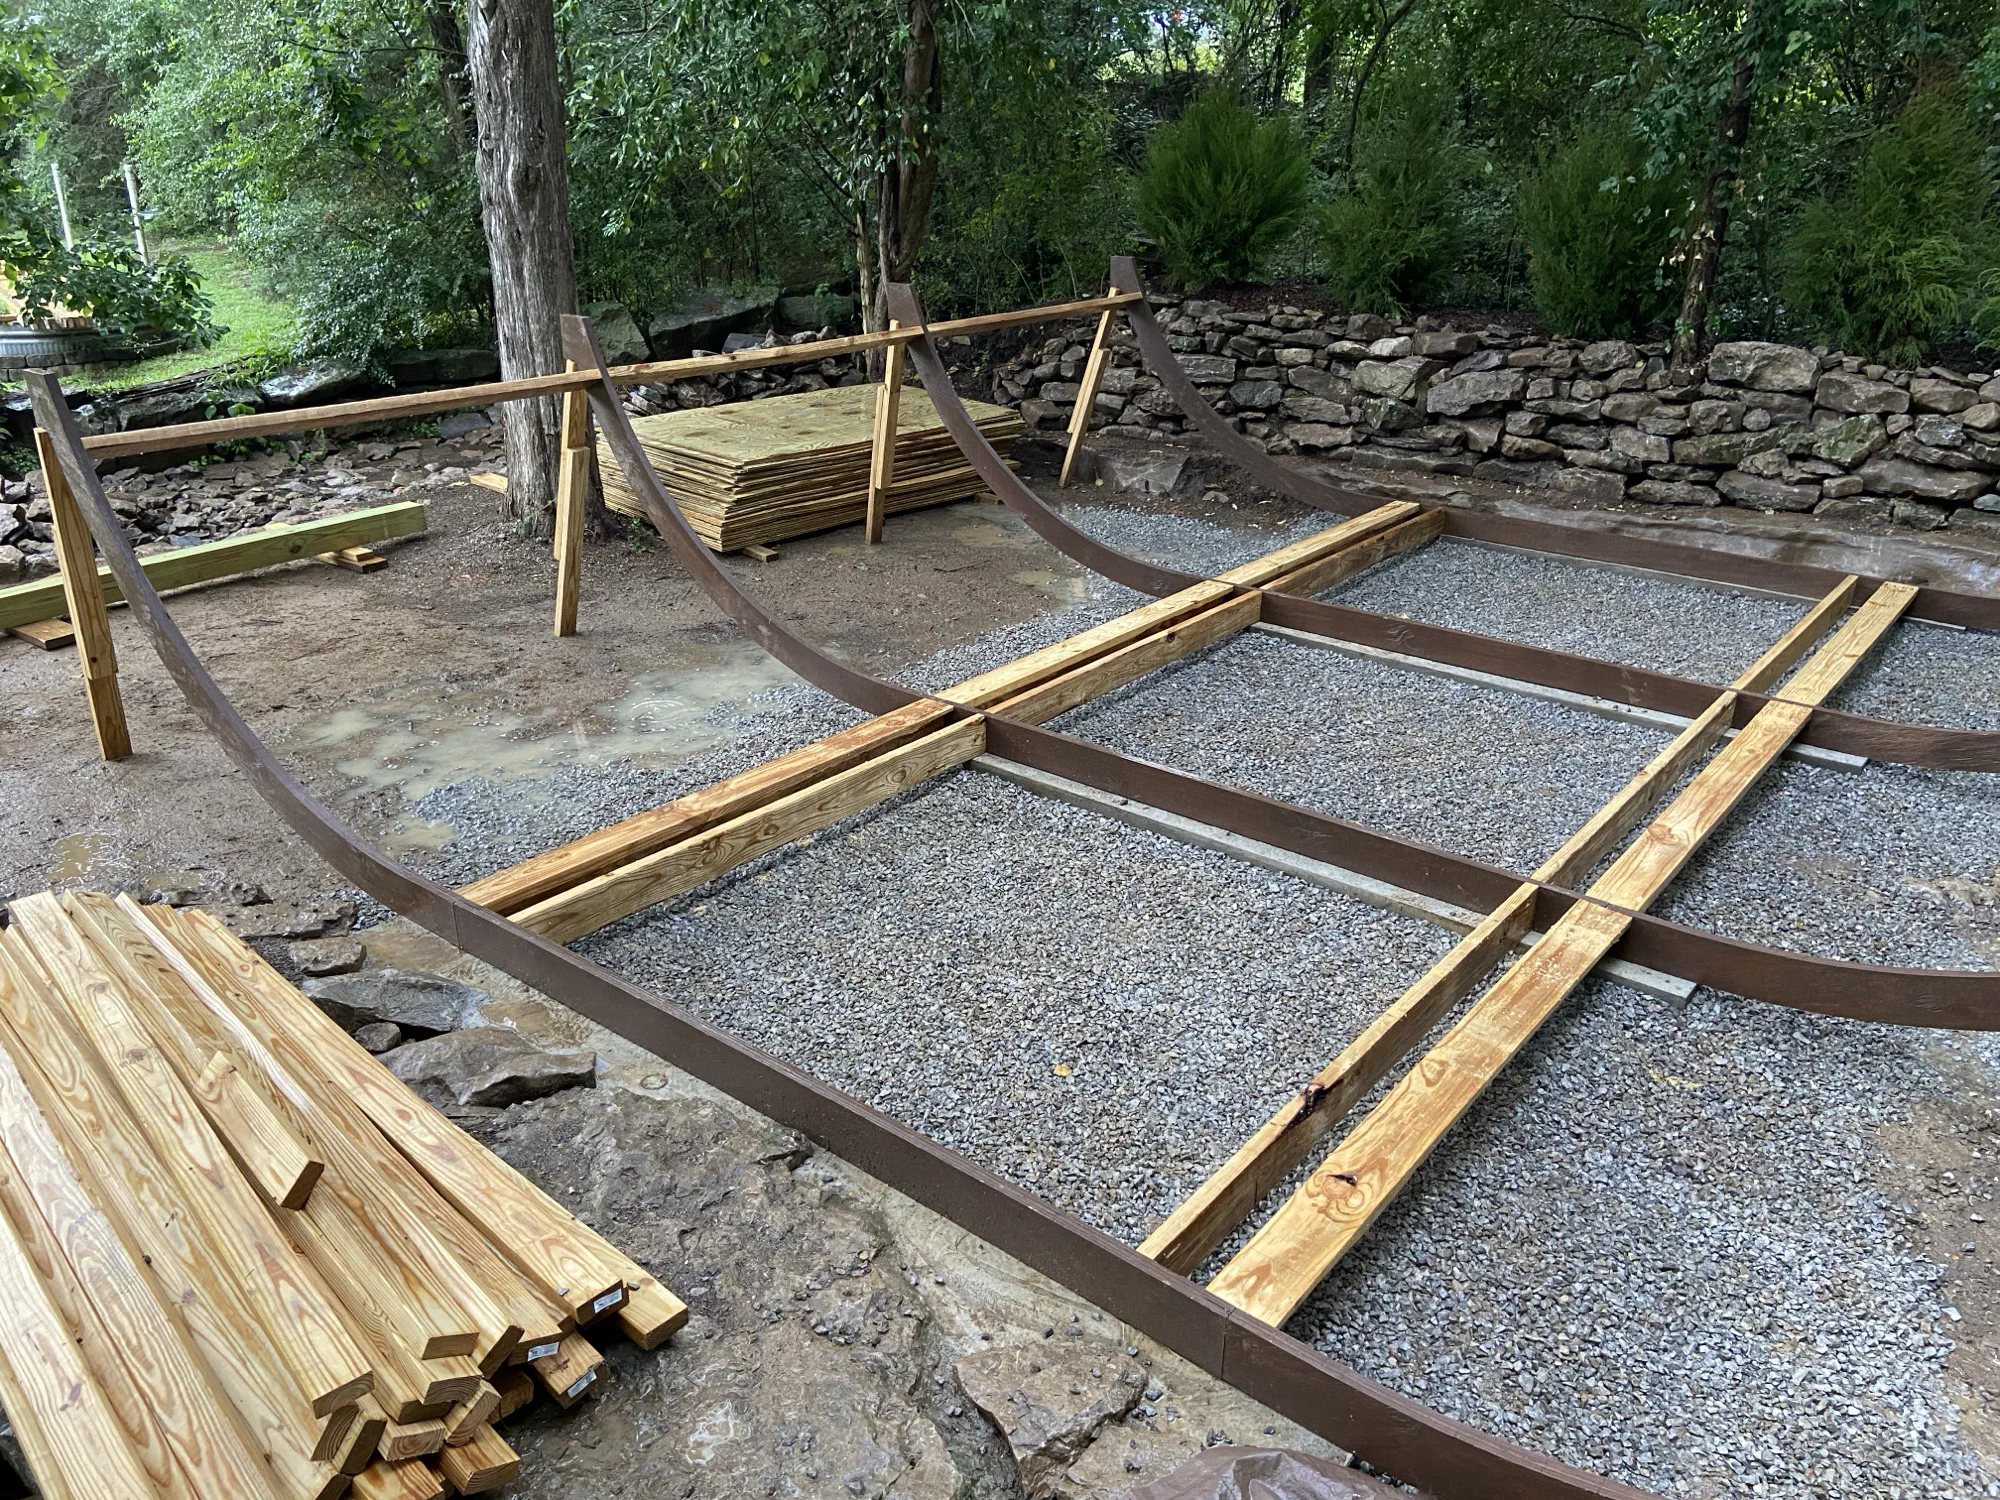
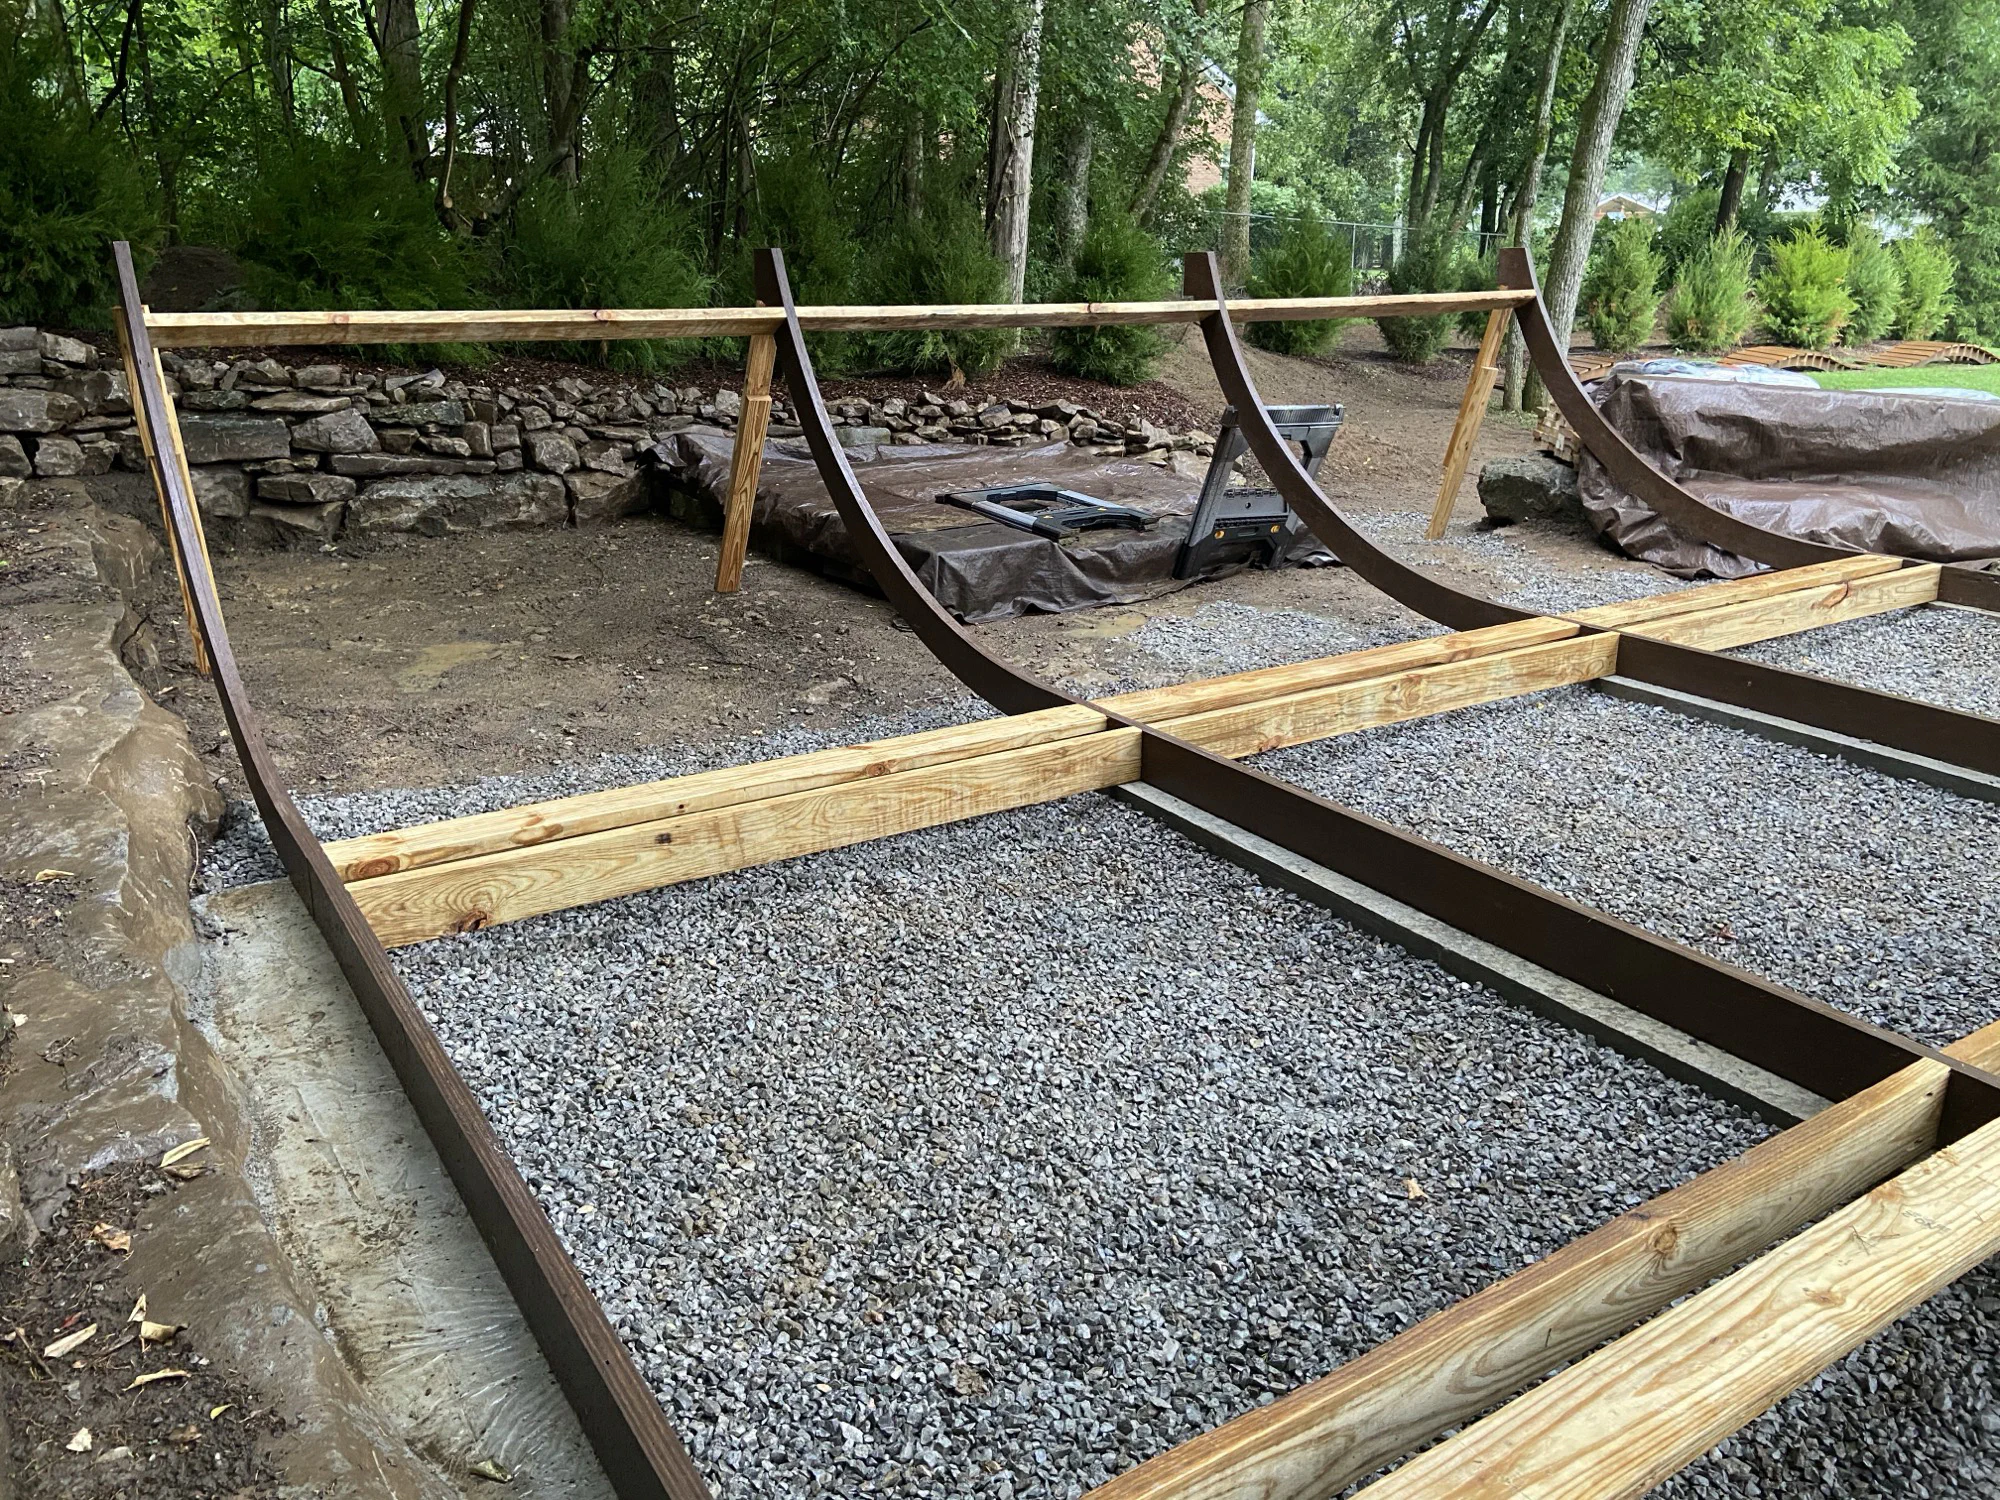
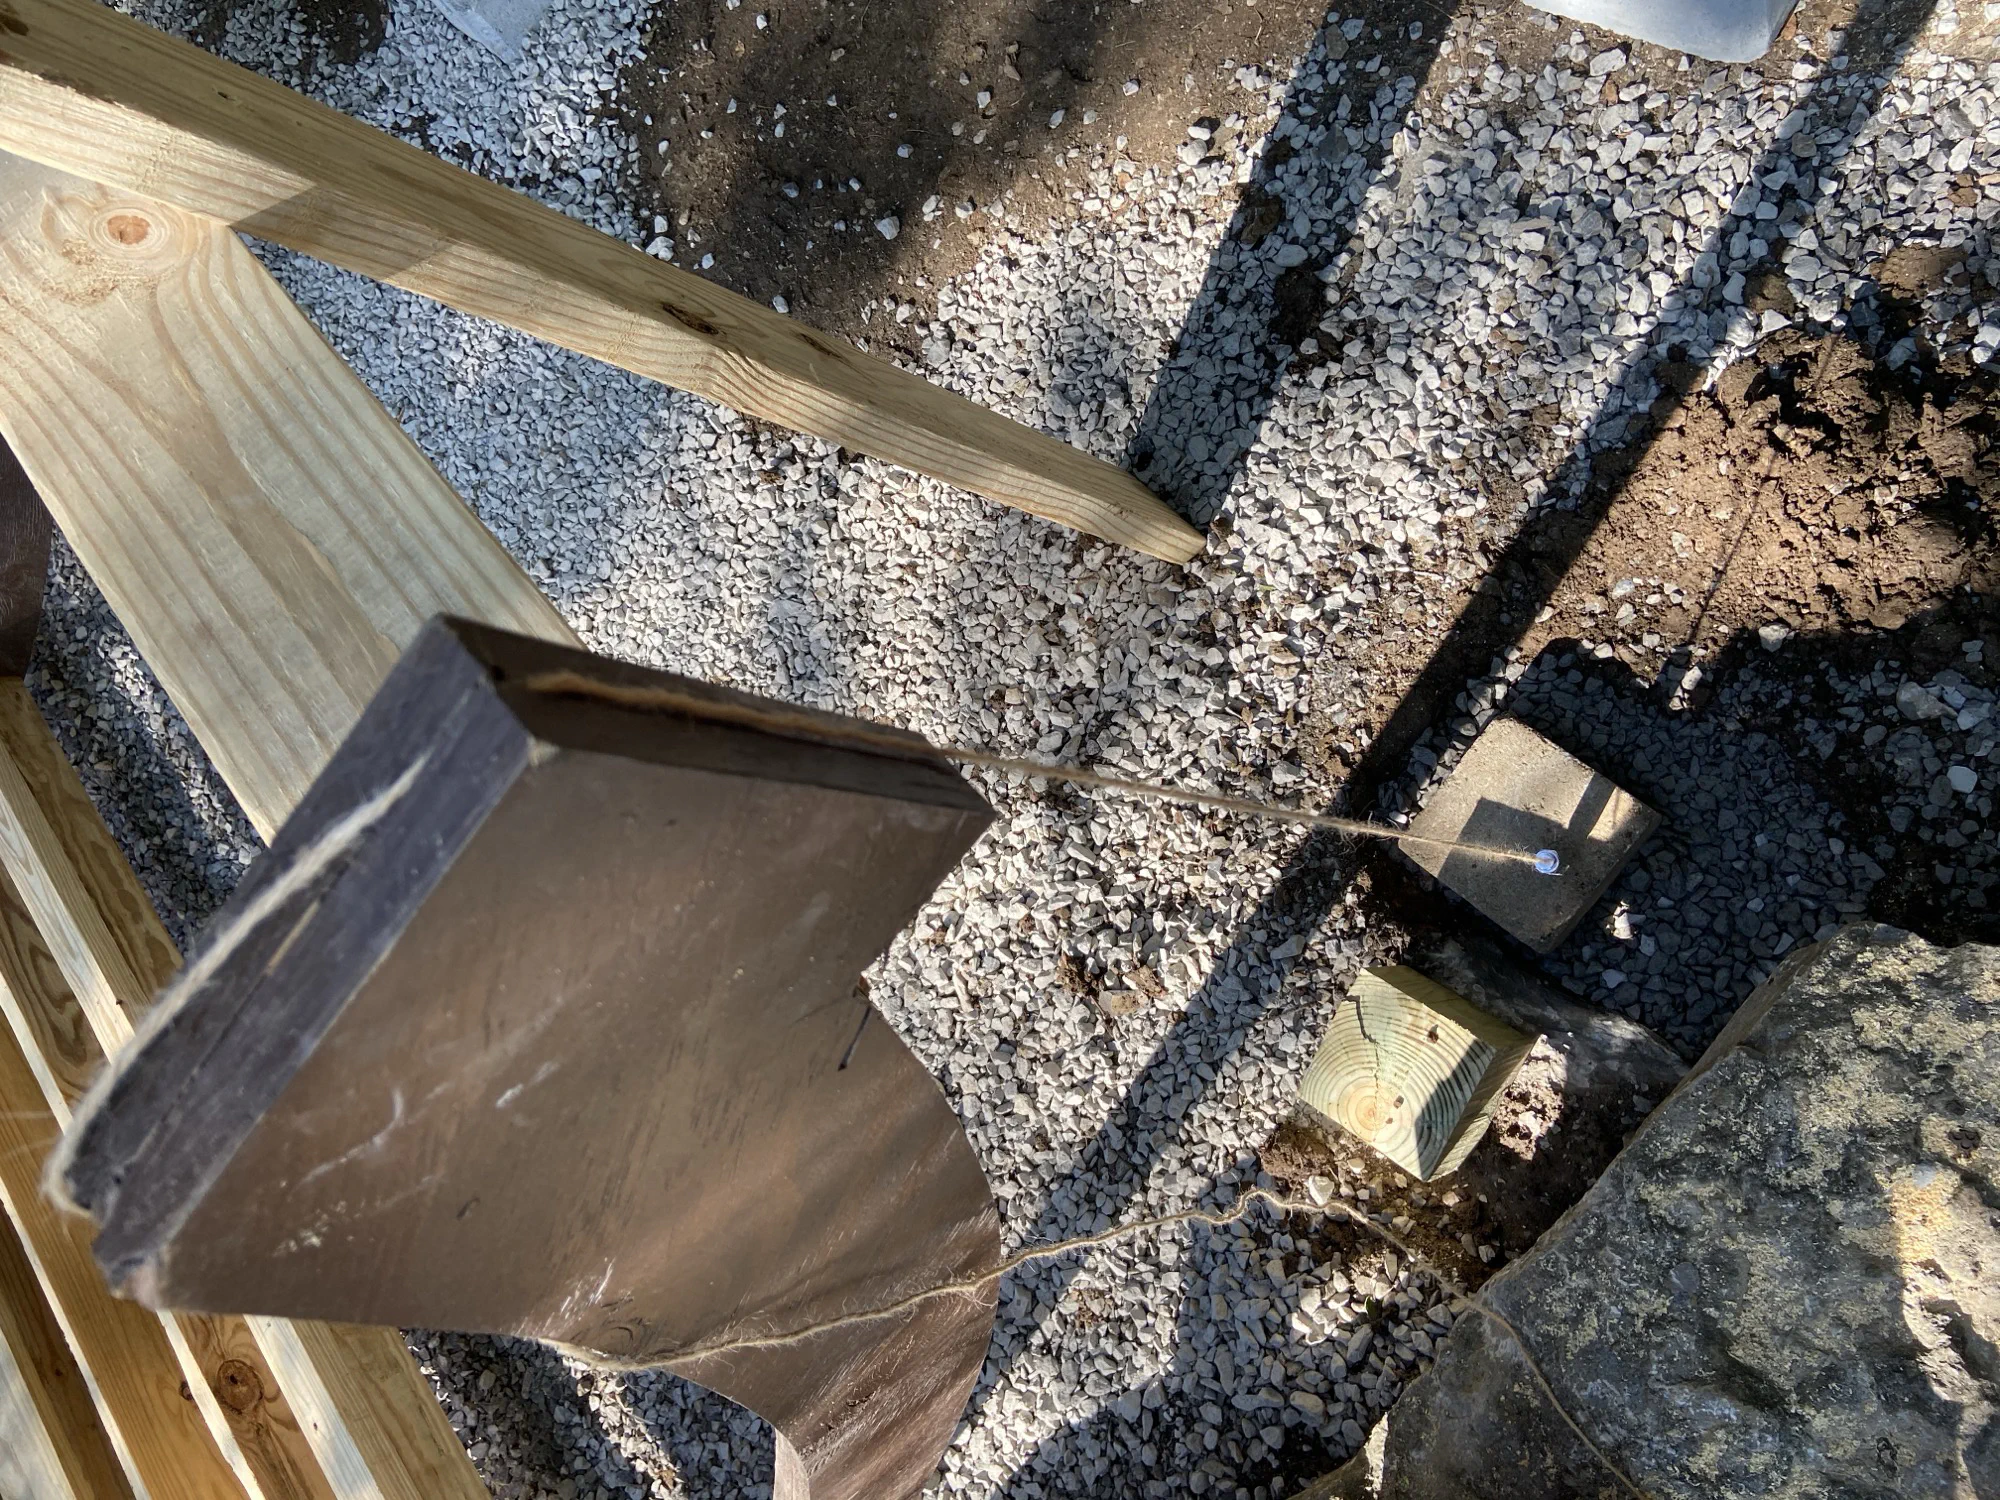
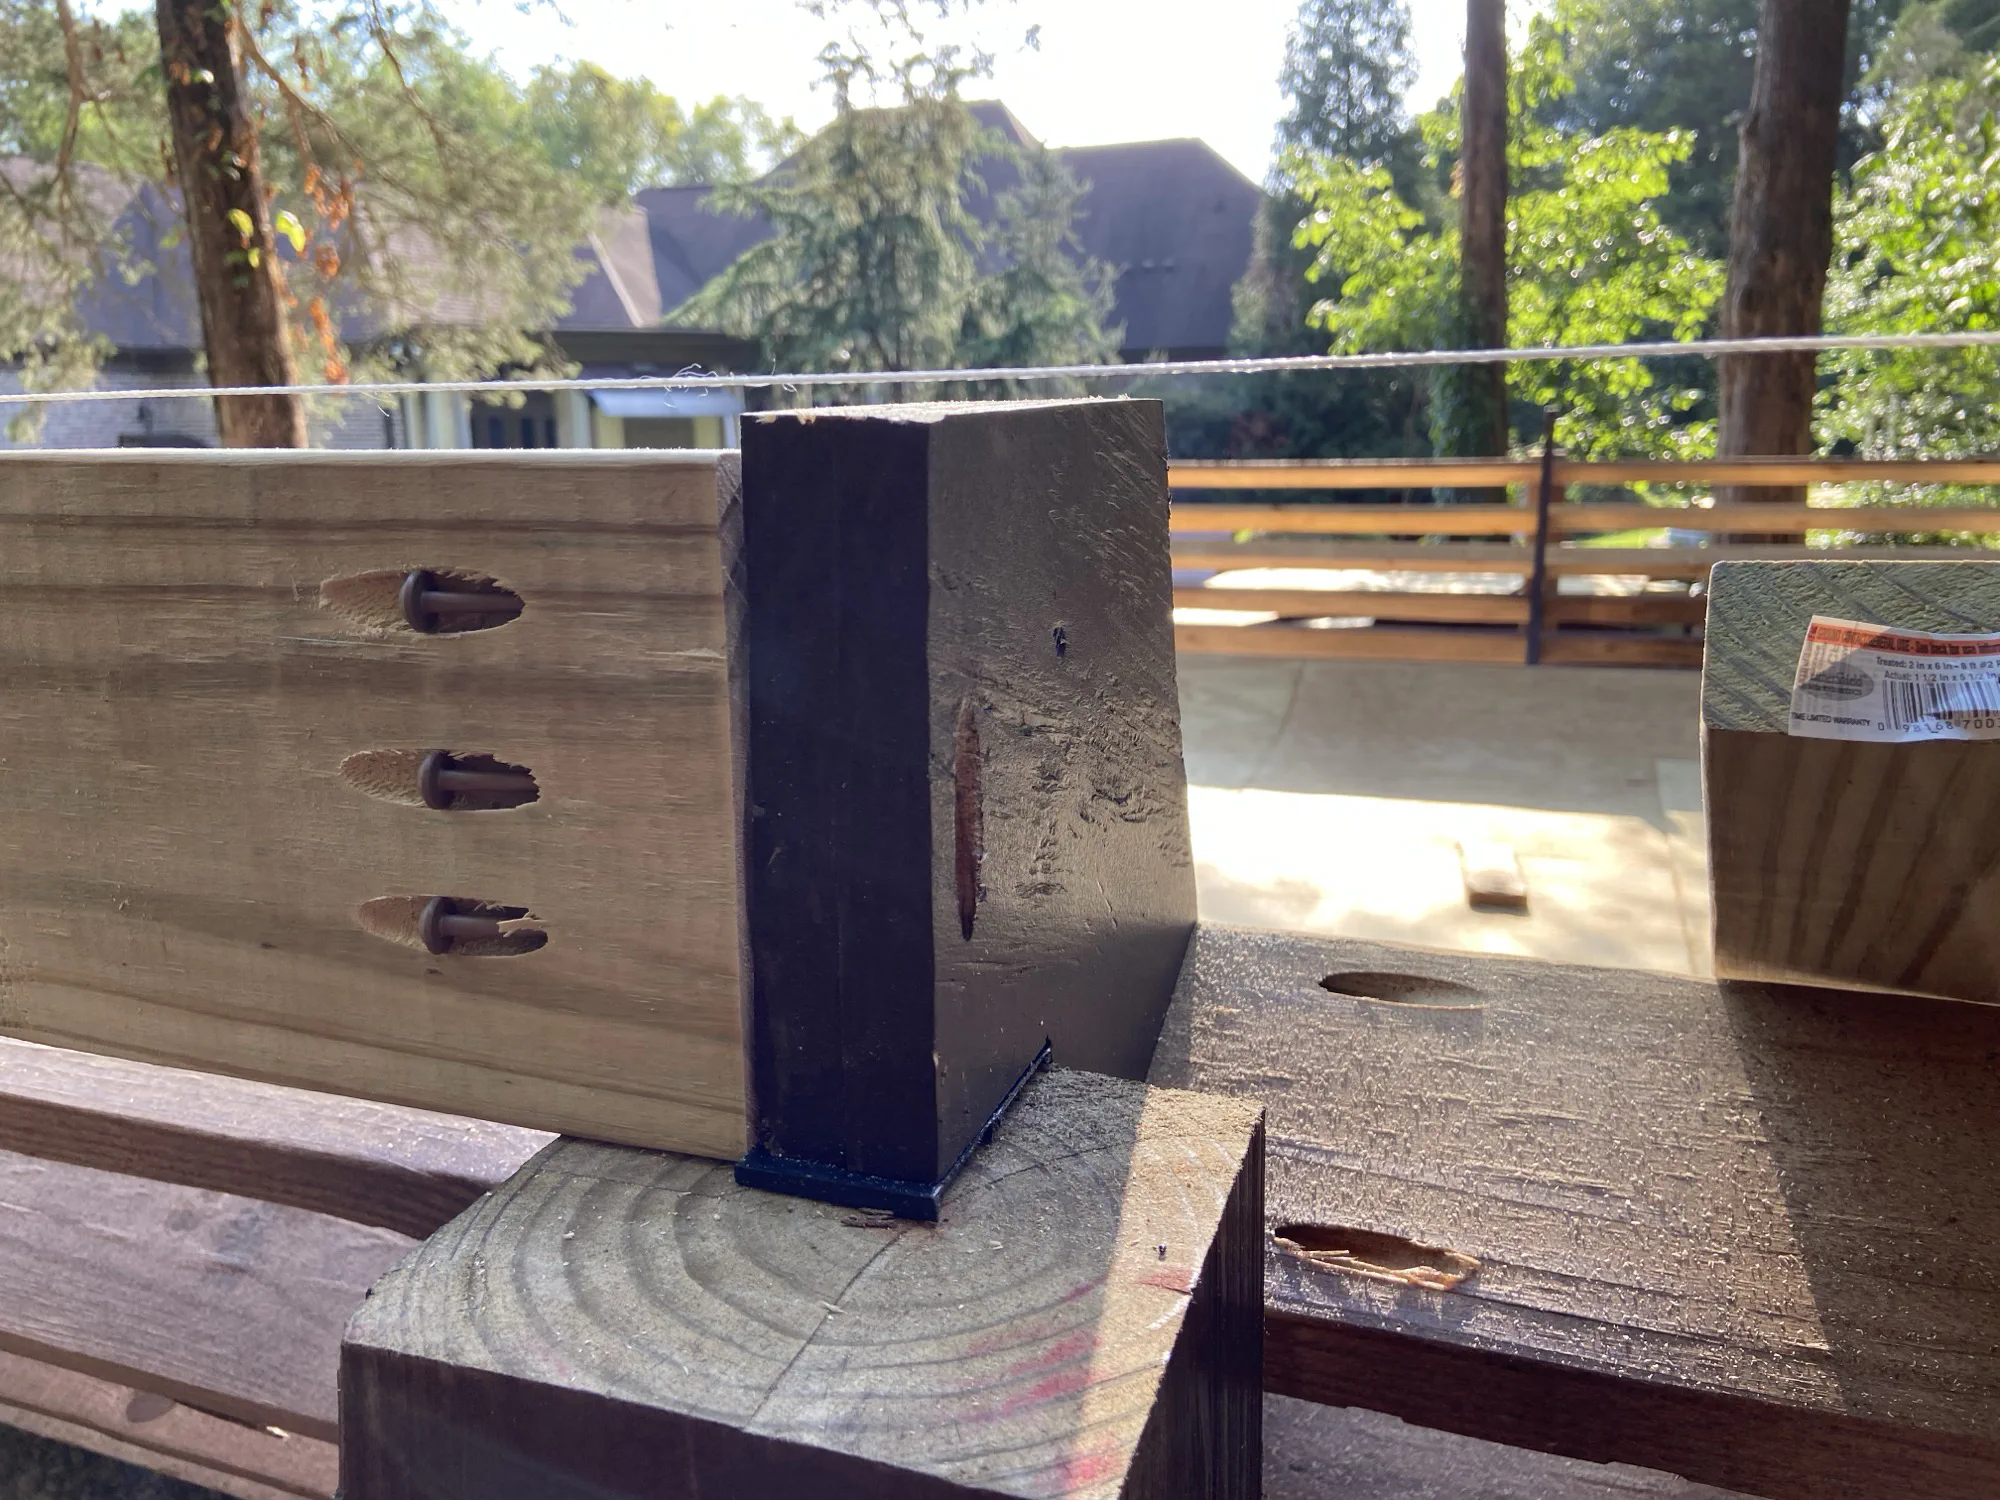
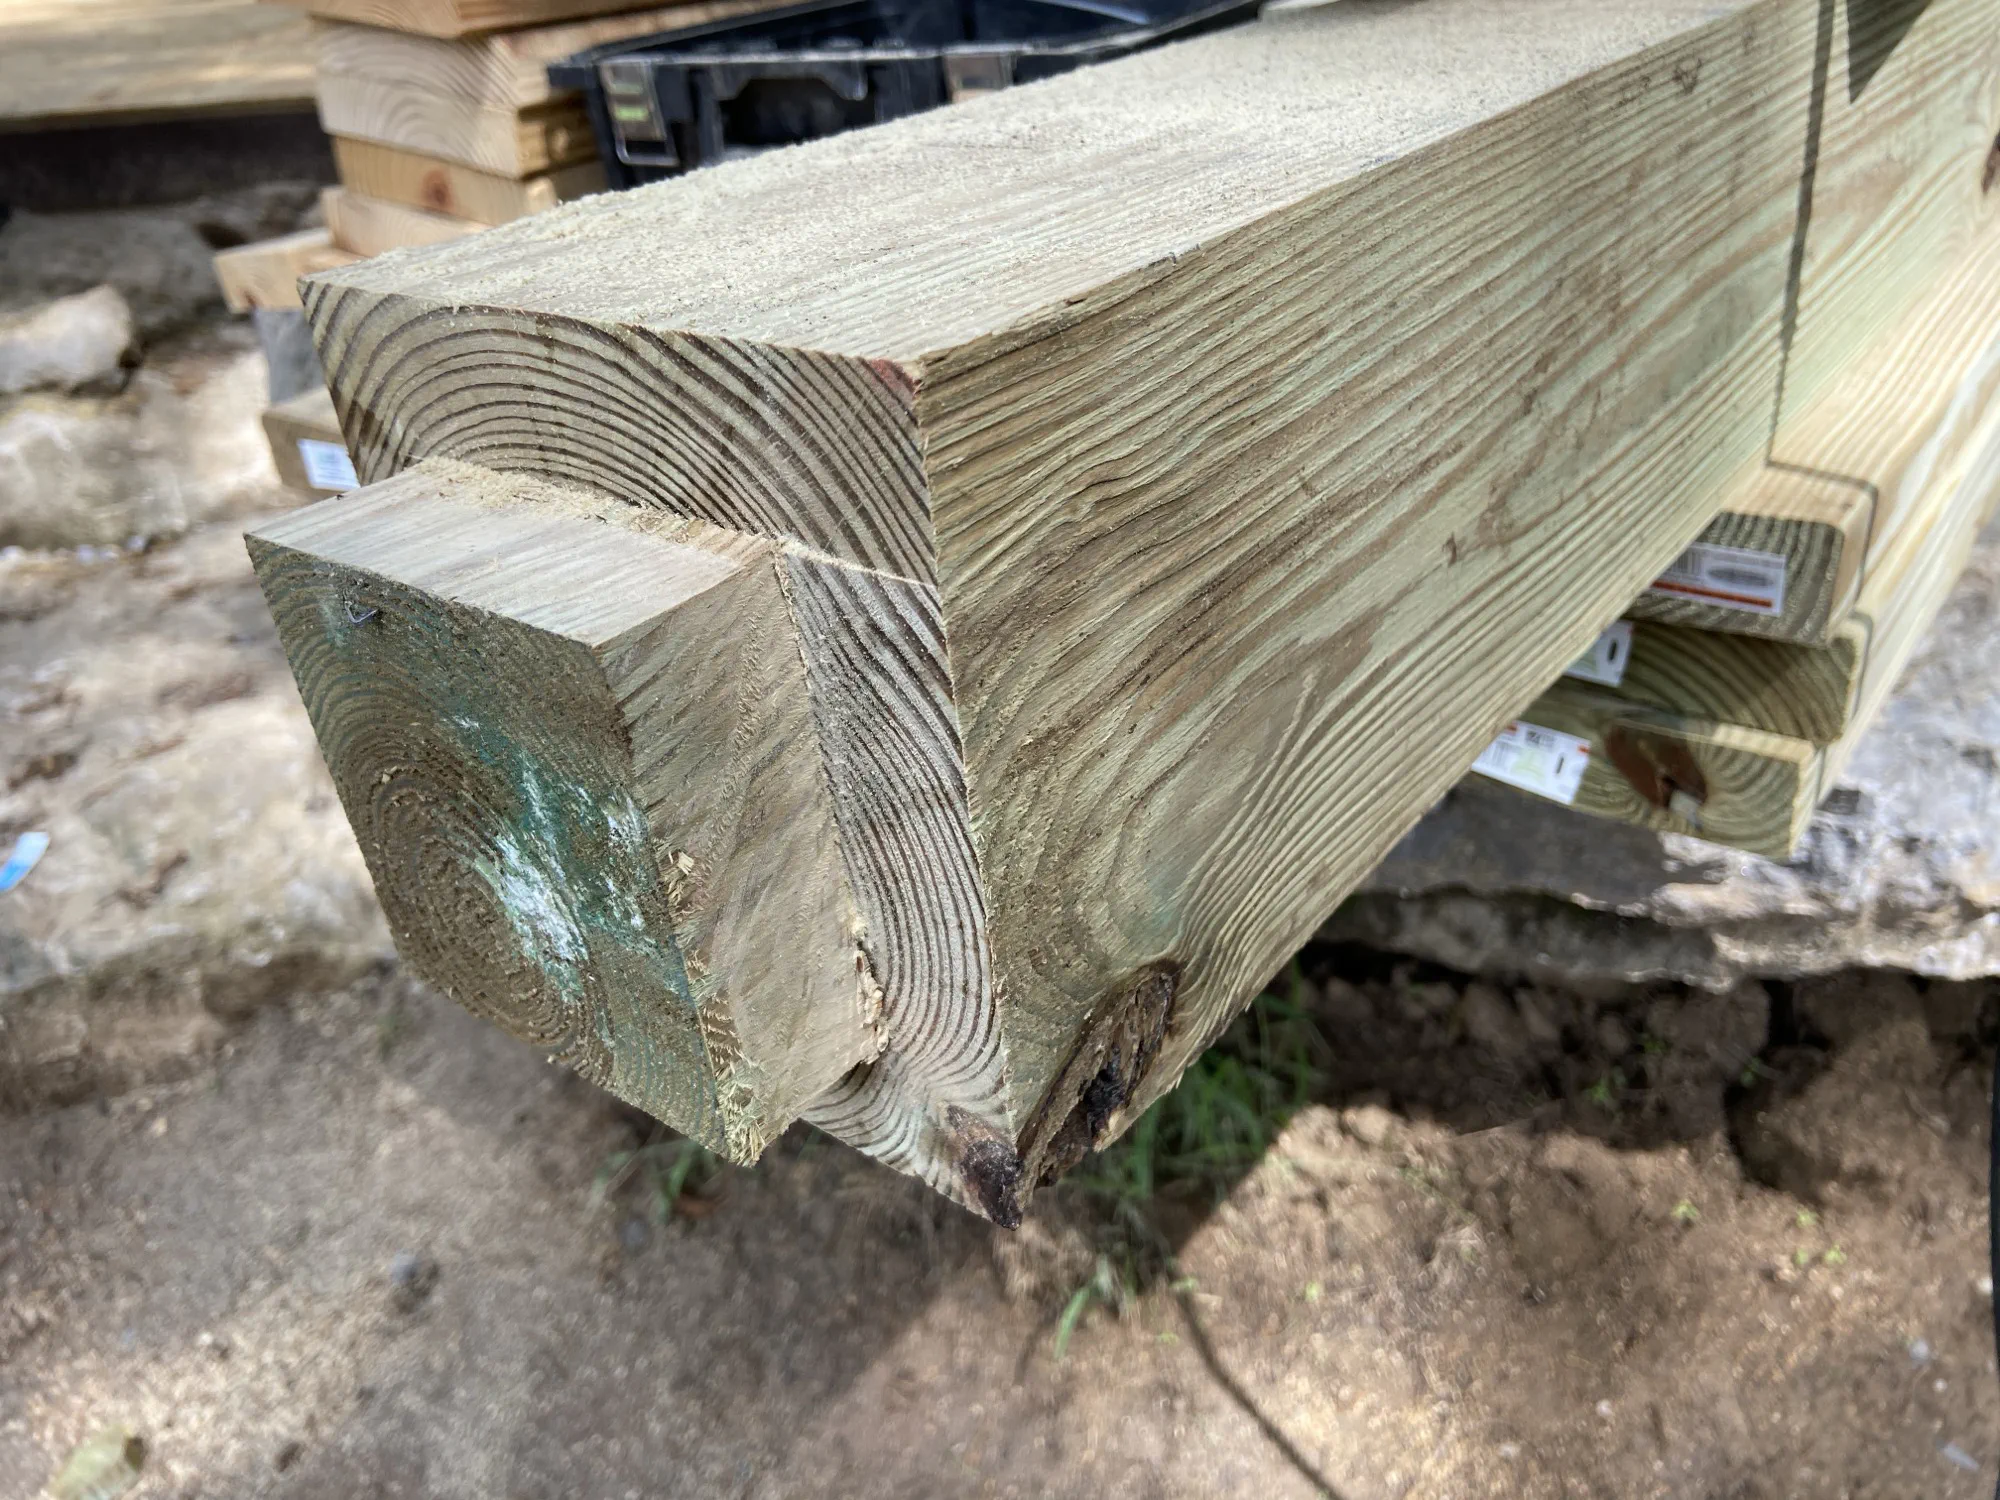
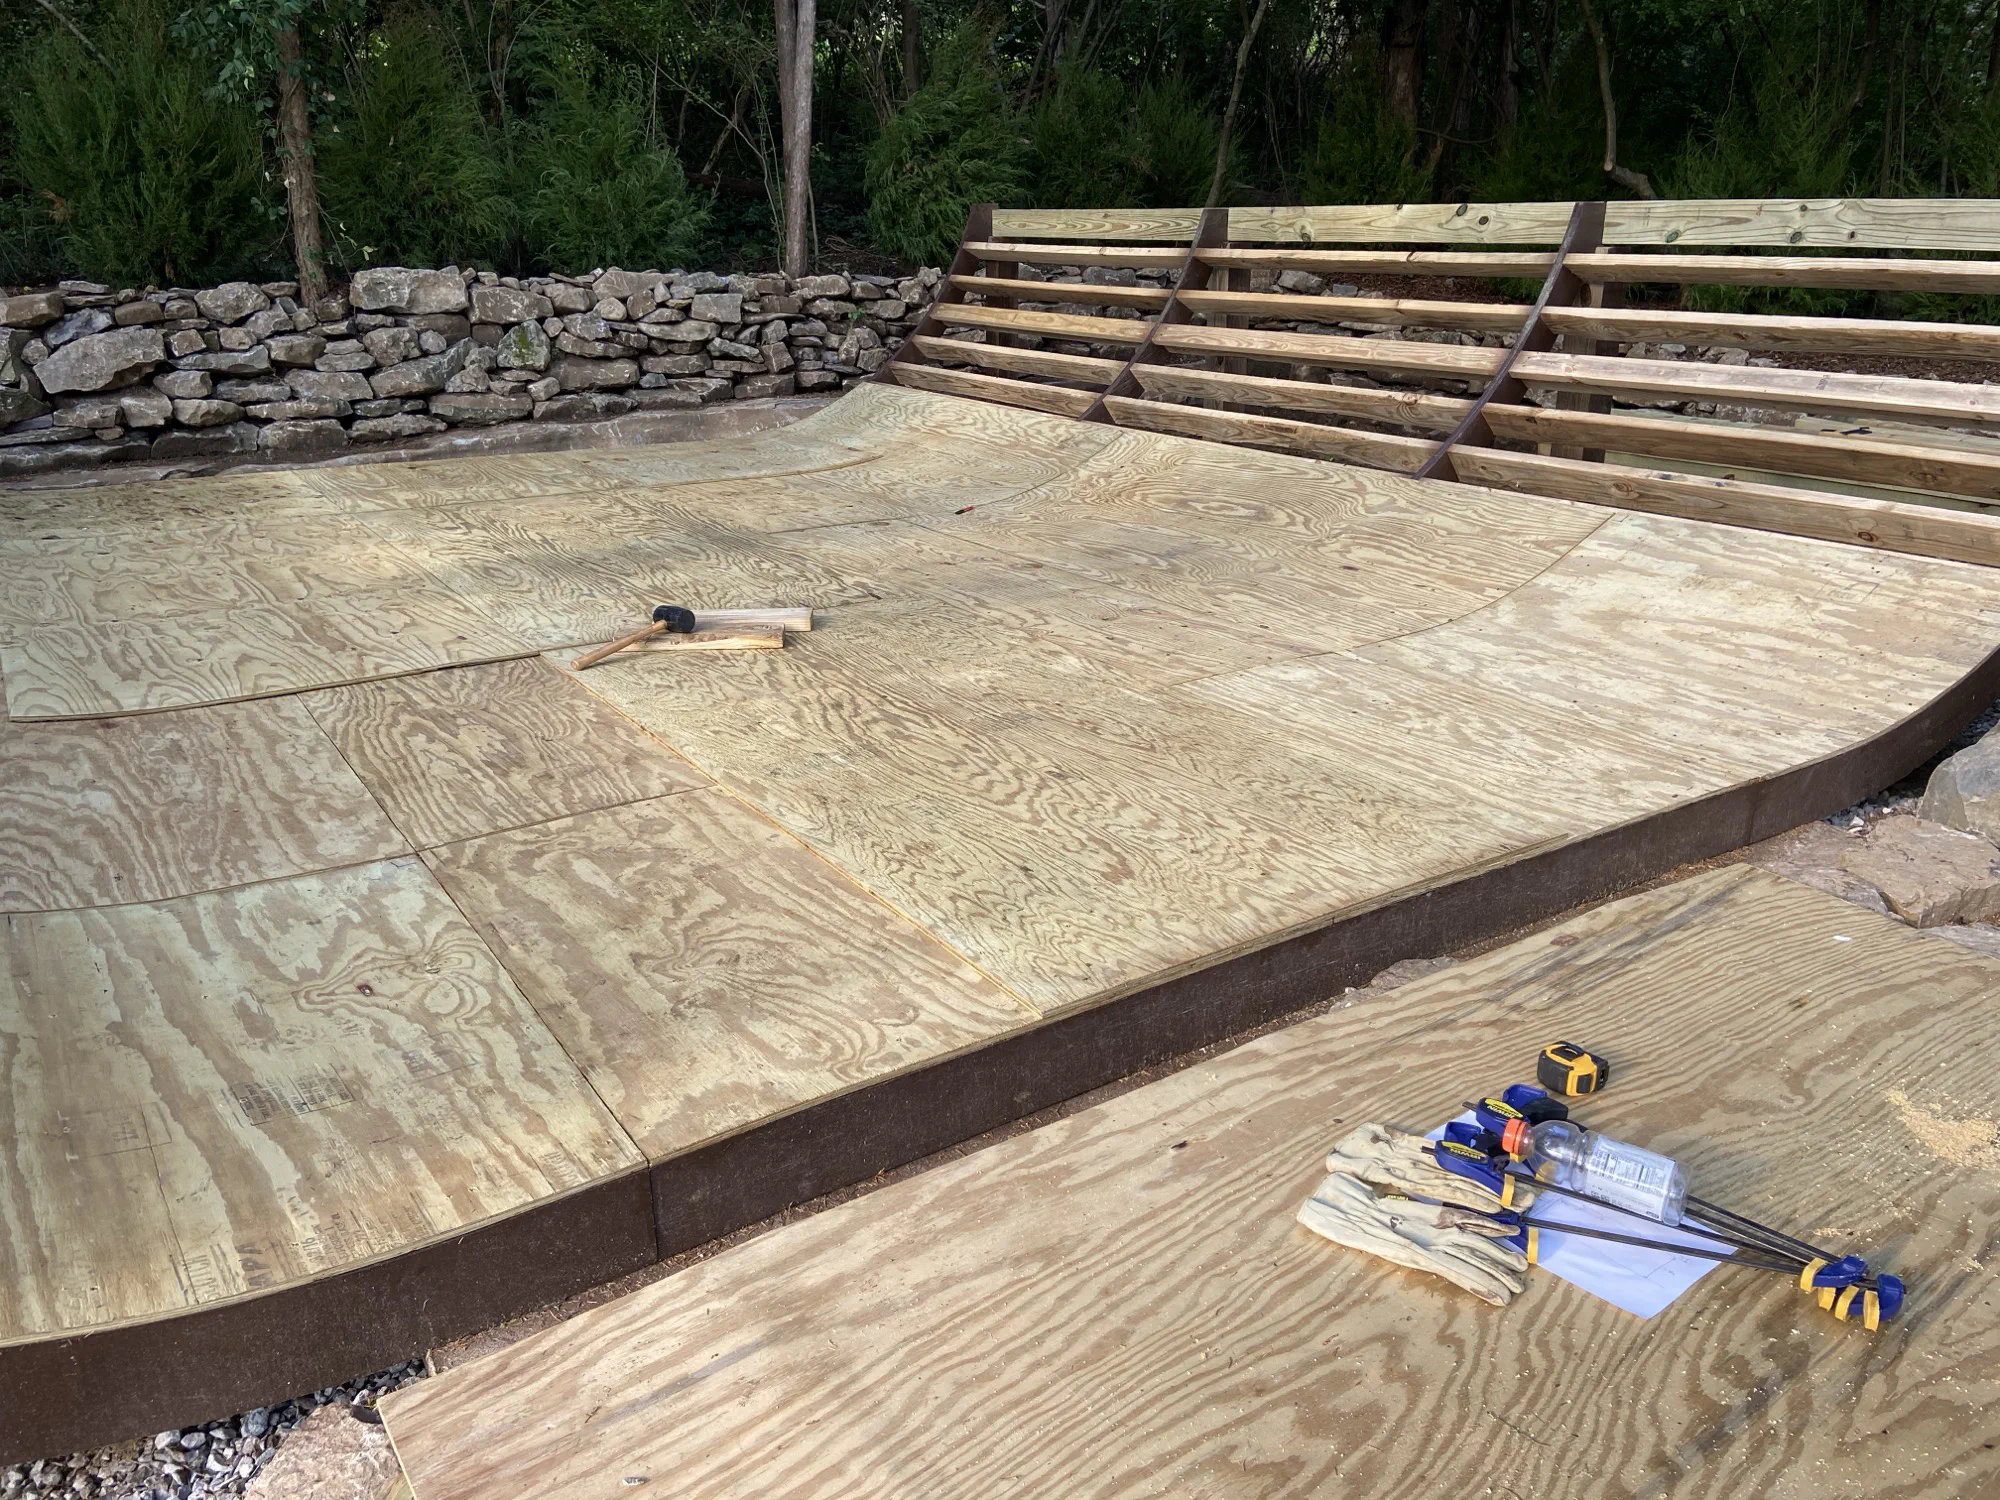
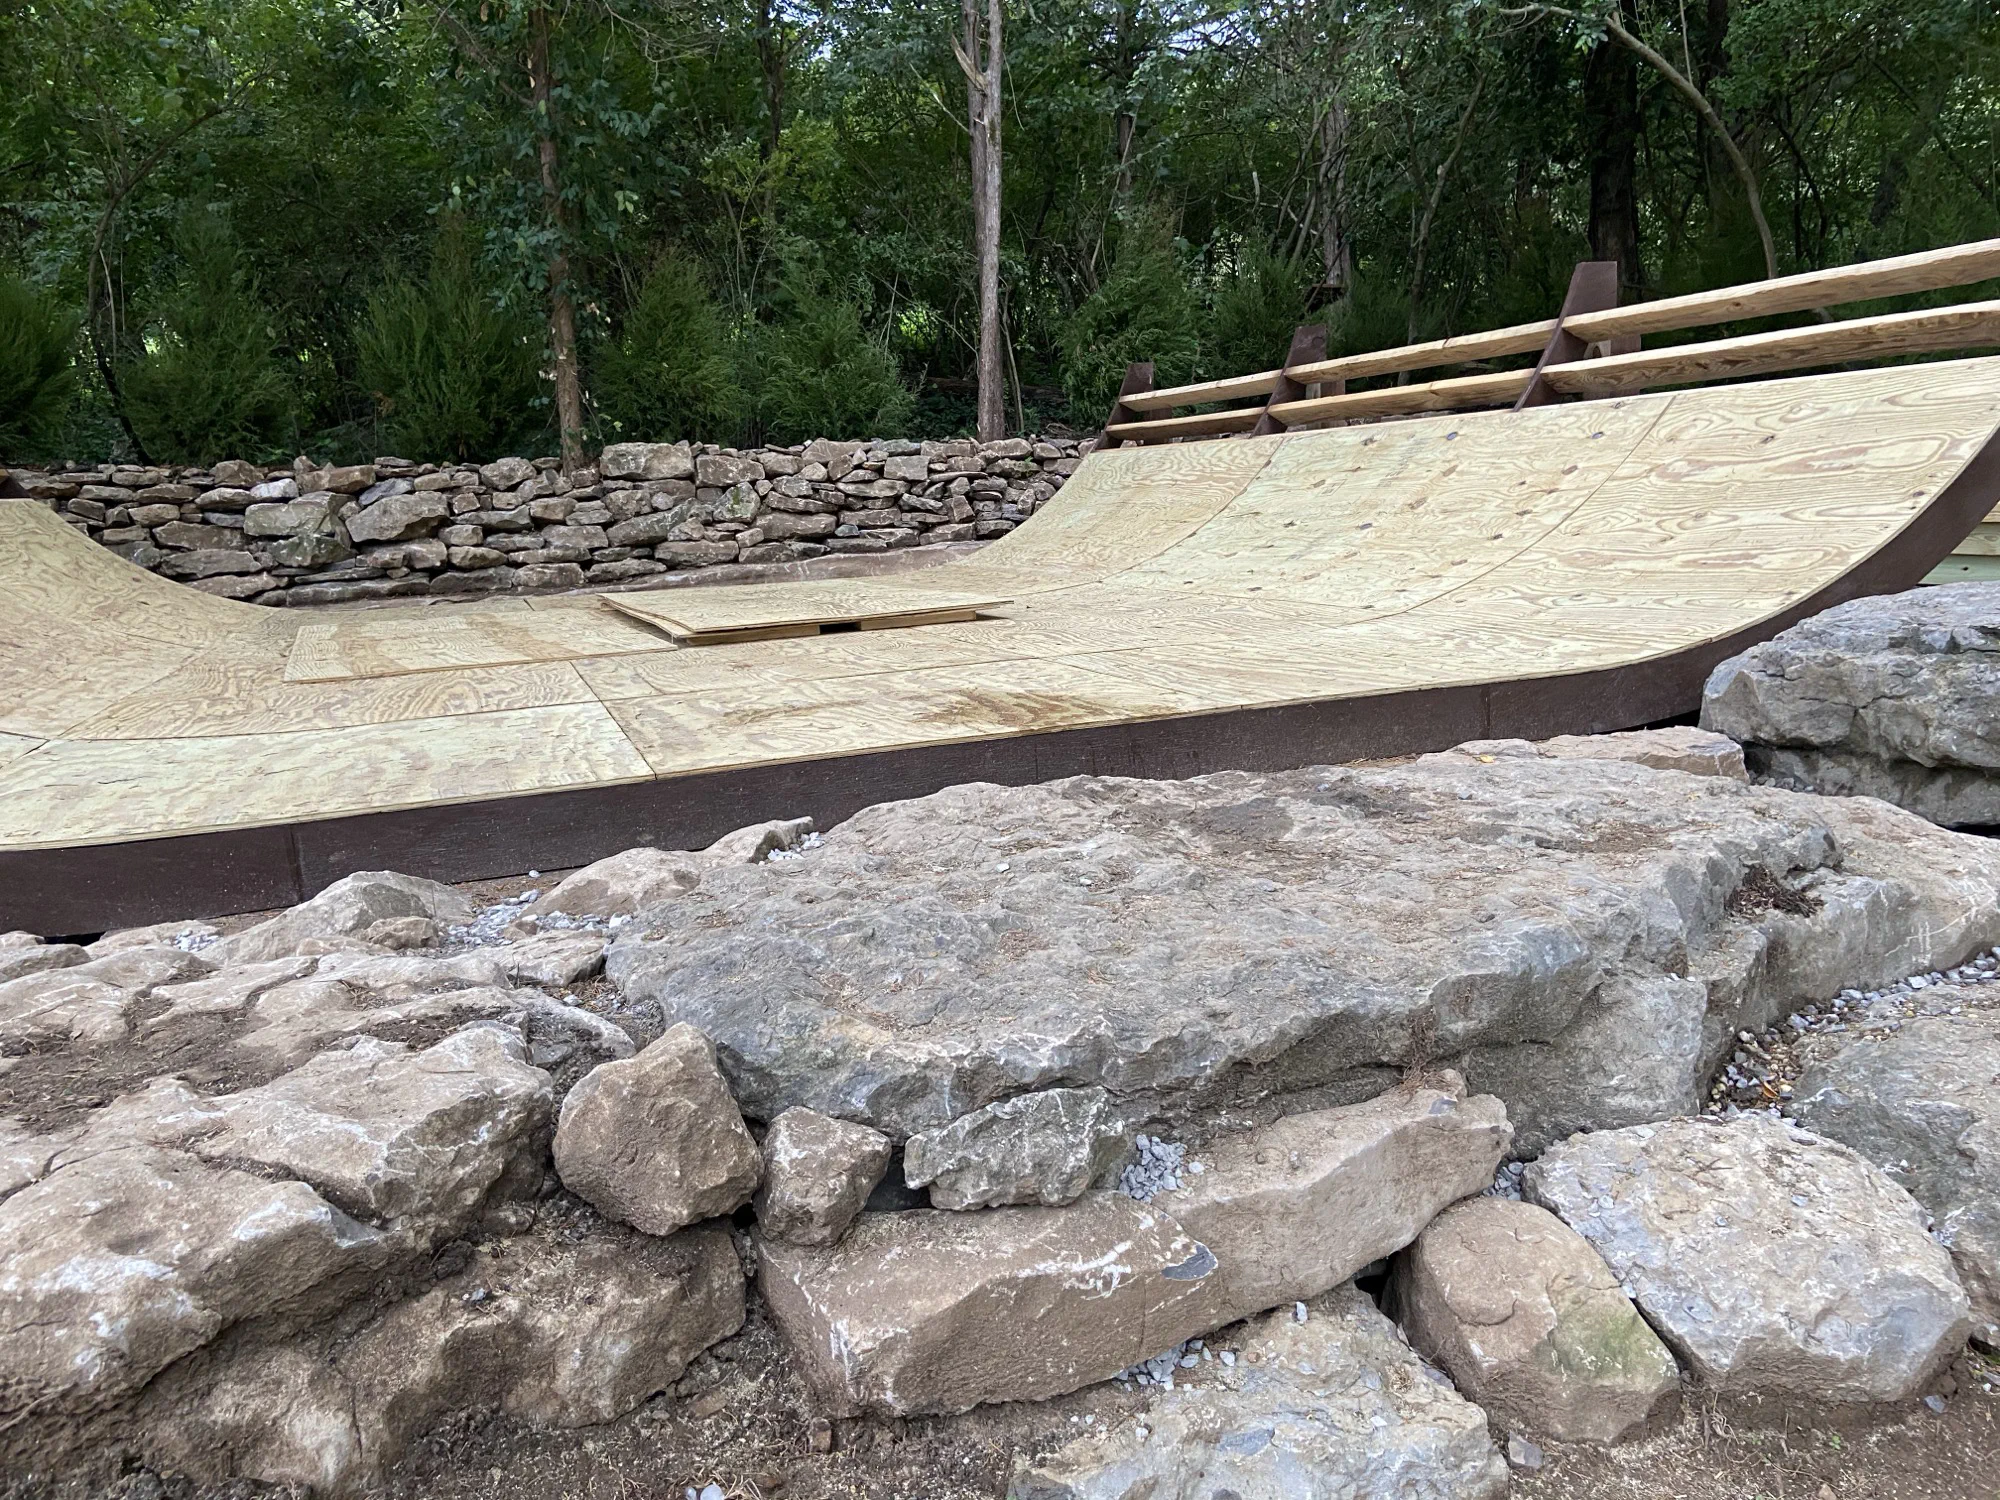
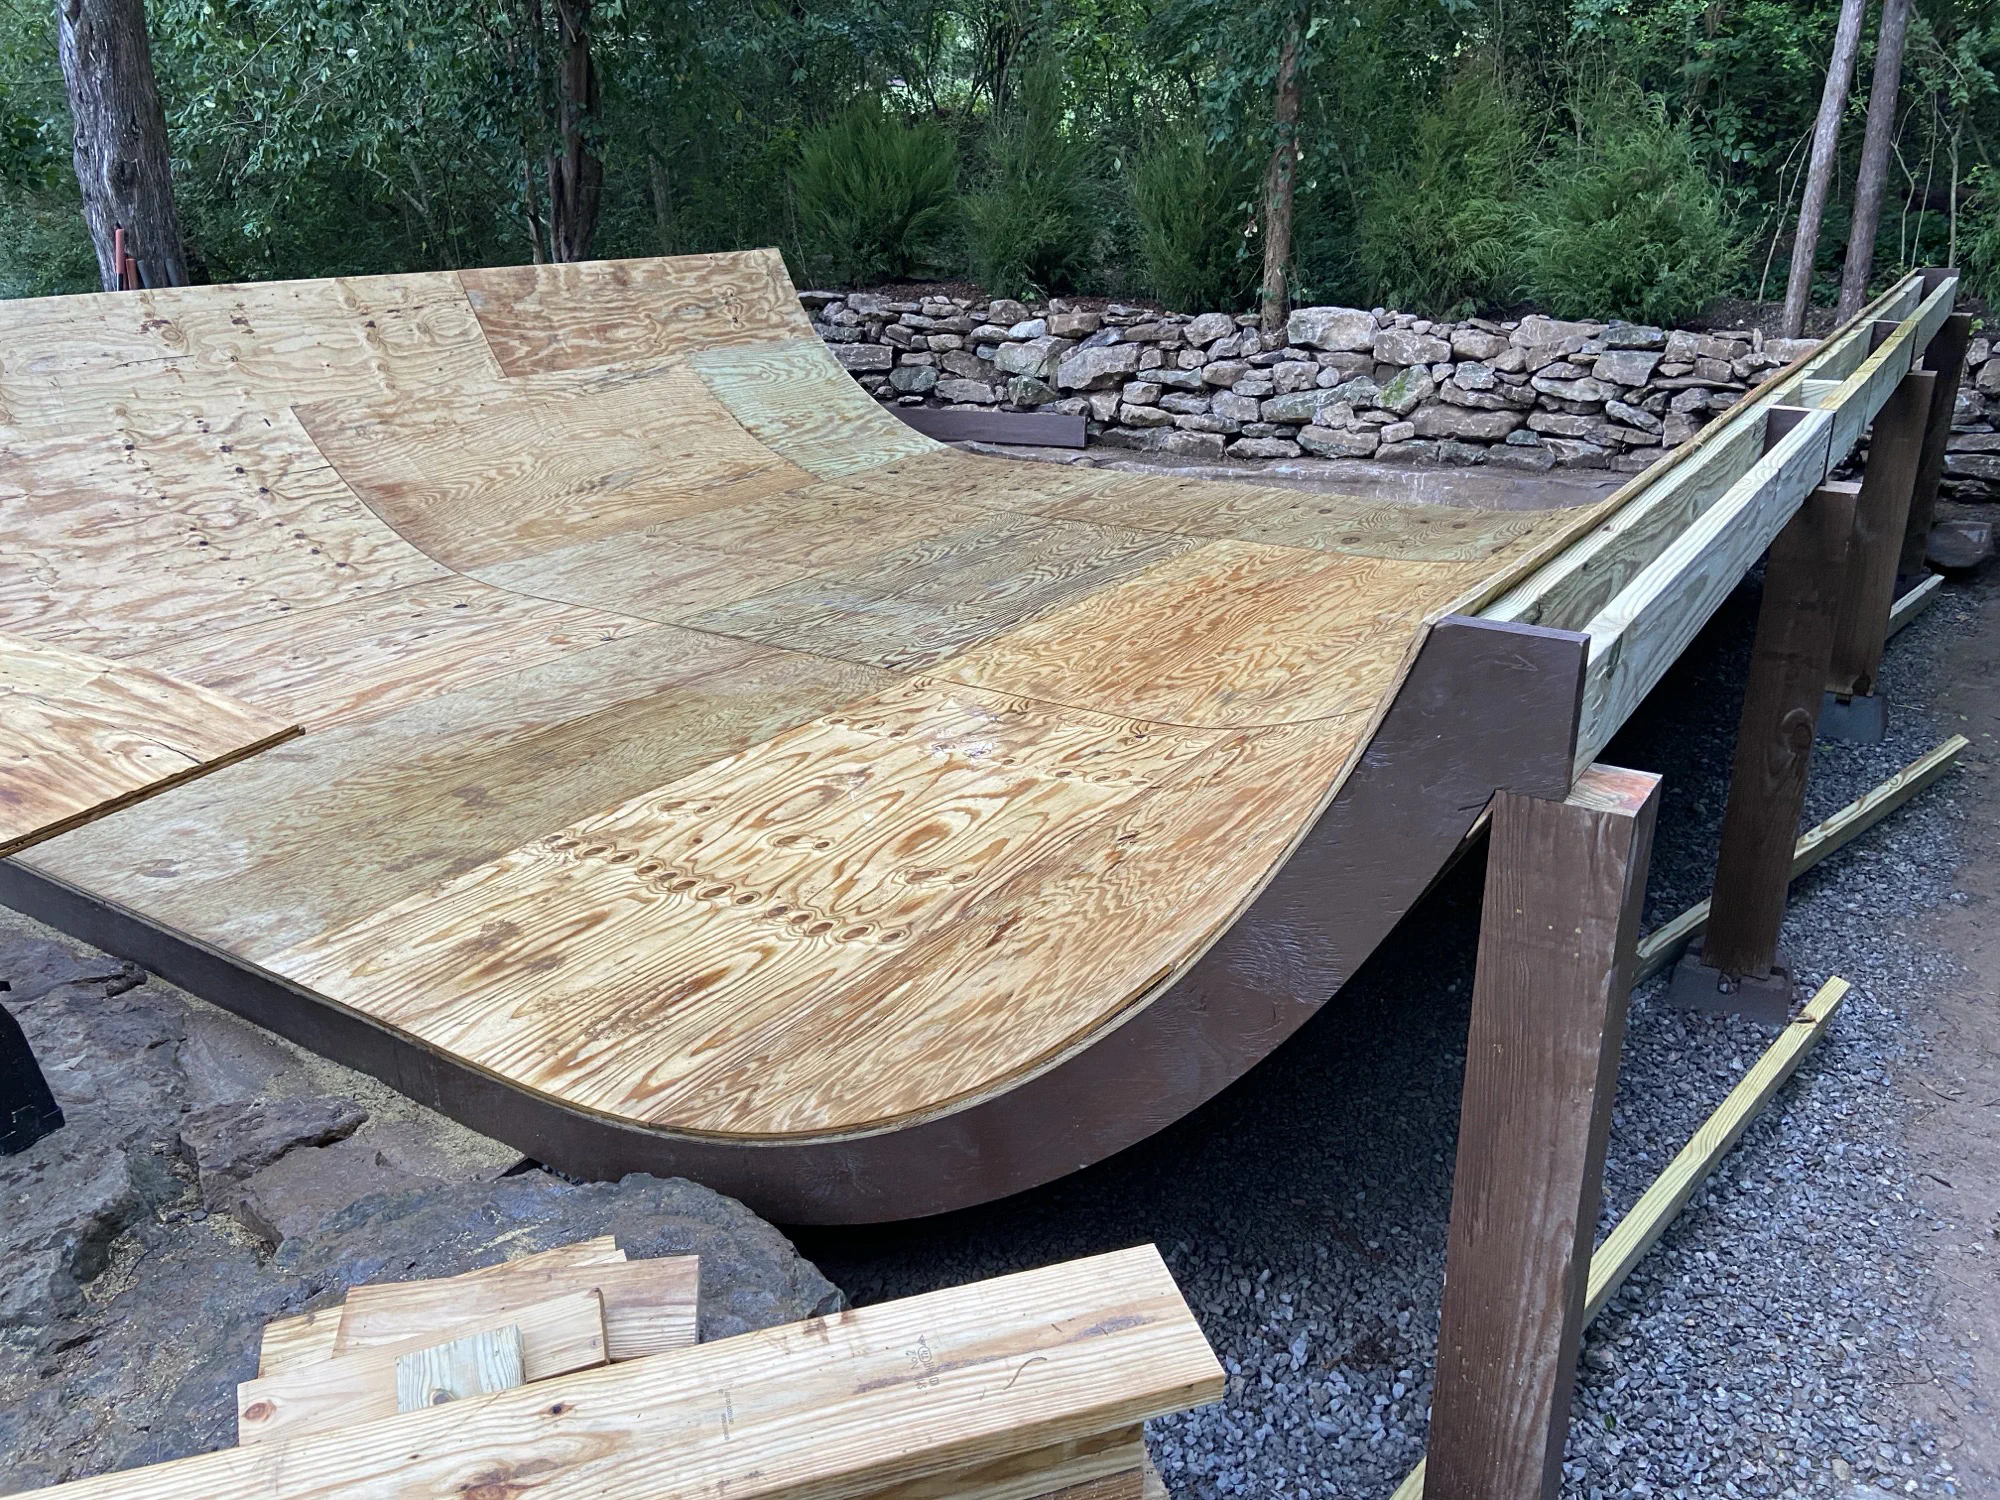
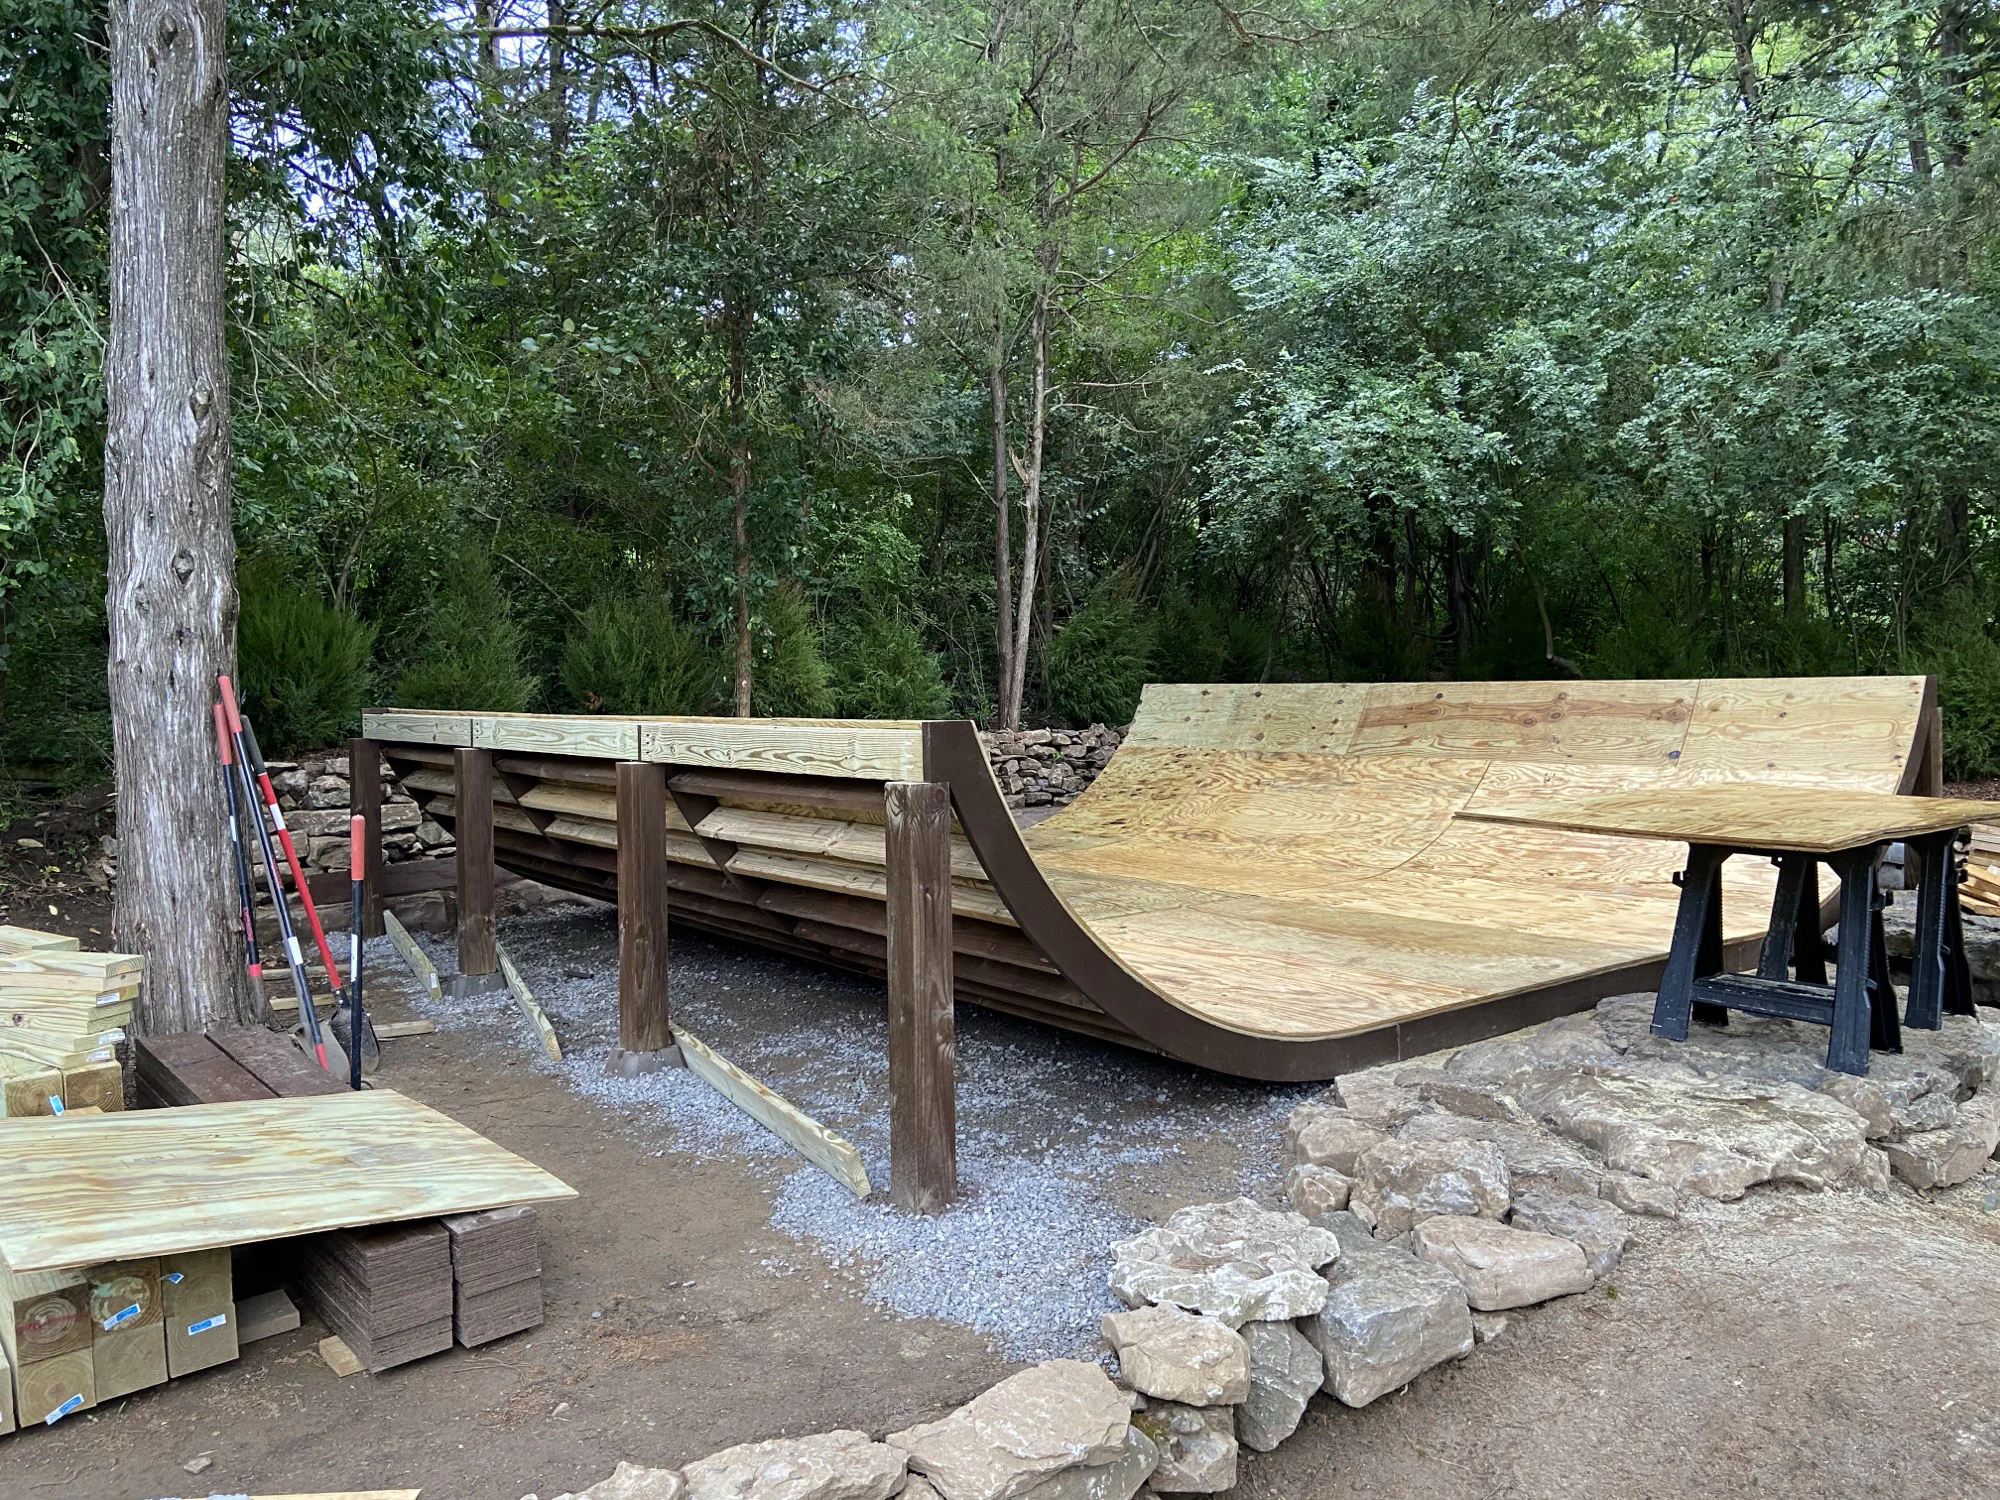
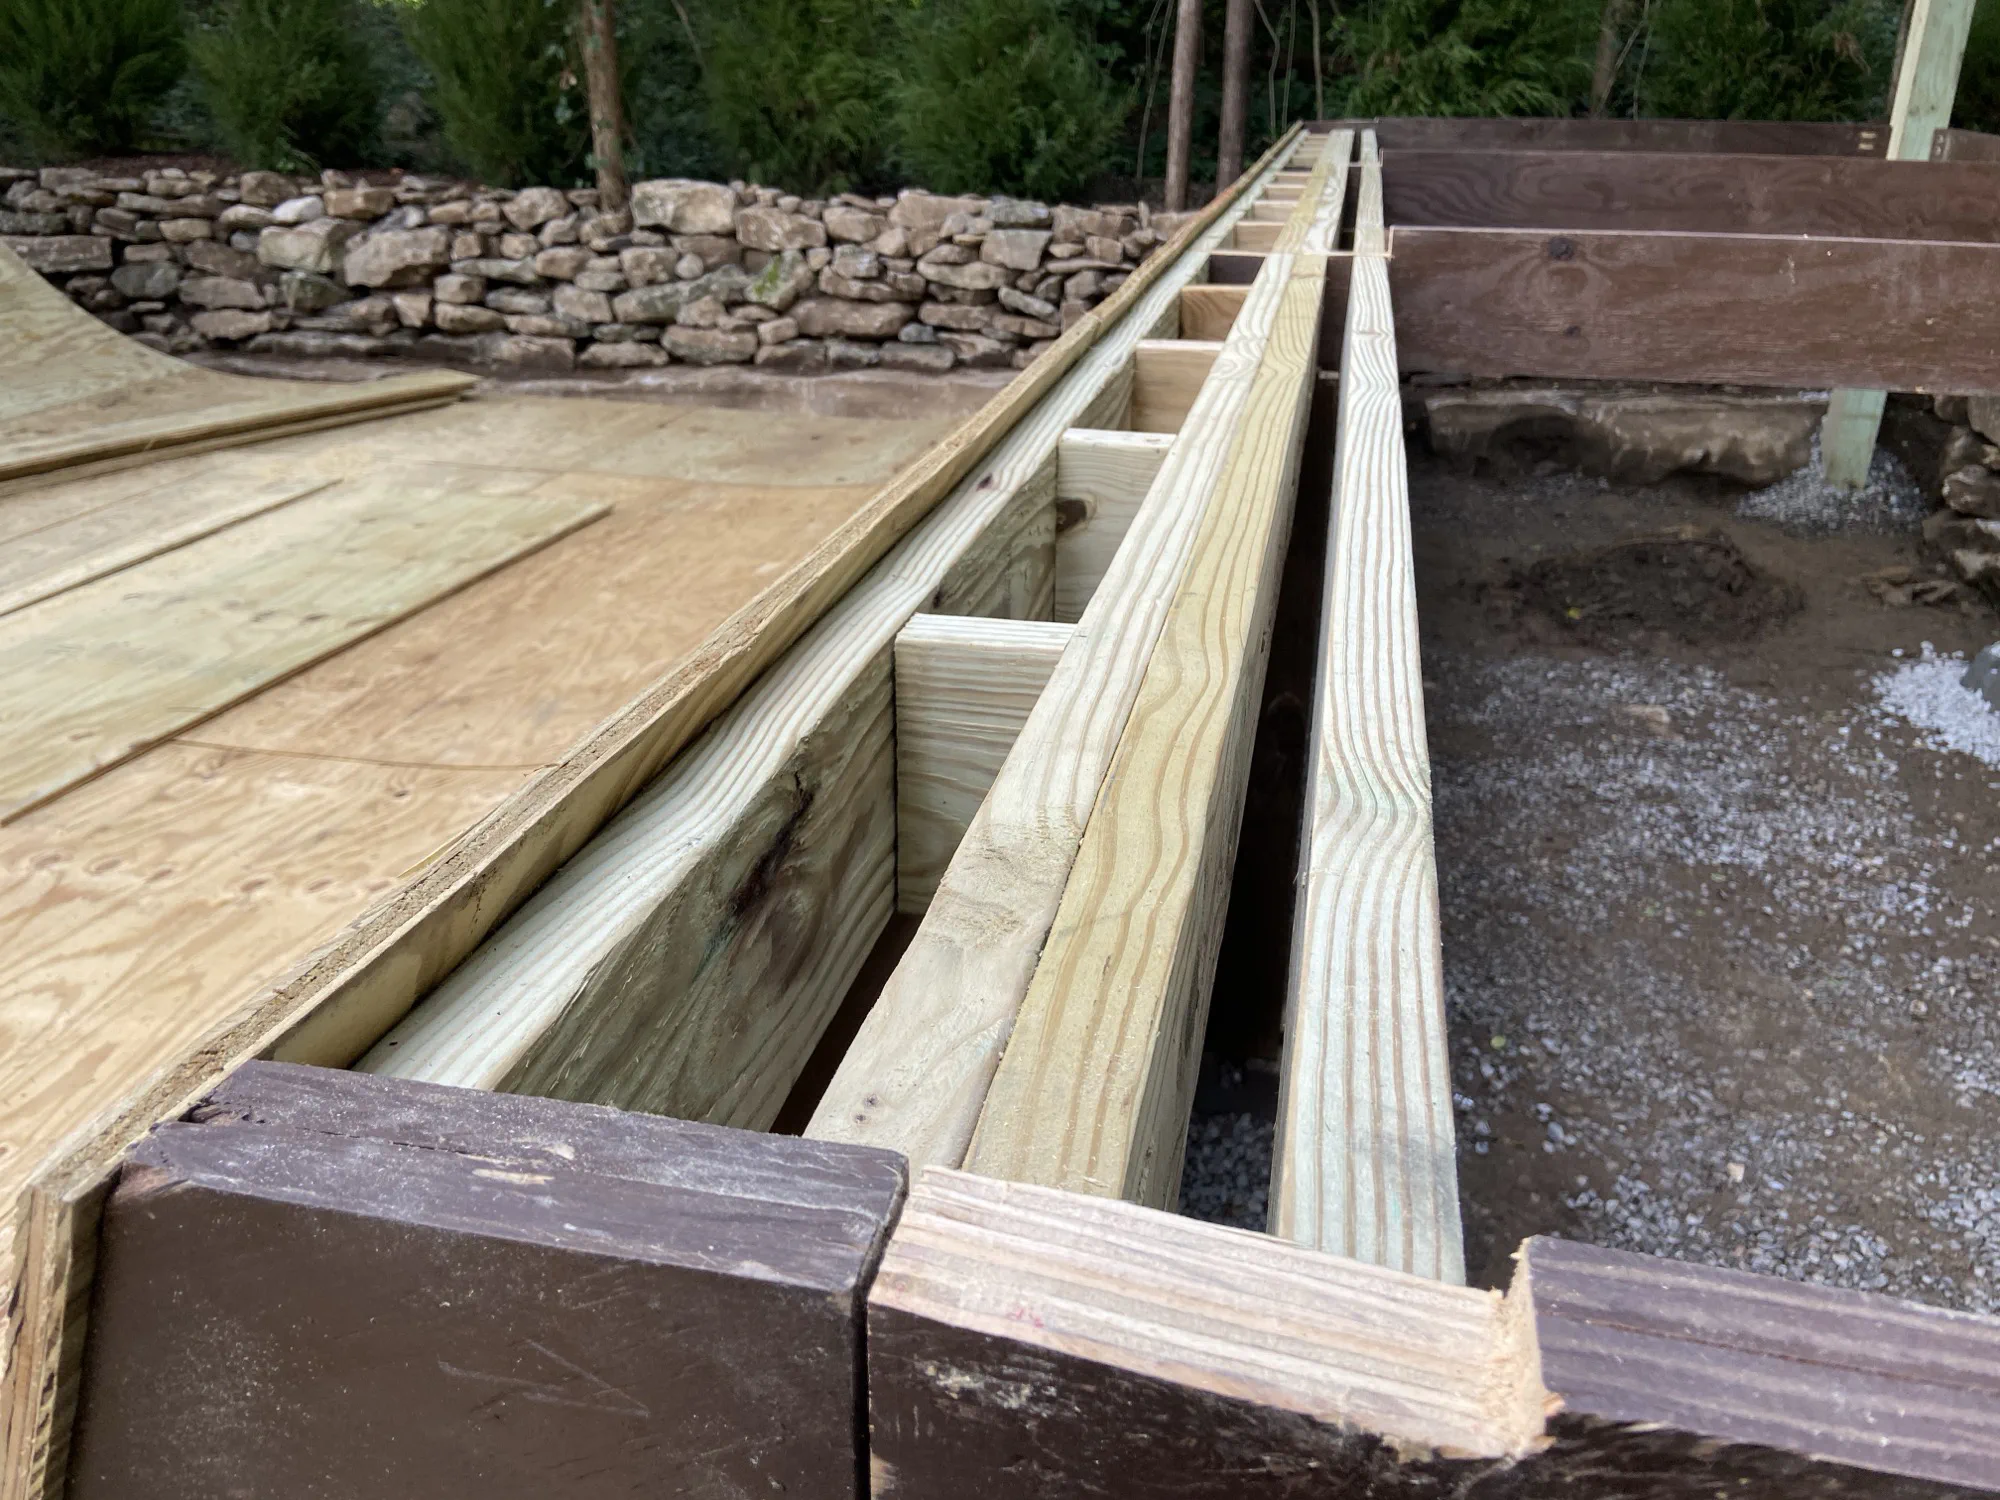
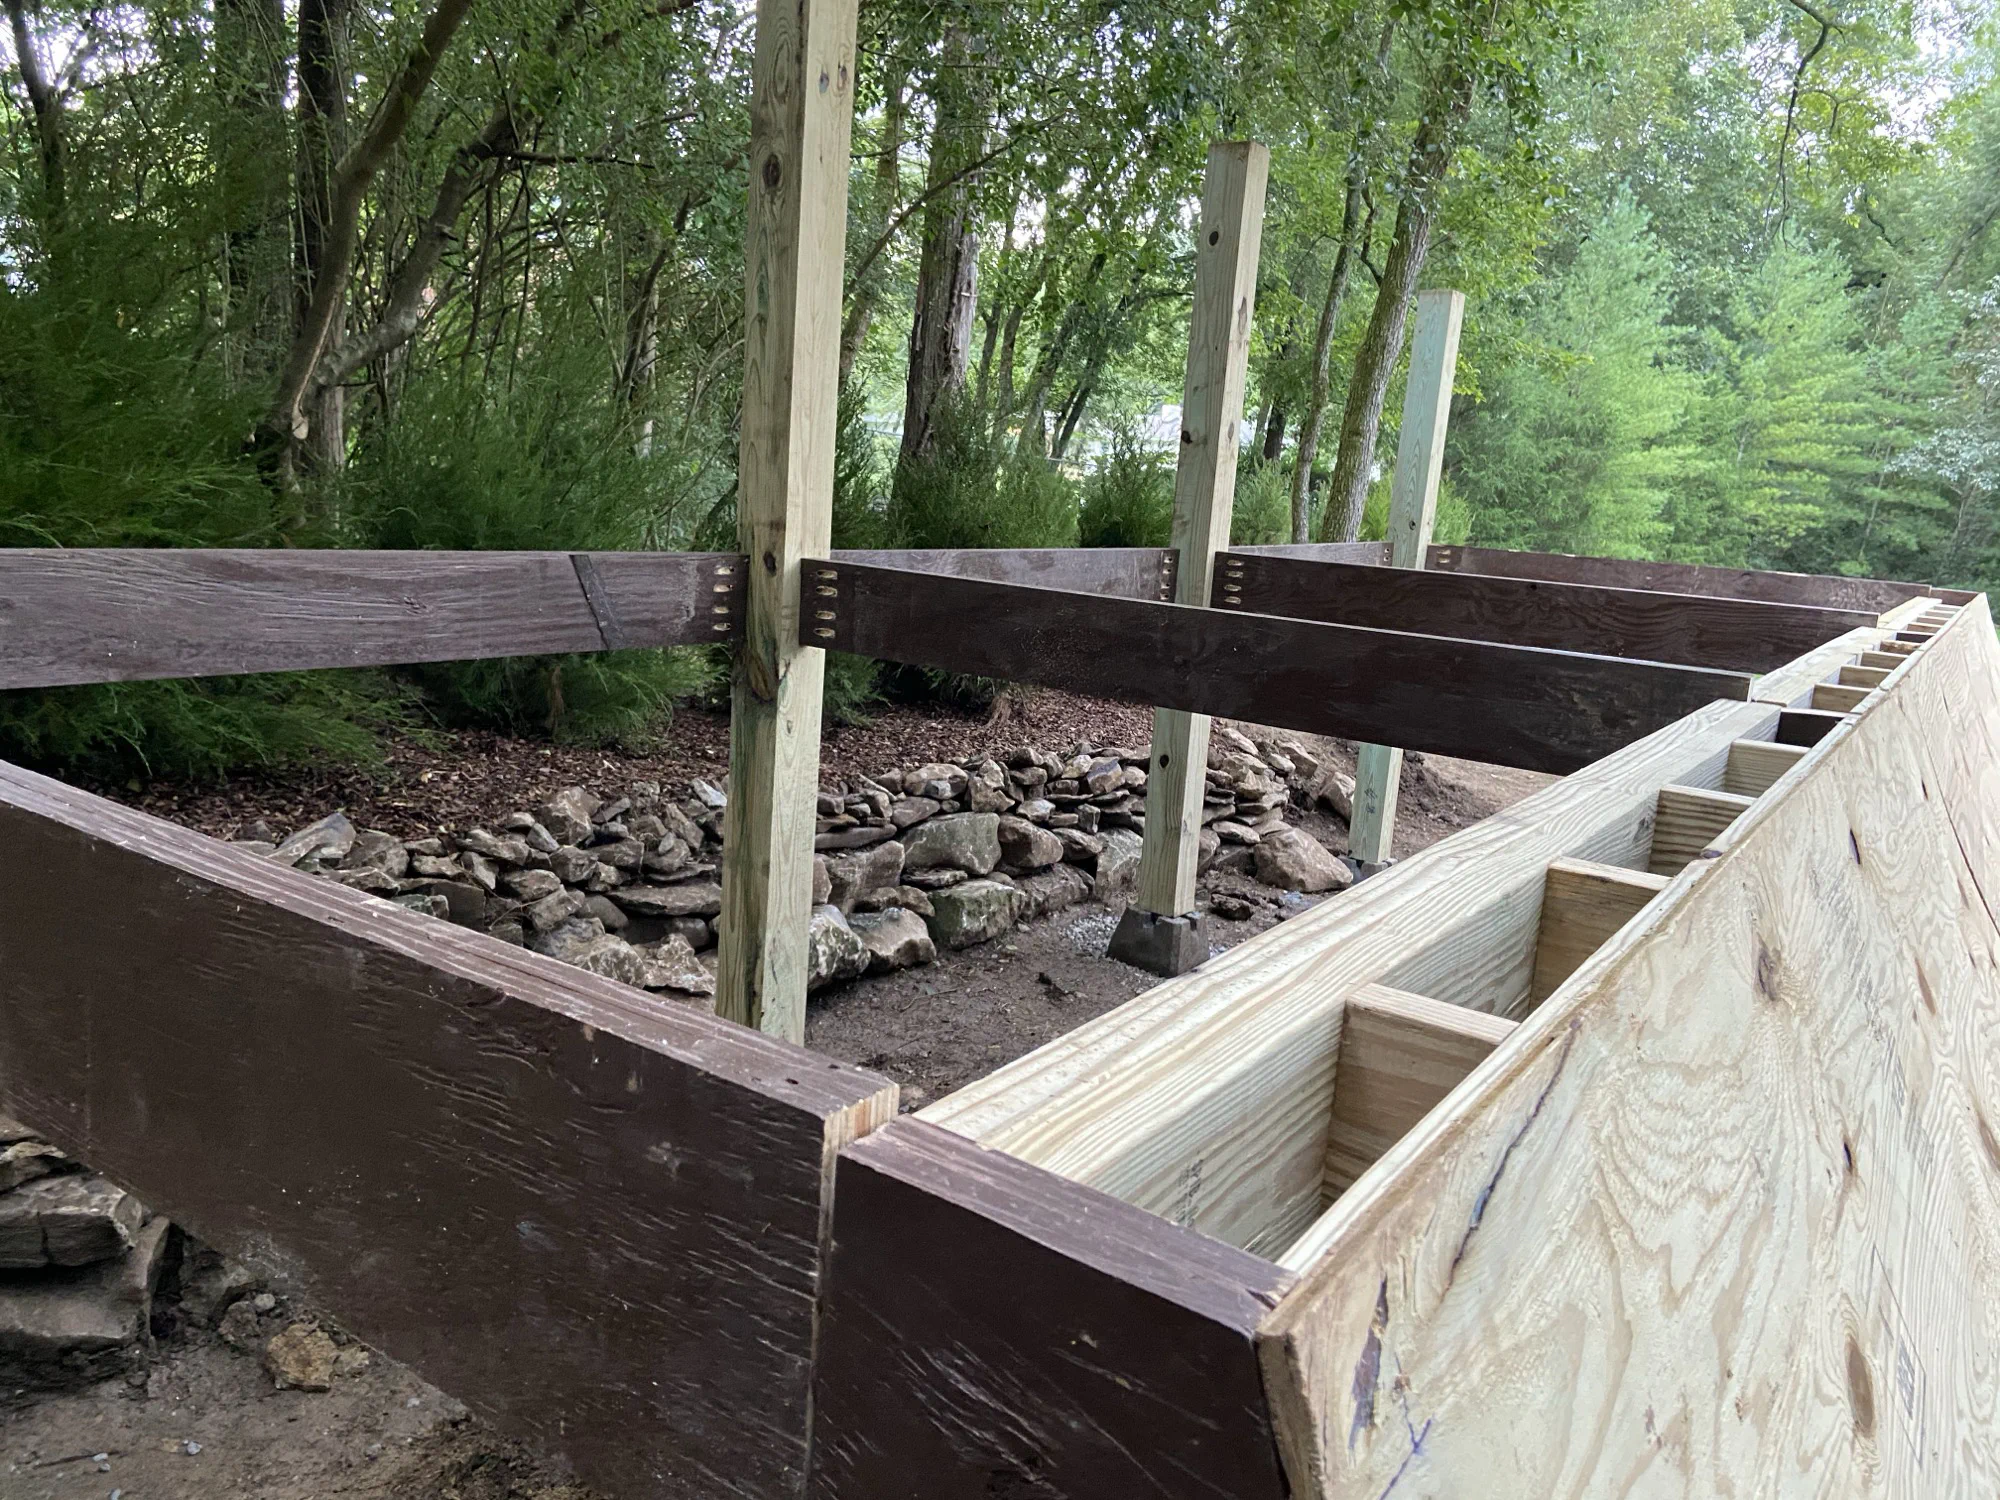
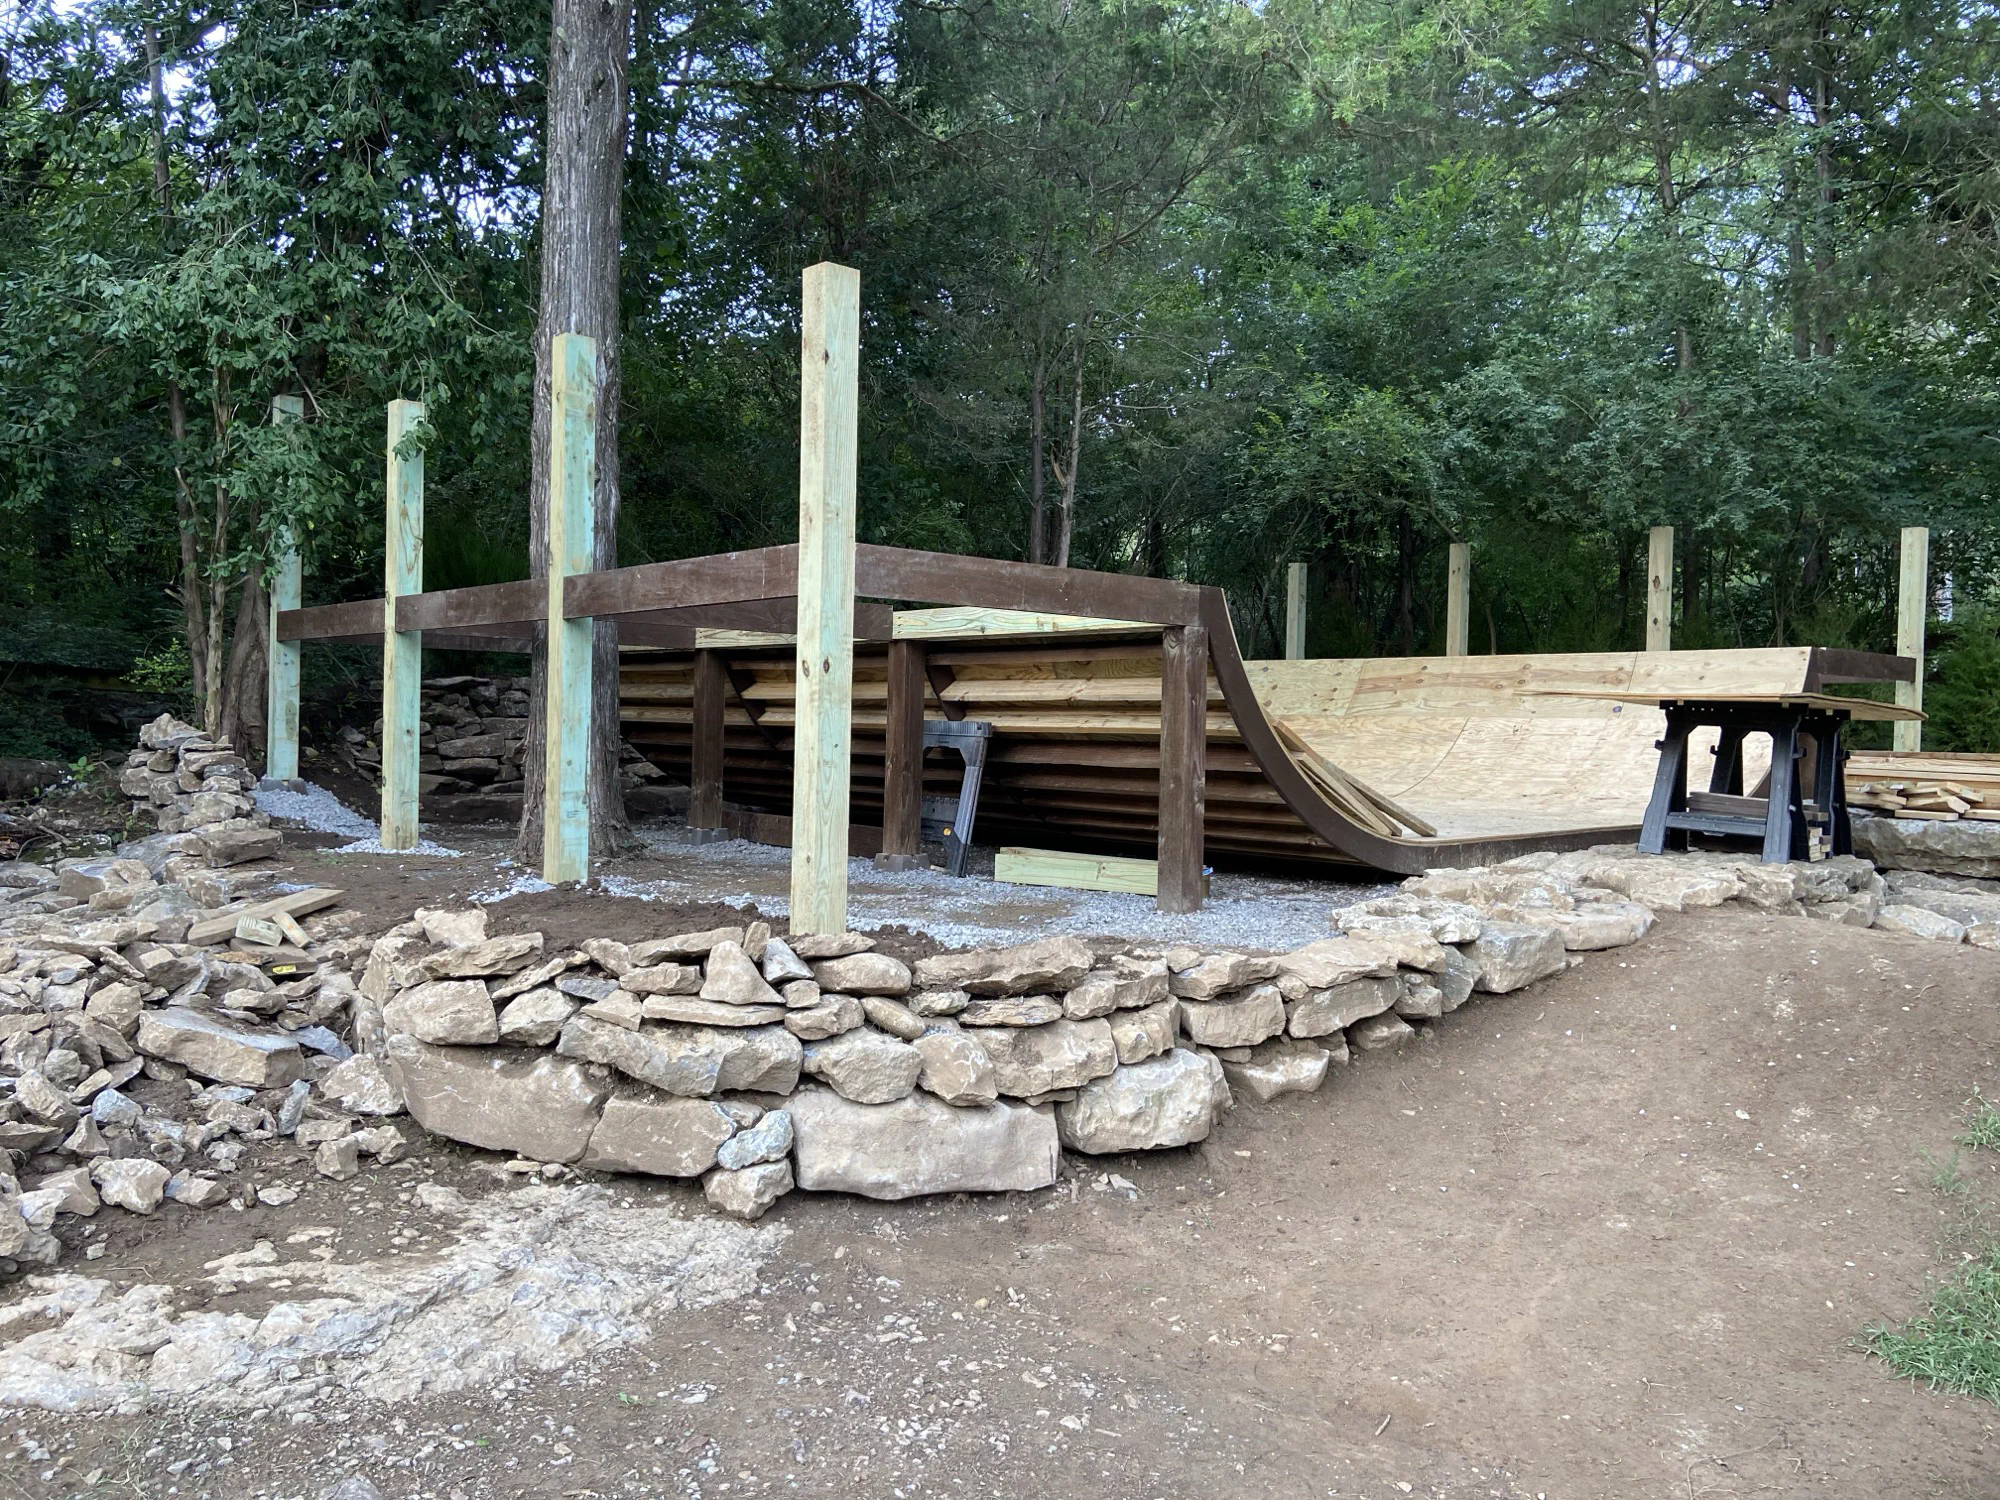
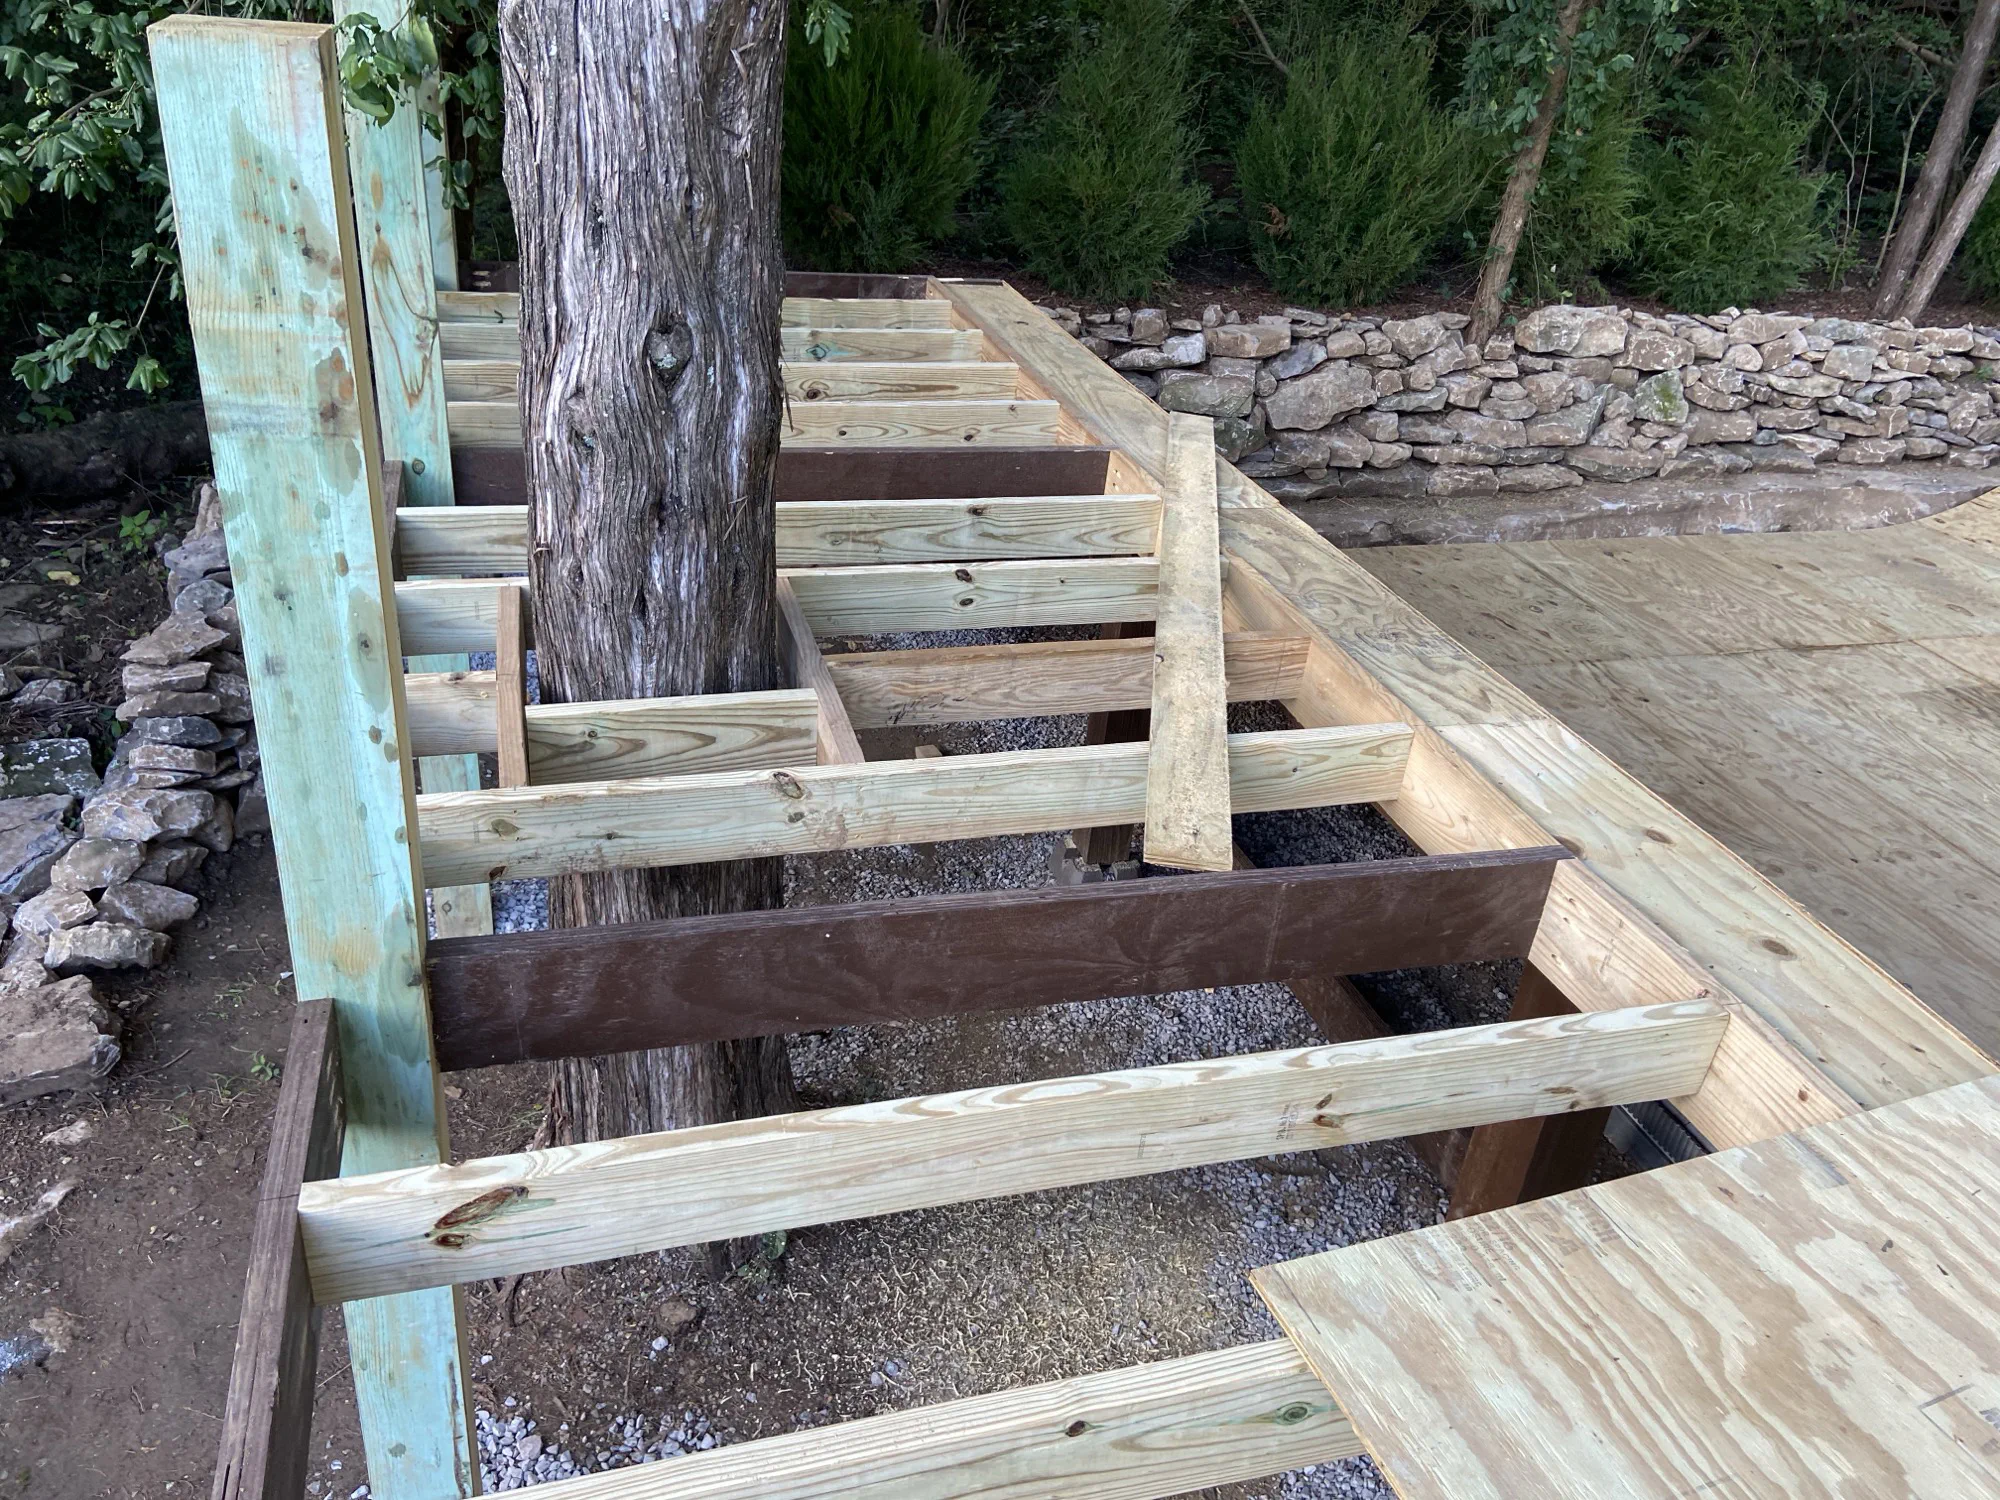
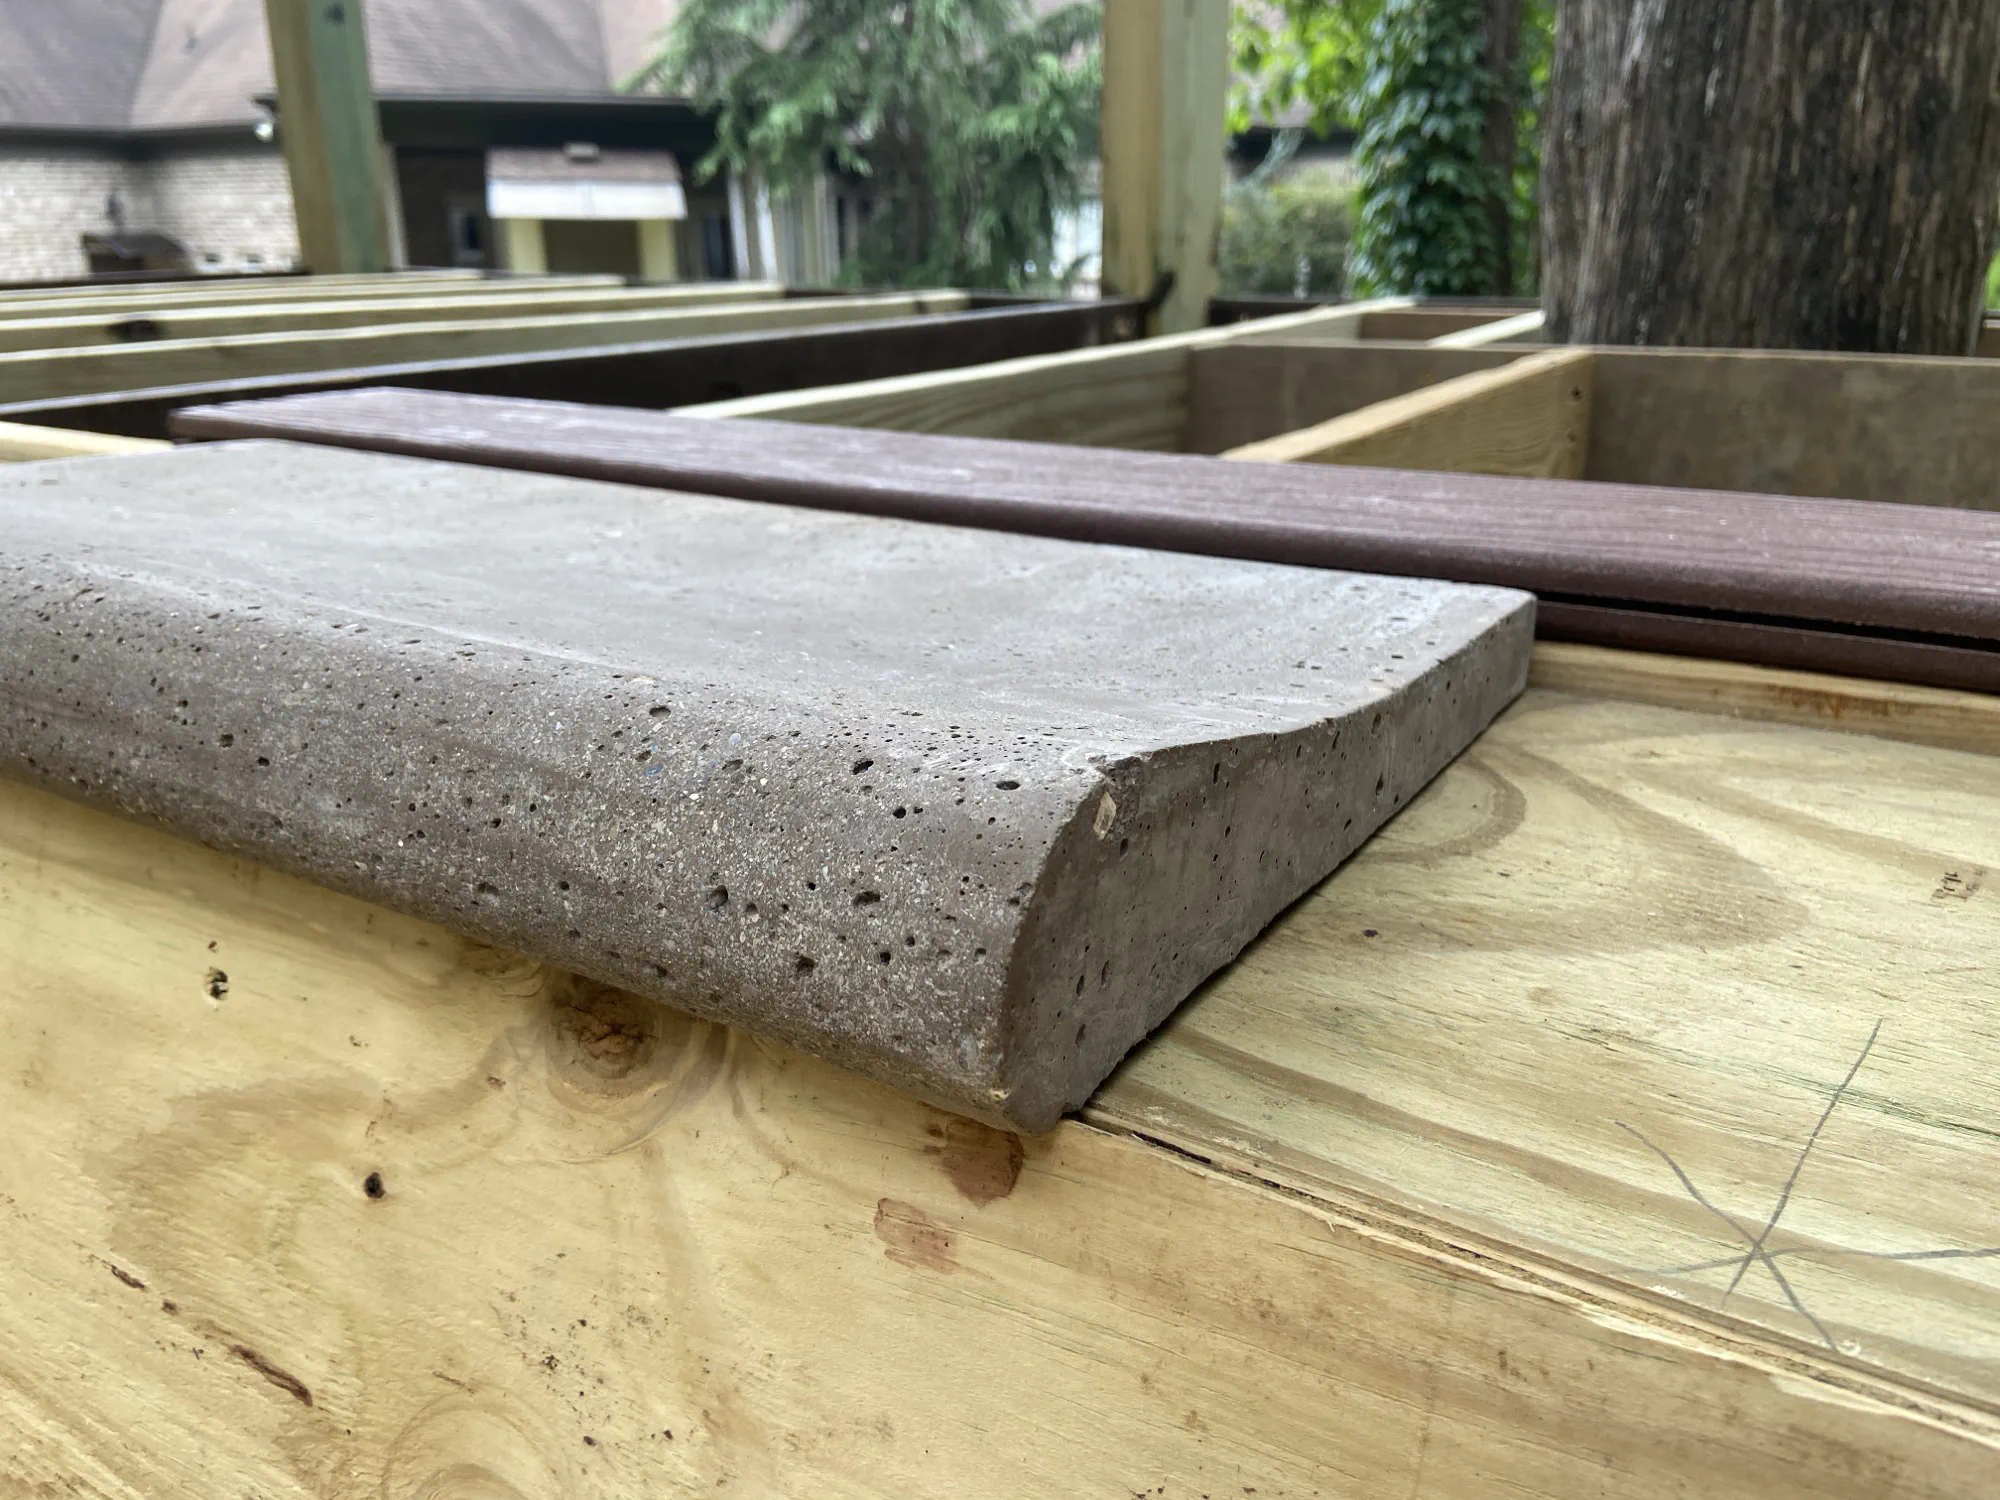
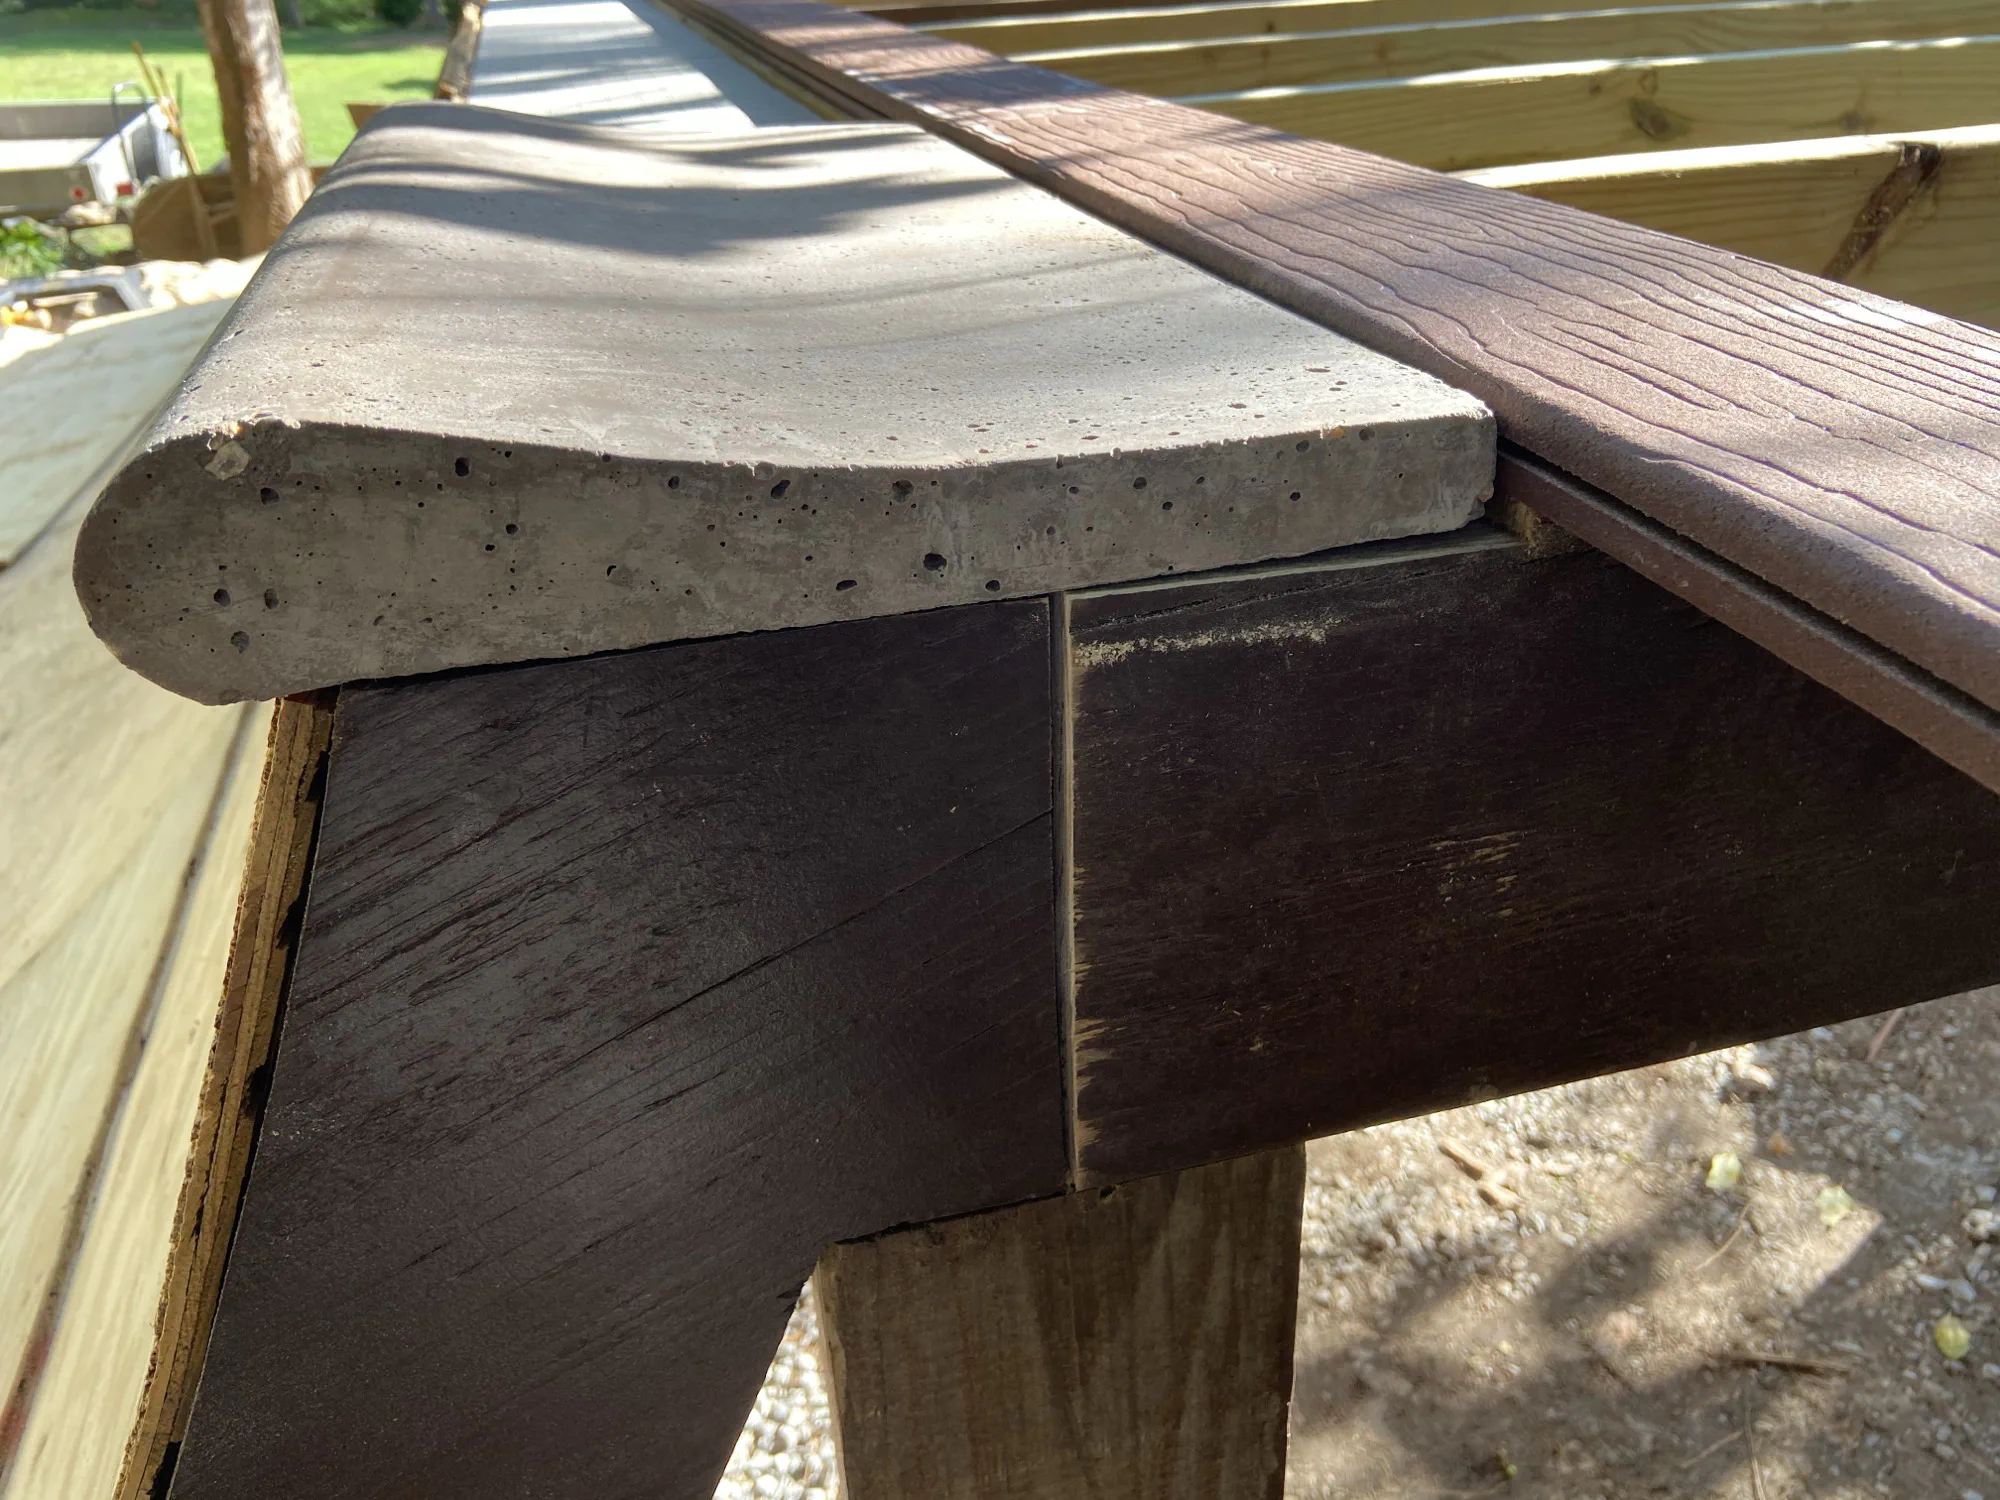
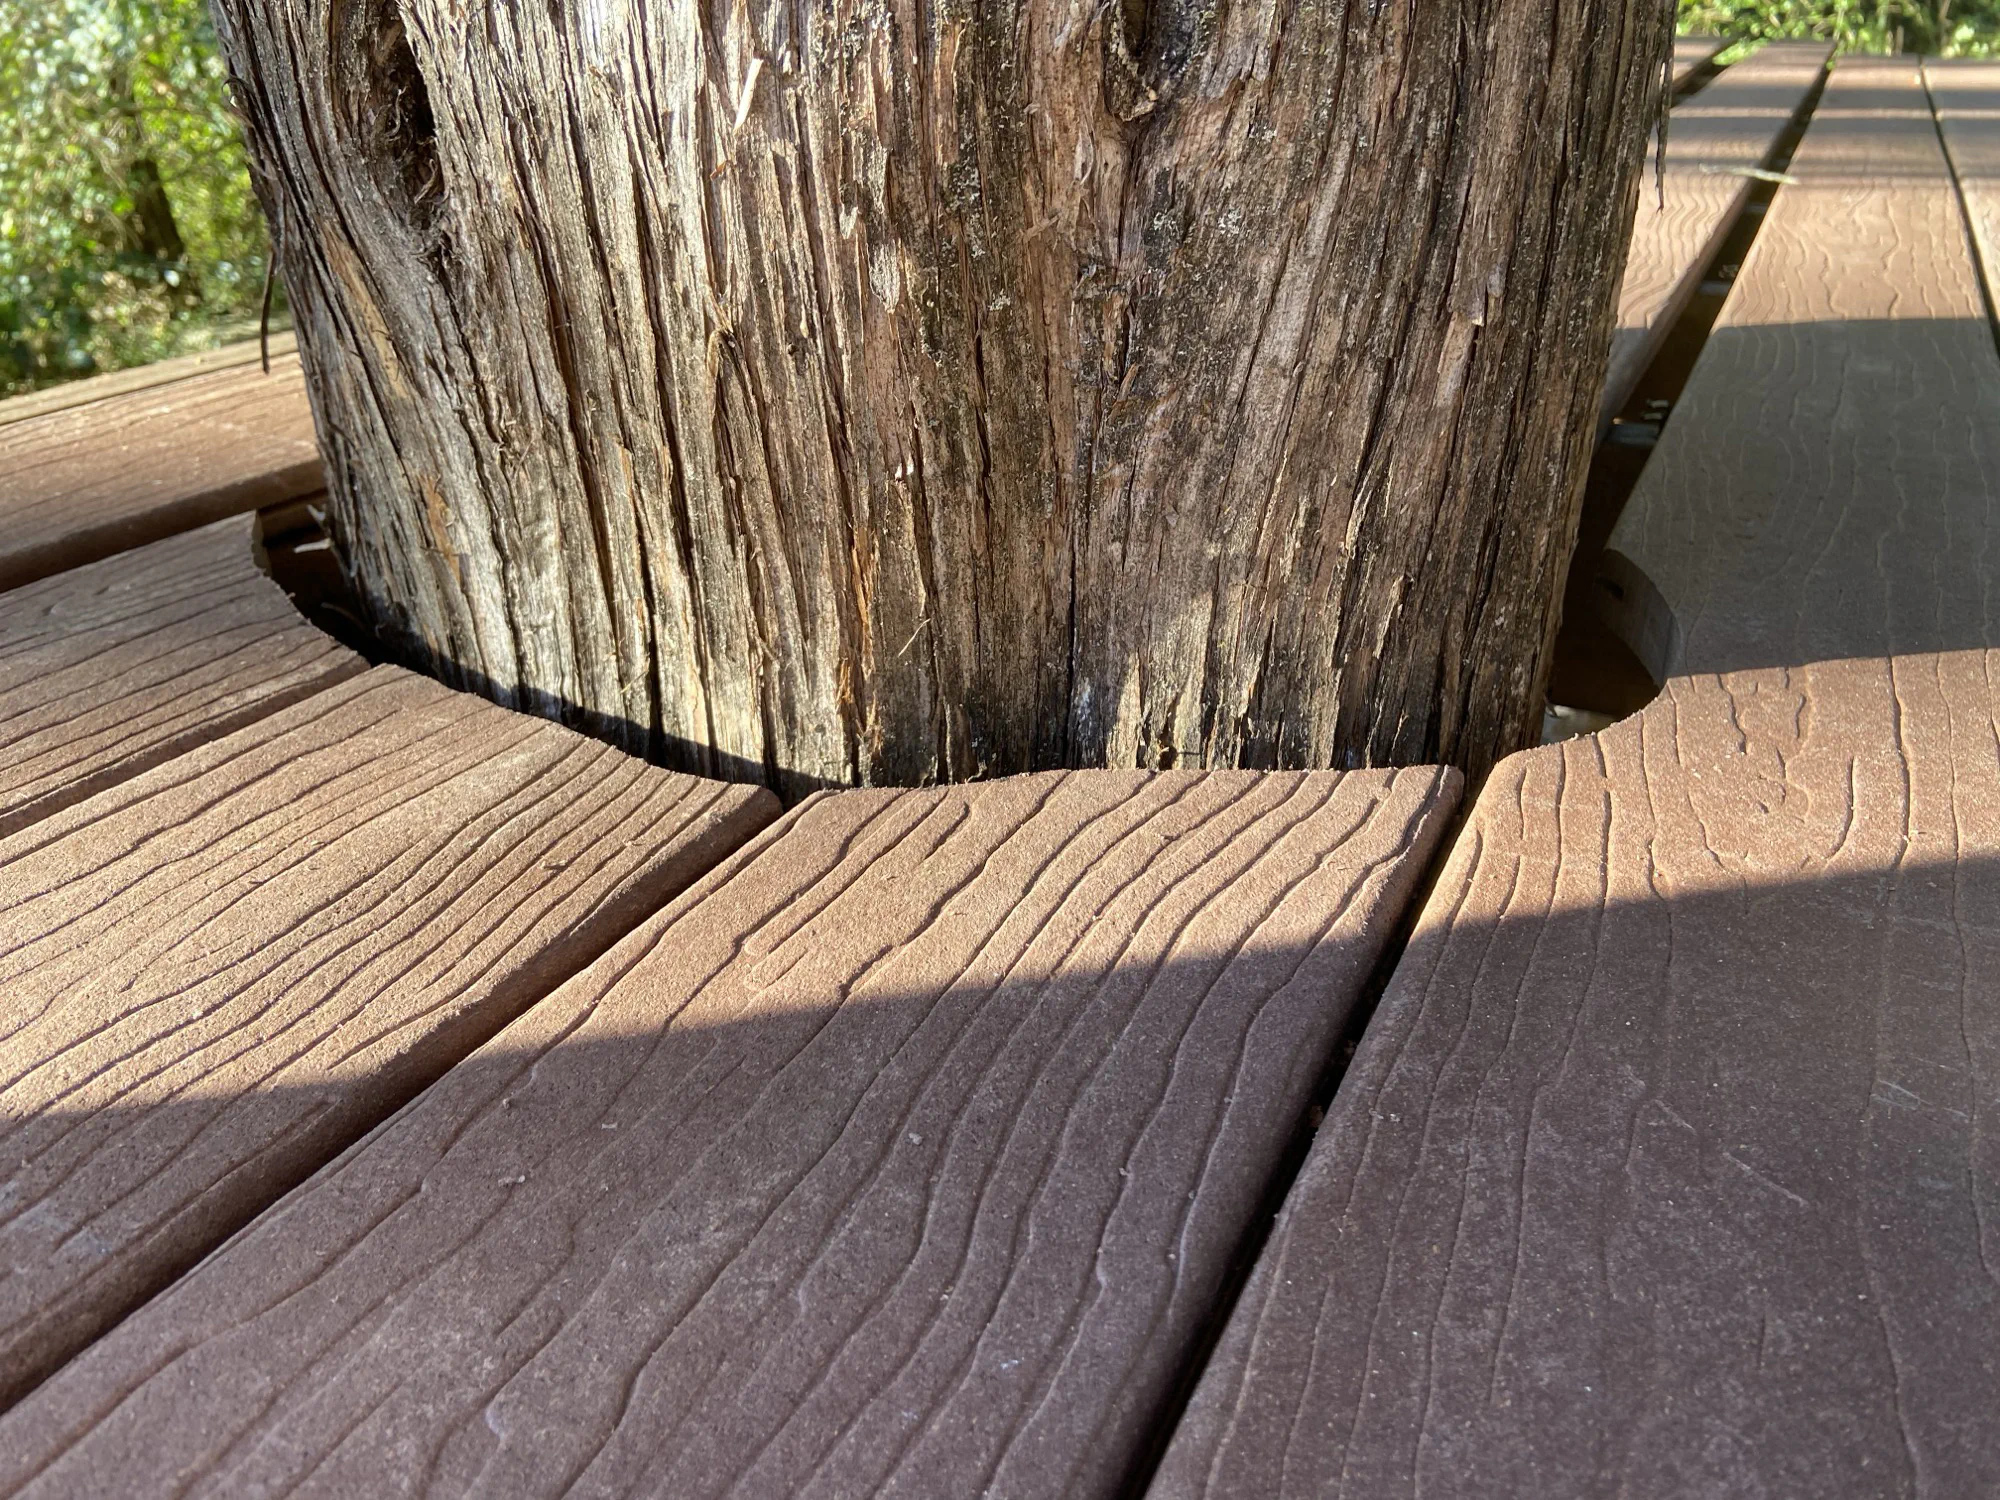
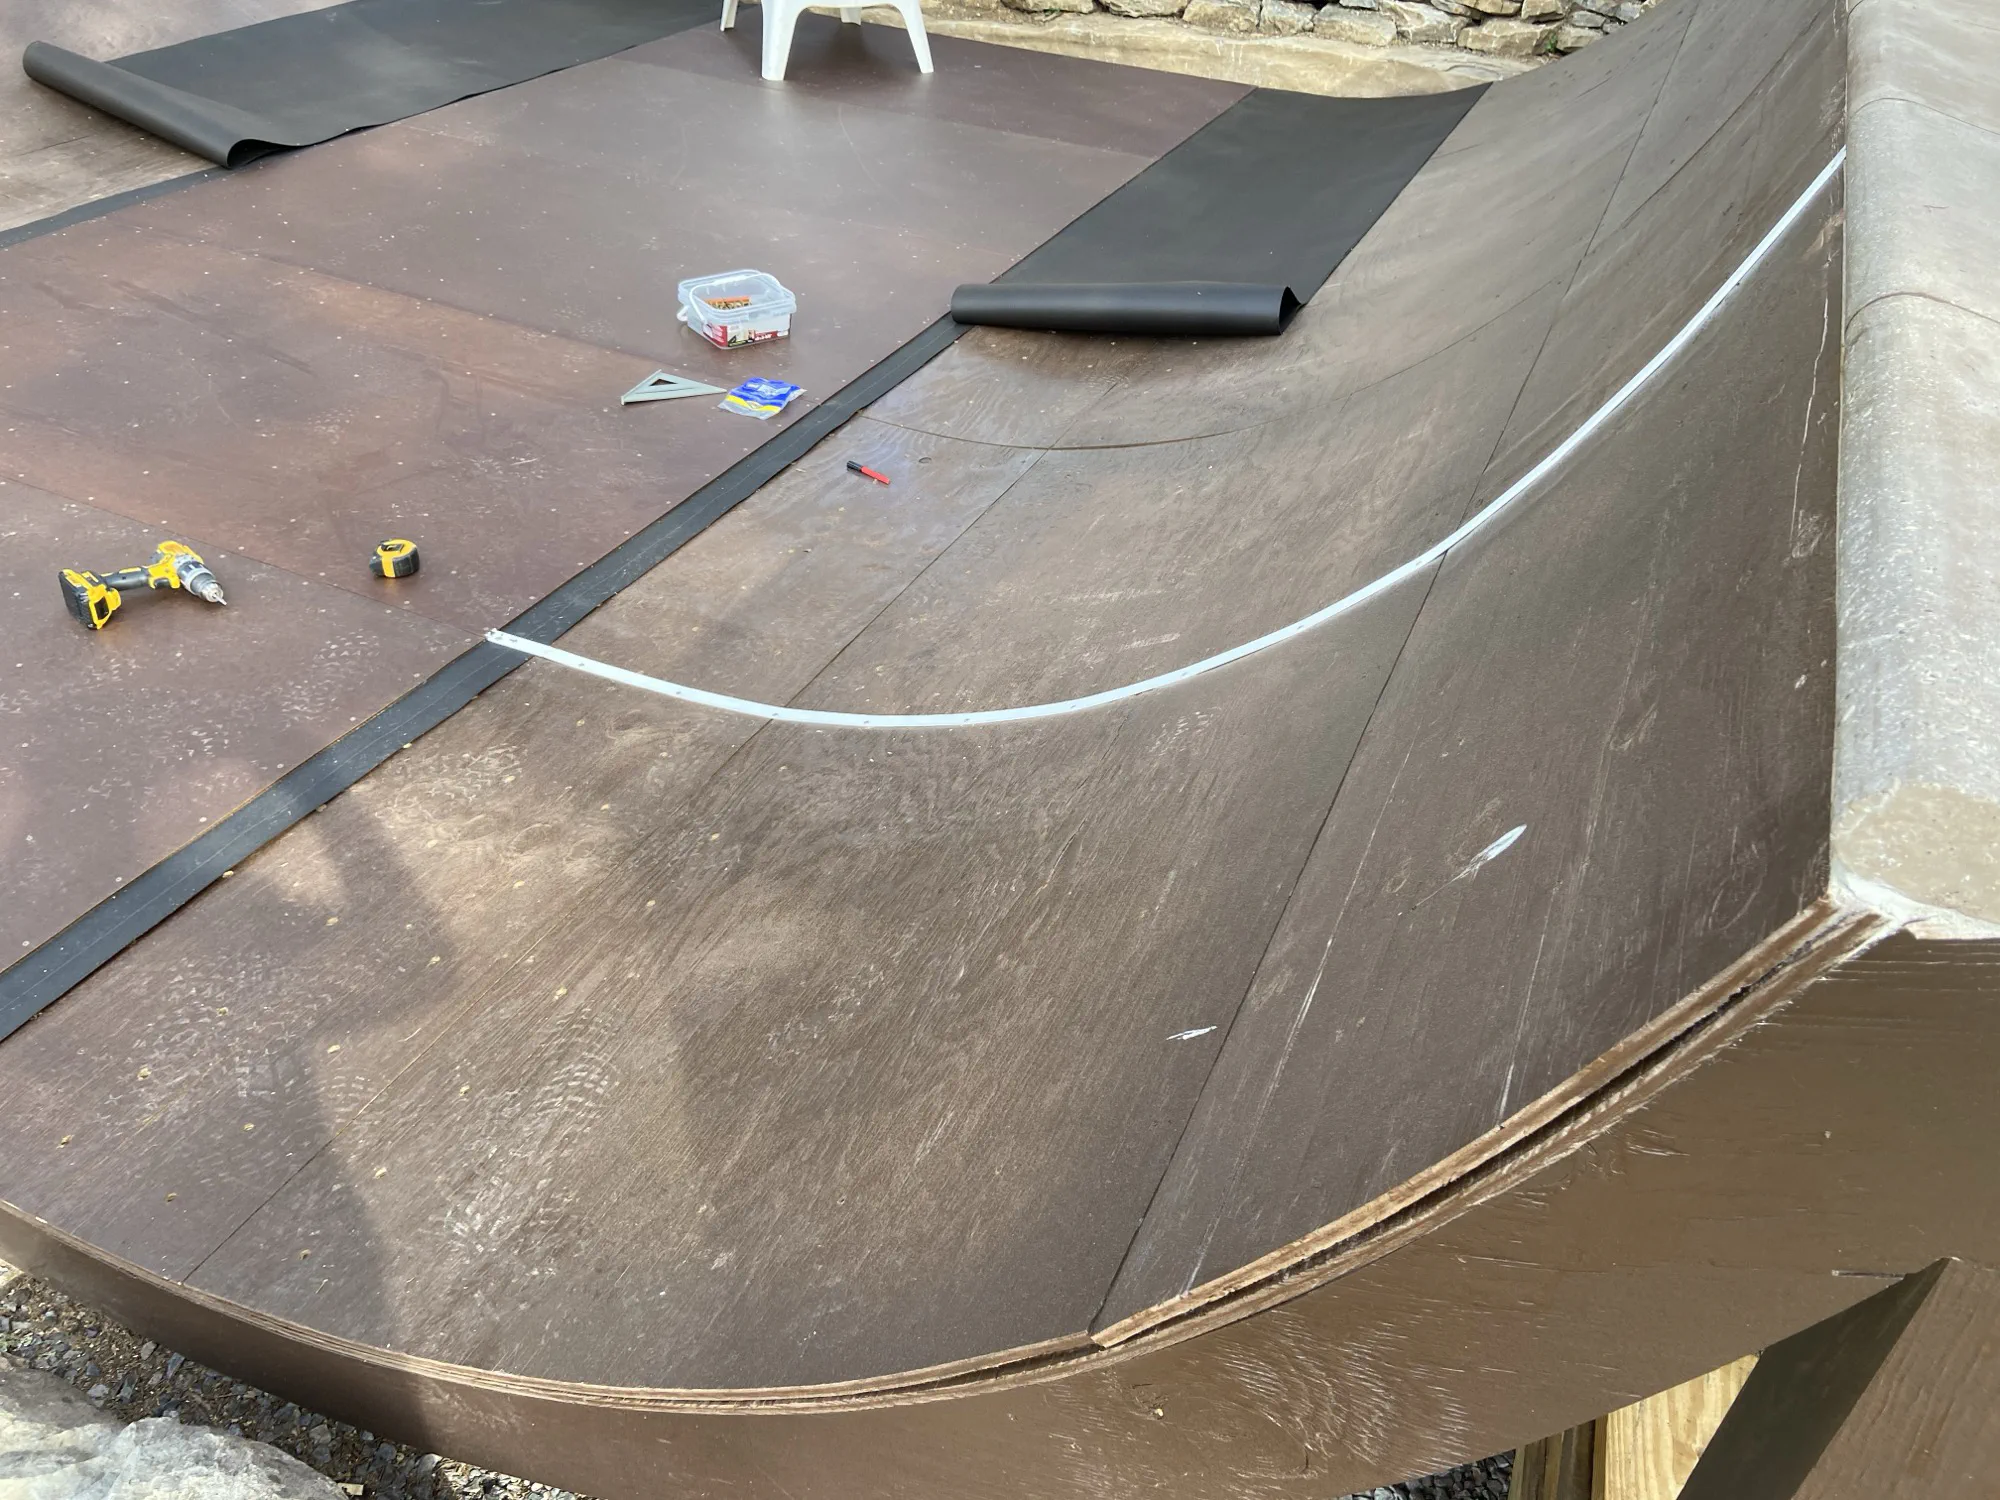
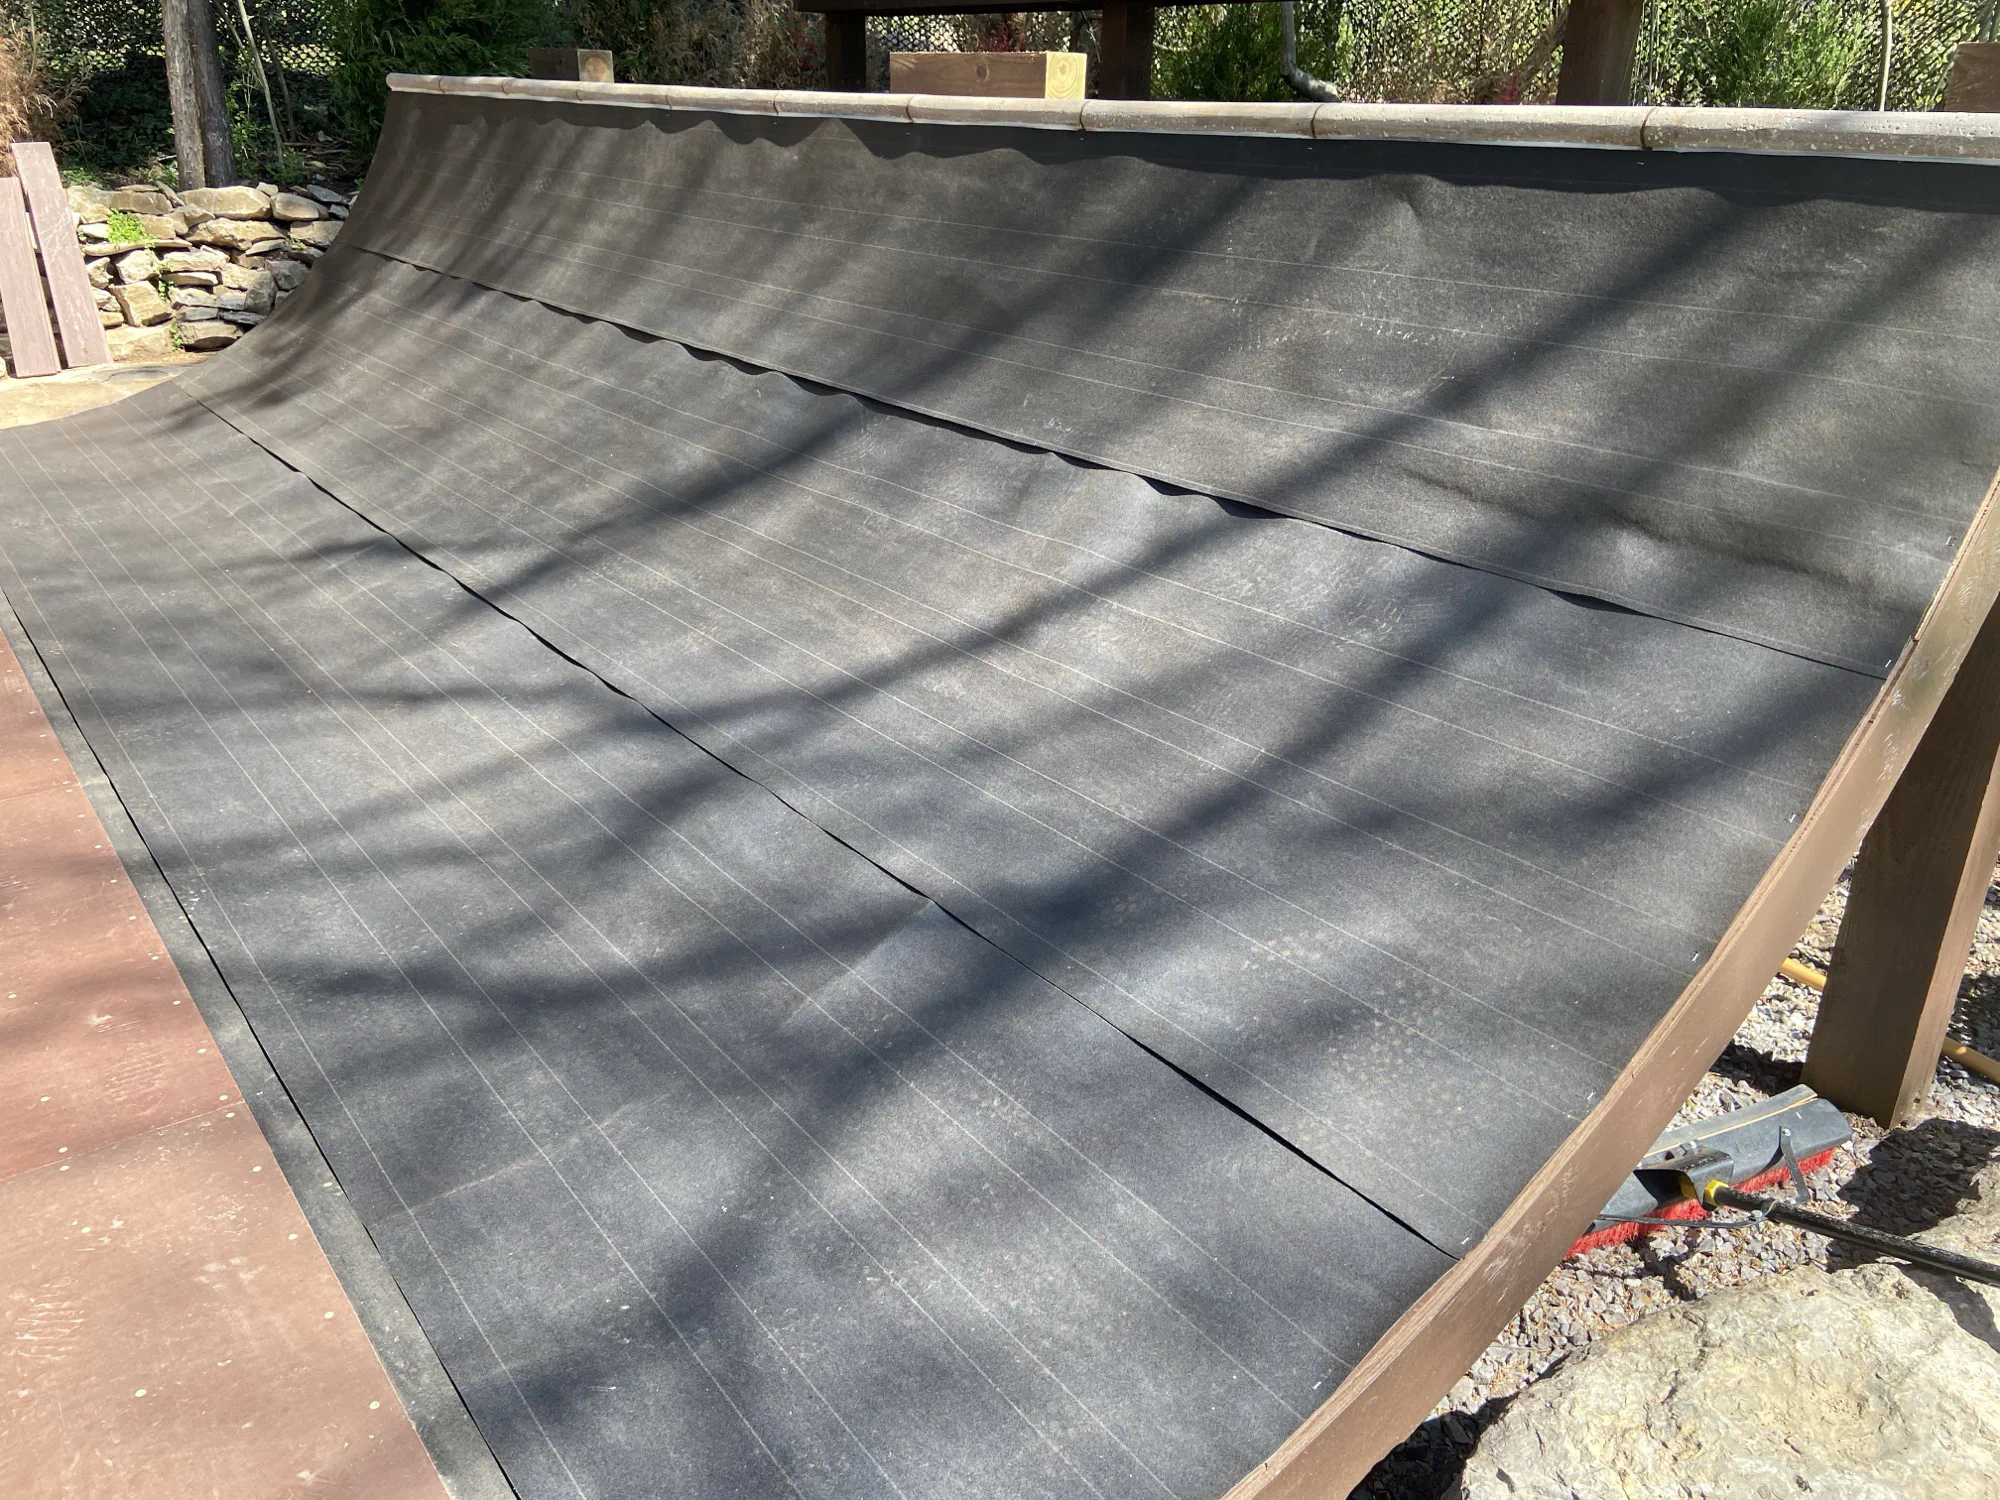
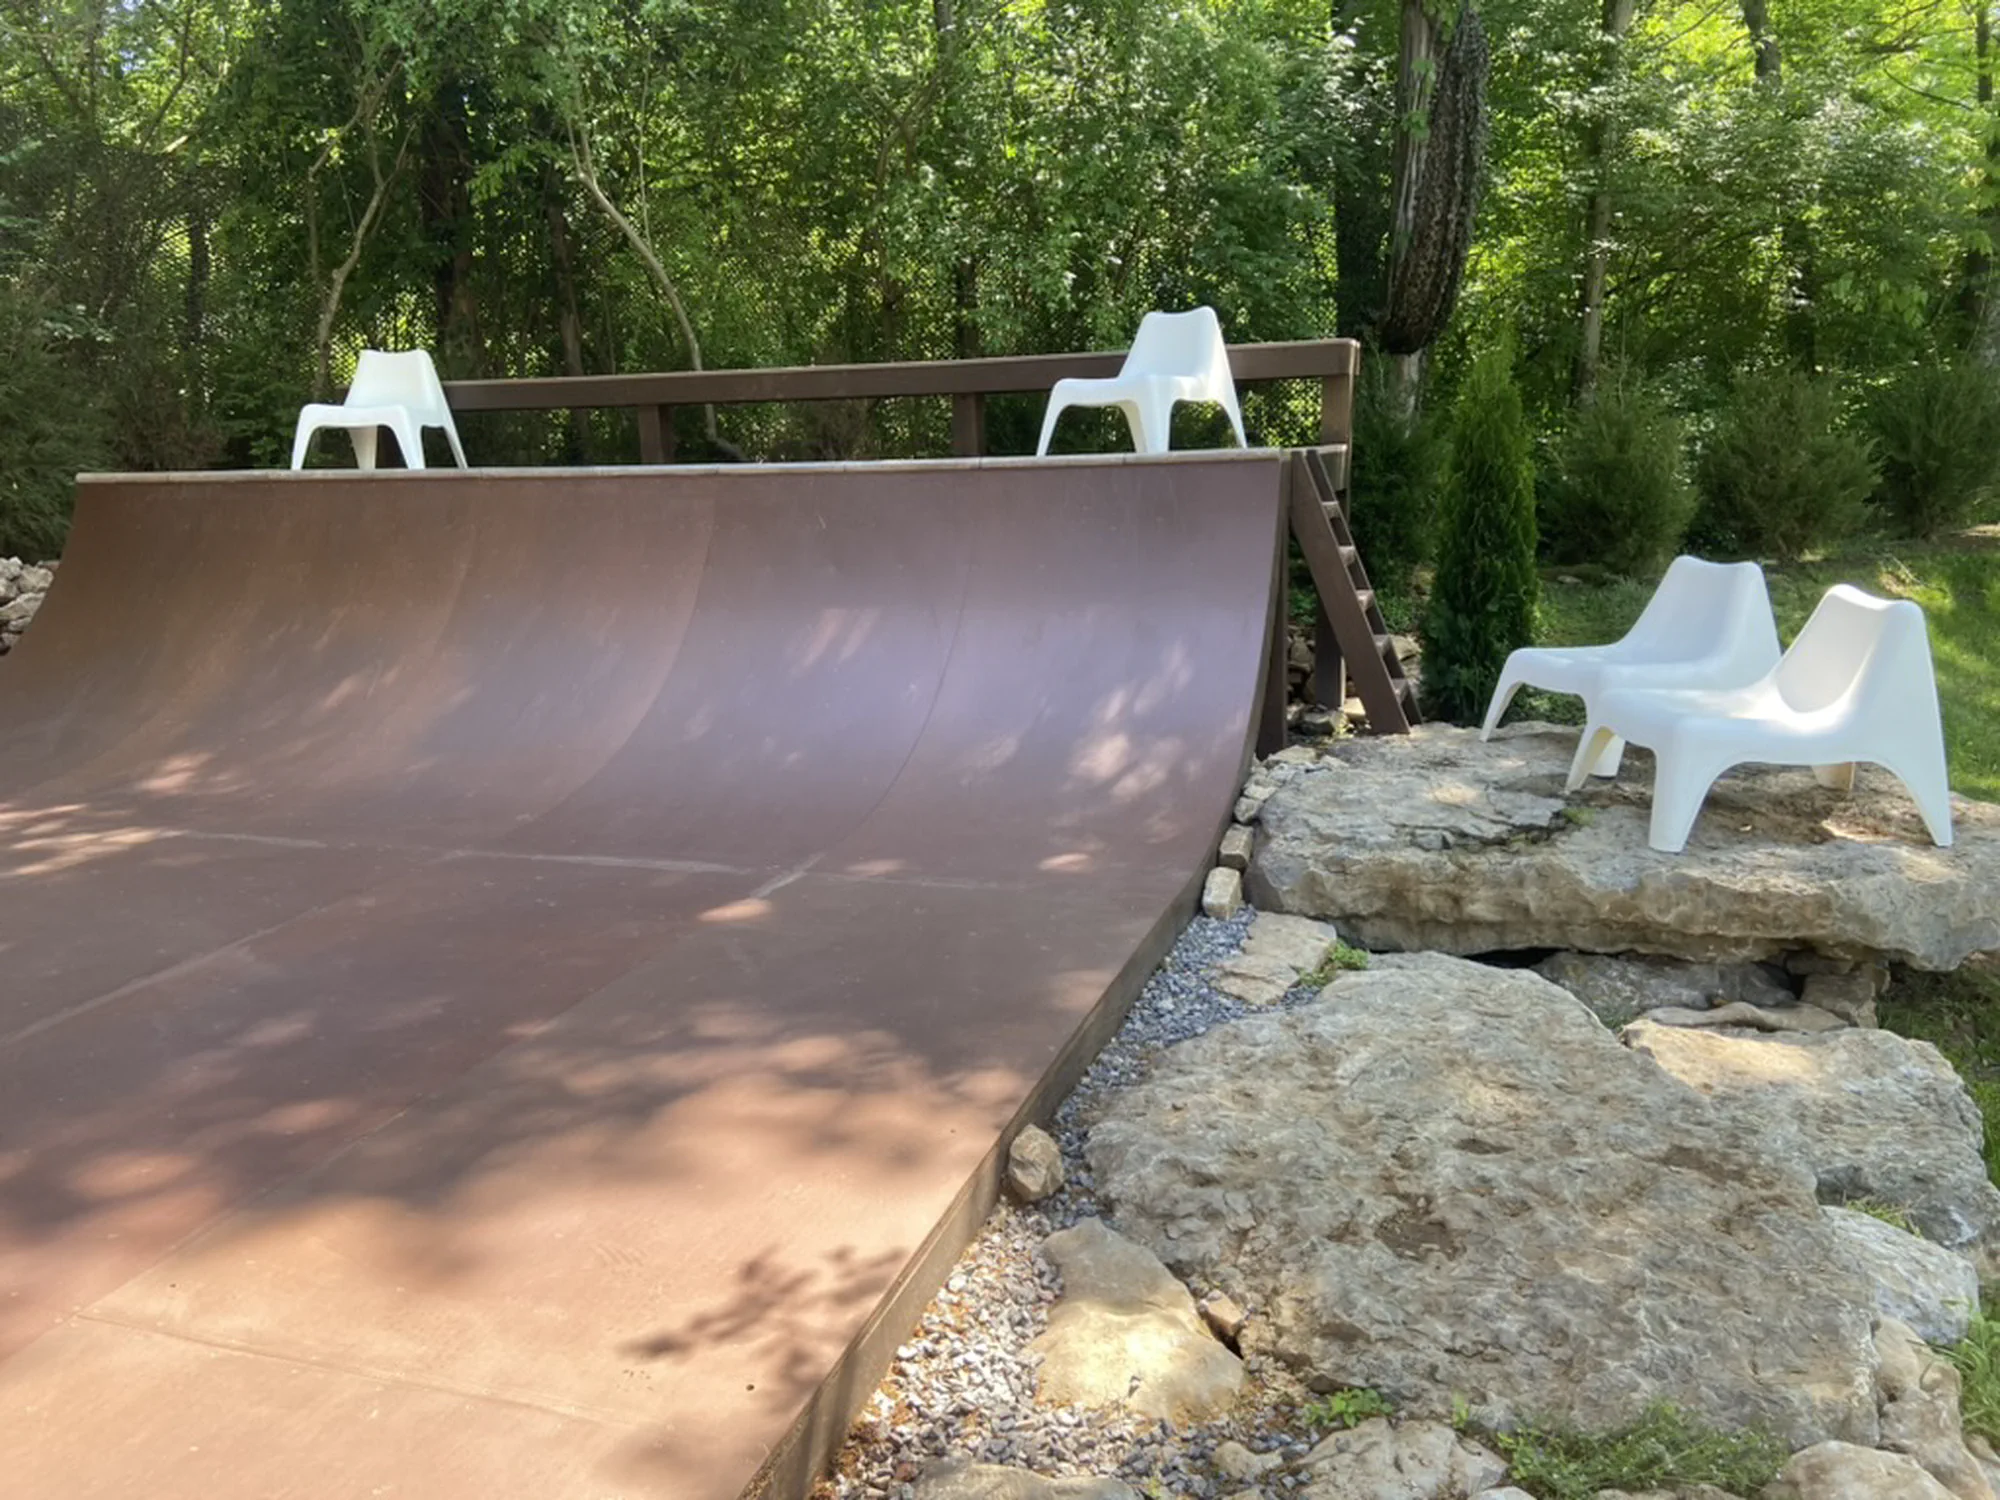
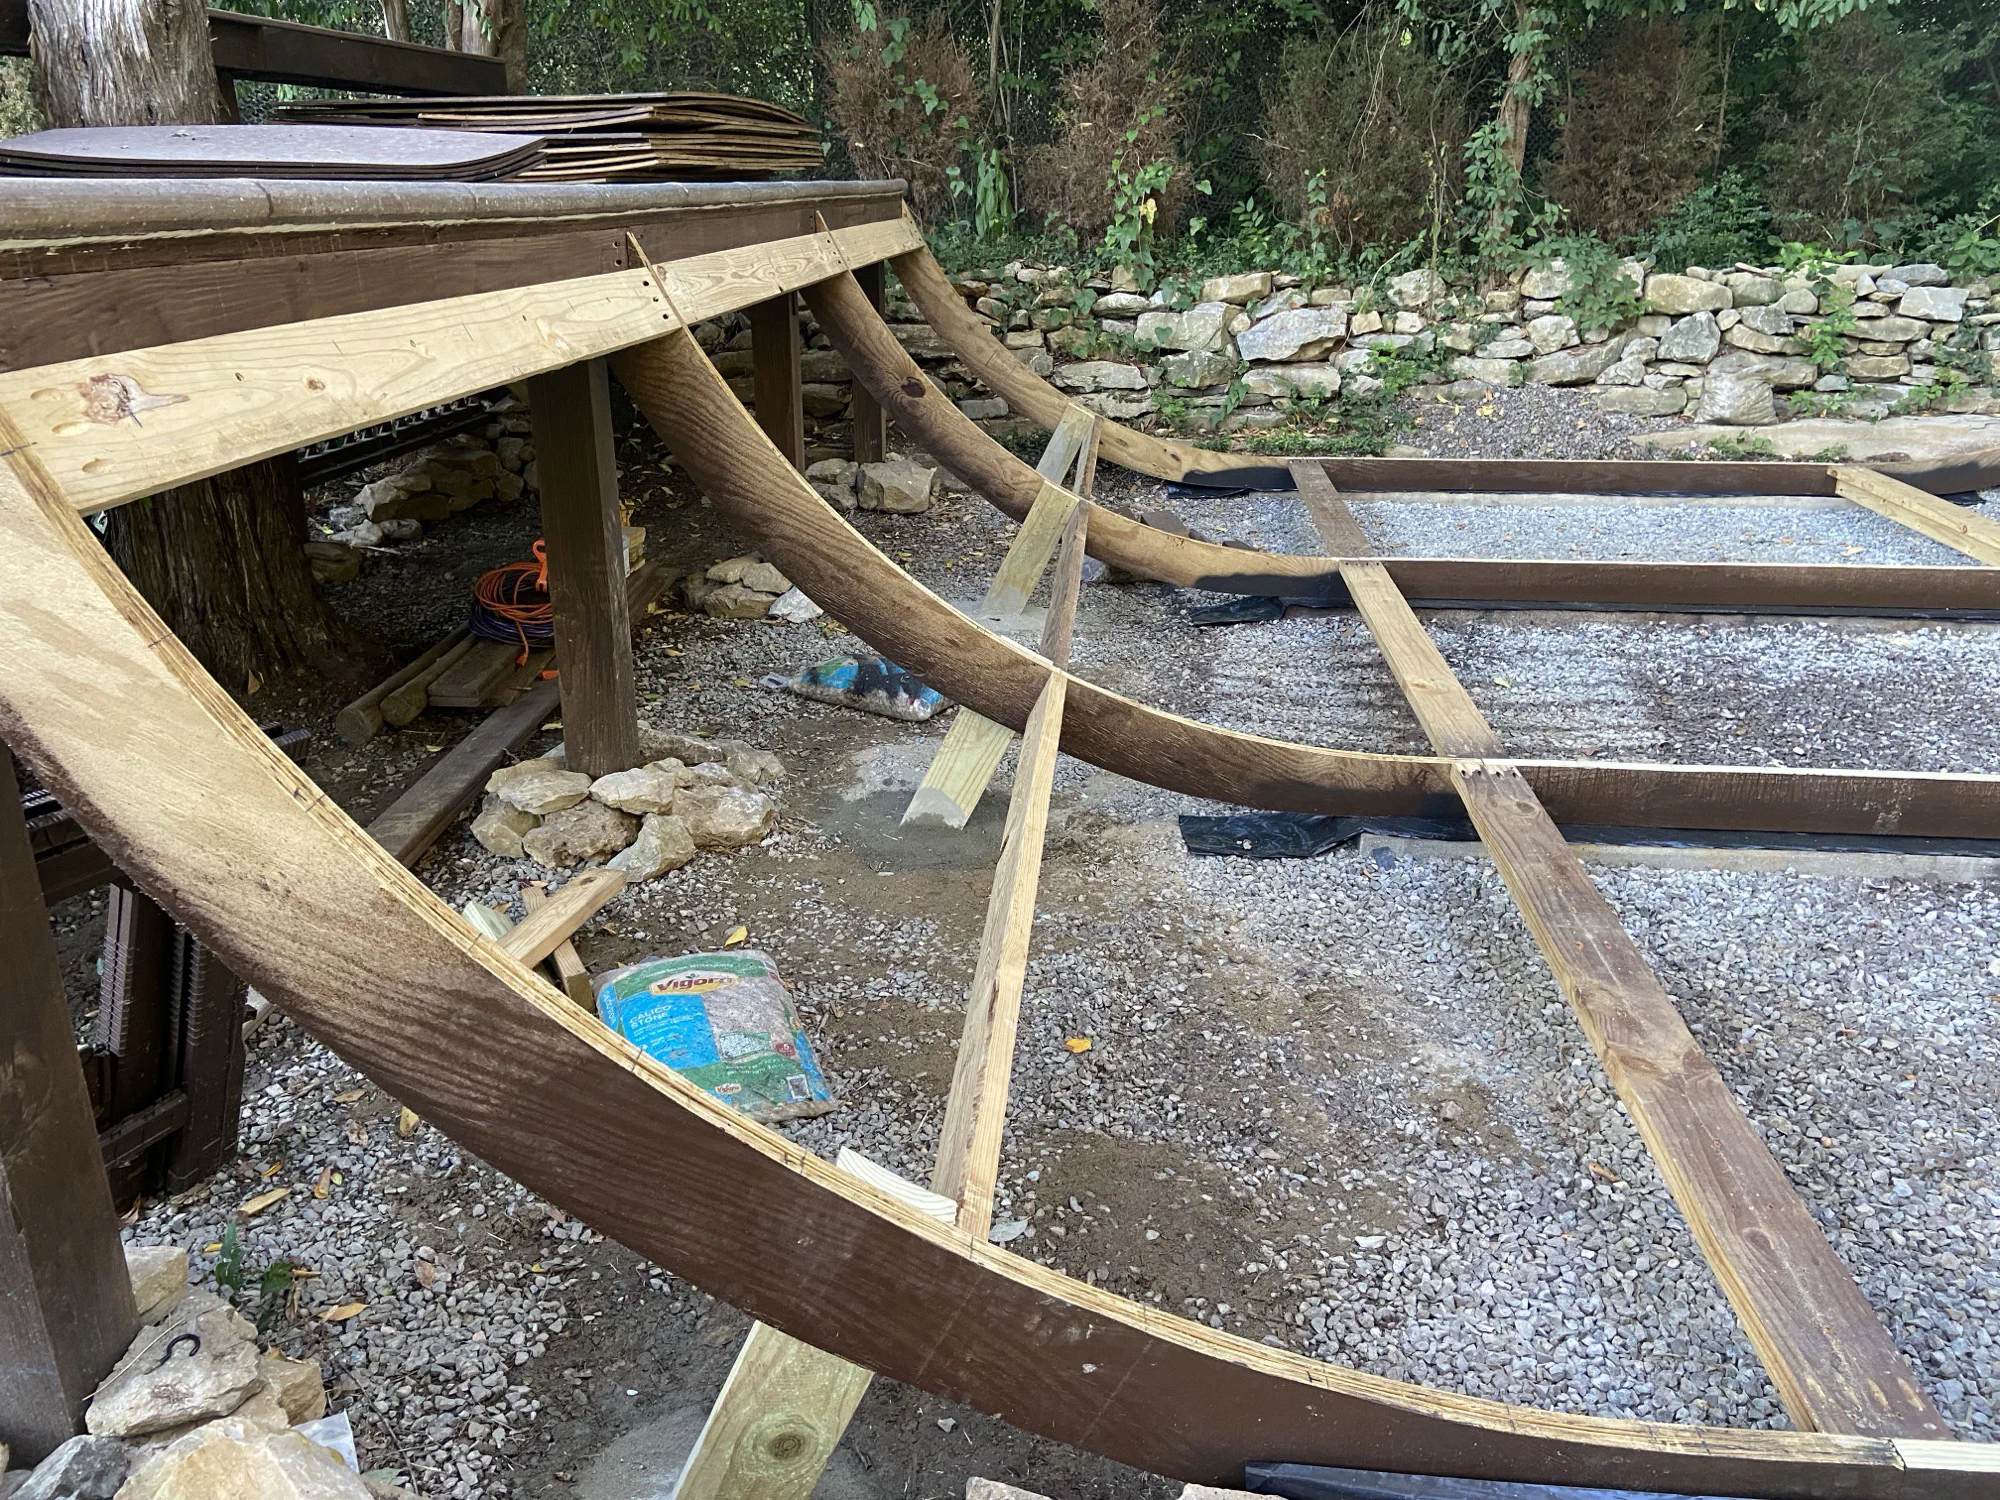
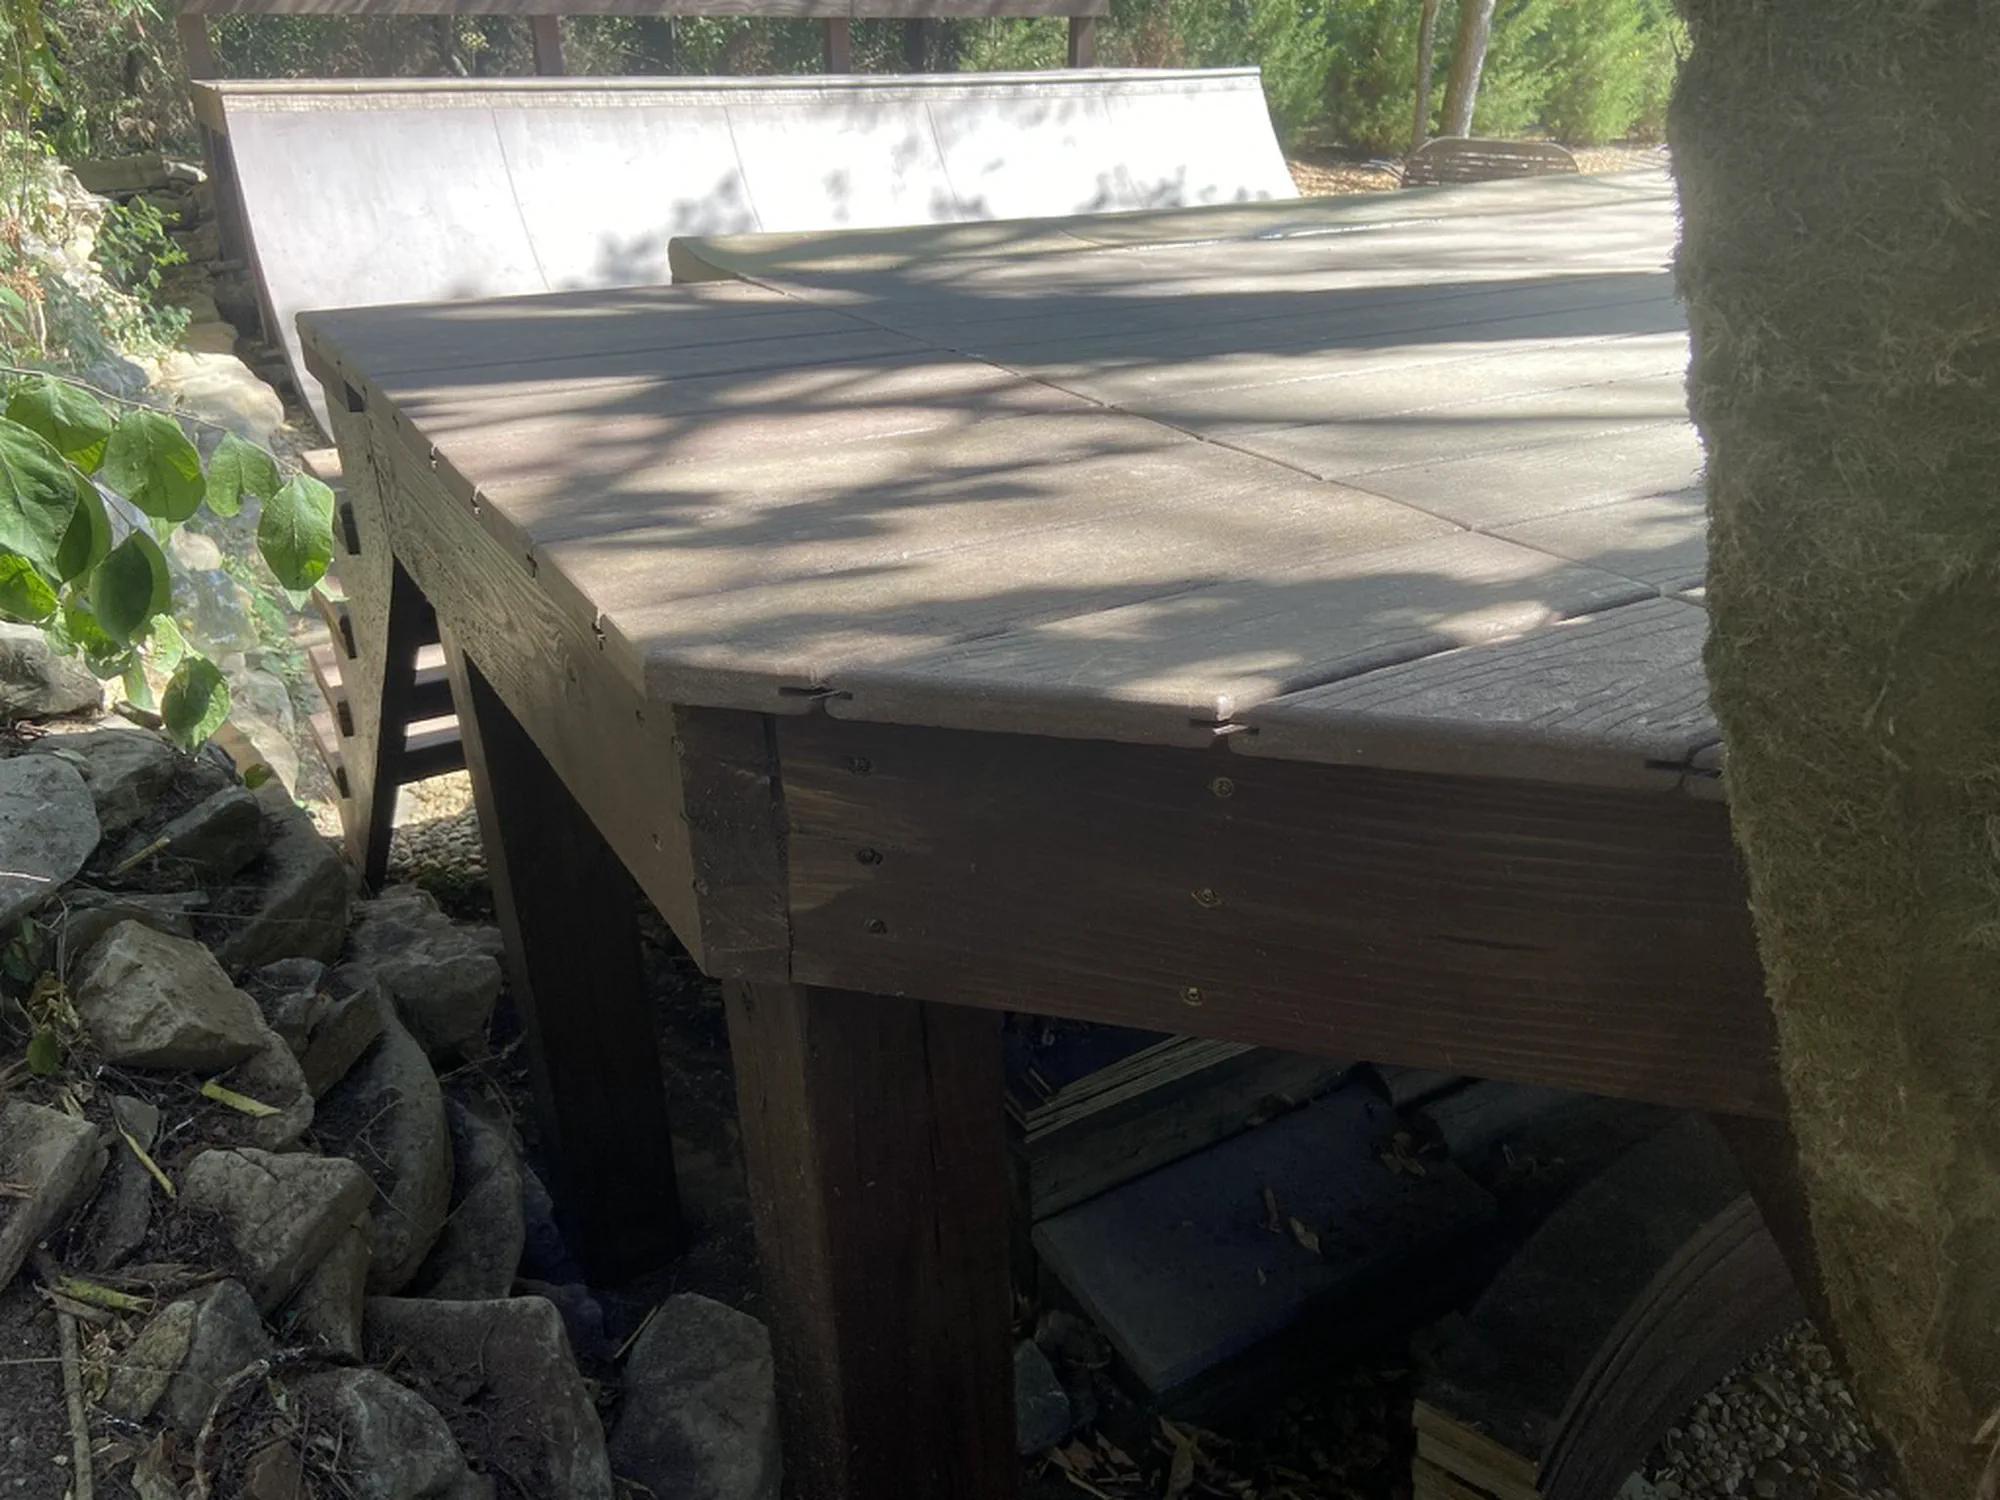
A backyard skateboard mini ramp, built to riff on a concrete pool — pool coping and tile across the top — on a wooden transition with a brown Ramp Armor surface and composite decking to blend into the woods. Here’s how it came together, and how it later came apart and got better. It’s 4’ tall, 20’ wide, 9ish’ of flat. Originally 6’ transition radius but they didn’t turn out as expected so I rebuilt with 6.5’ radius. For anyone familiar with ramp building, yes the approach of using laminated transitions is unorthodox but I really wanted the open look under the transitions instead of the typical boxed out sheet of plywood. The look turned out cool but it was a mighty effort to get it.
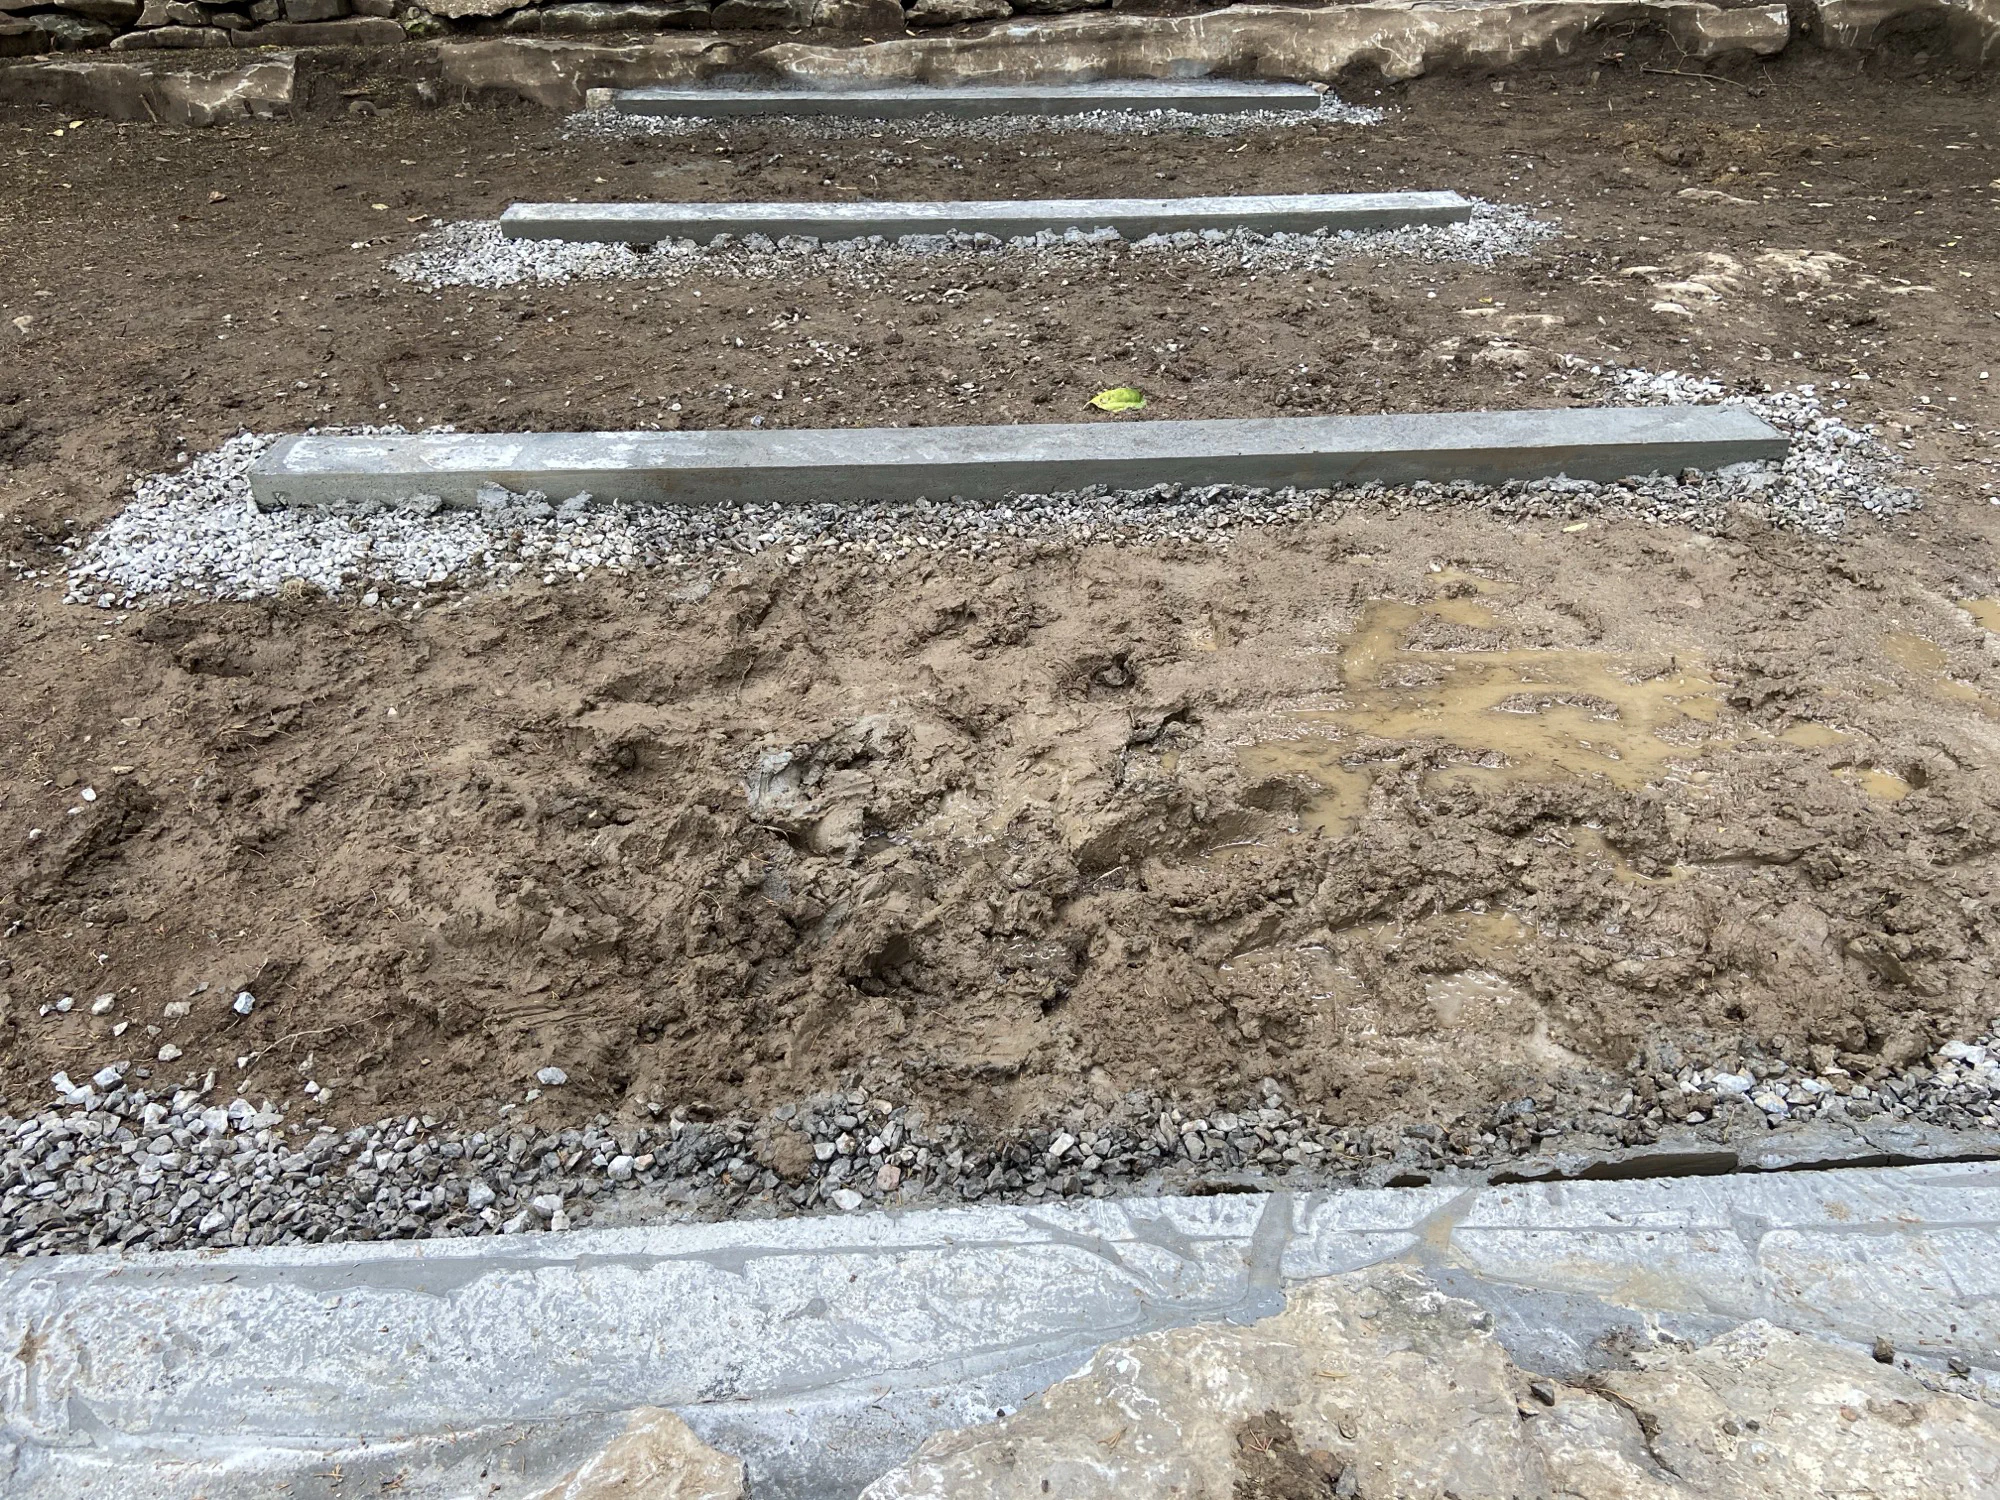
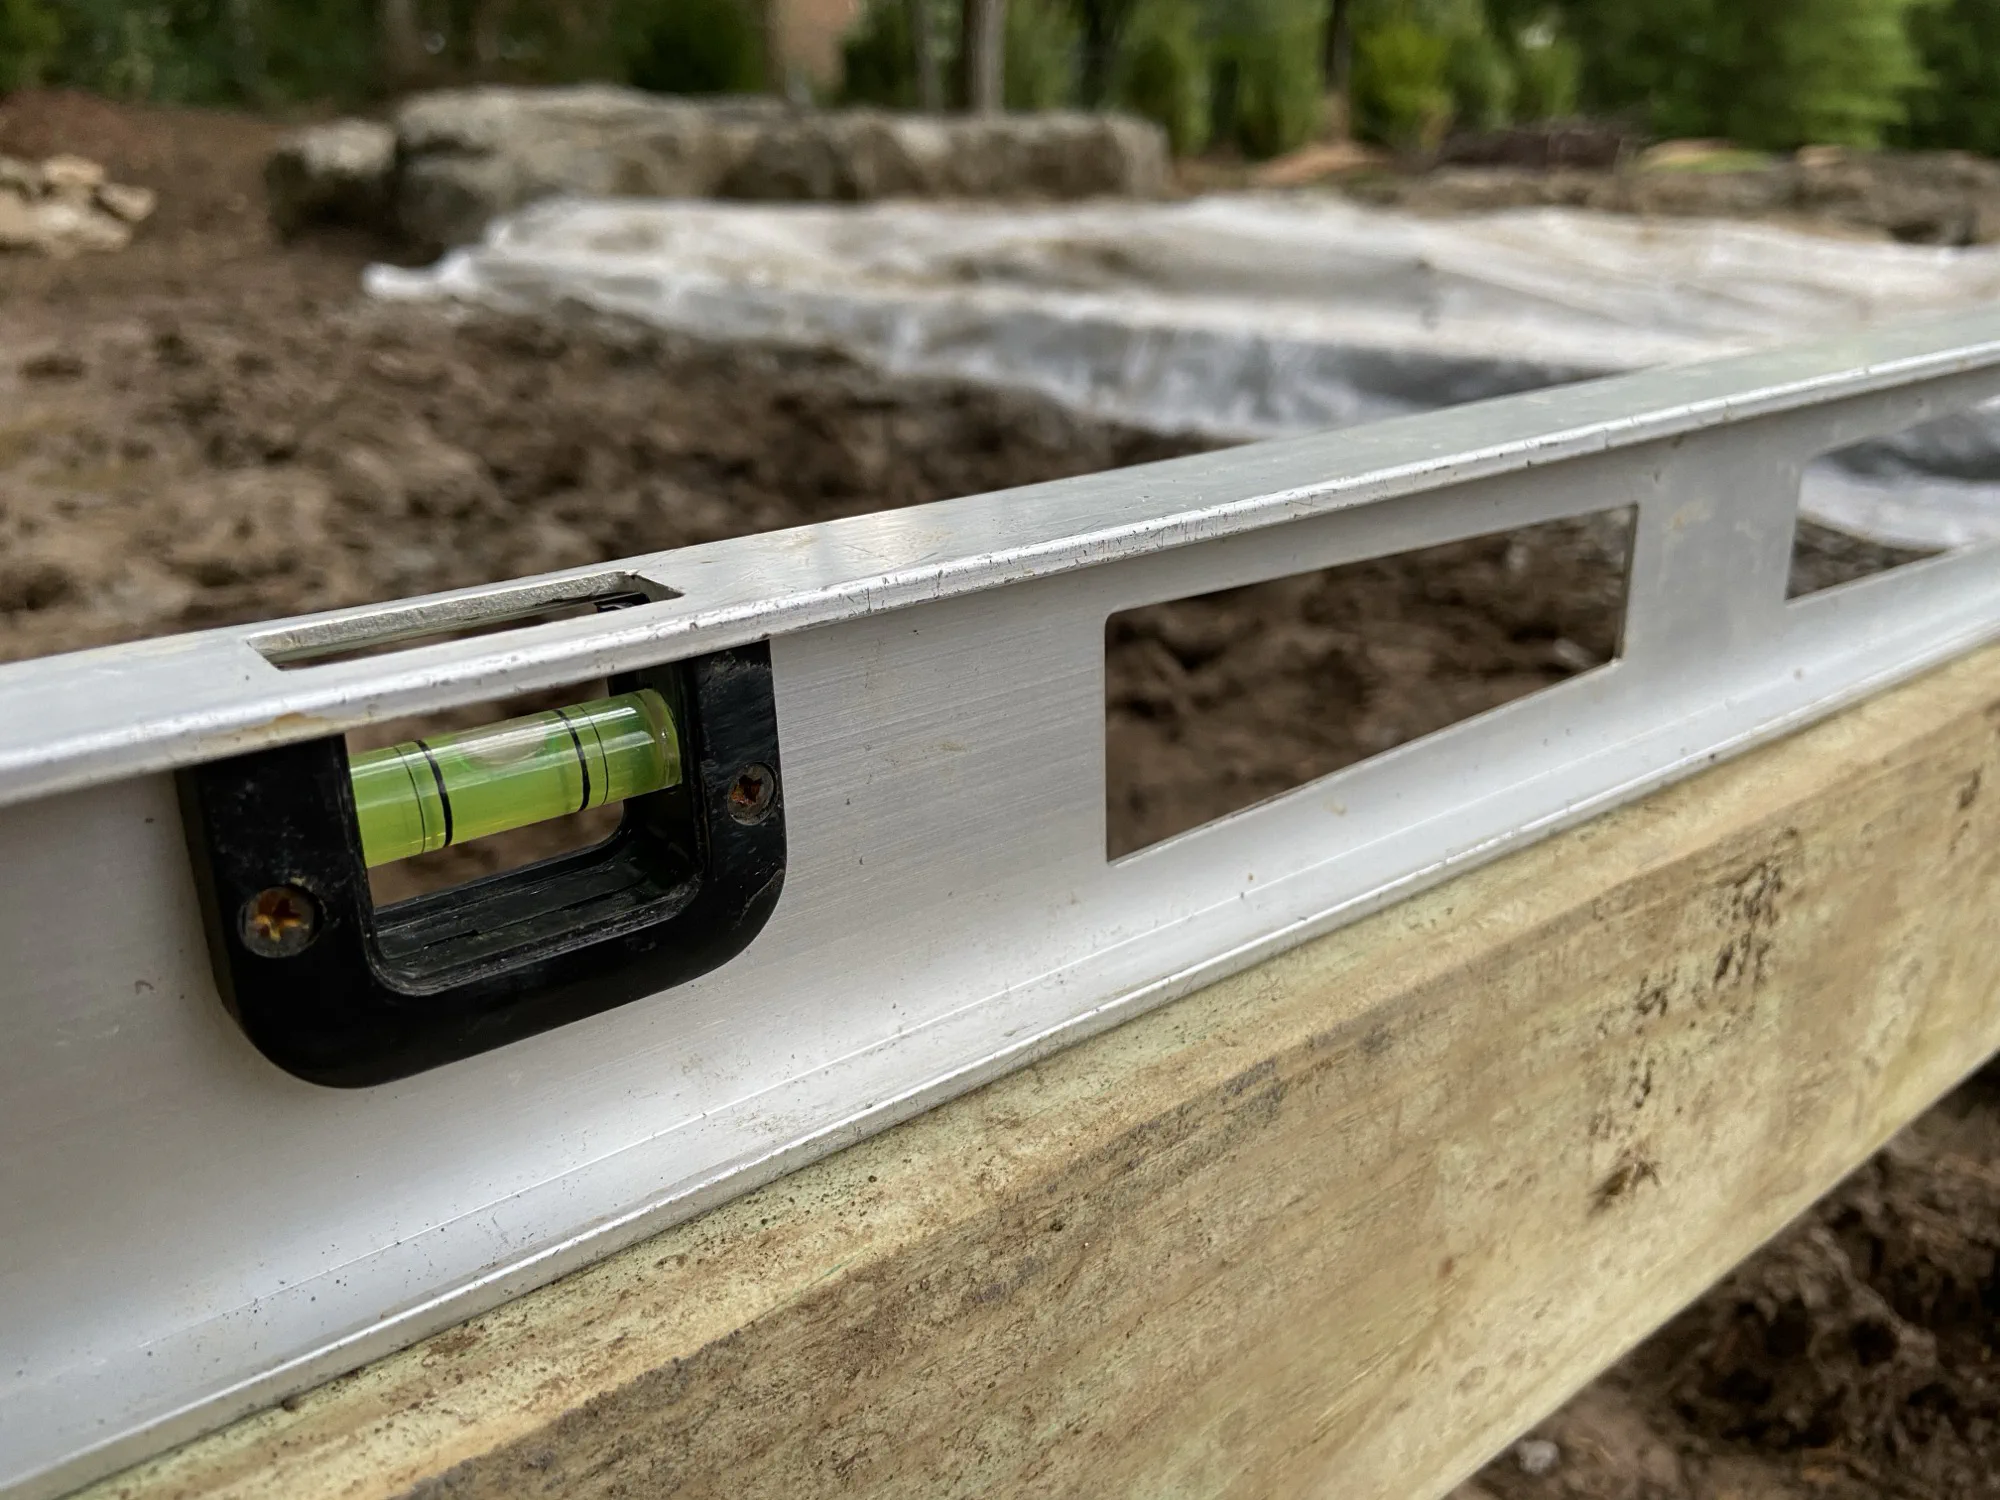
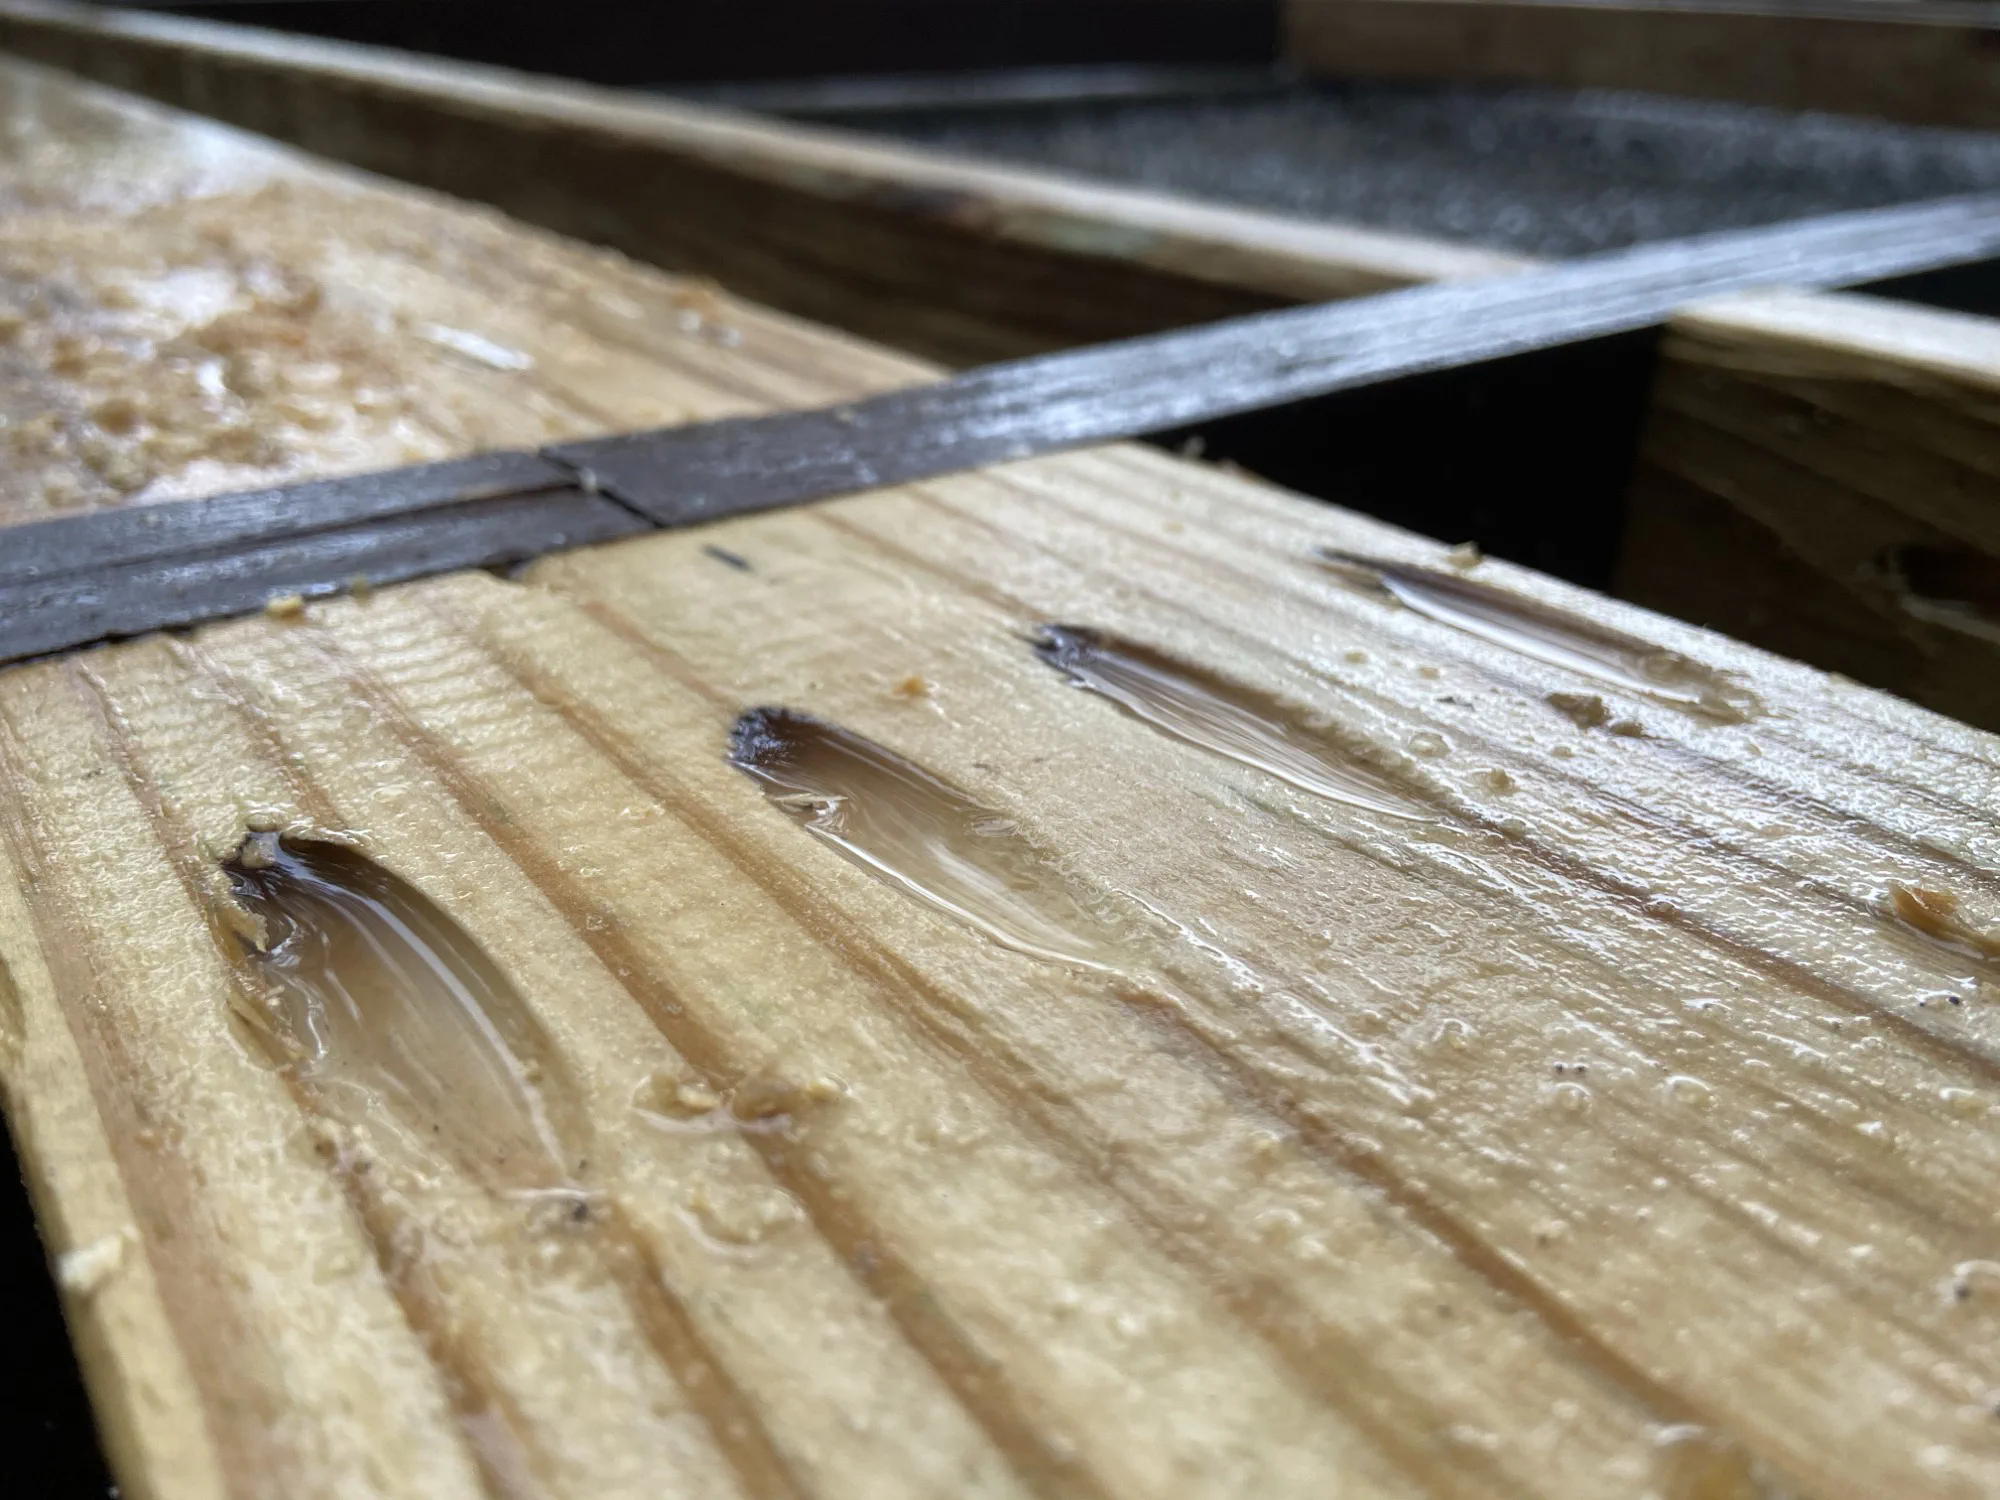
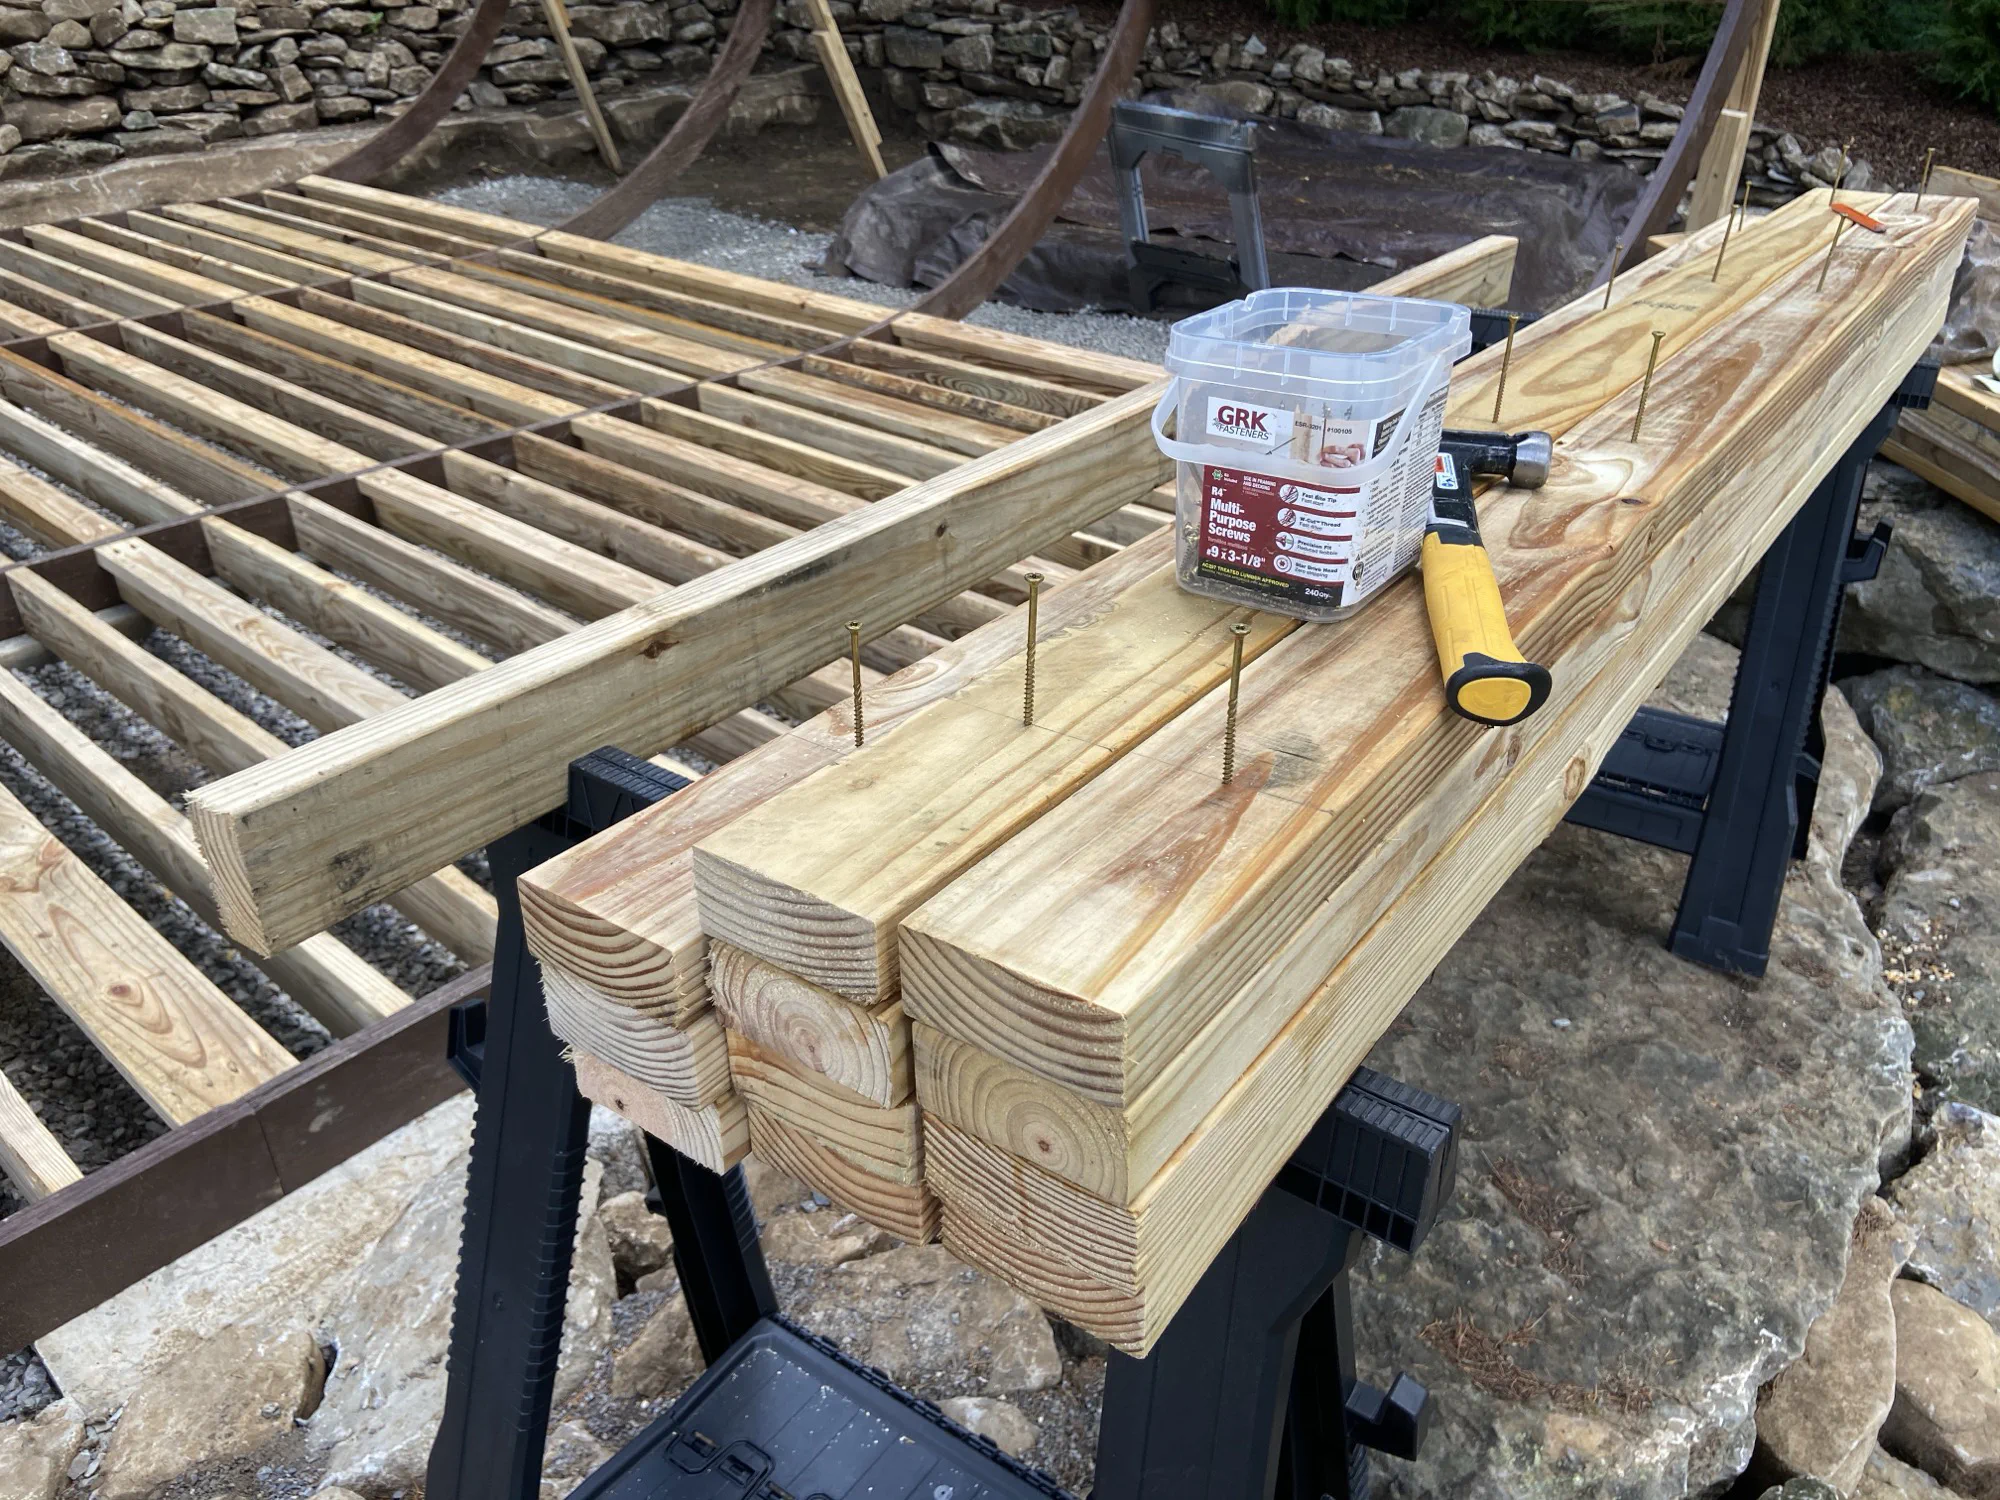
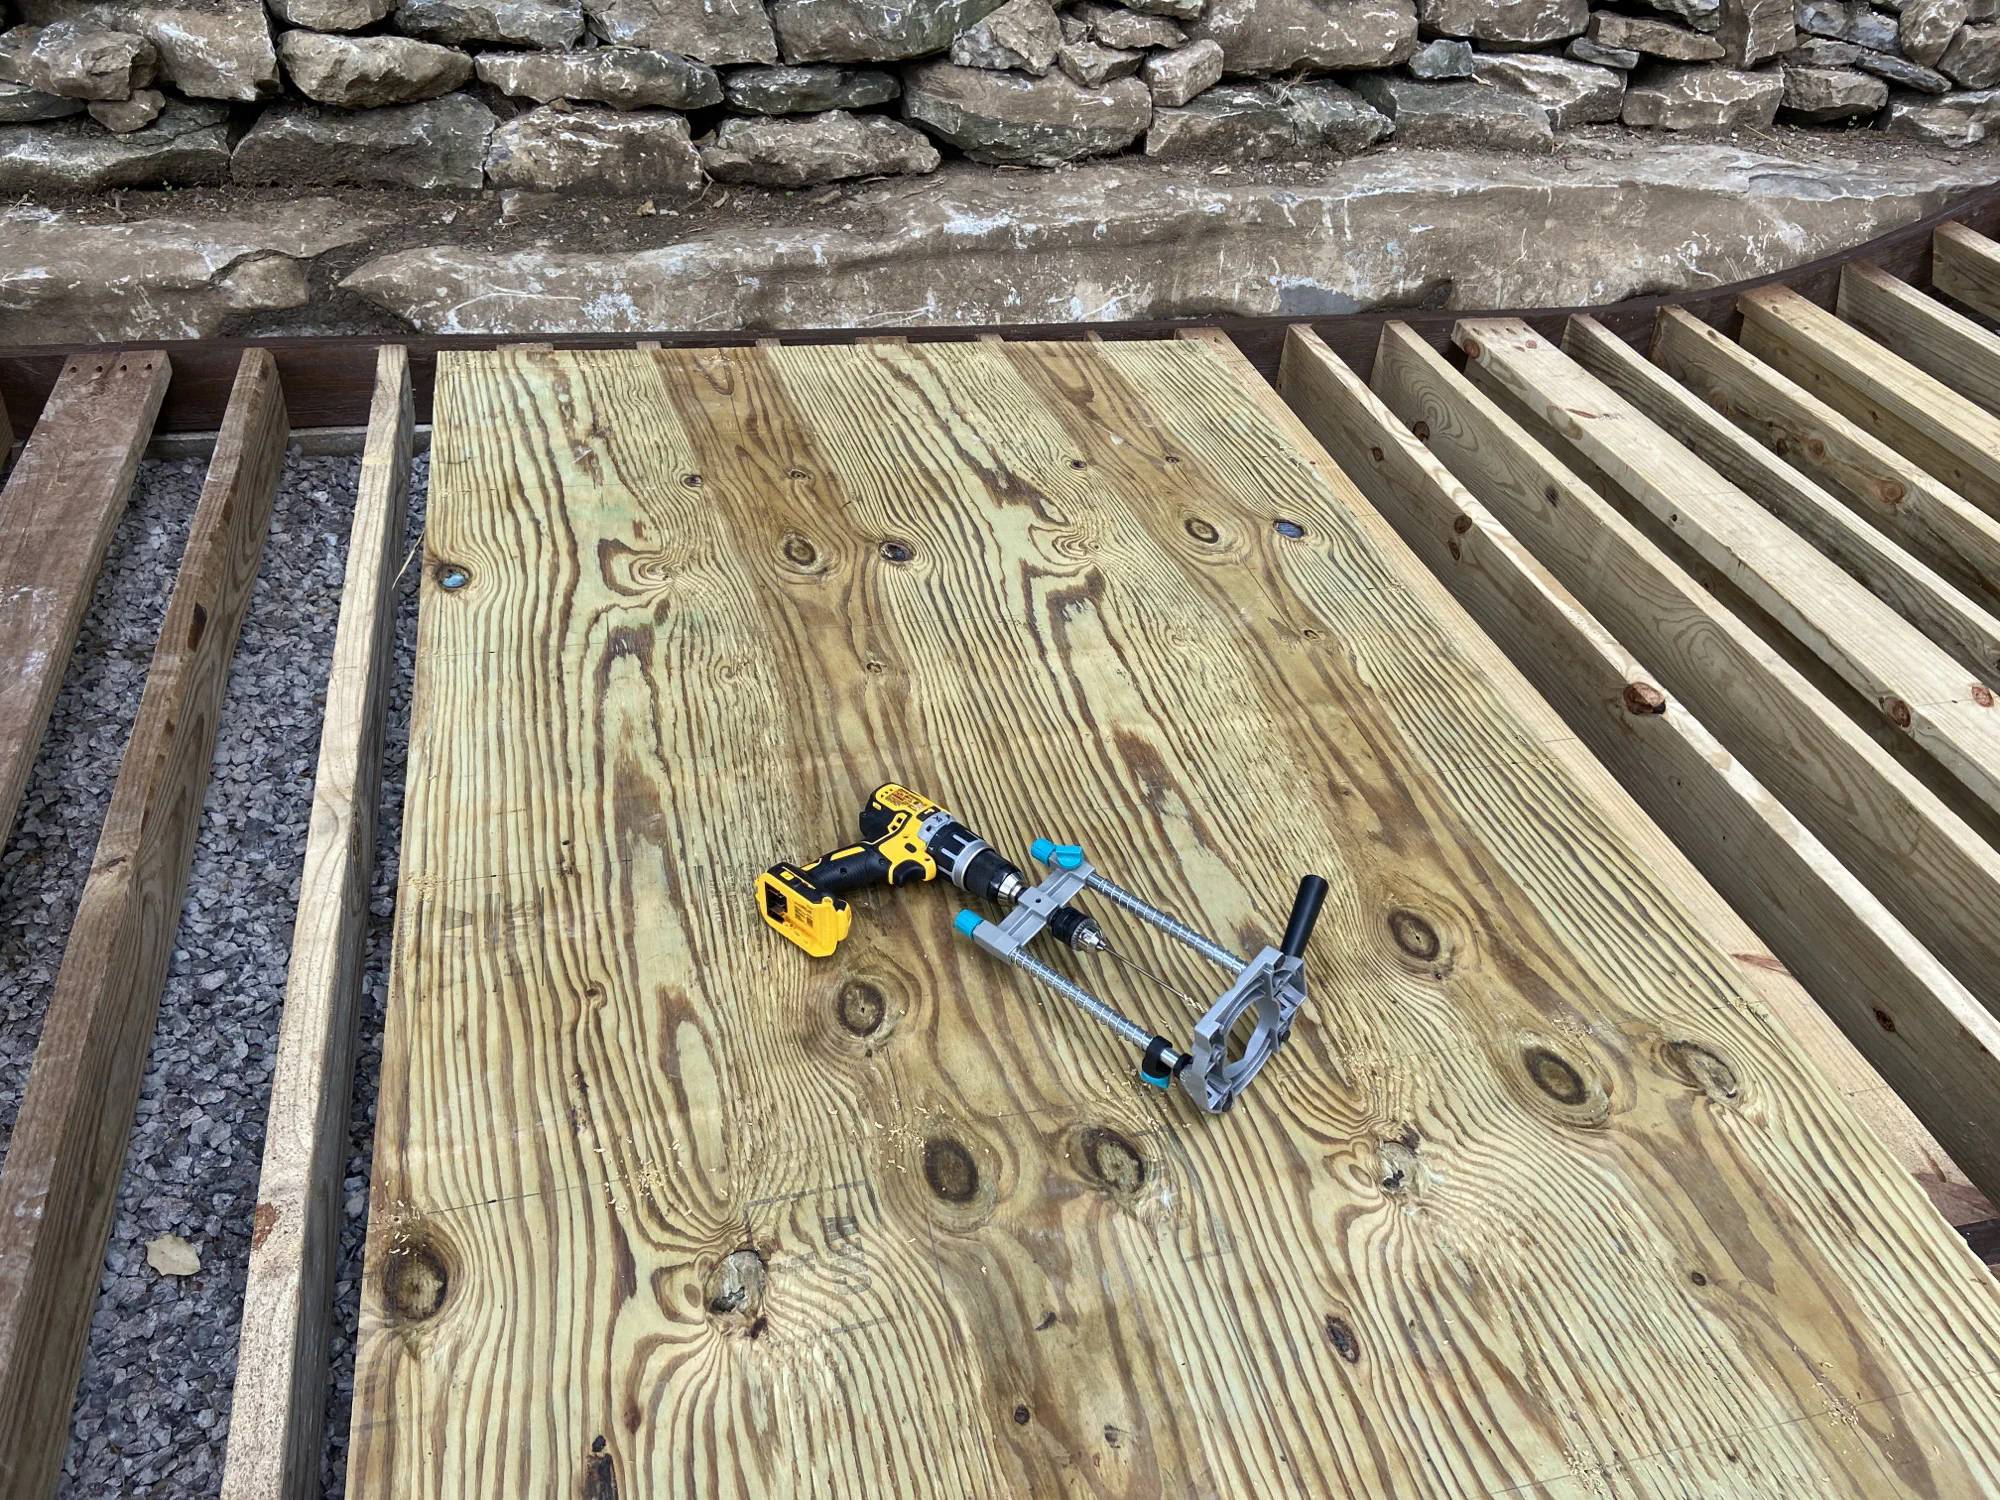
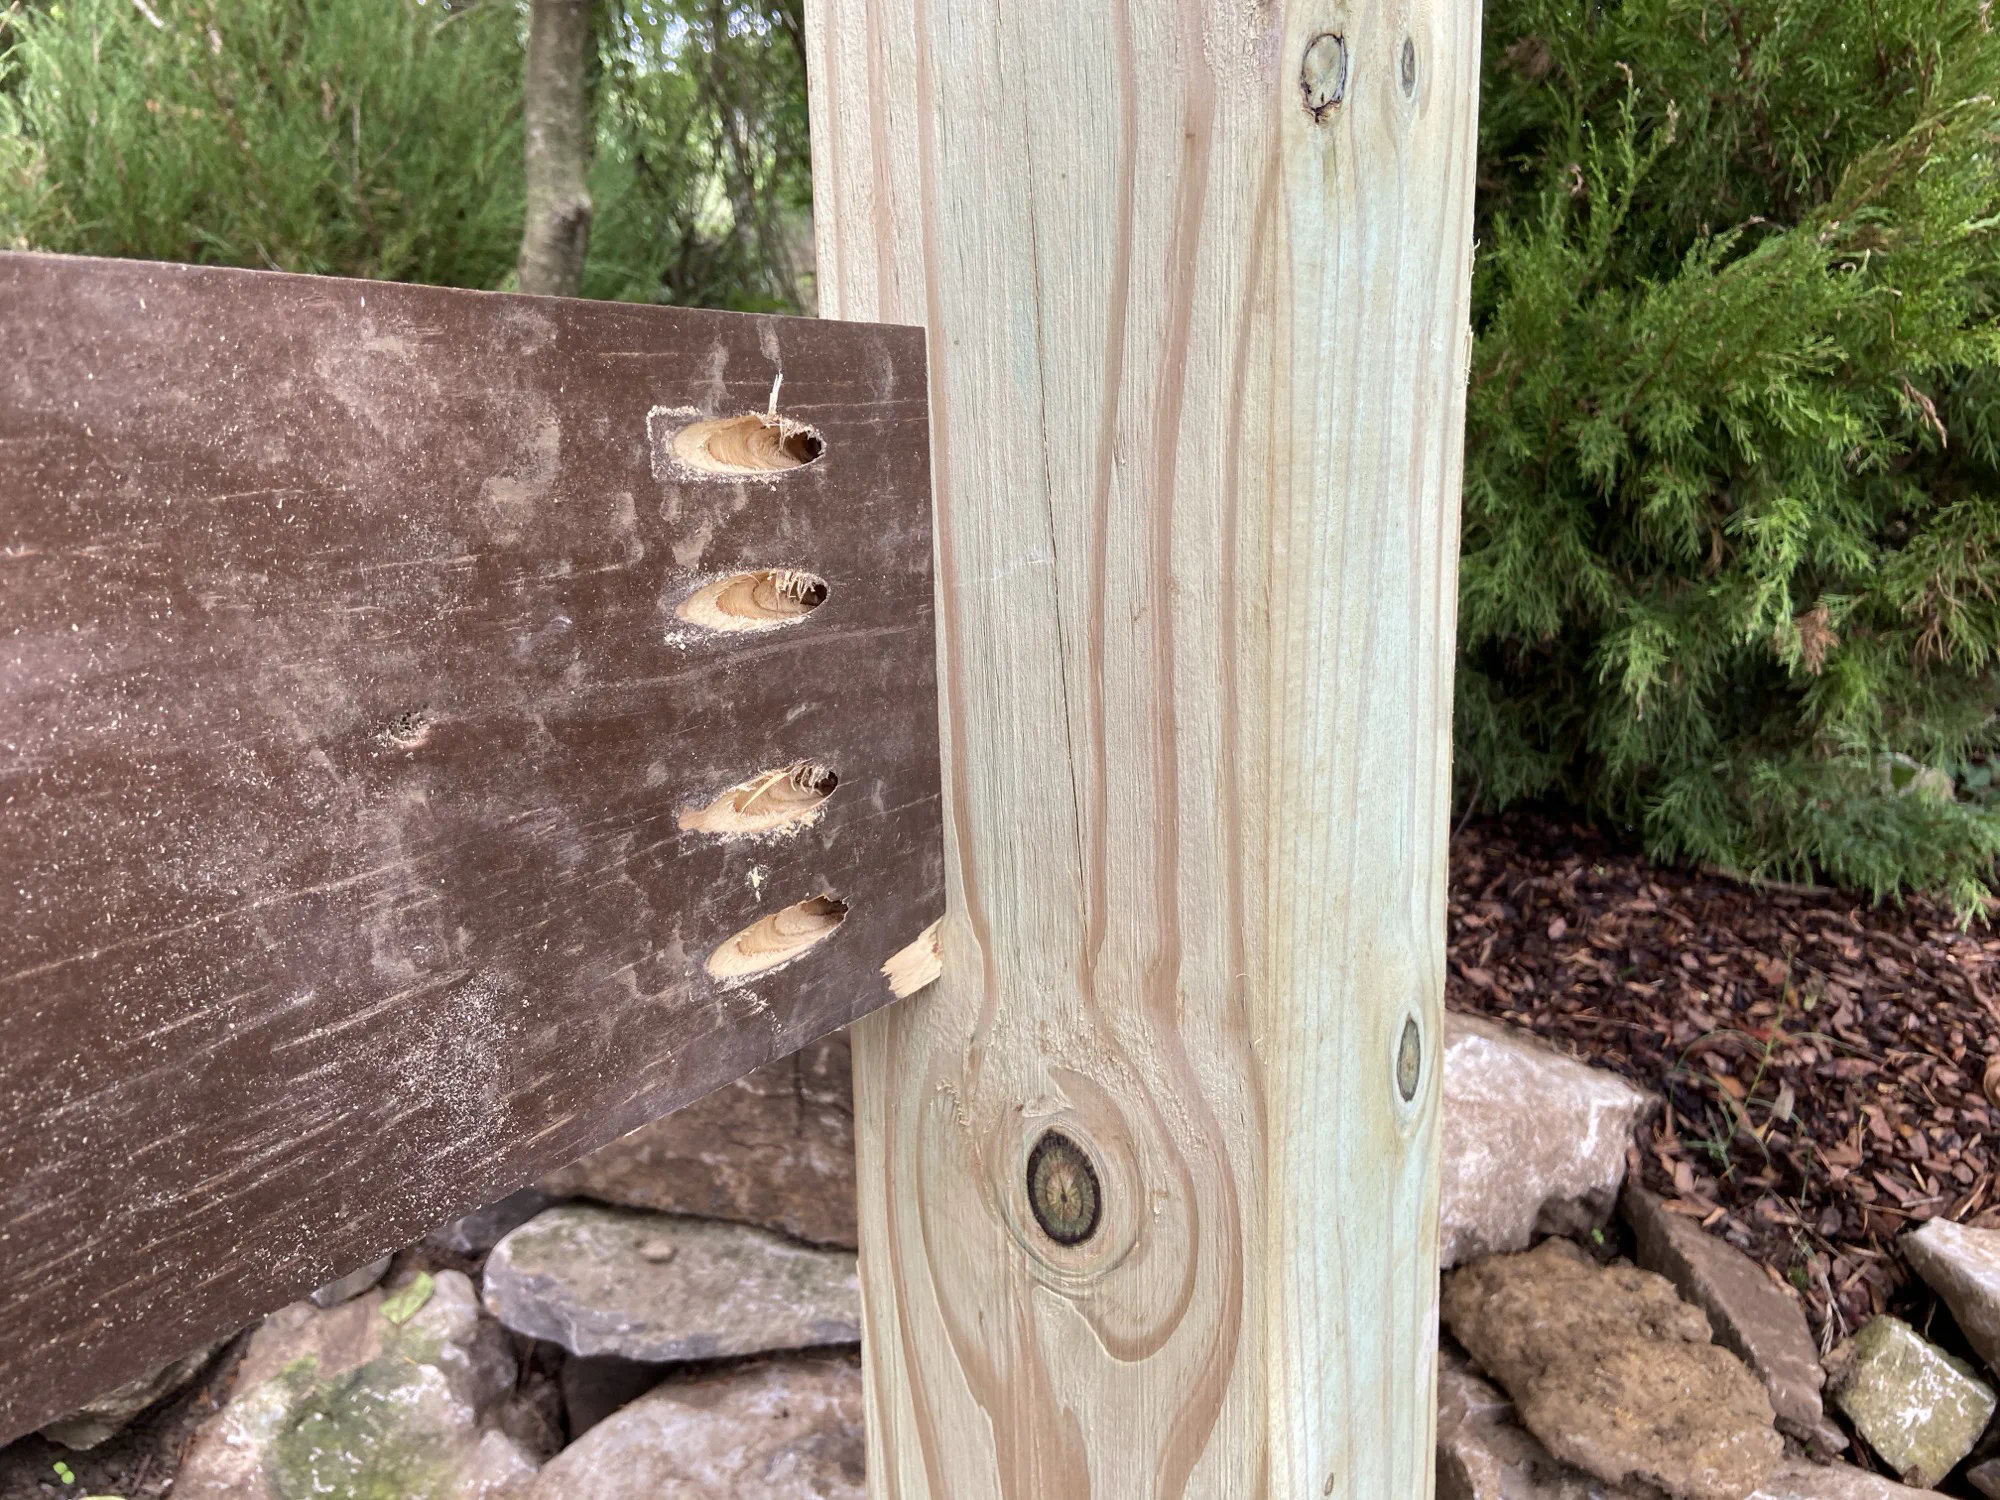
The build


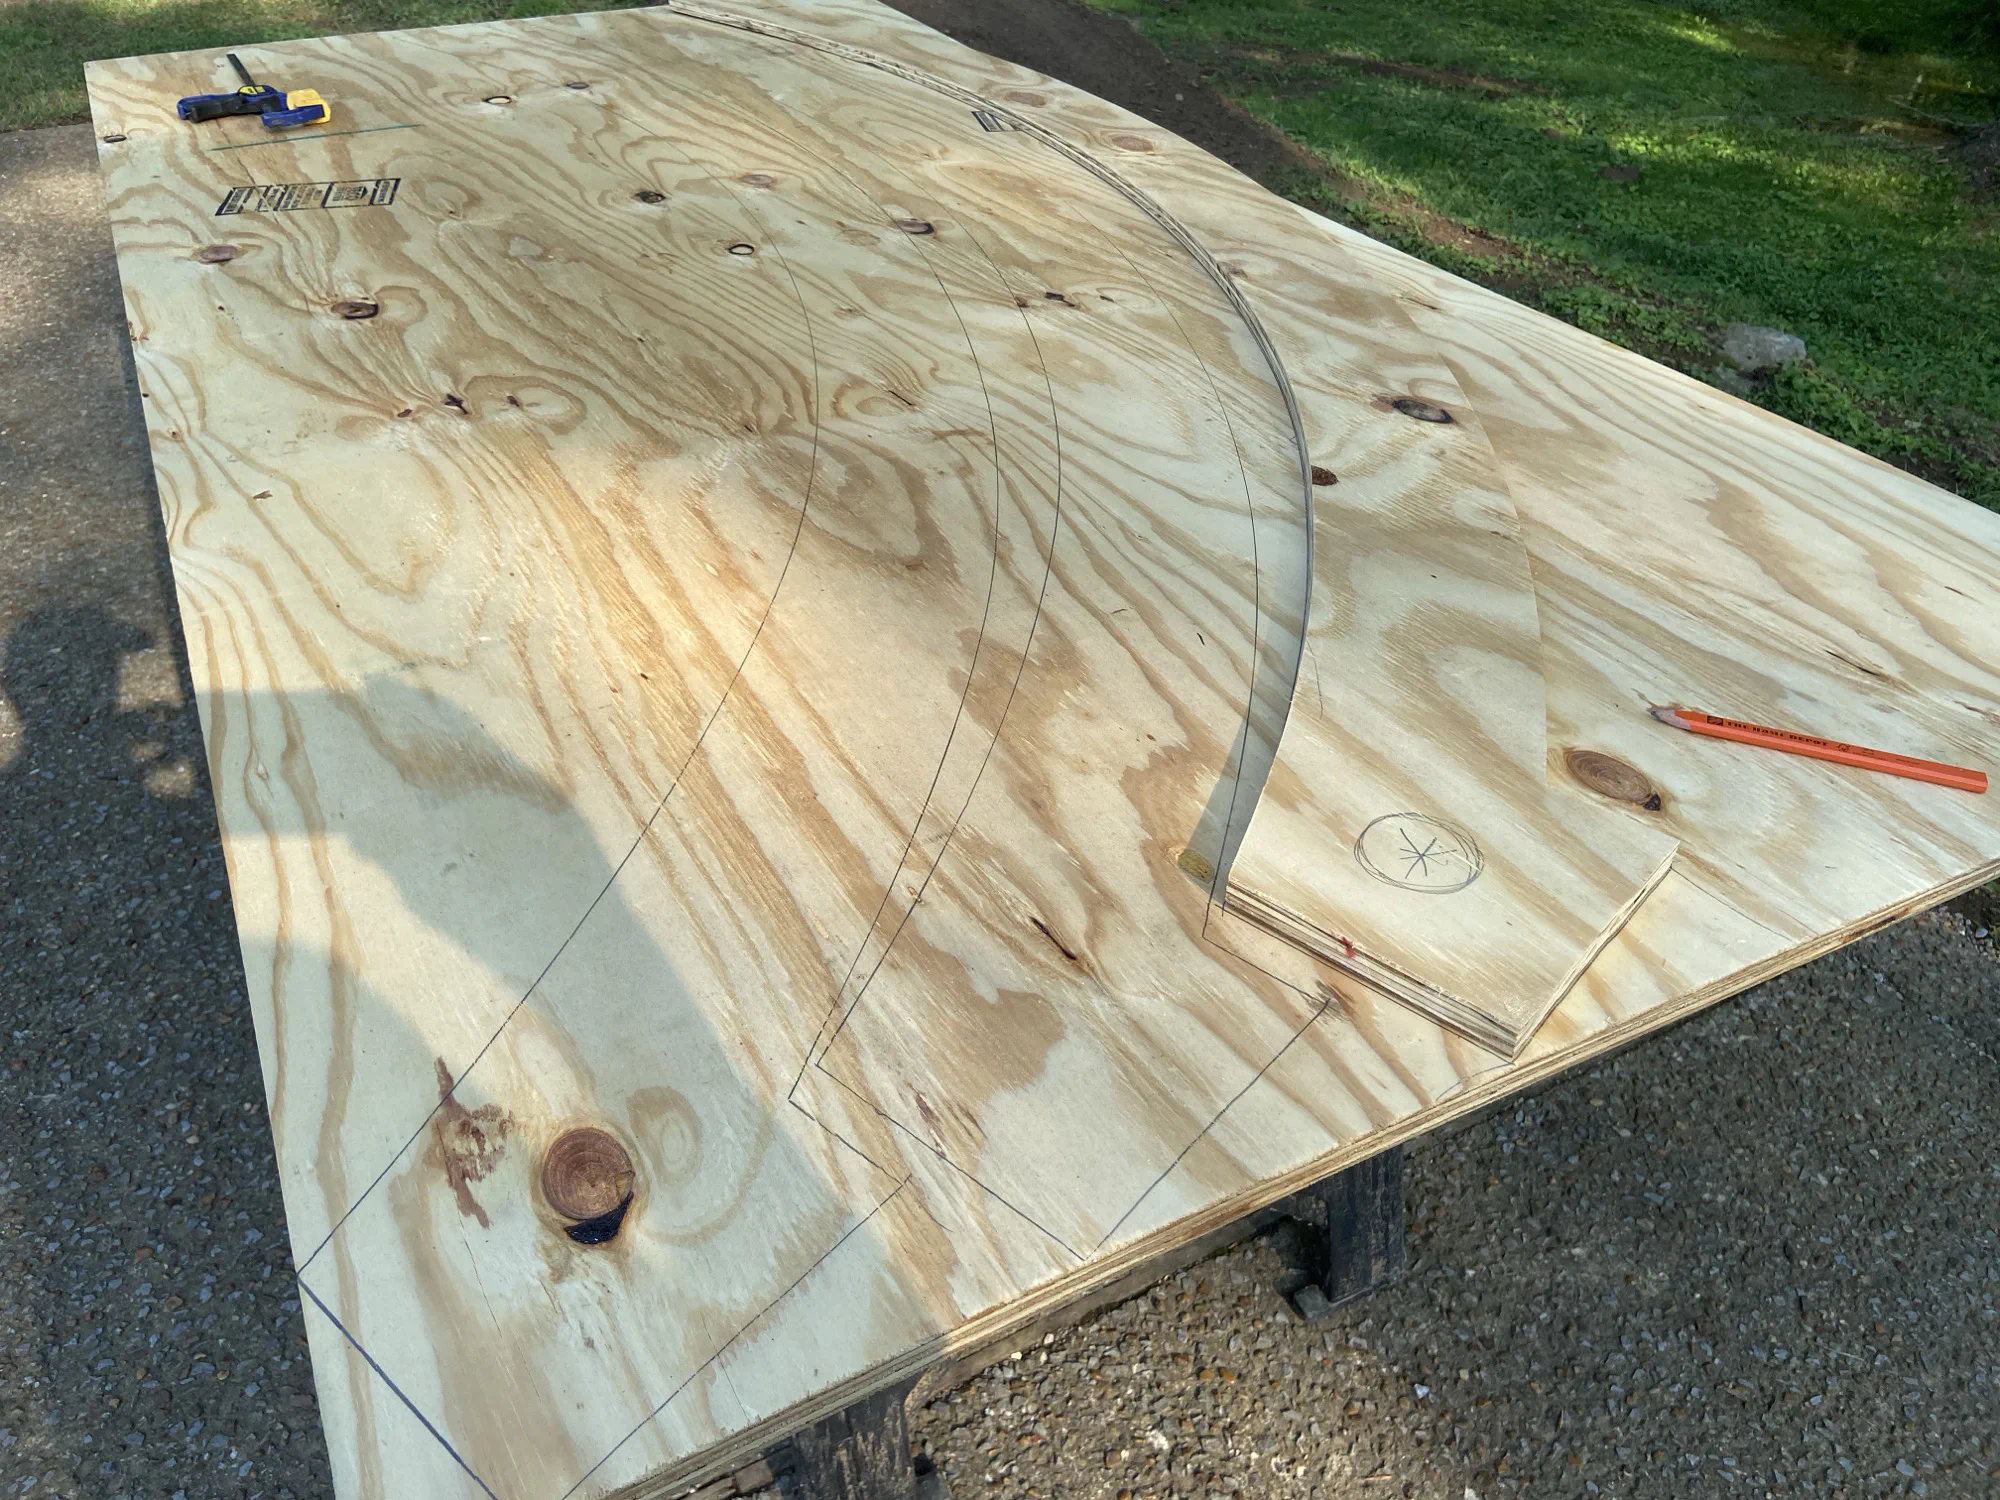
The flaw, and the rebuild
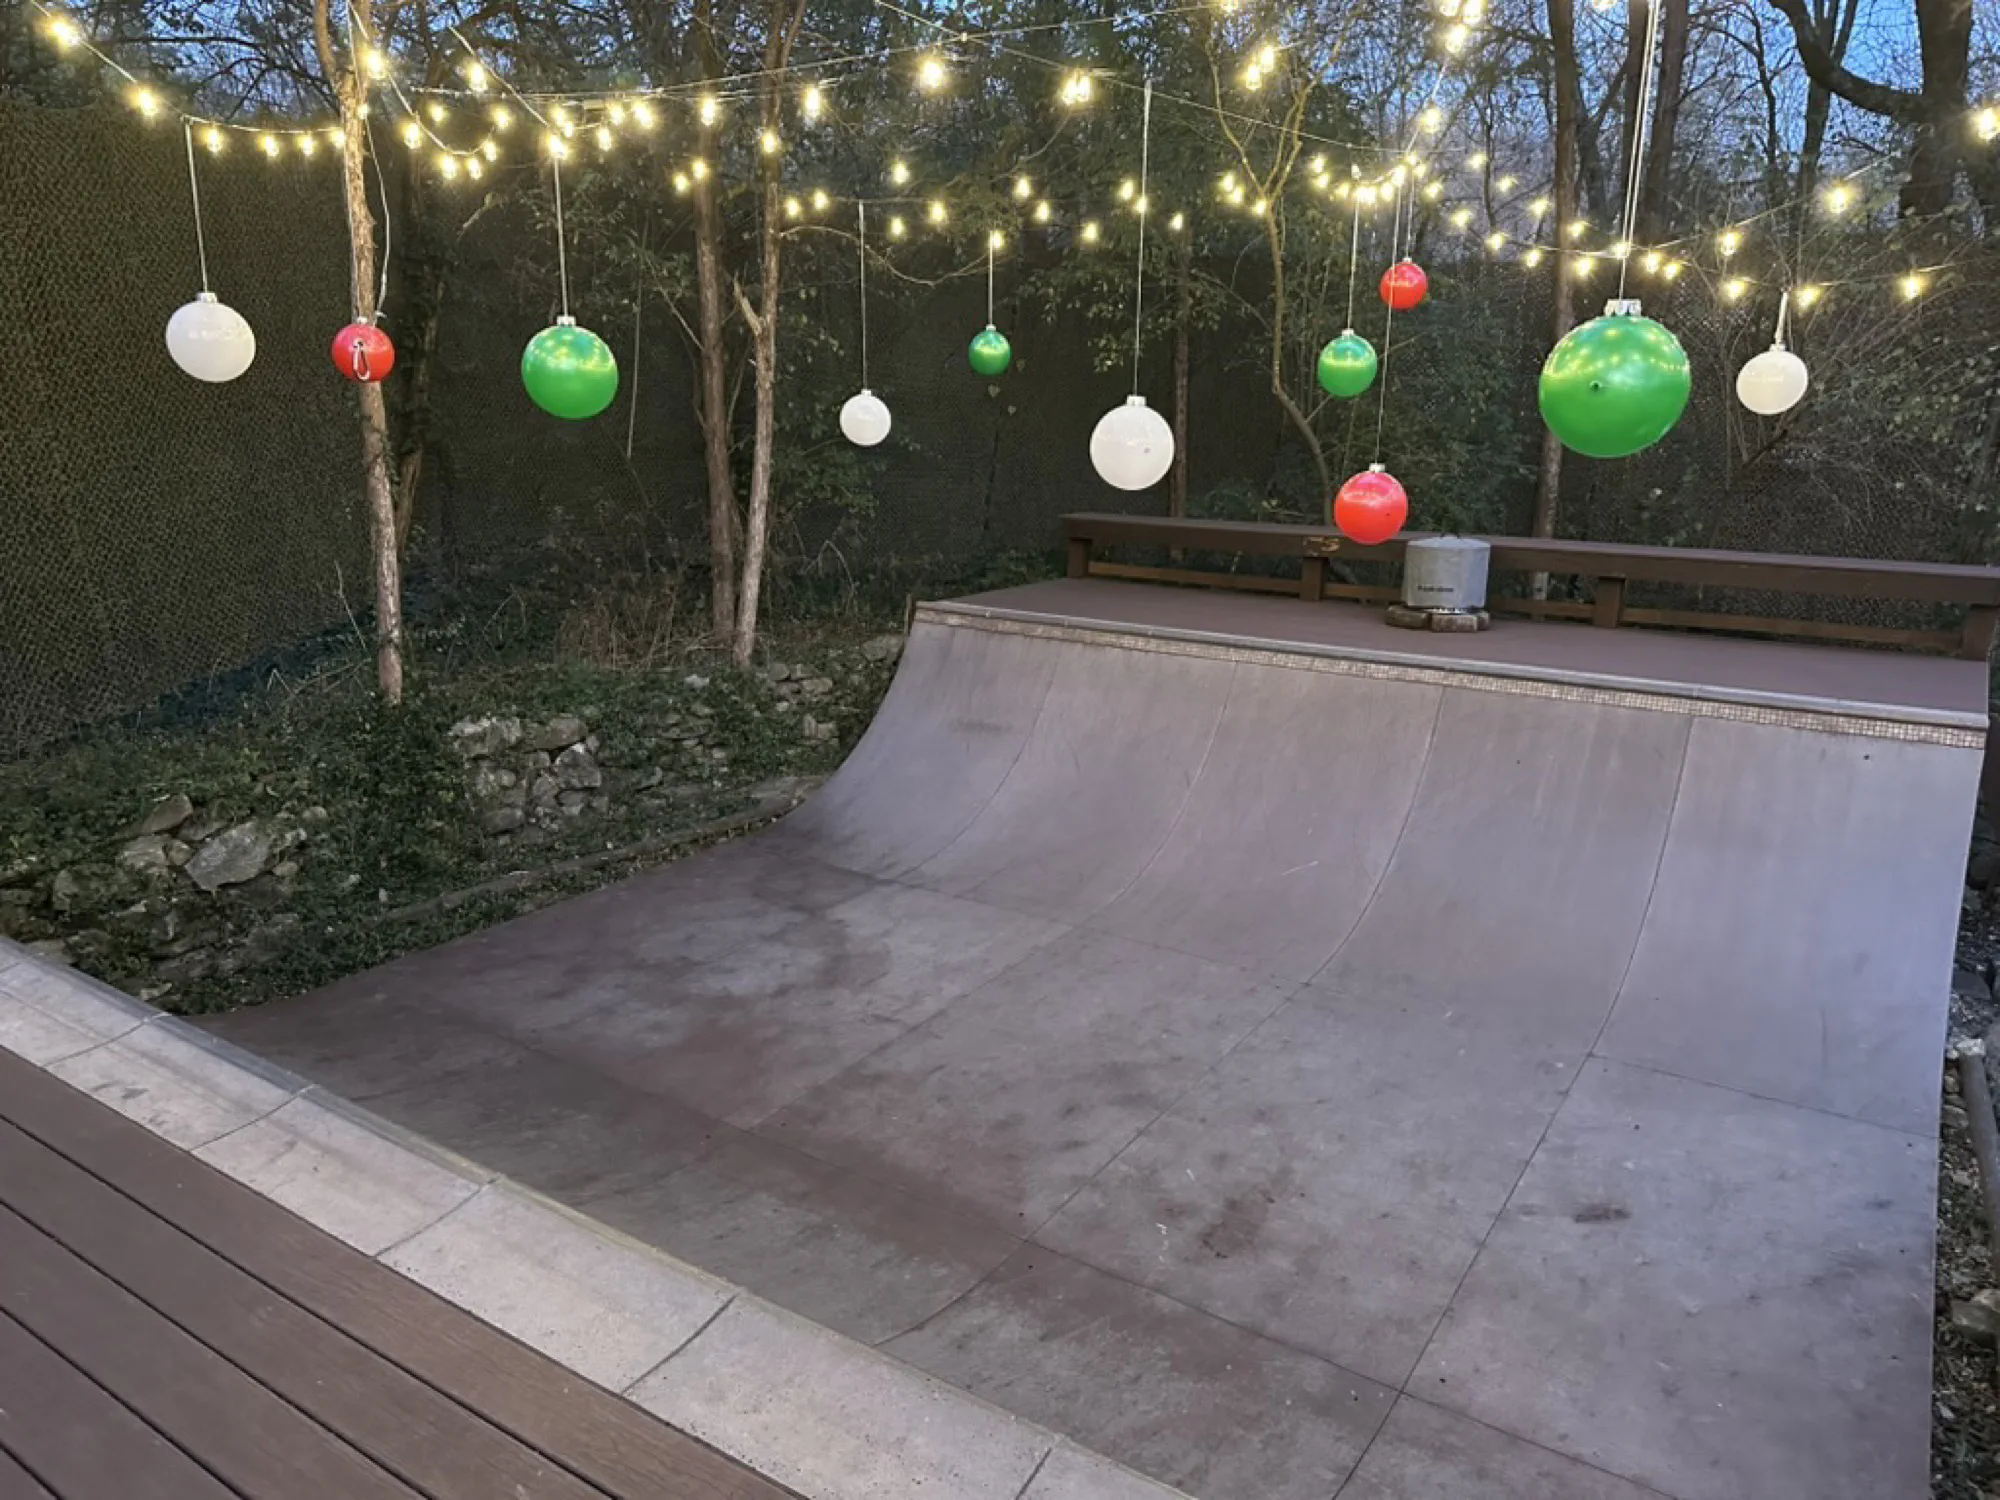
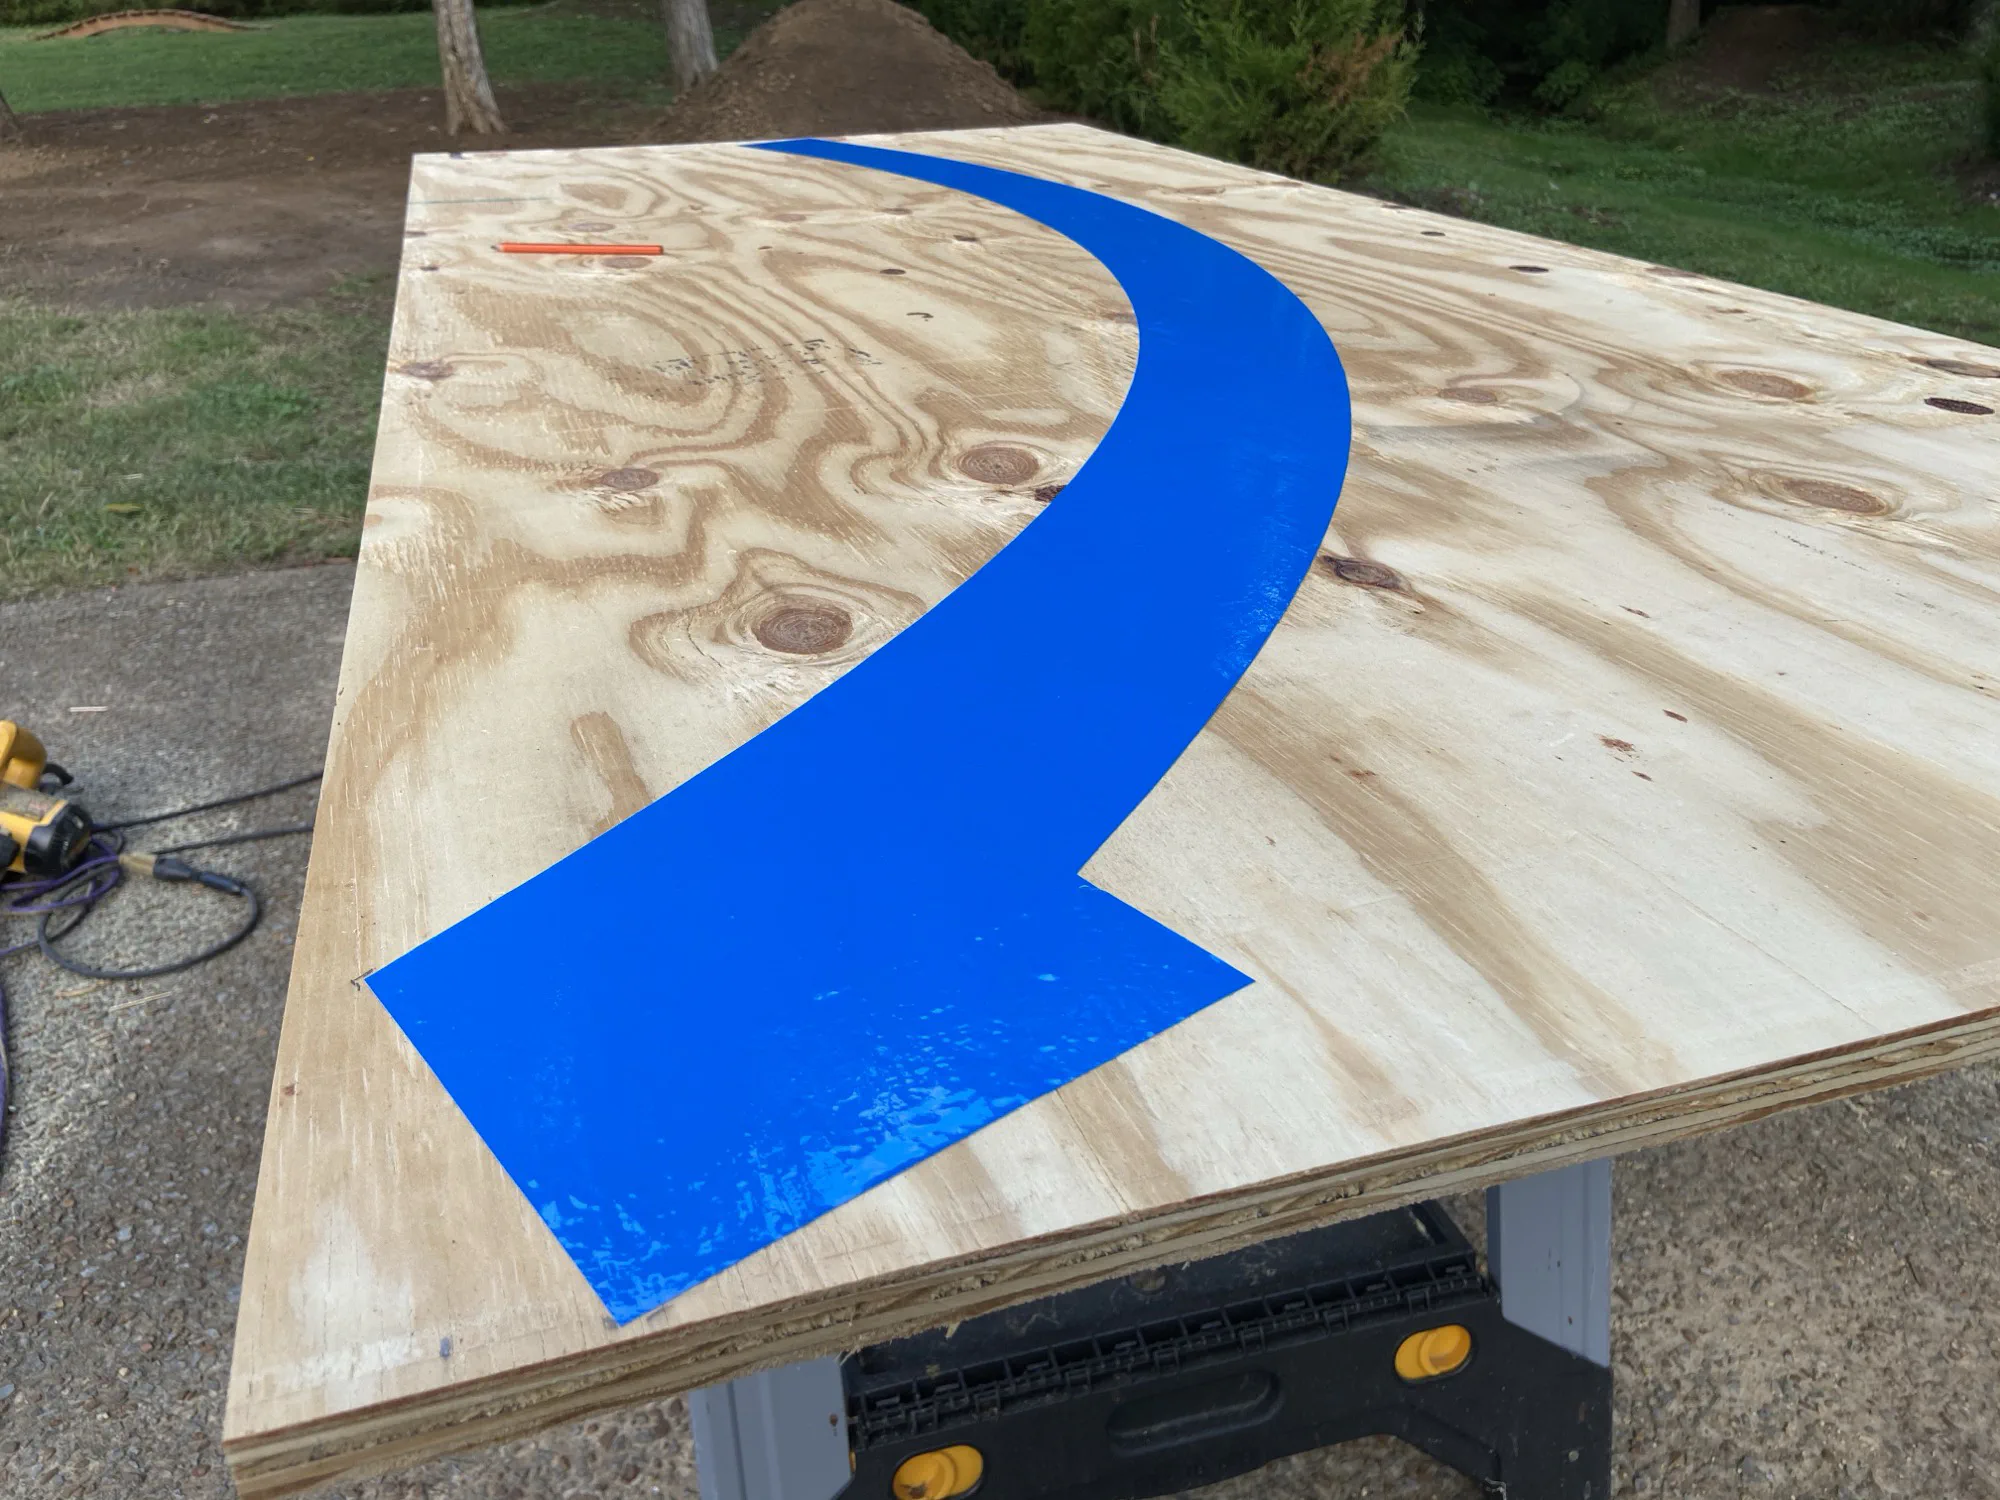
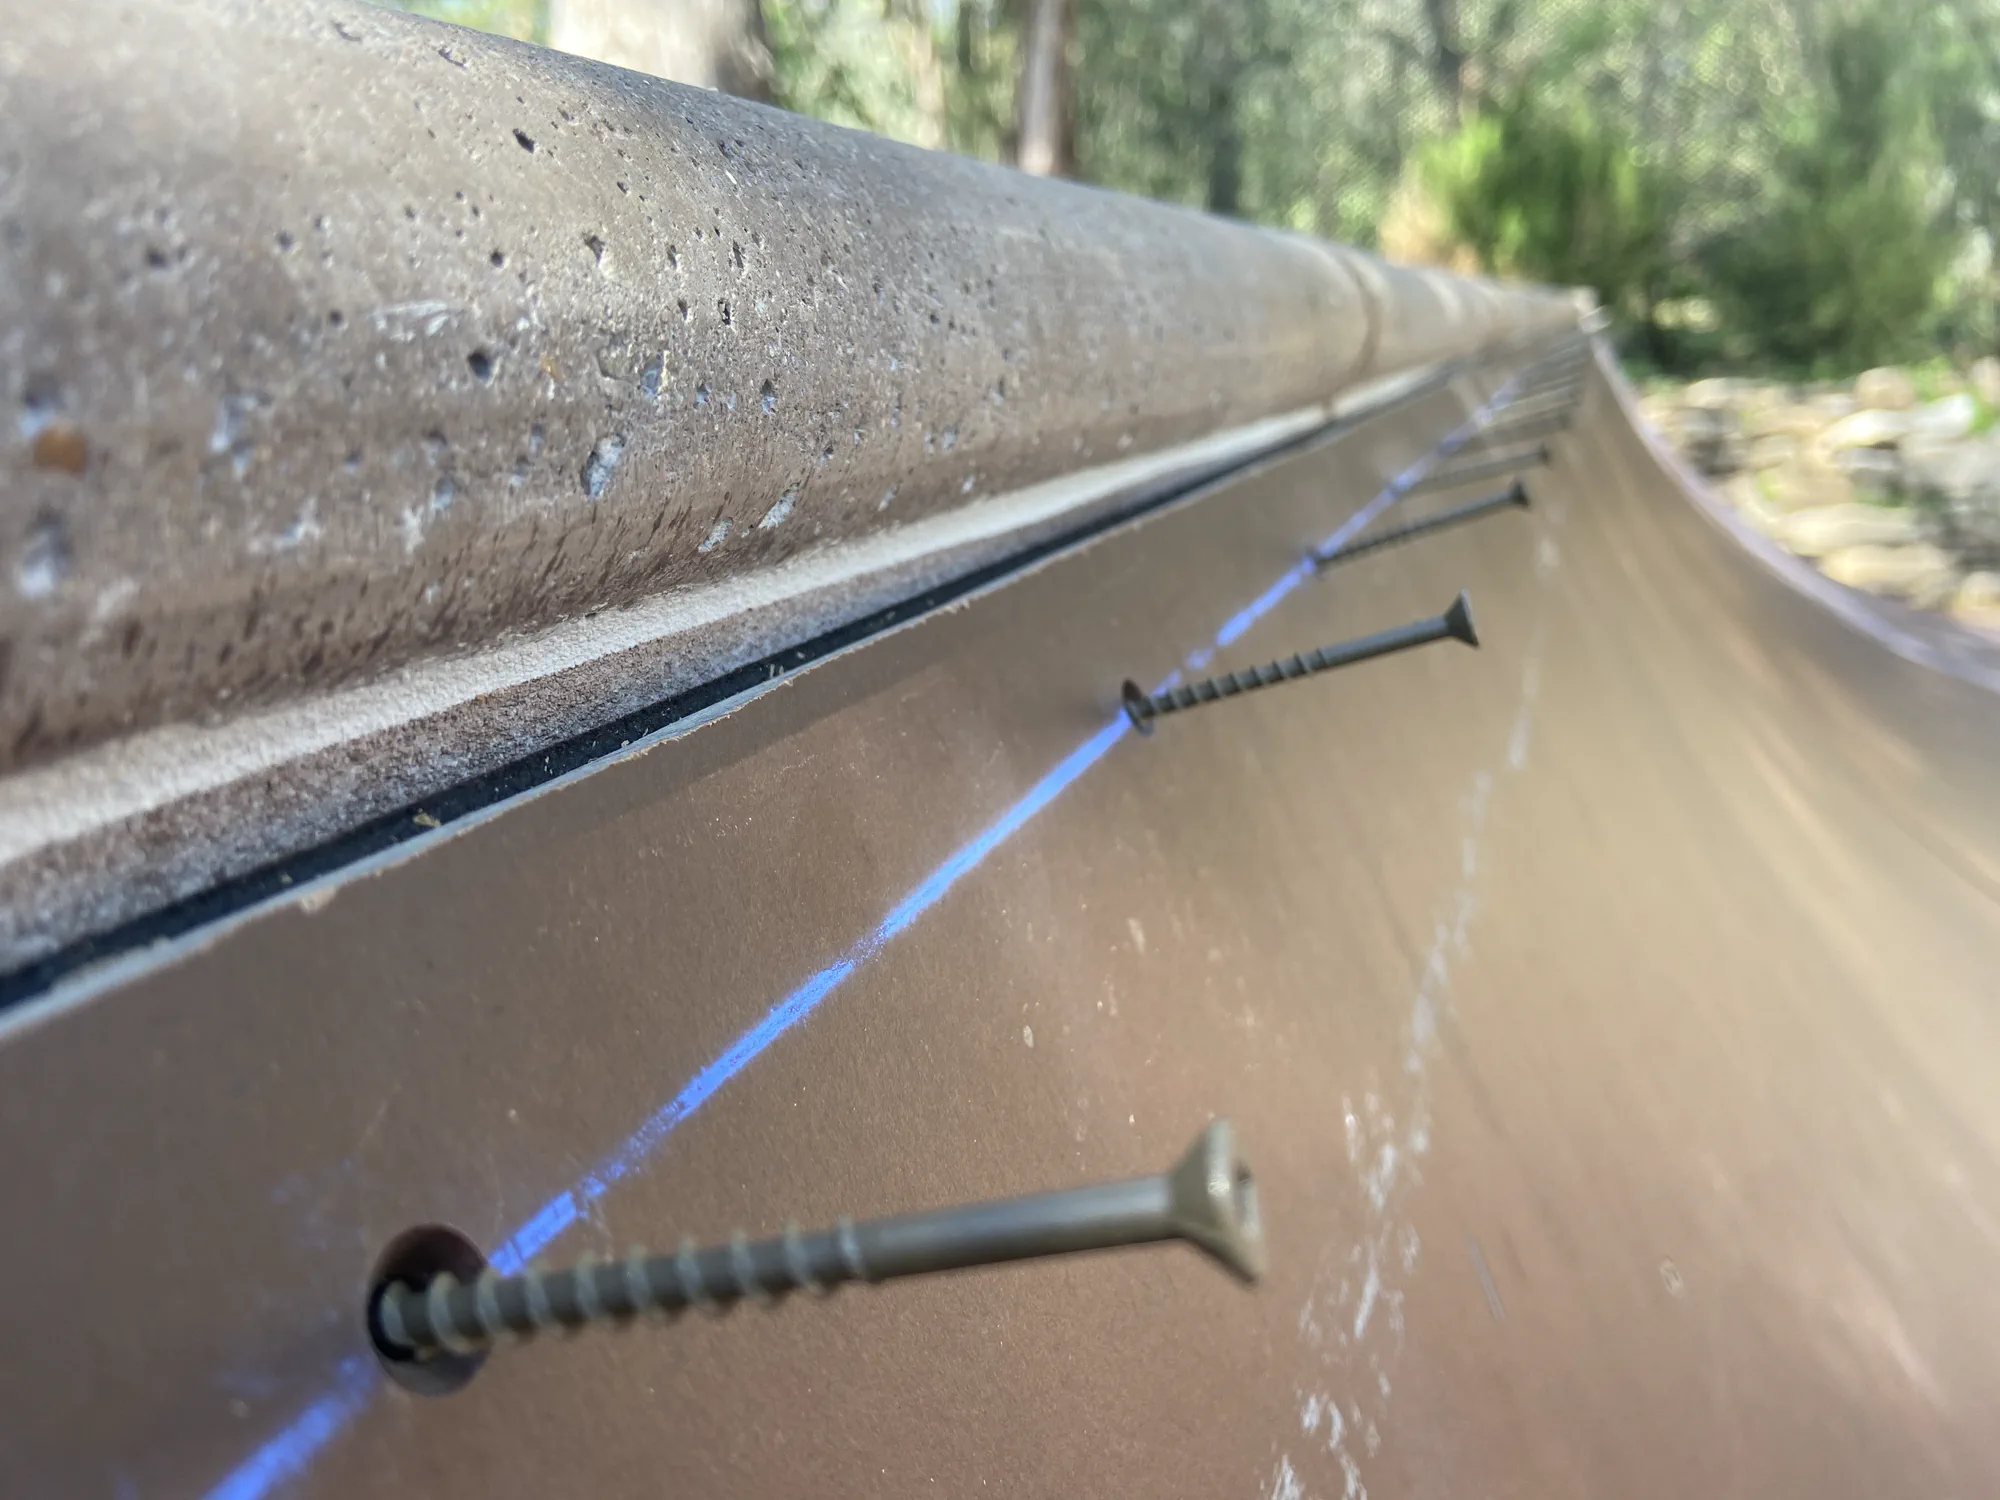
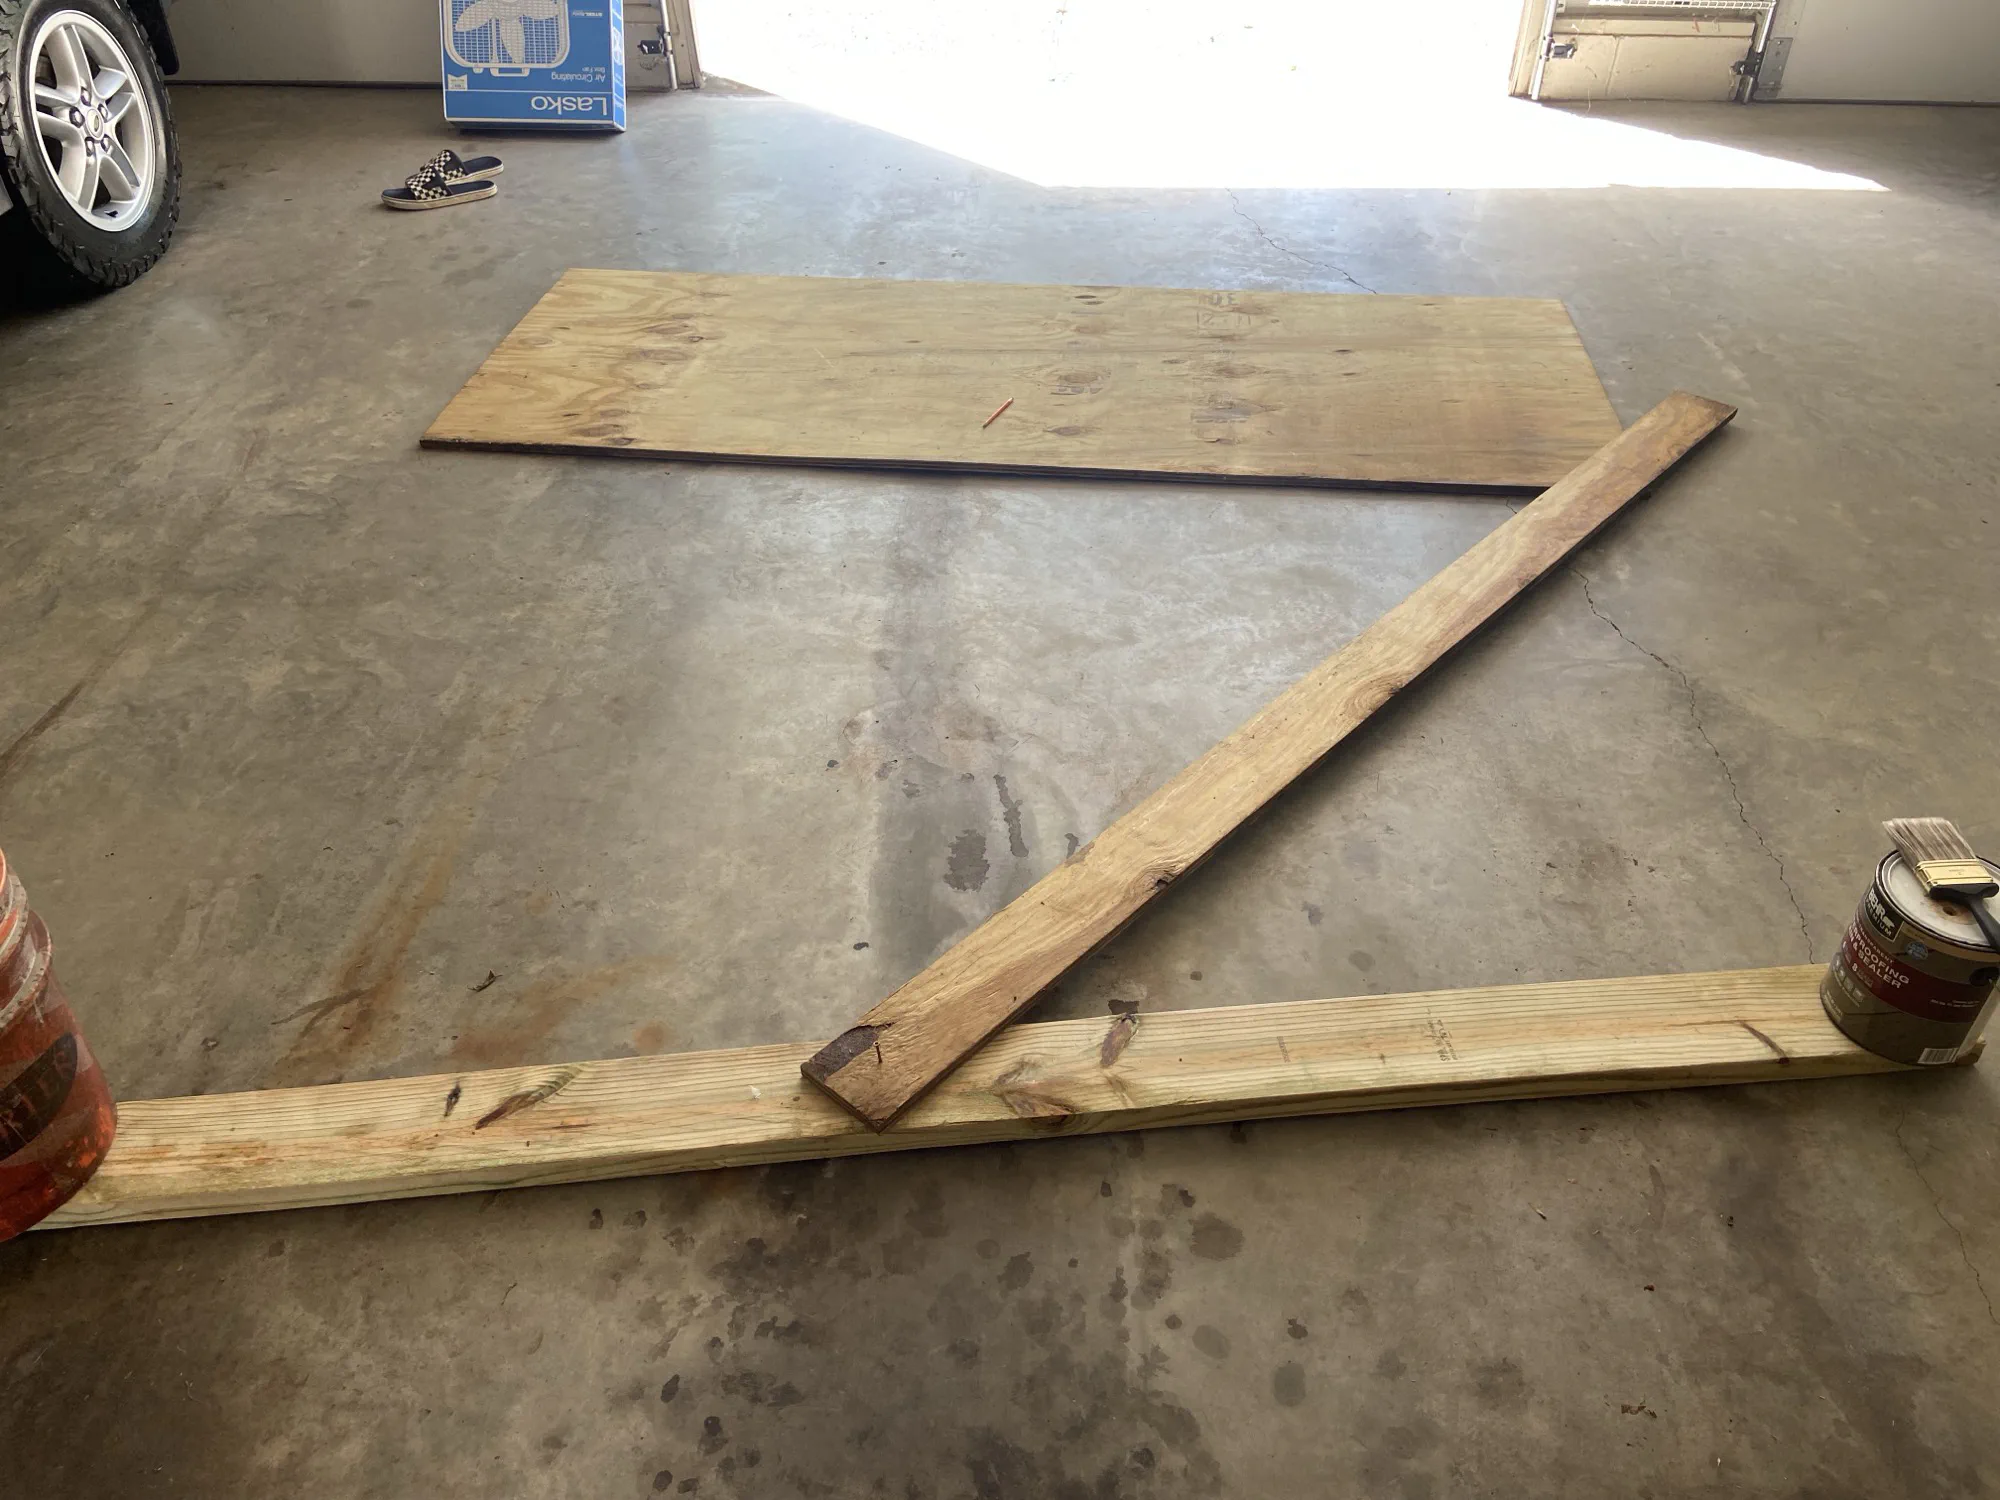
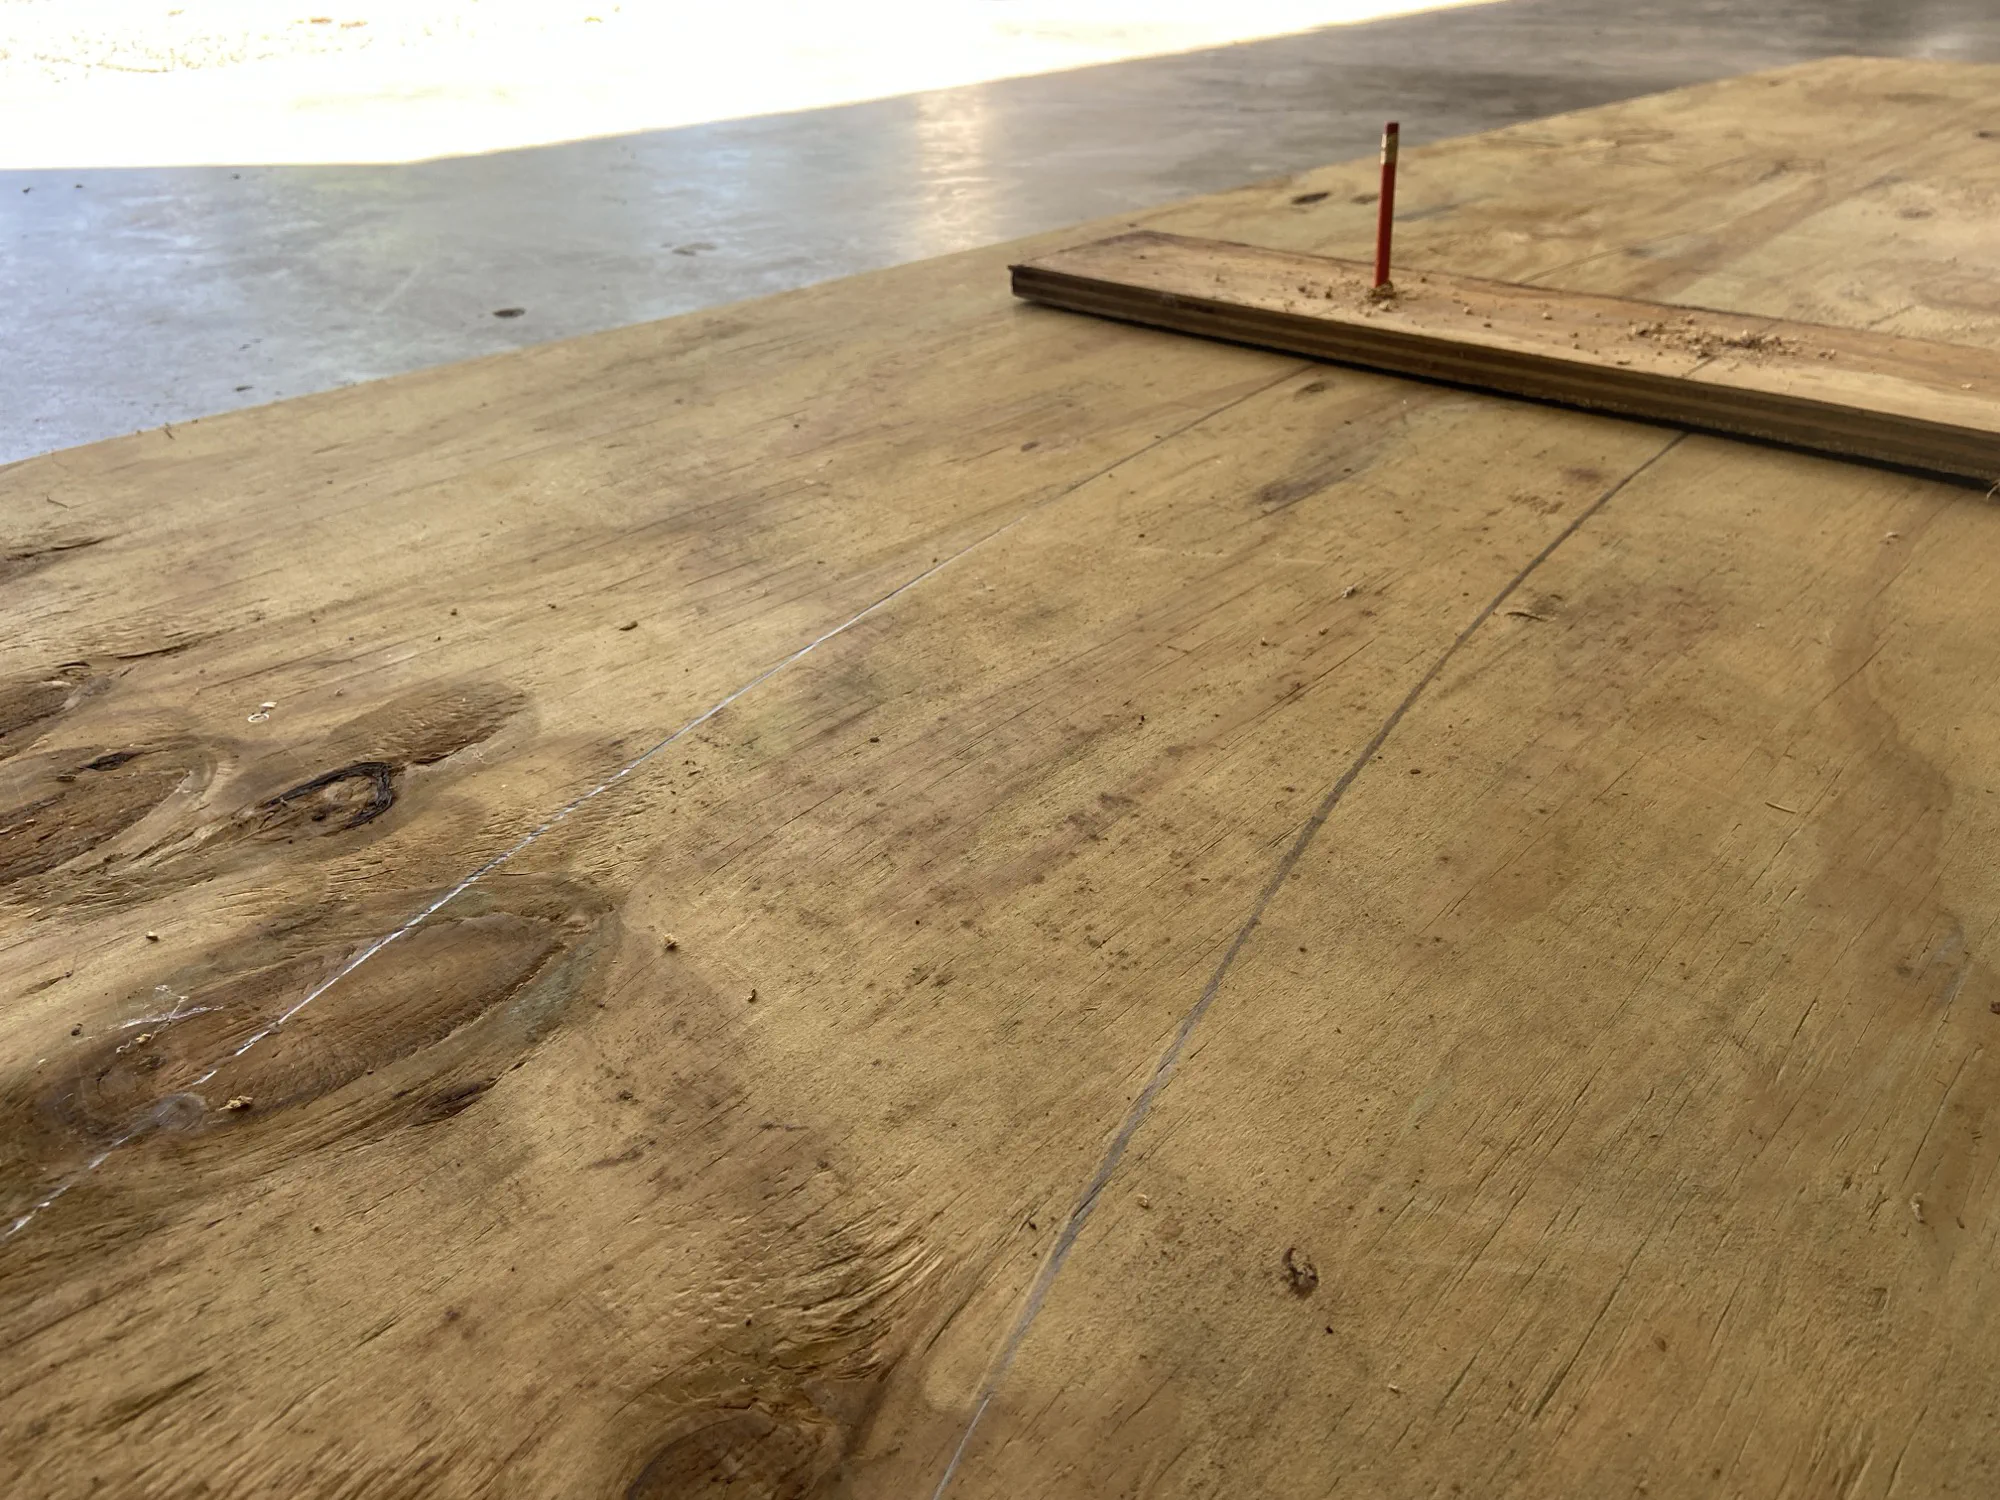
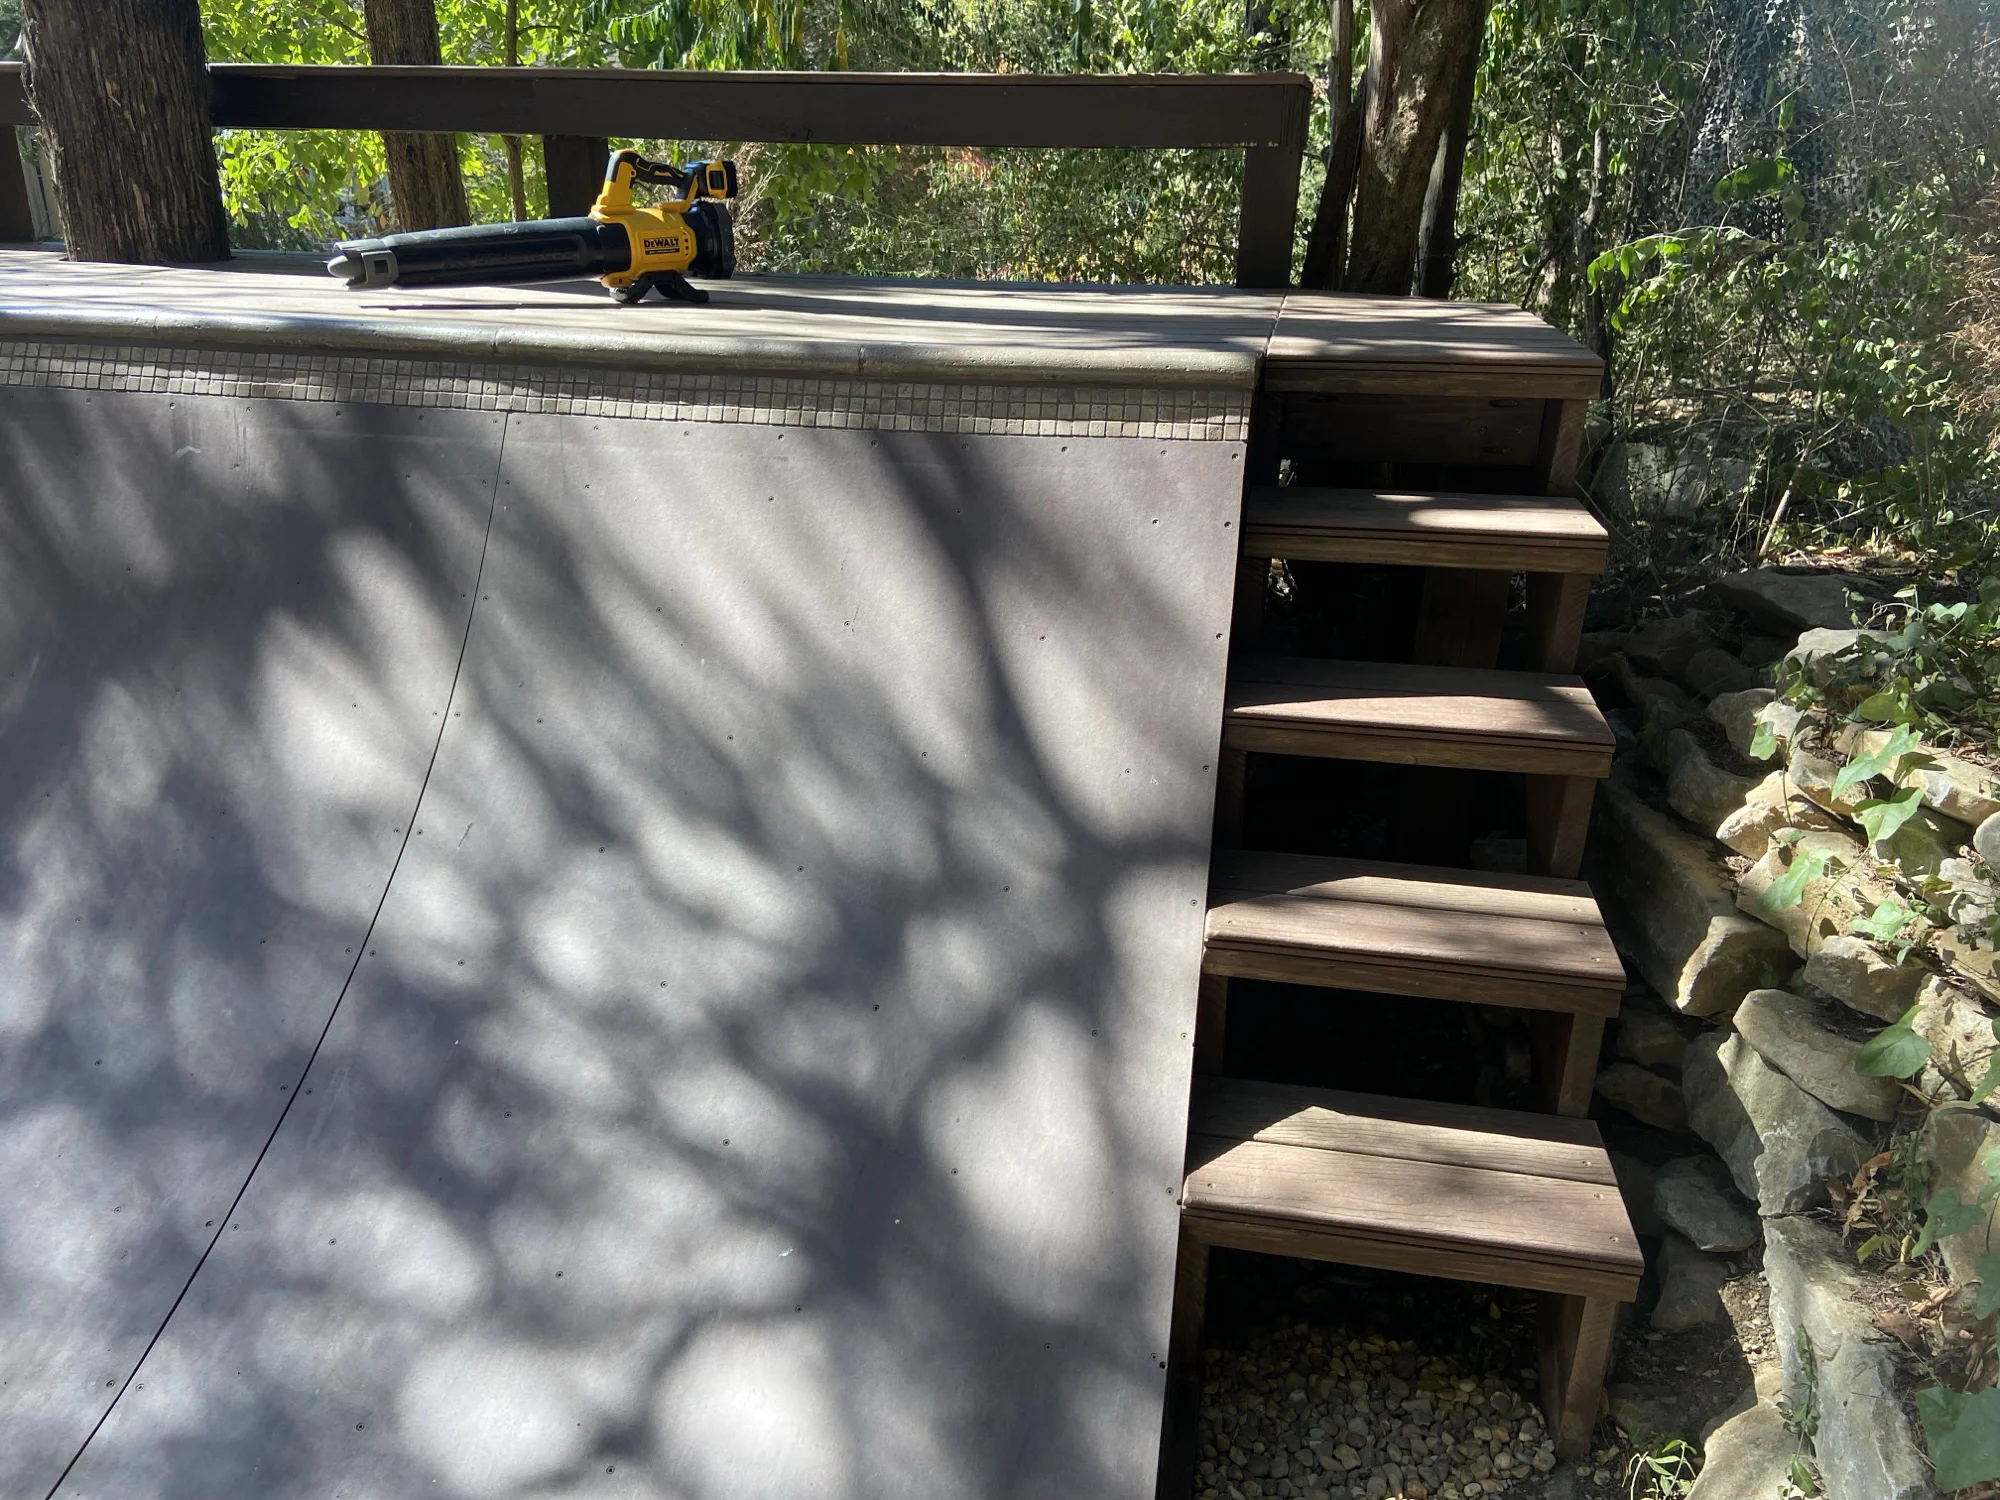
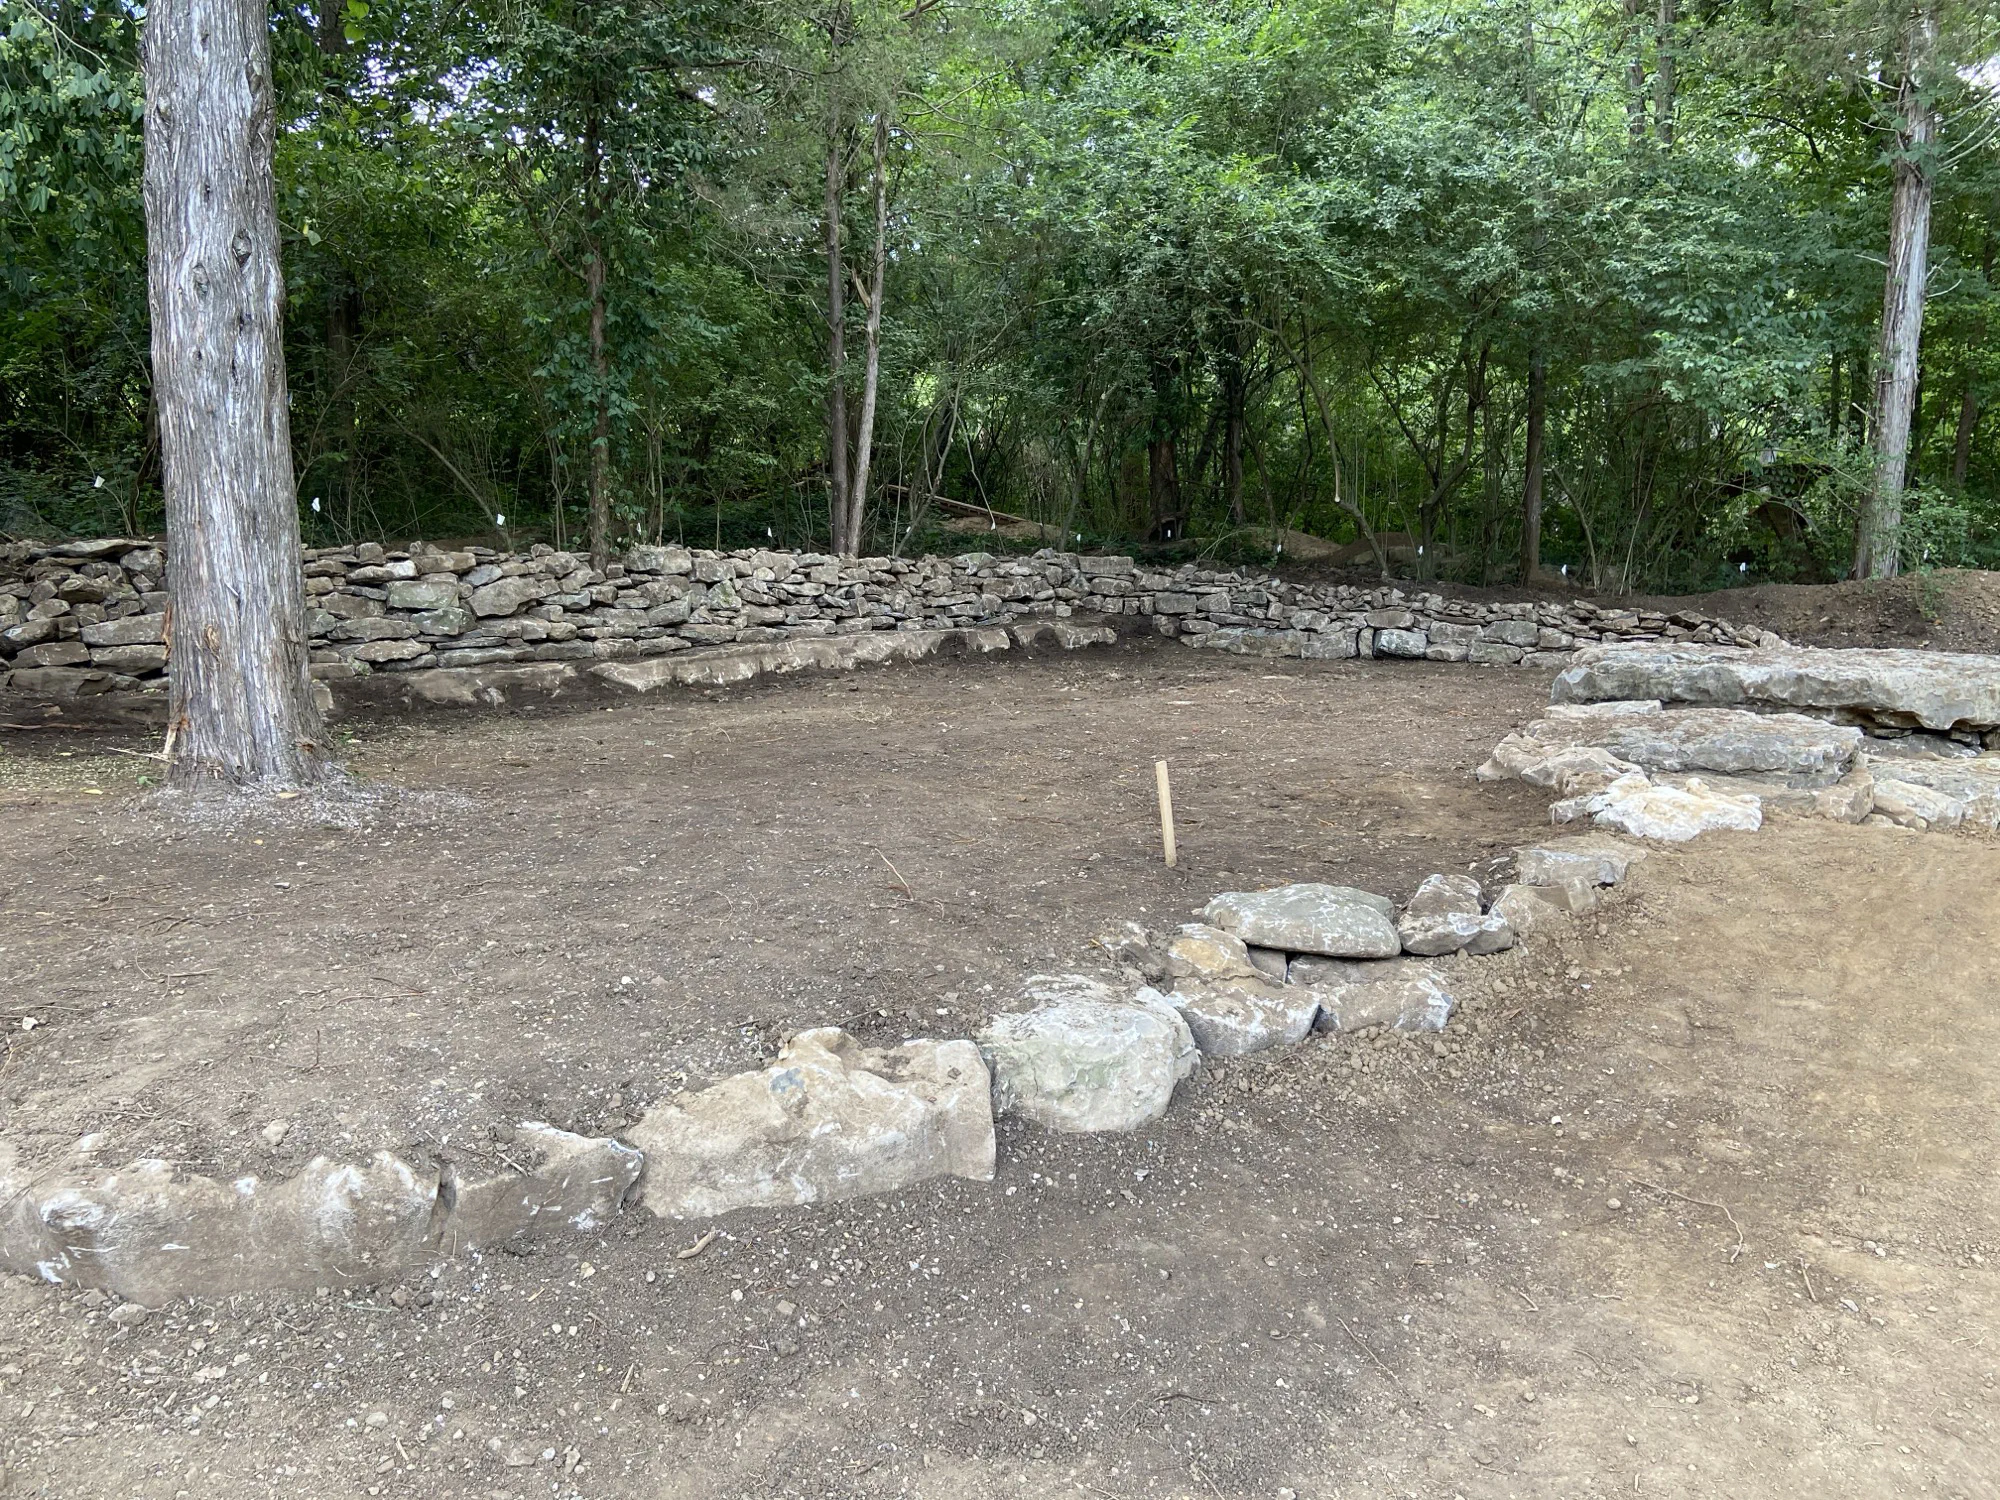
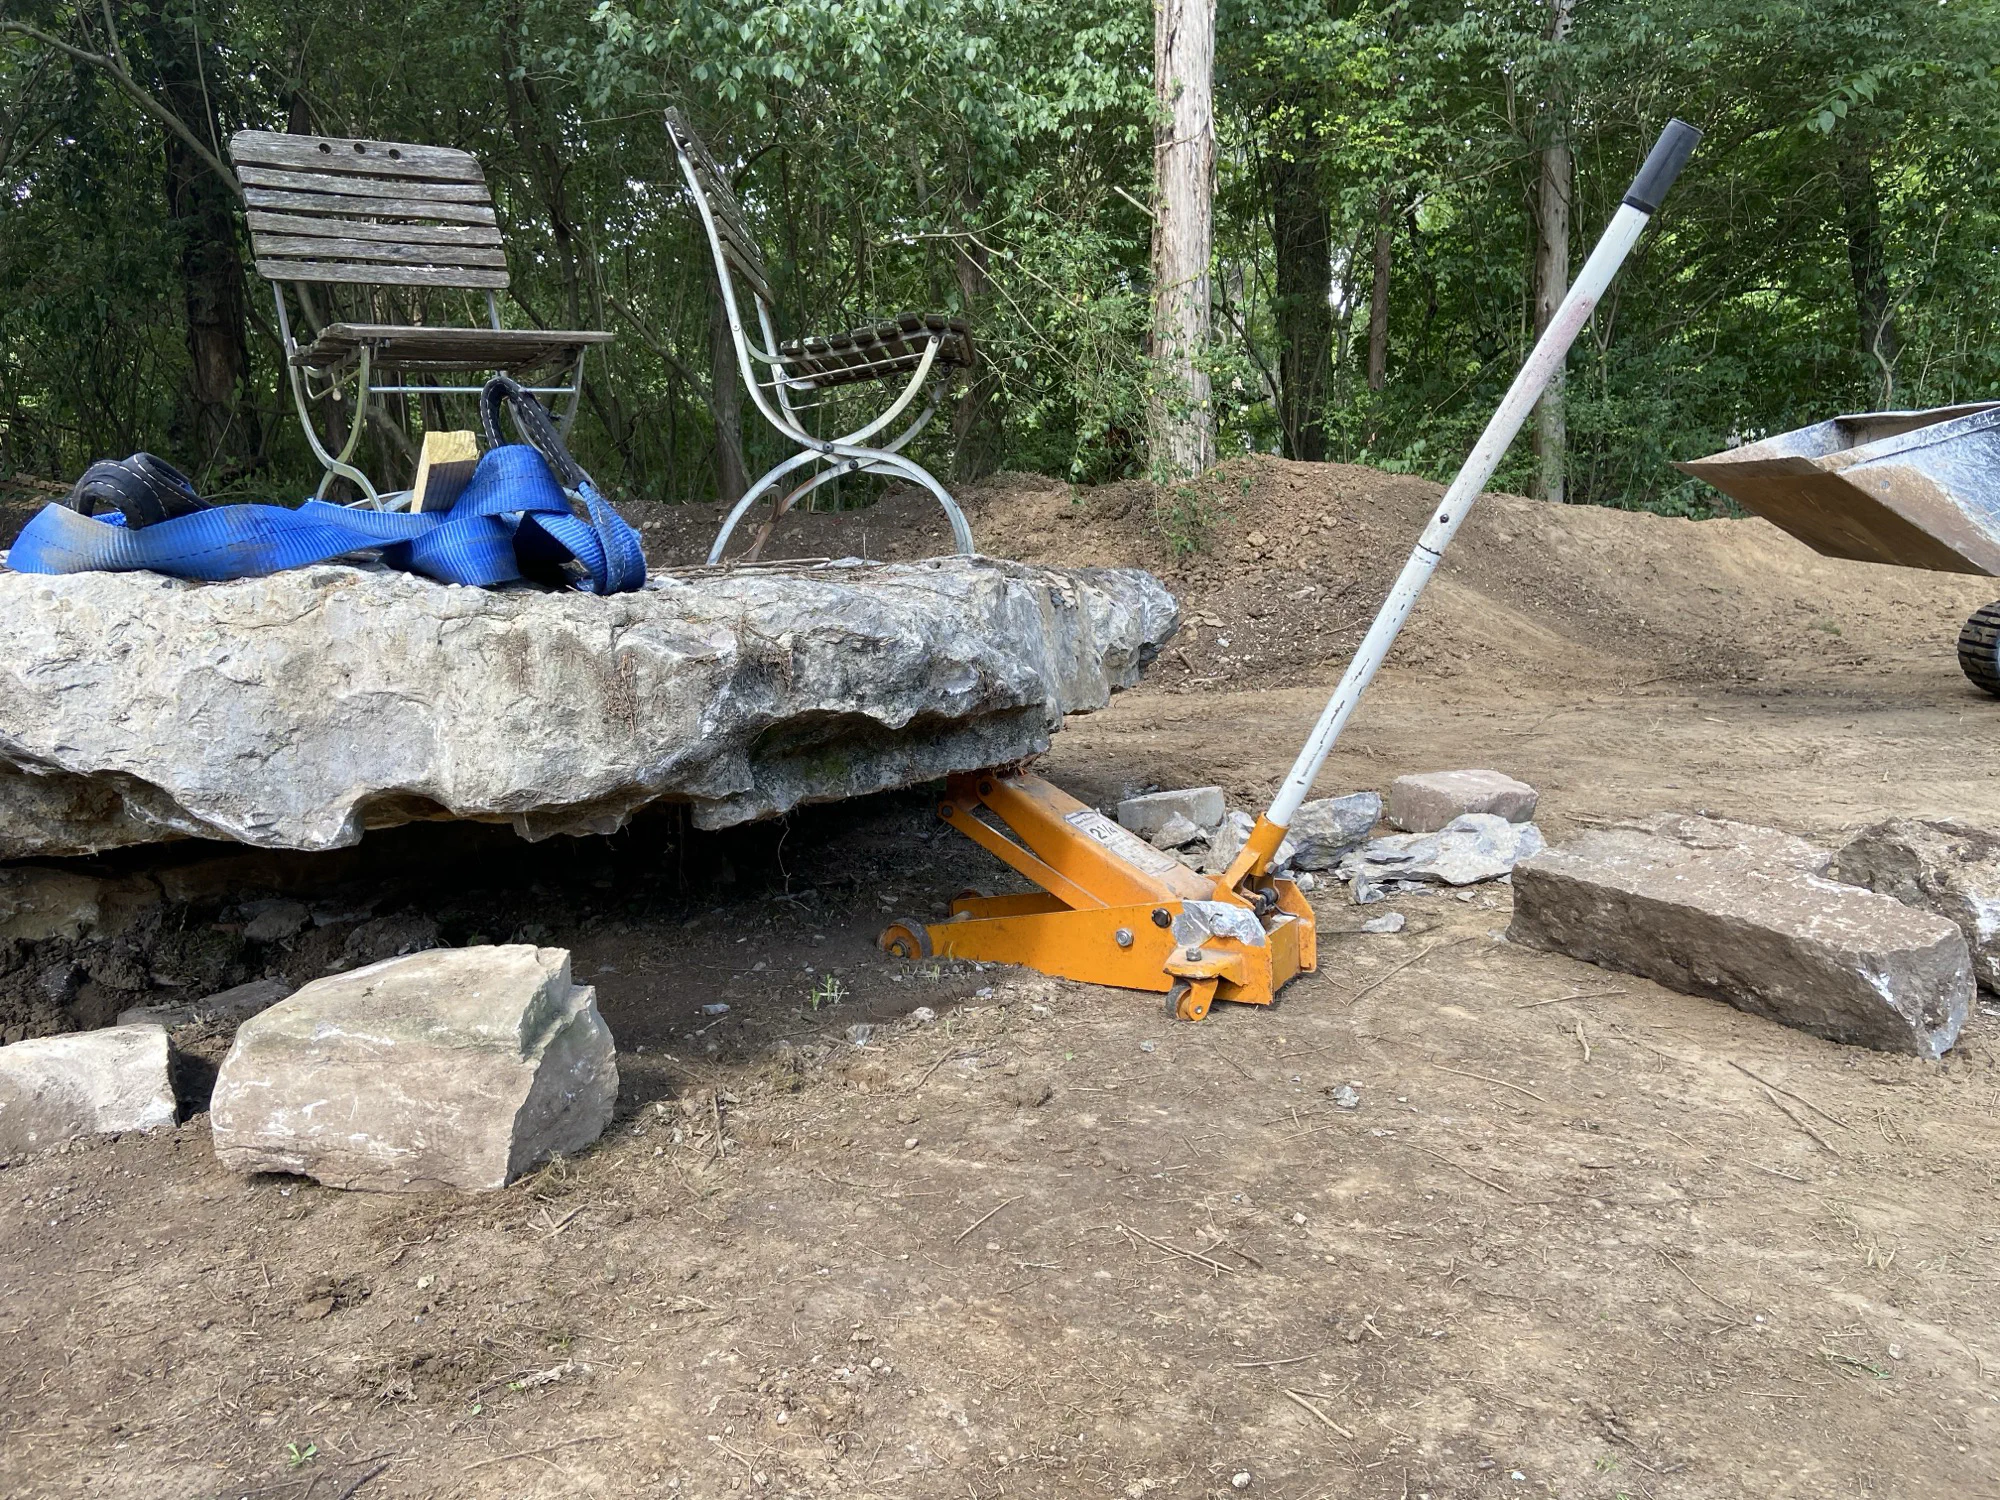
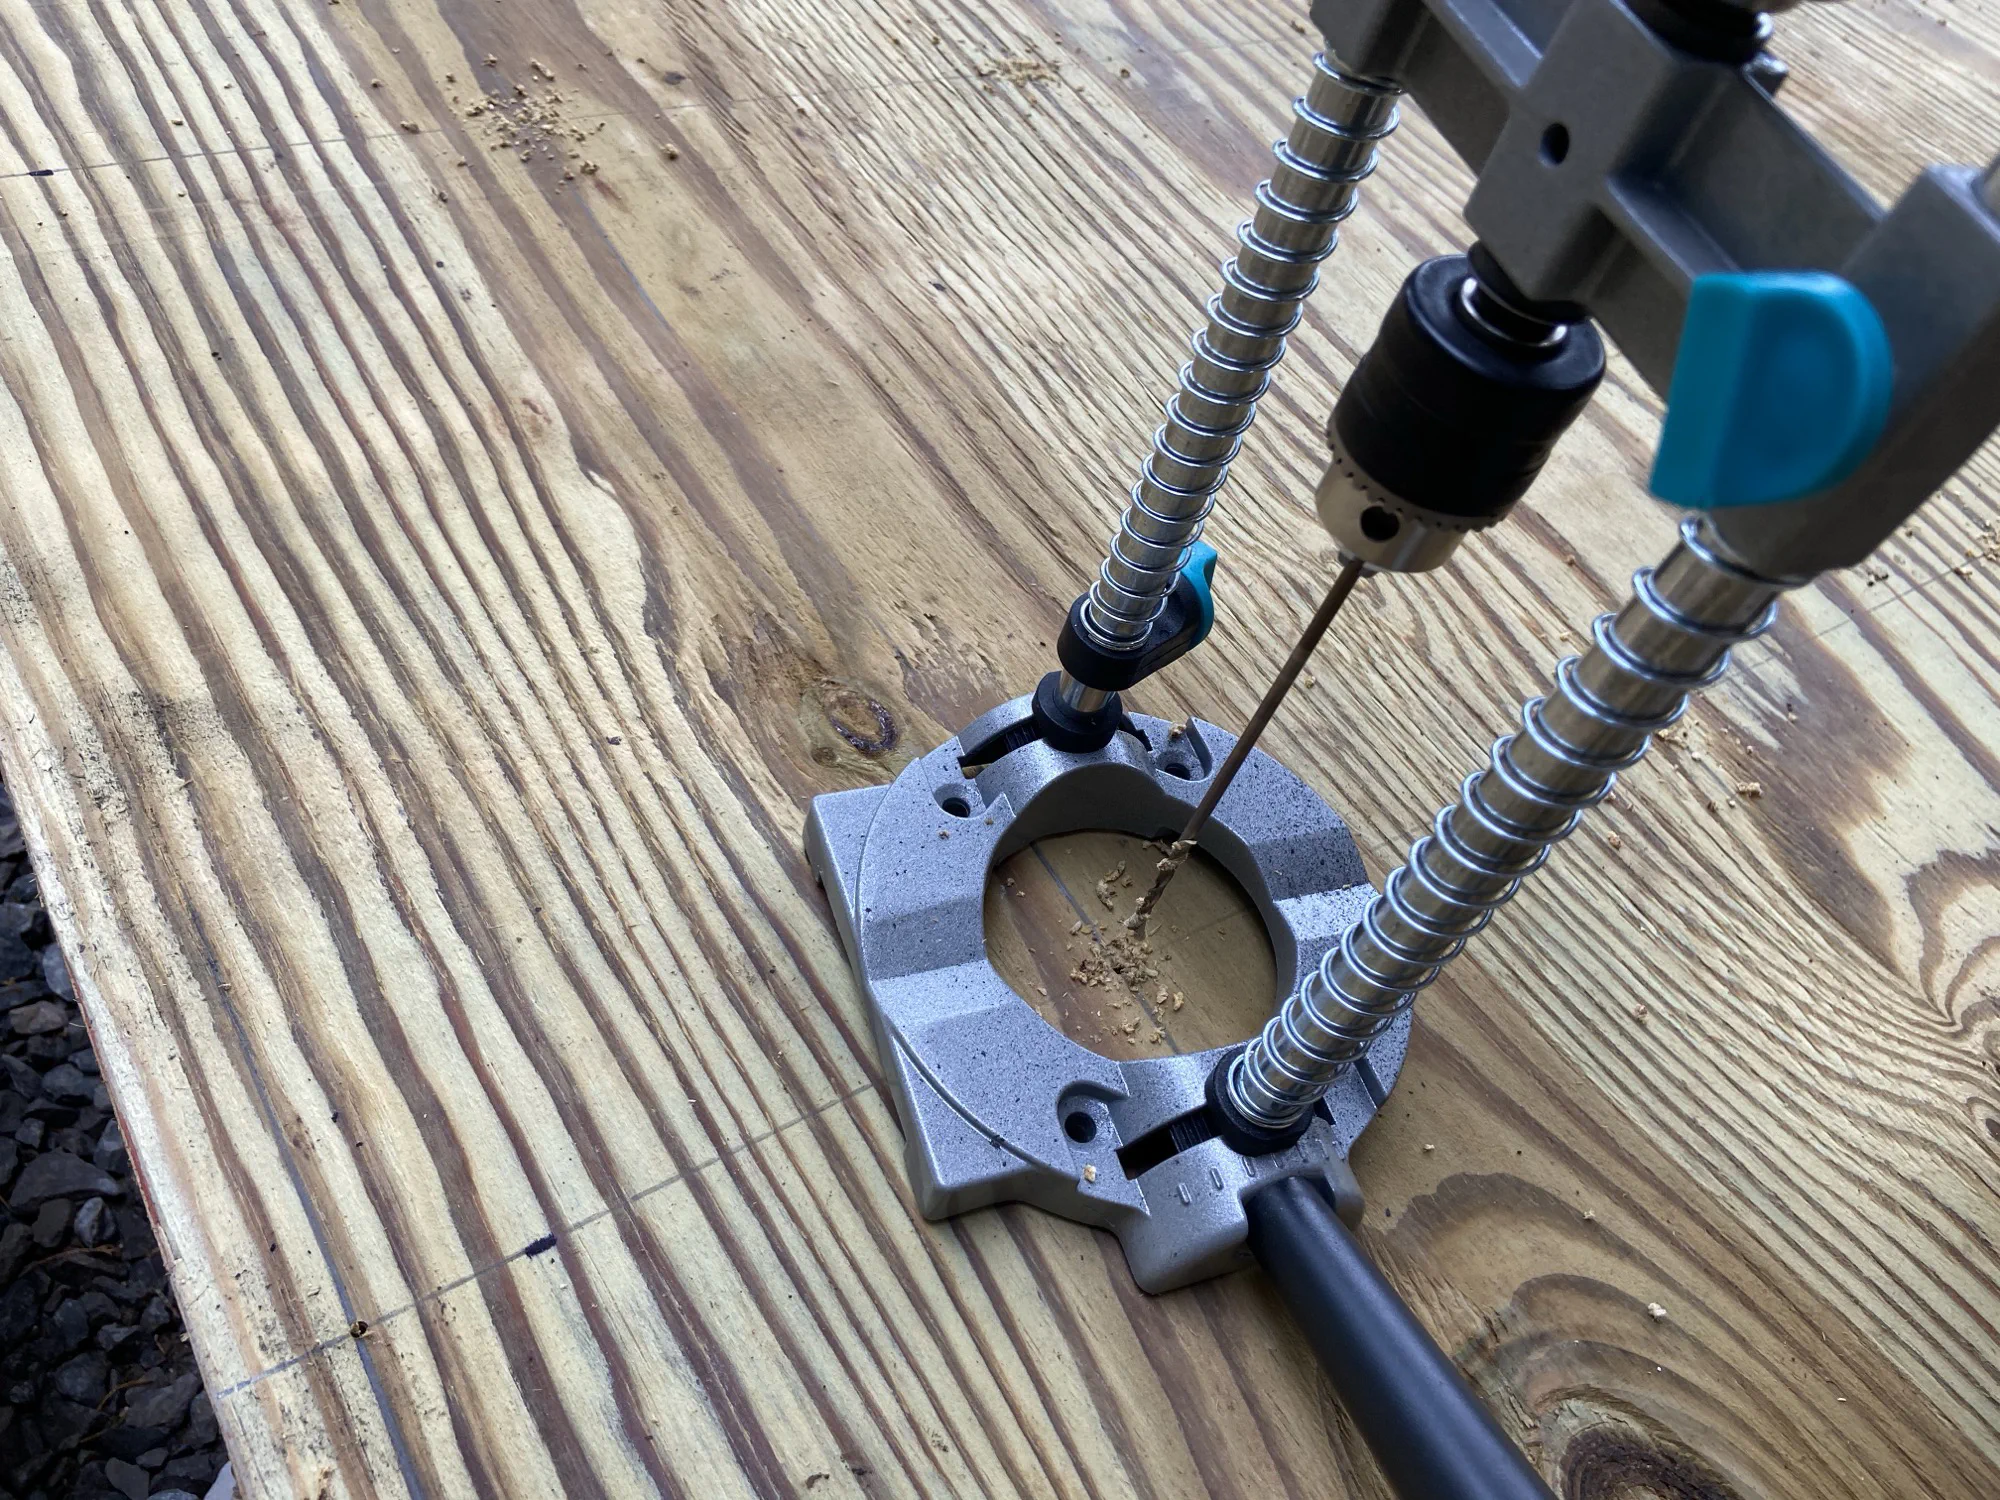
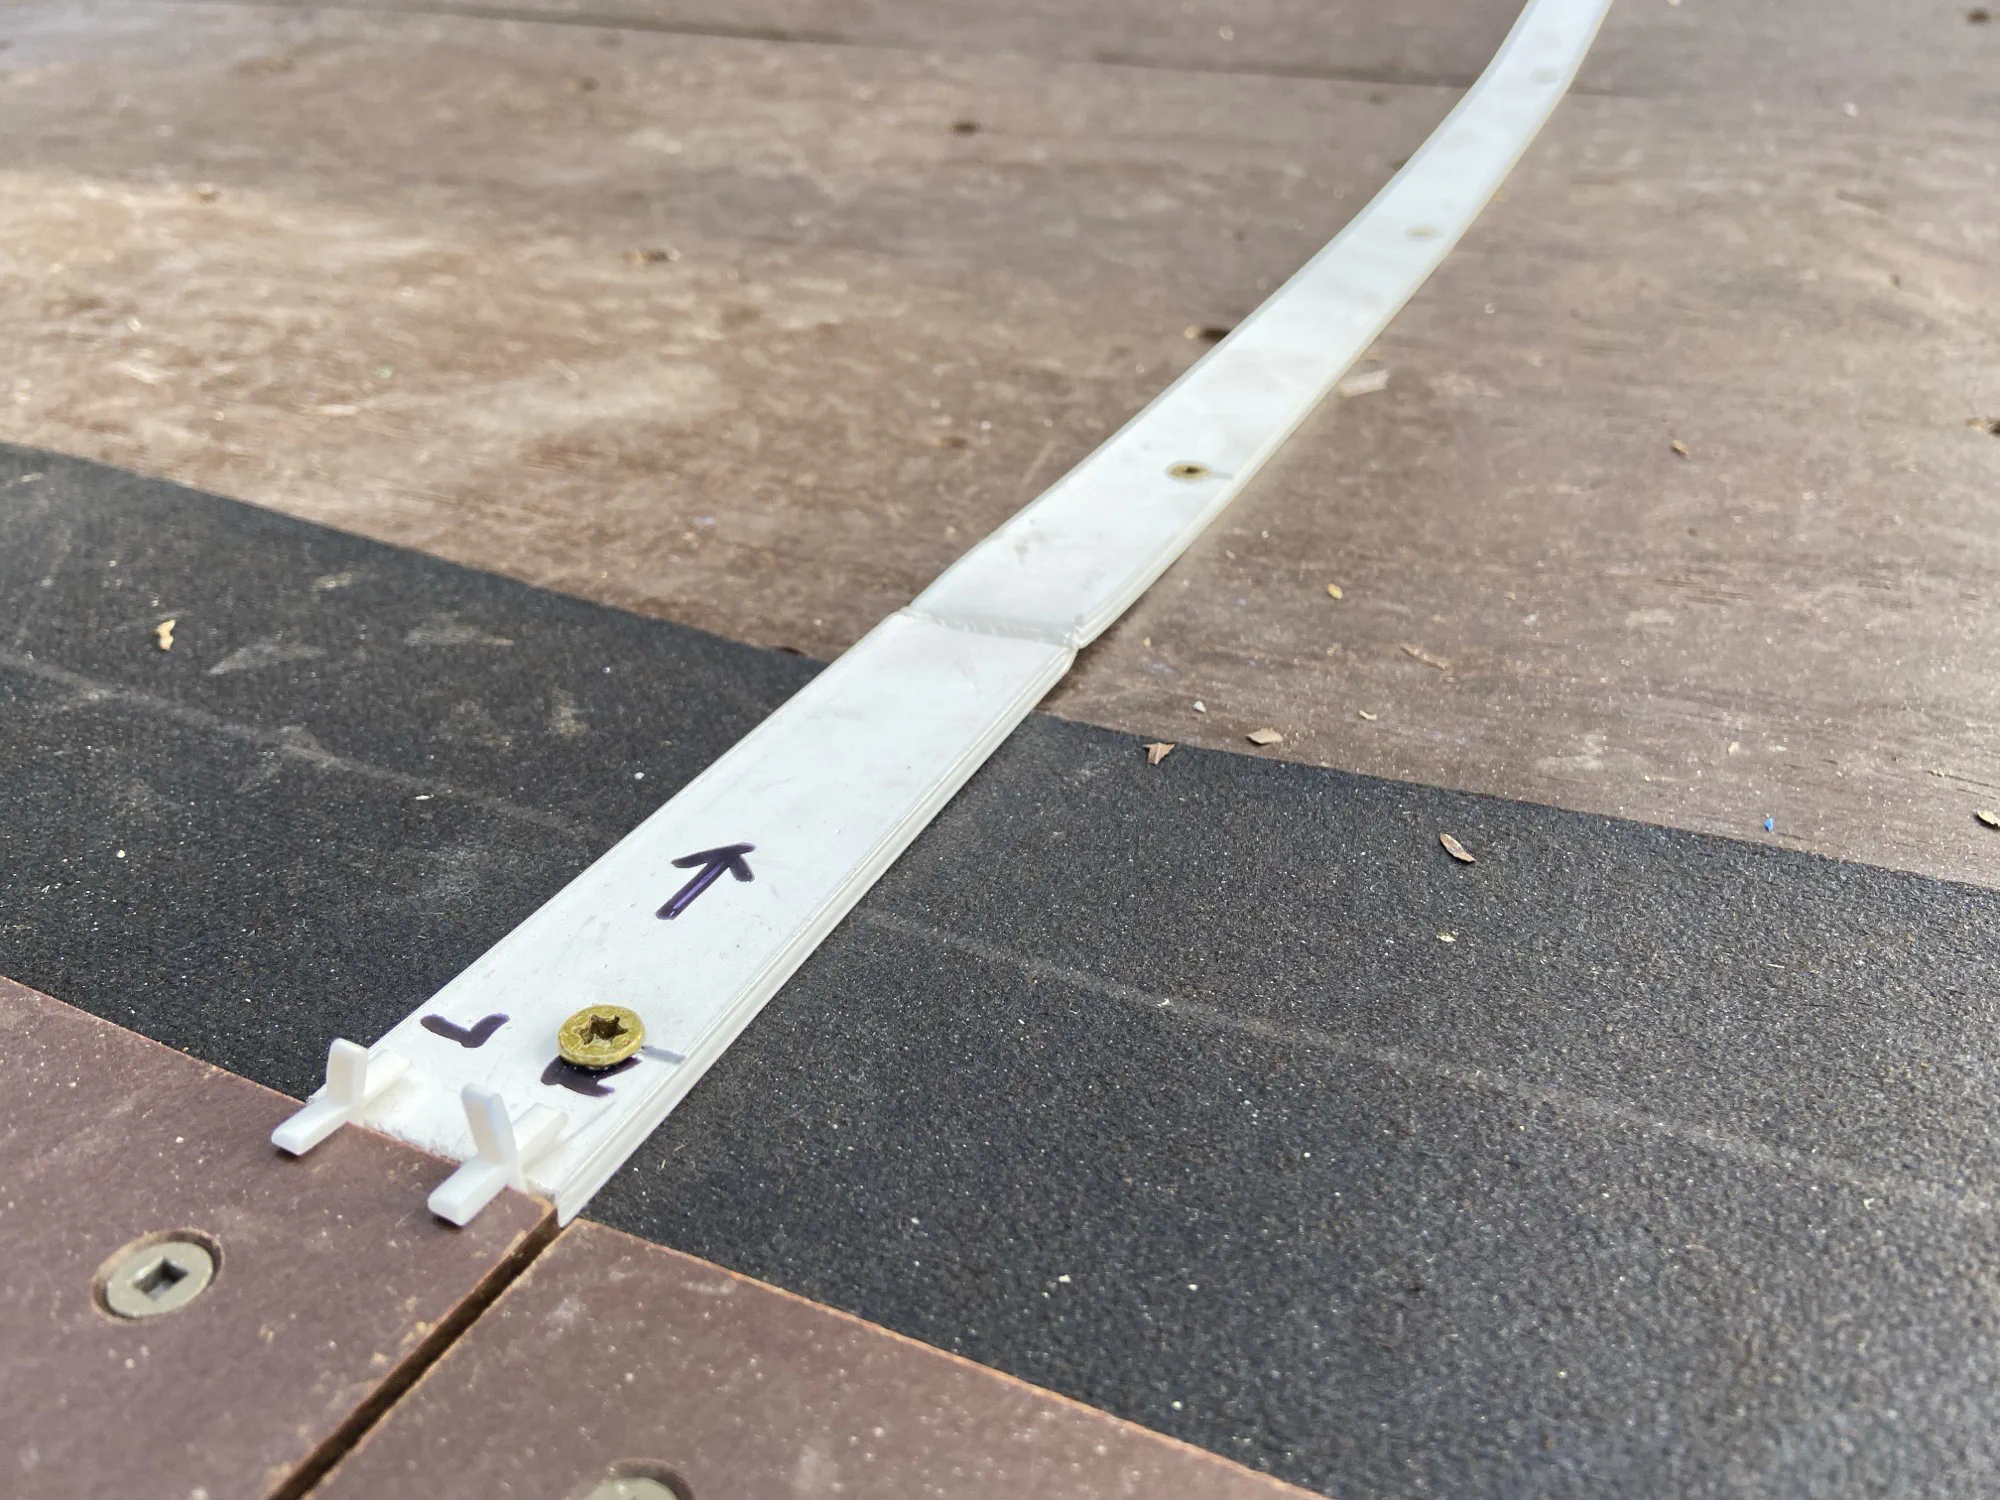
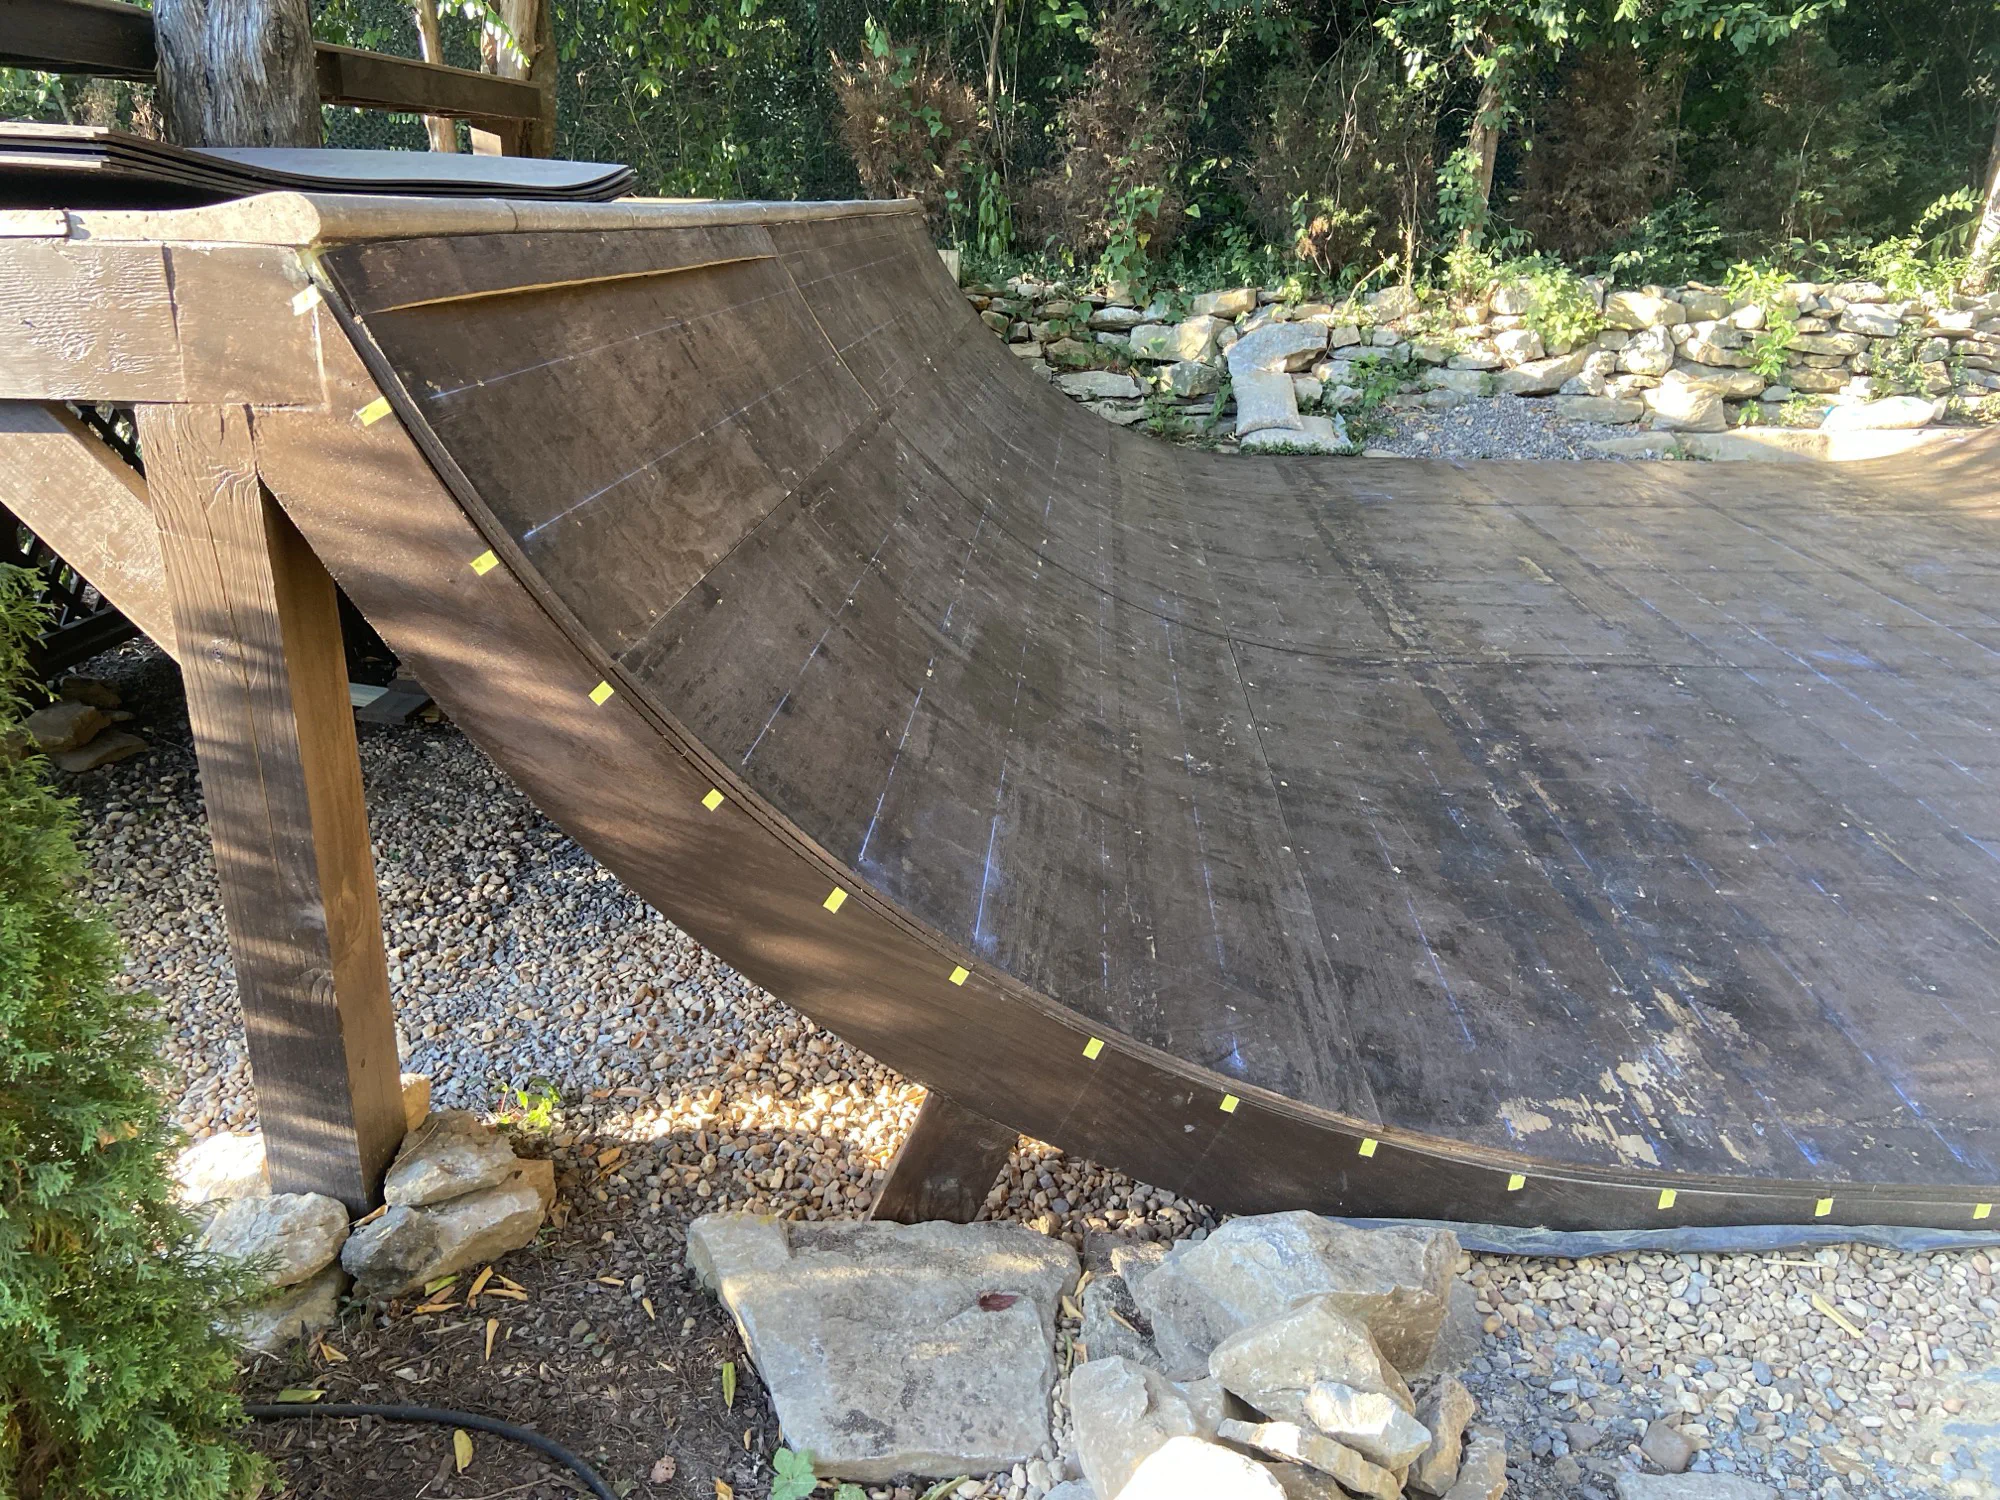
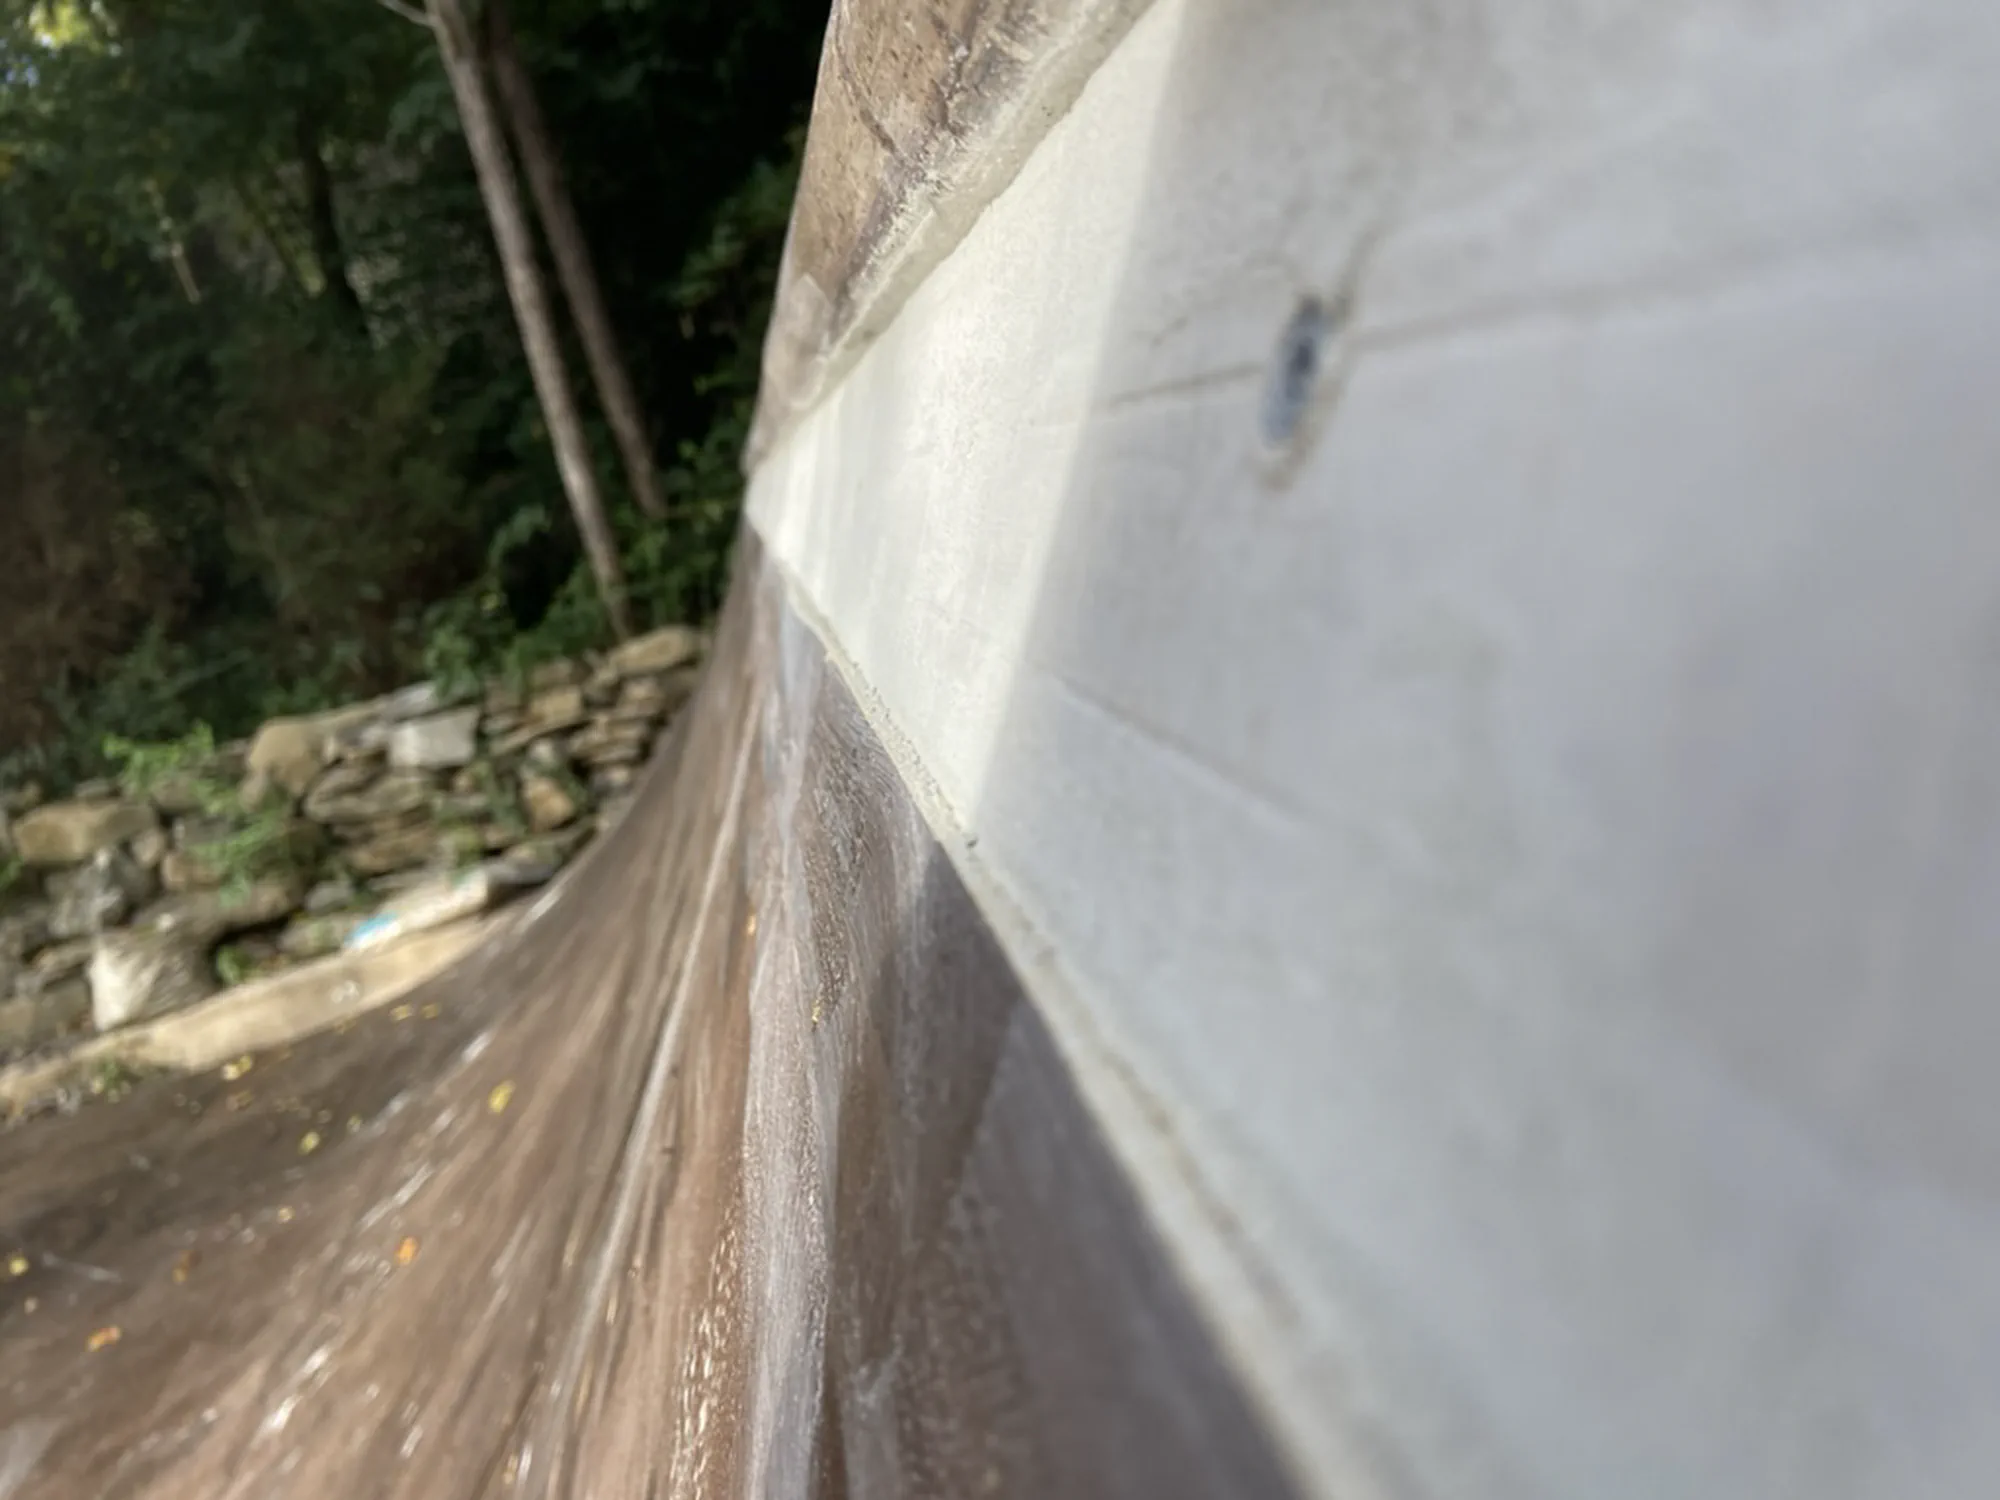
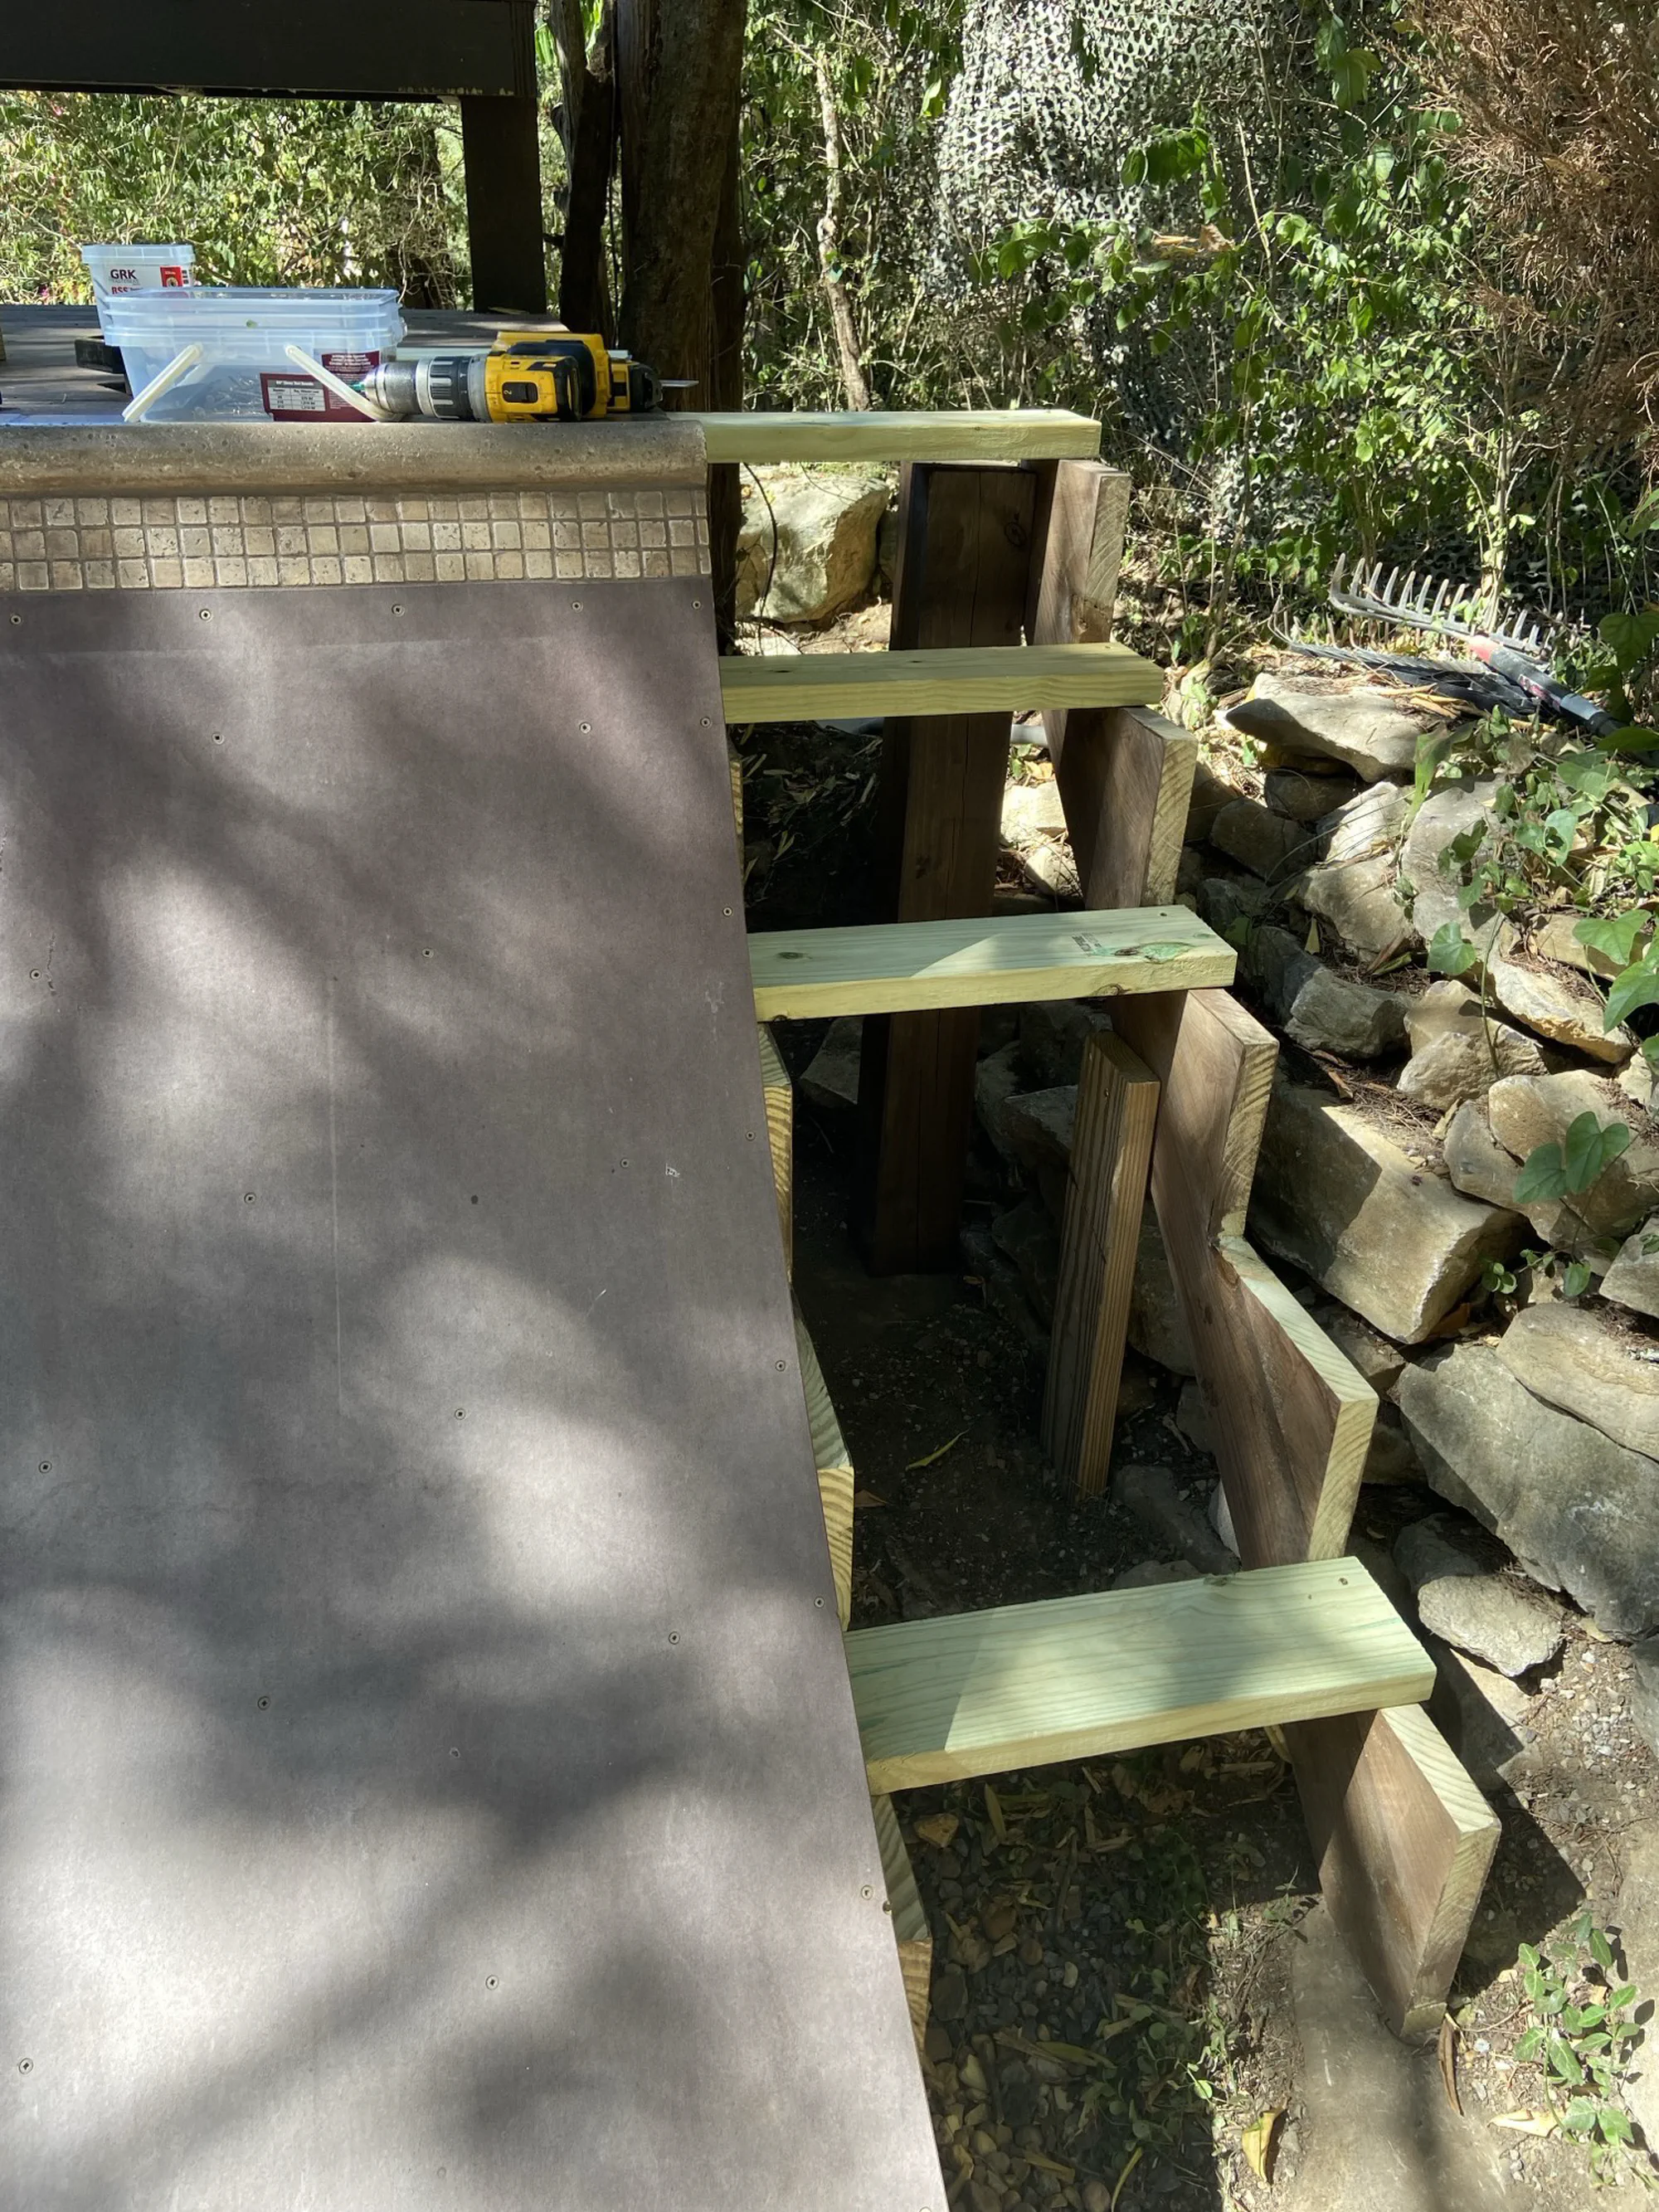
Here’s the part the photos can’t show on their own. I’d drawn the transition in Illustrator and had it cut into vinyl, then transferred the vinyl to plywood to use as a saw template to get the exact curve. Somewhere in the vinyl step it stretched unnoticeably — and what I ended up with wasn’t a true circular radius but a slight ellipse, meaning the intended 6’ radius got smaller/tighter as the transition curved from flat to coping. You couldn’t see it. You could only feel it, once the ramp was finished and you were skating it: it rode wrong. I lived with it for a while, stewed on it a while longer. The problem is the coping is permanently set, there’s really no way to remove and reset pool coping without destroying it. So about a year later I tore the whole thing down from coping to coping and rebuilt the transitions the old way — a straight edge screwed down, a pencil on the end, a true arc with a slightly mellower 6.5’ radius drawn by hand. And while it was apart, I made the rebuild count: I added the tile below the coping (it wasn’t in the first build) and built stairs down the far side beside the stone wall, as well as adding some extra hidden bracing underneath. It skates great now. I later wrote up what the whole episode taught me about where to trust a machine: Riding an Invisible Ellipse .

Now it skates

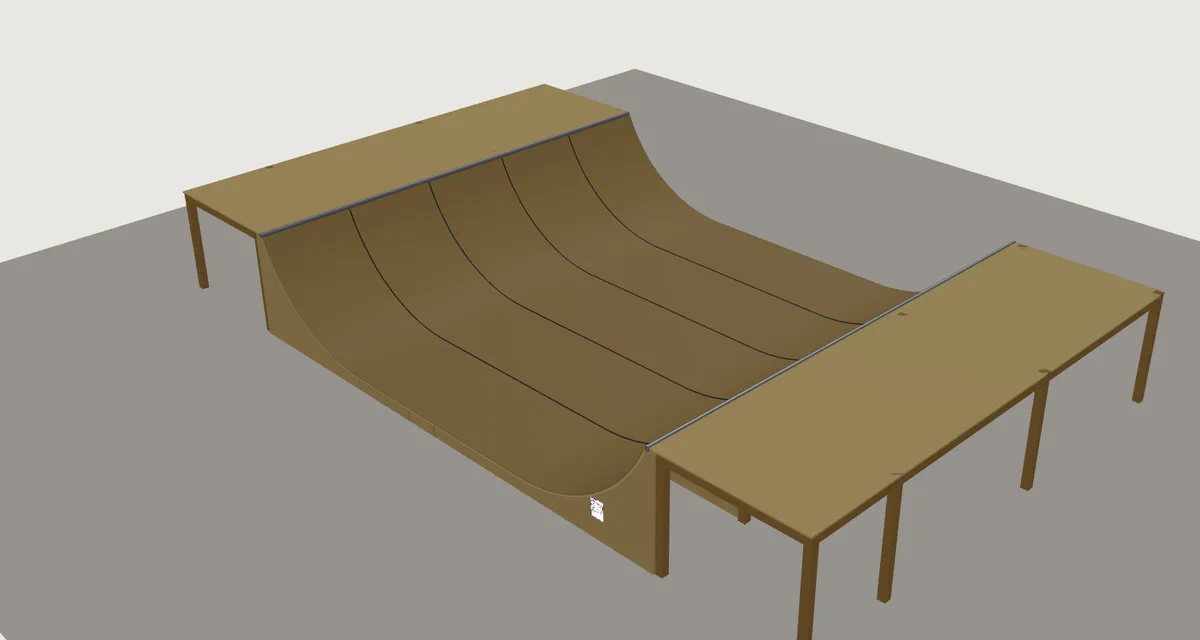
Designed in hindsight
I didn’t have a 3D ramp-design tool when I built this. I built one later — so here’s the rebuilt ramp, 6.5’ transitions and all, modeled after the fact. Click through to open it live and poke at the numbers.
More from the build


Related writing