Wicking Worm Gardens

Wicking Worm Gardens

Complete (rain catchers later removed) · April 15, 2012 · Backyard

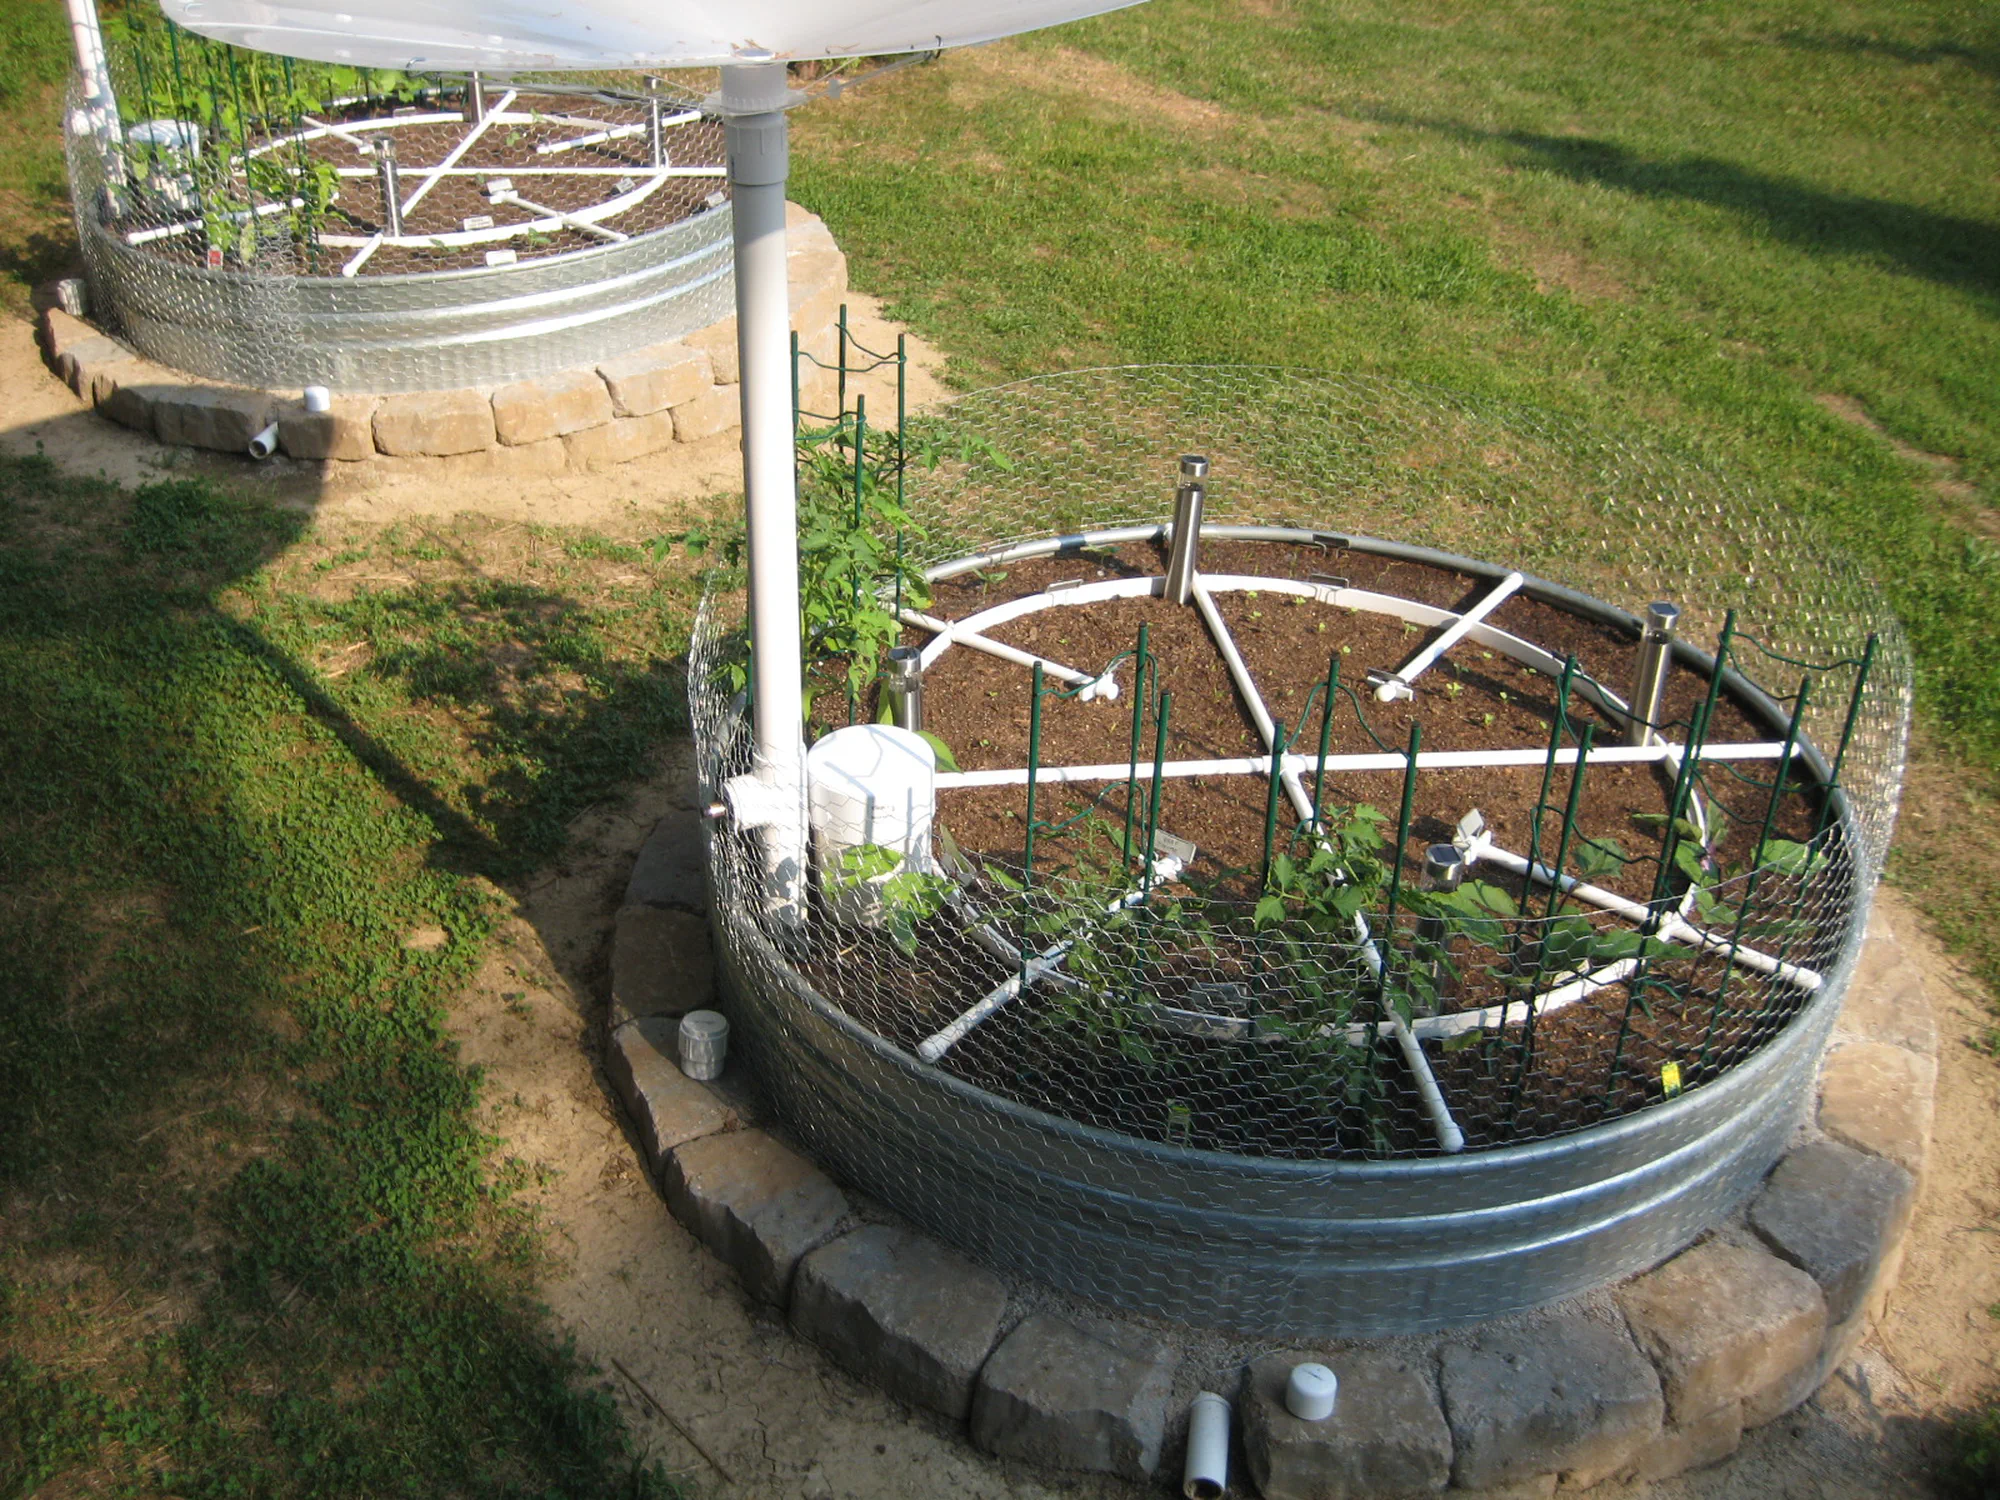
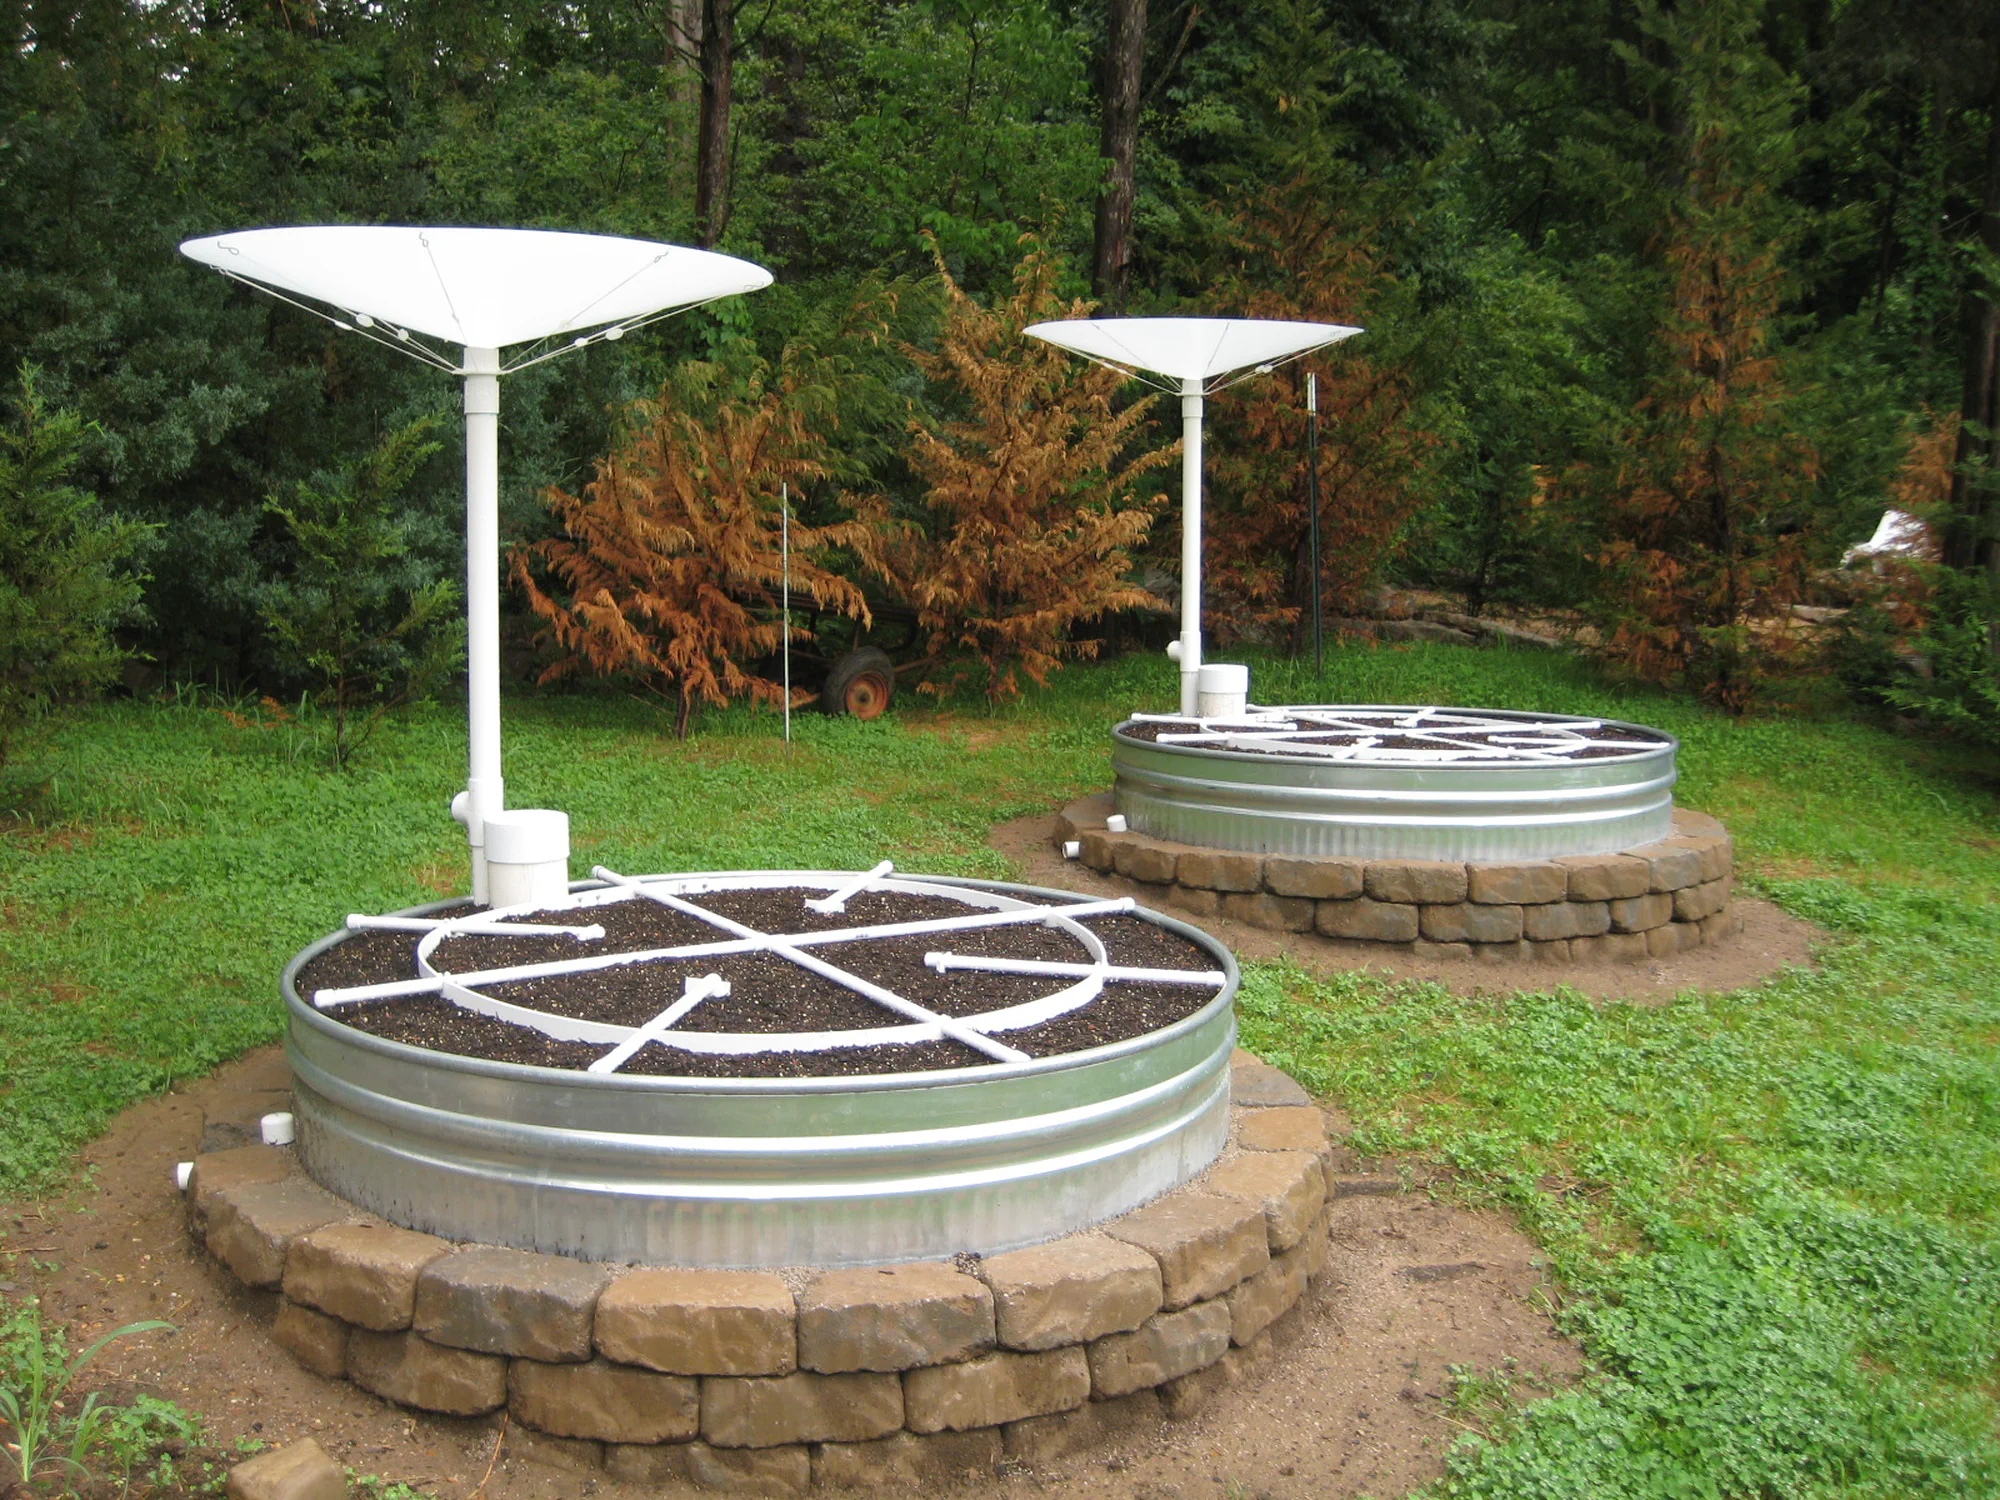
A pair of self-watering raised garden beds built from galvanized stock tanks — sub-irrigated from a gravel reservoir below, fed three different ways, and composted in place by a colony of worms.

Type
Pair of wicking (sub-irrigated) raised beds
Vessel
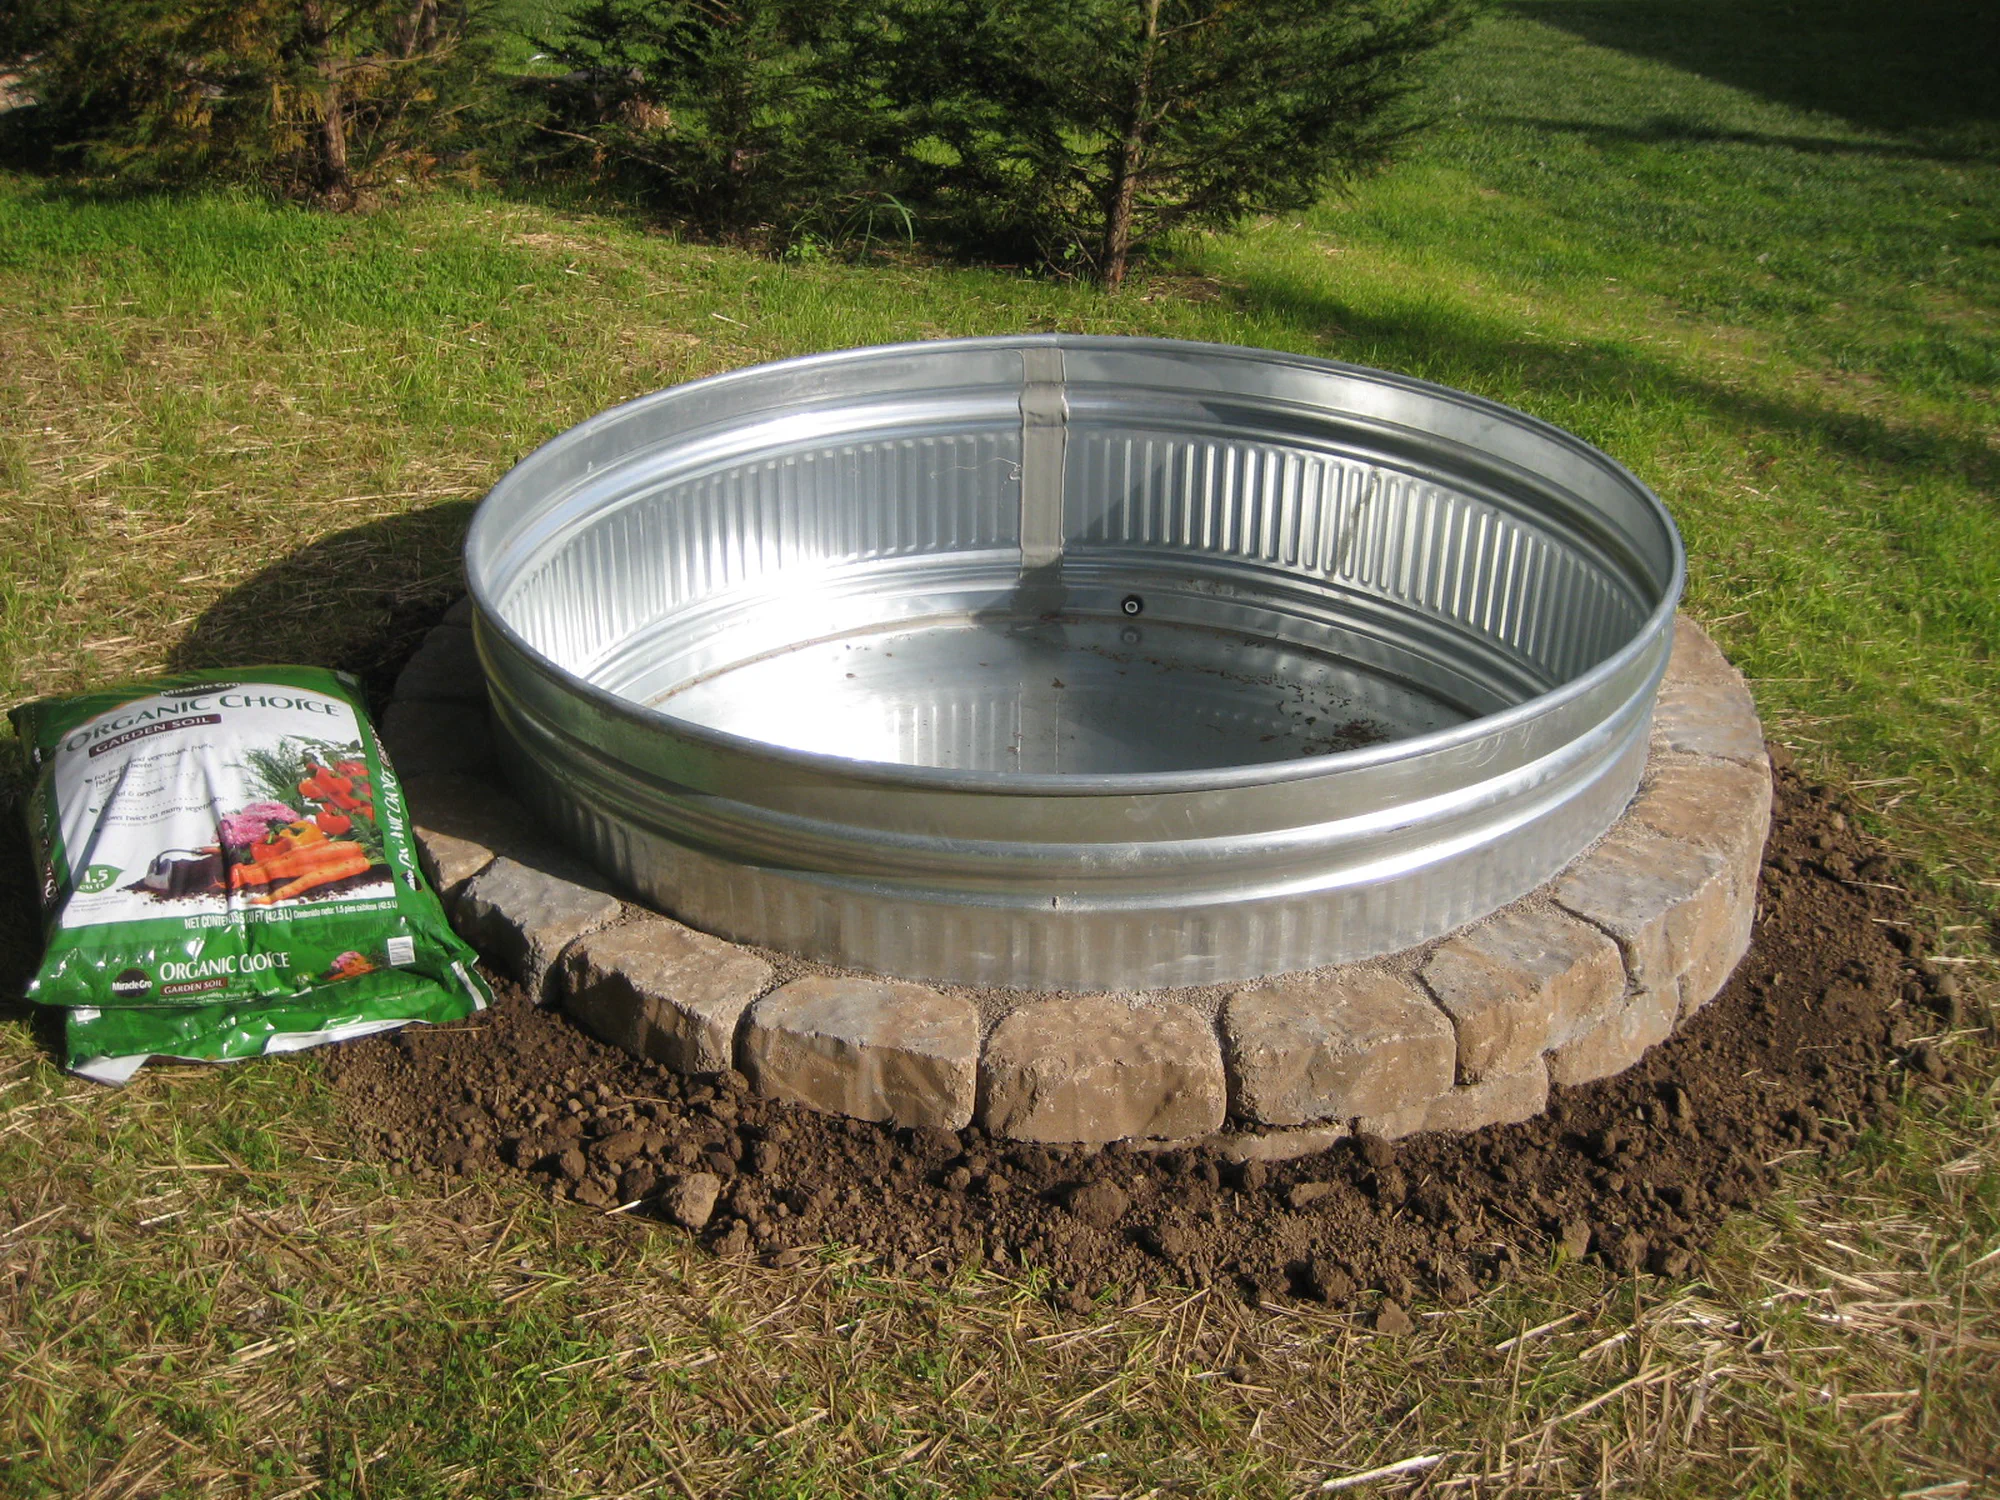
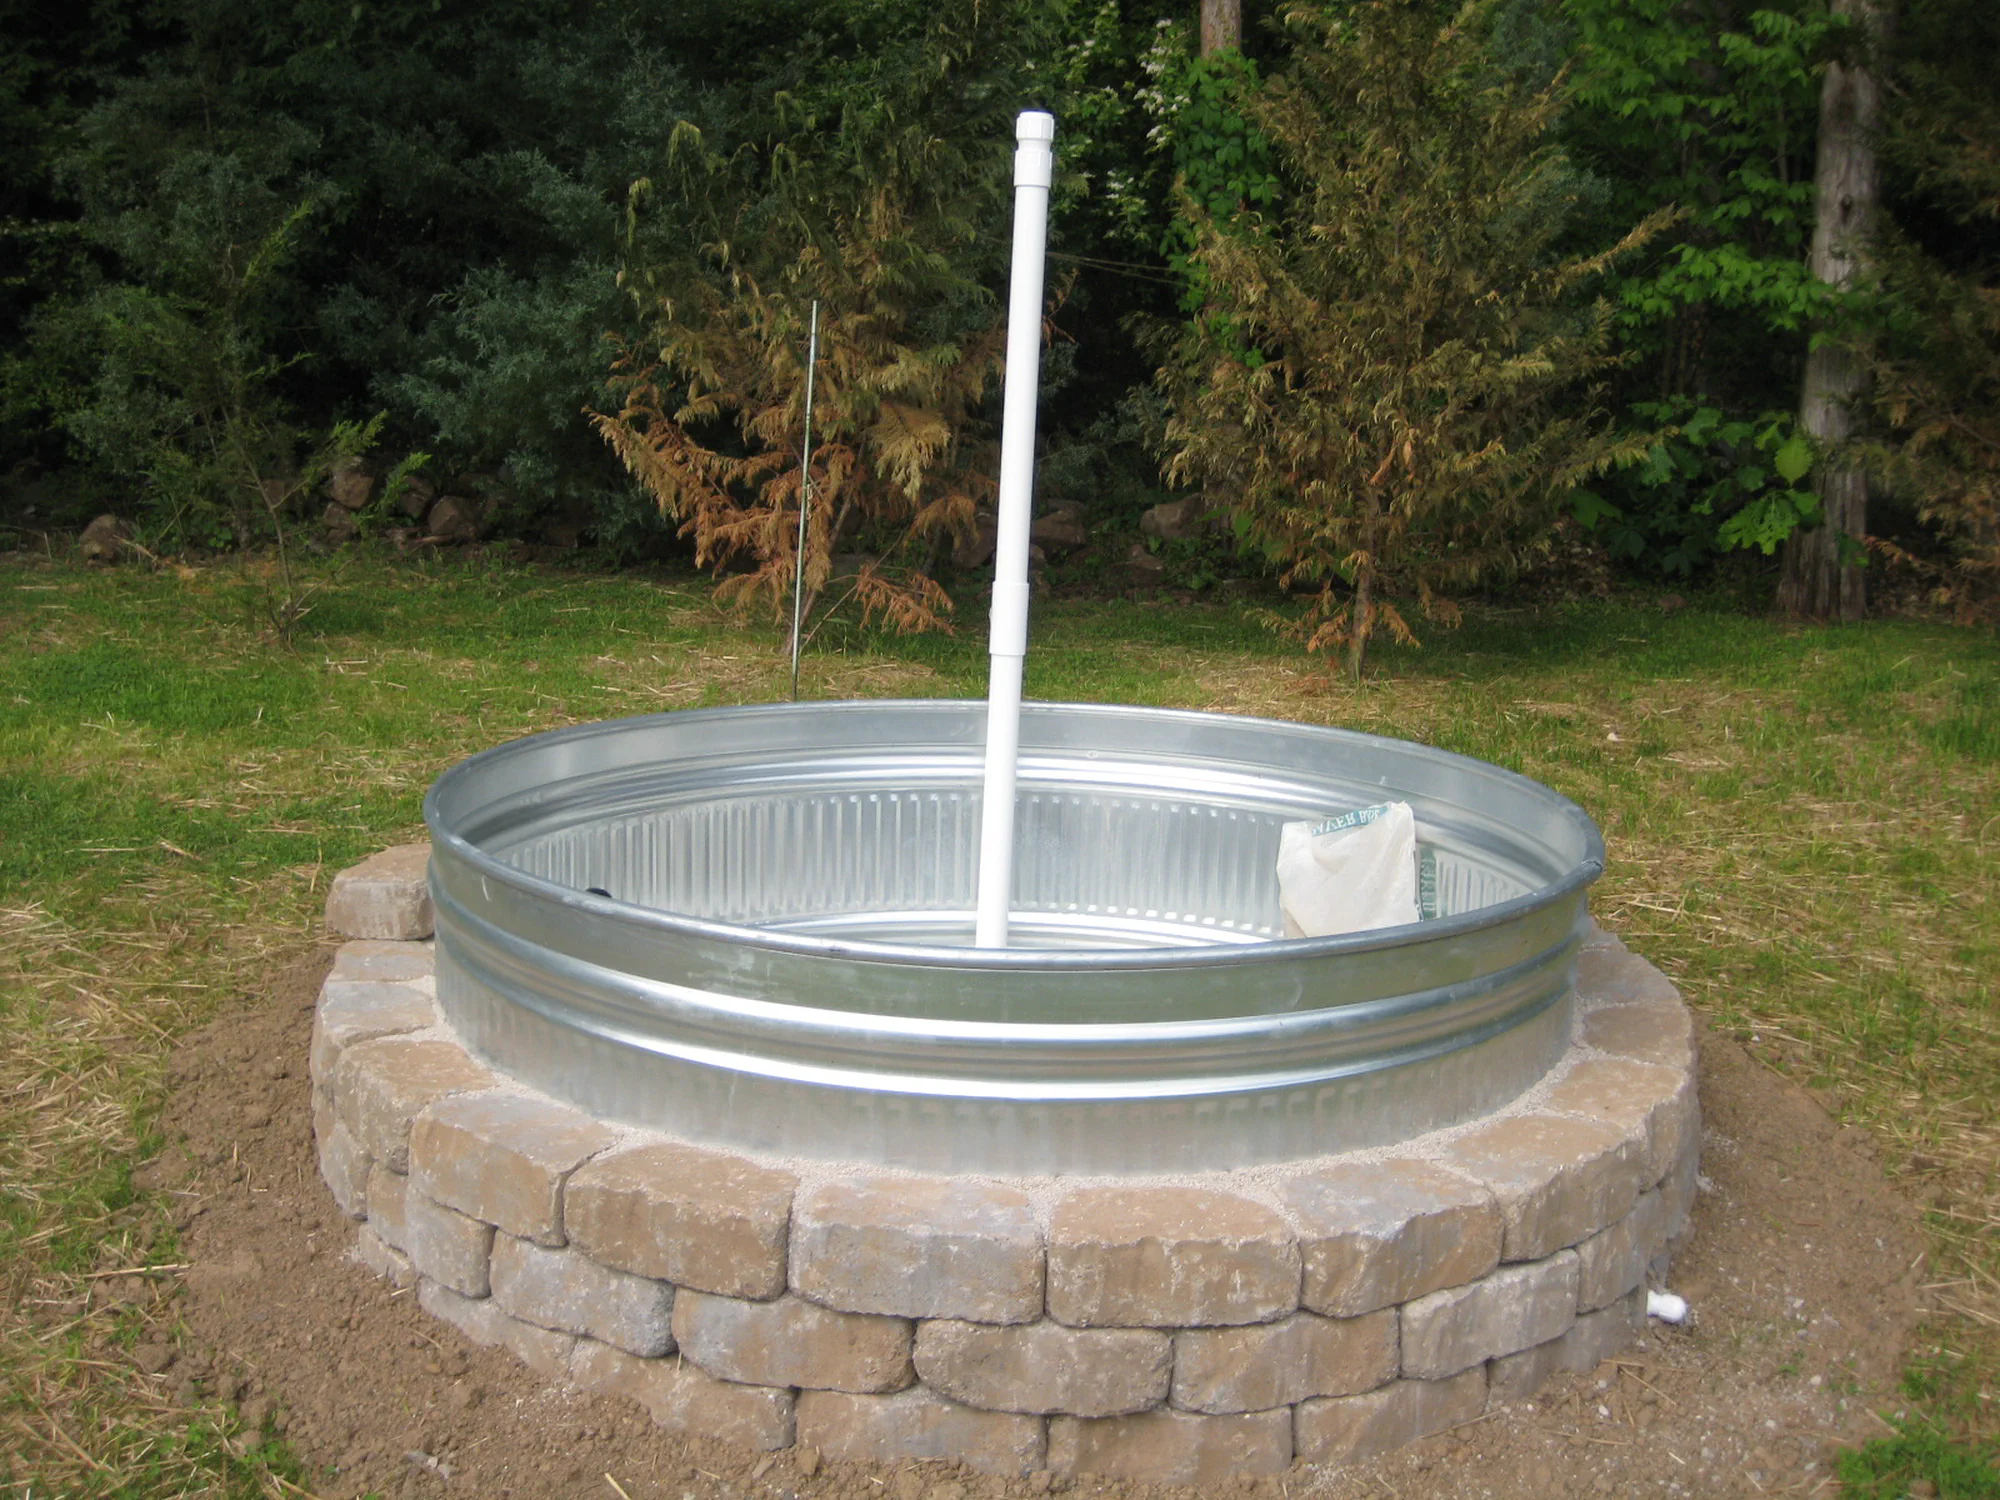
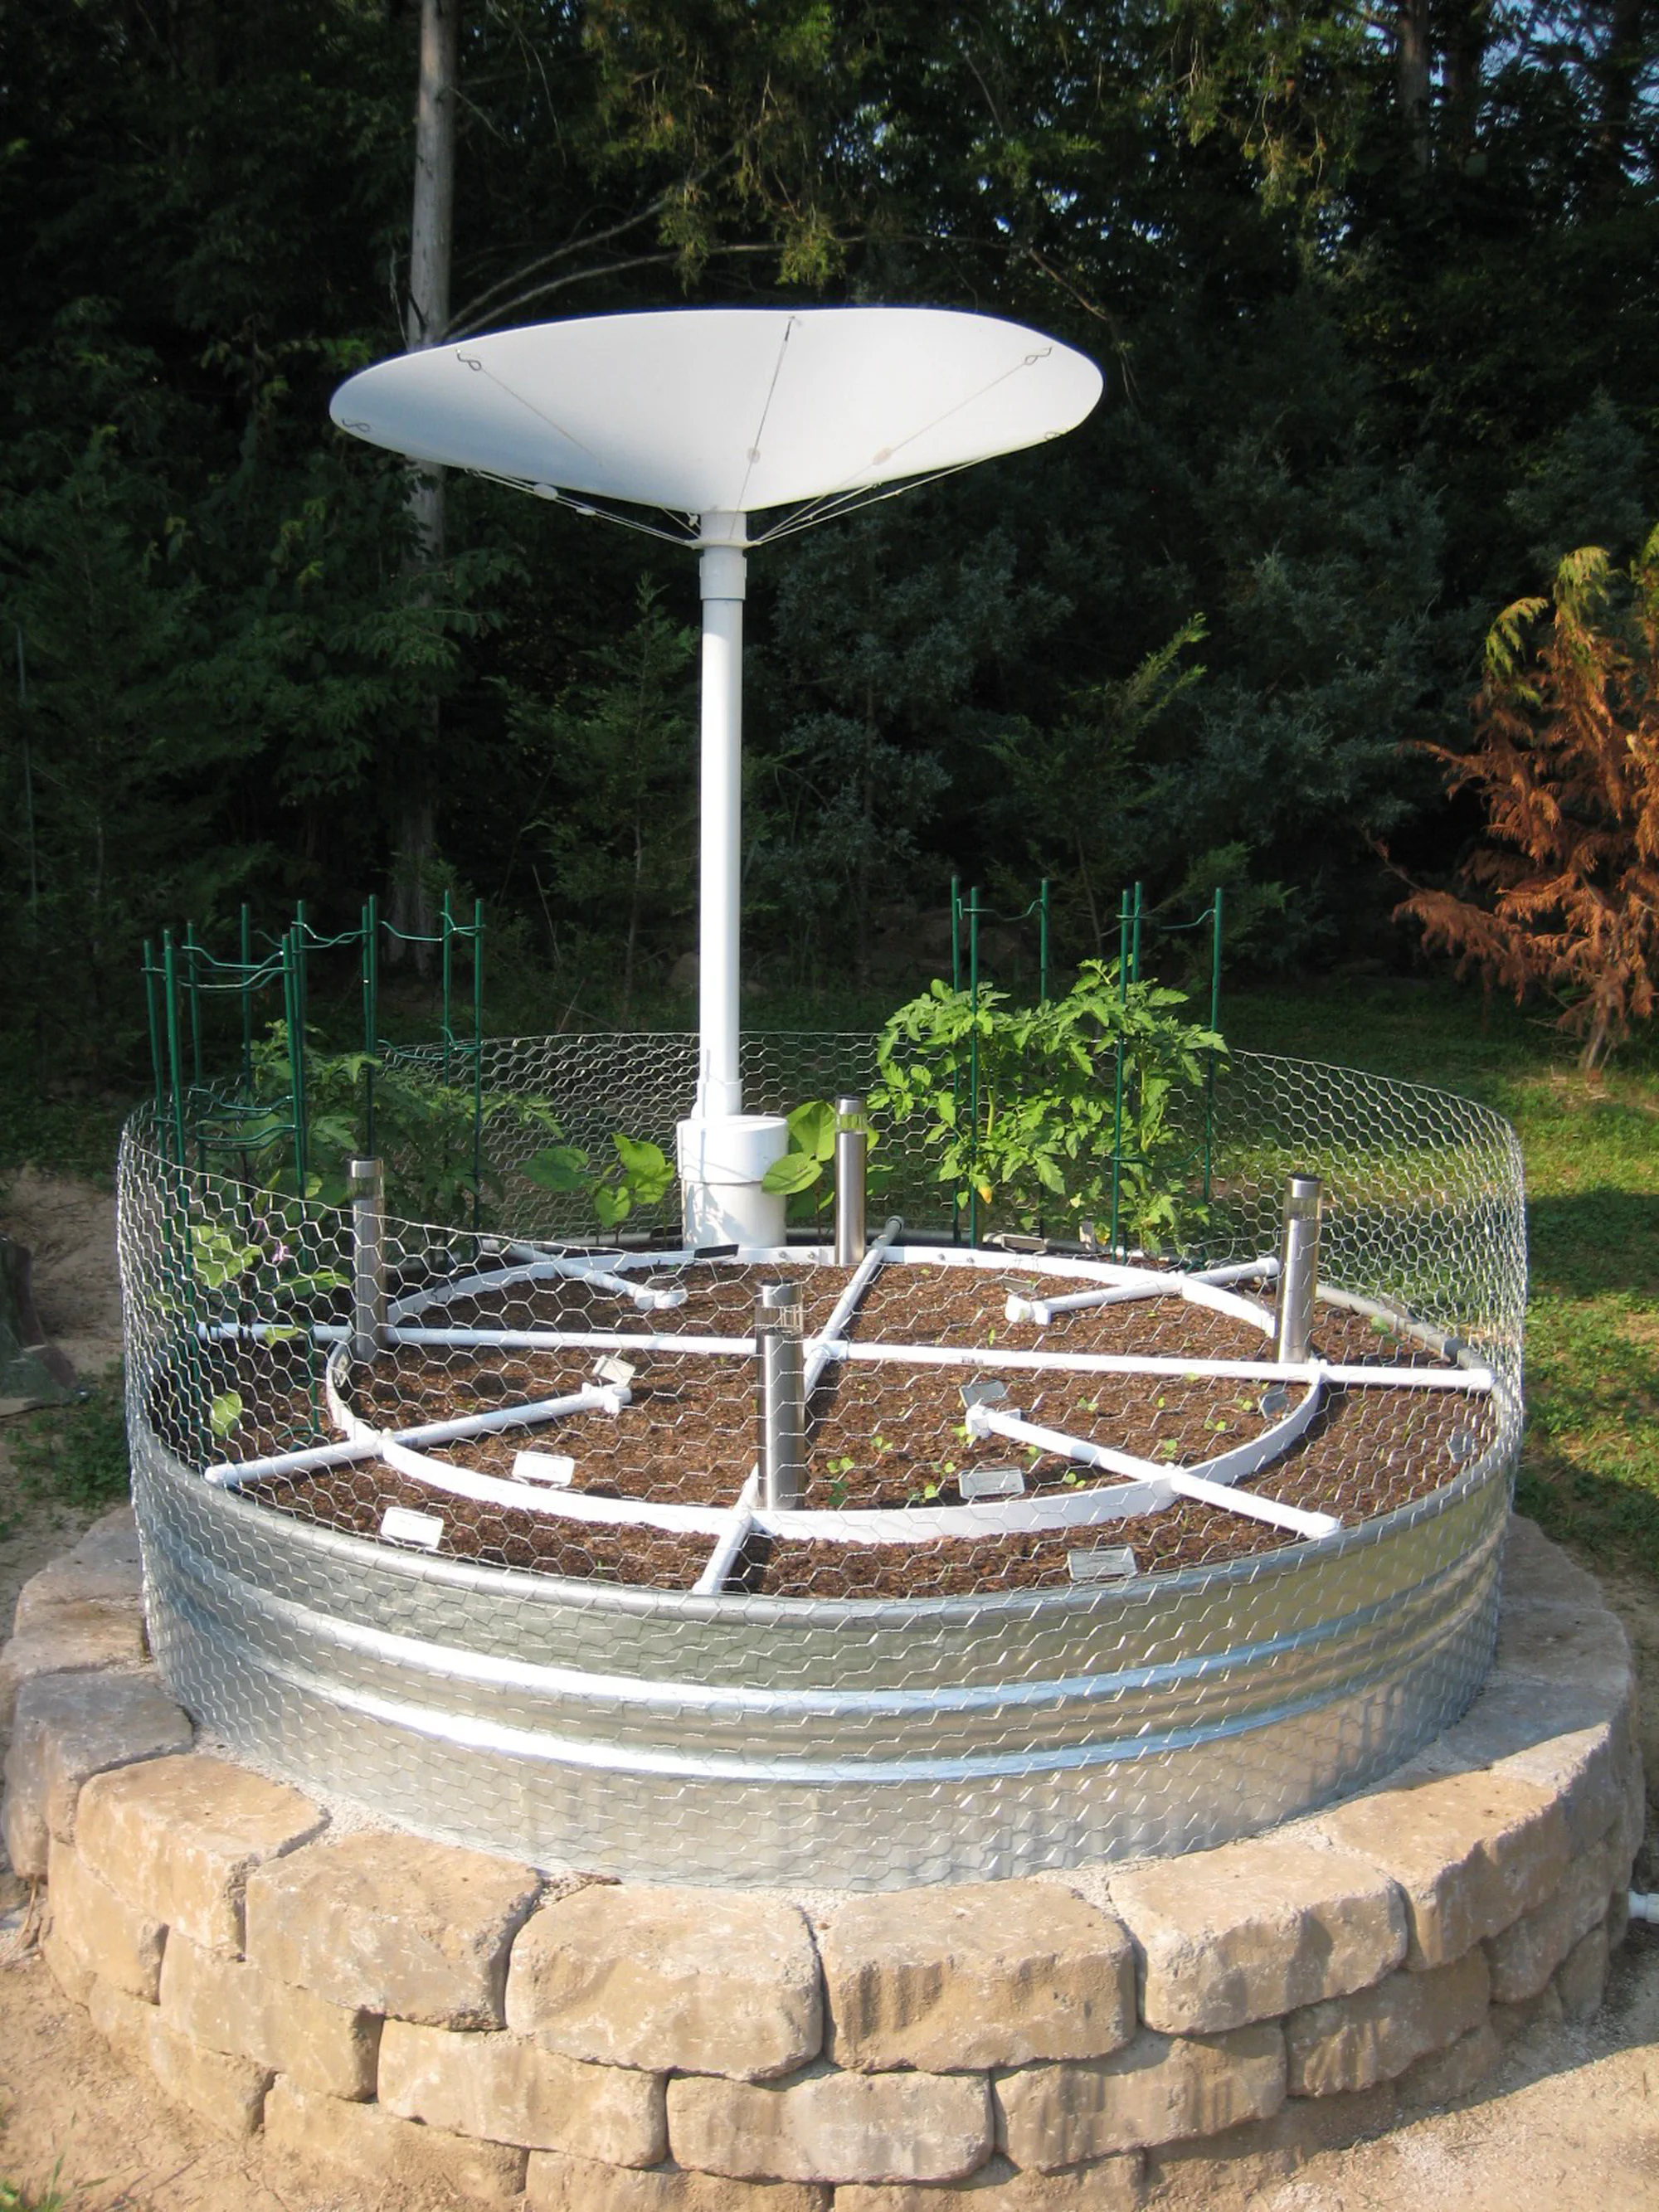
Galvanized stock tanks with dry-stacked stone surround
How it waters
Wicks up from a gravel reservoir below the soil
Three ways to fill
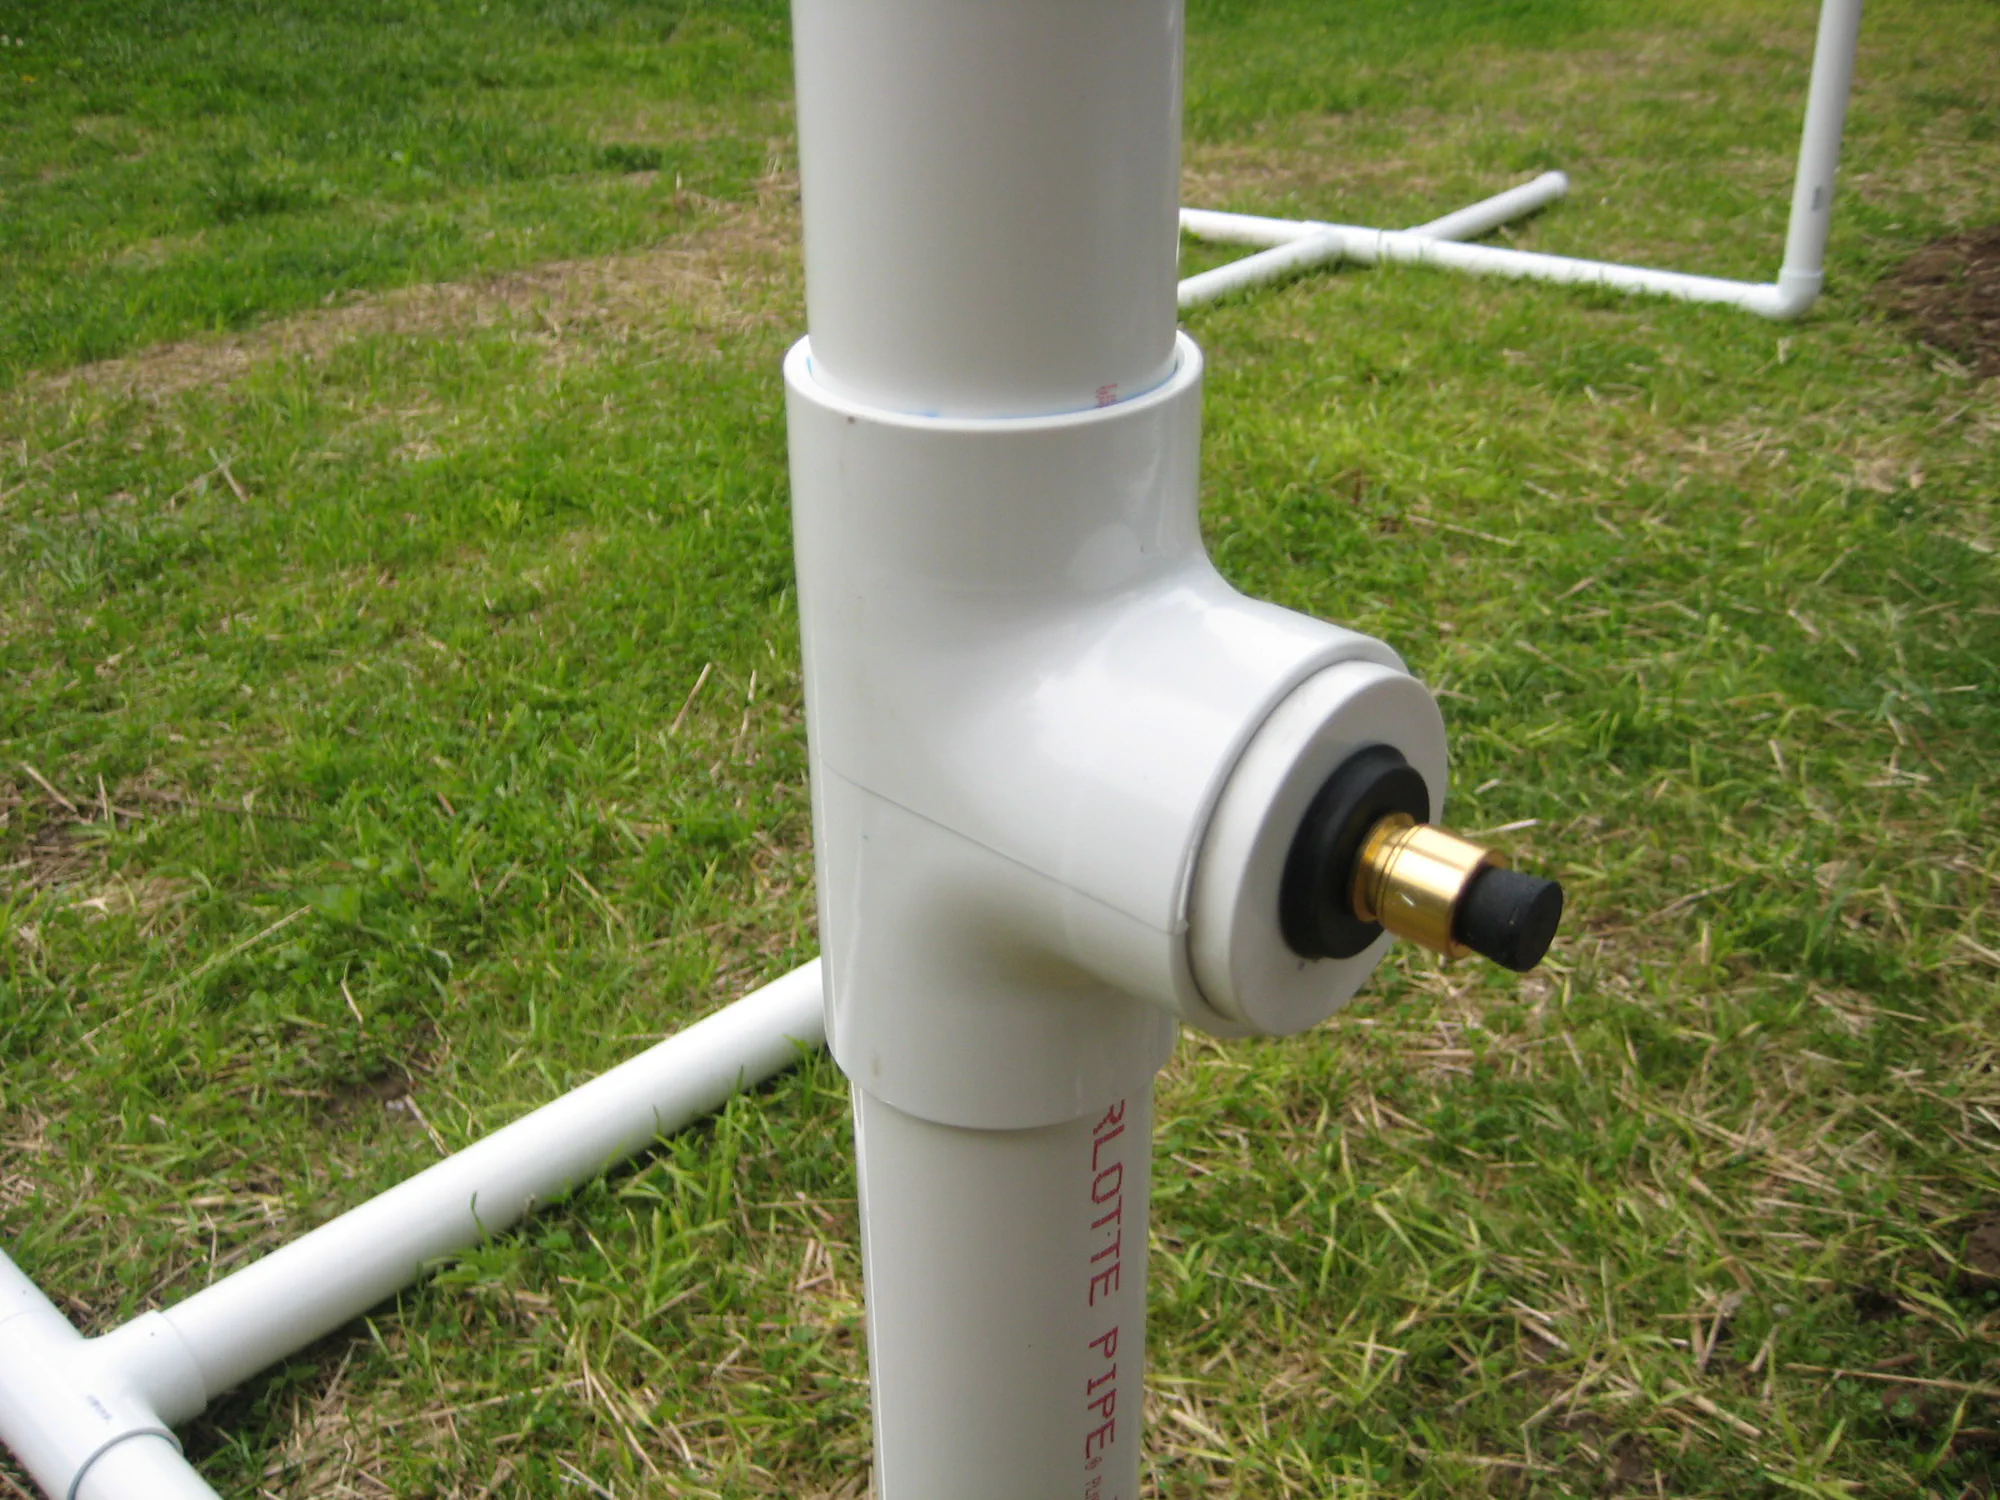
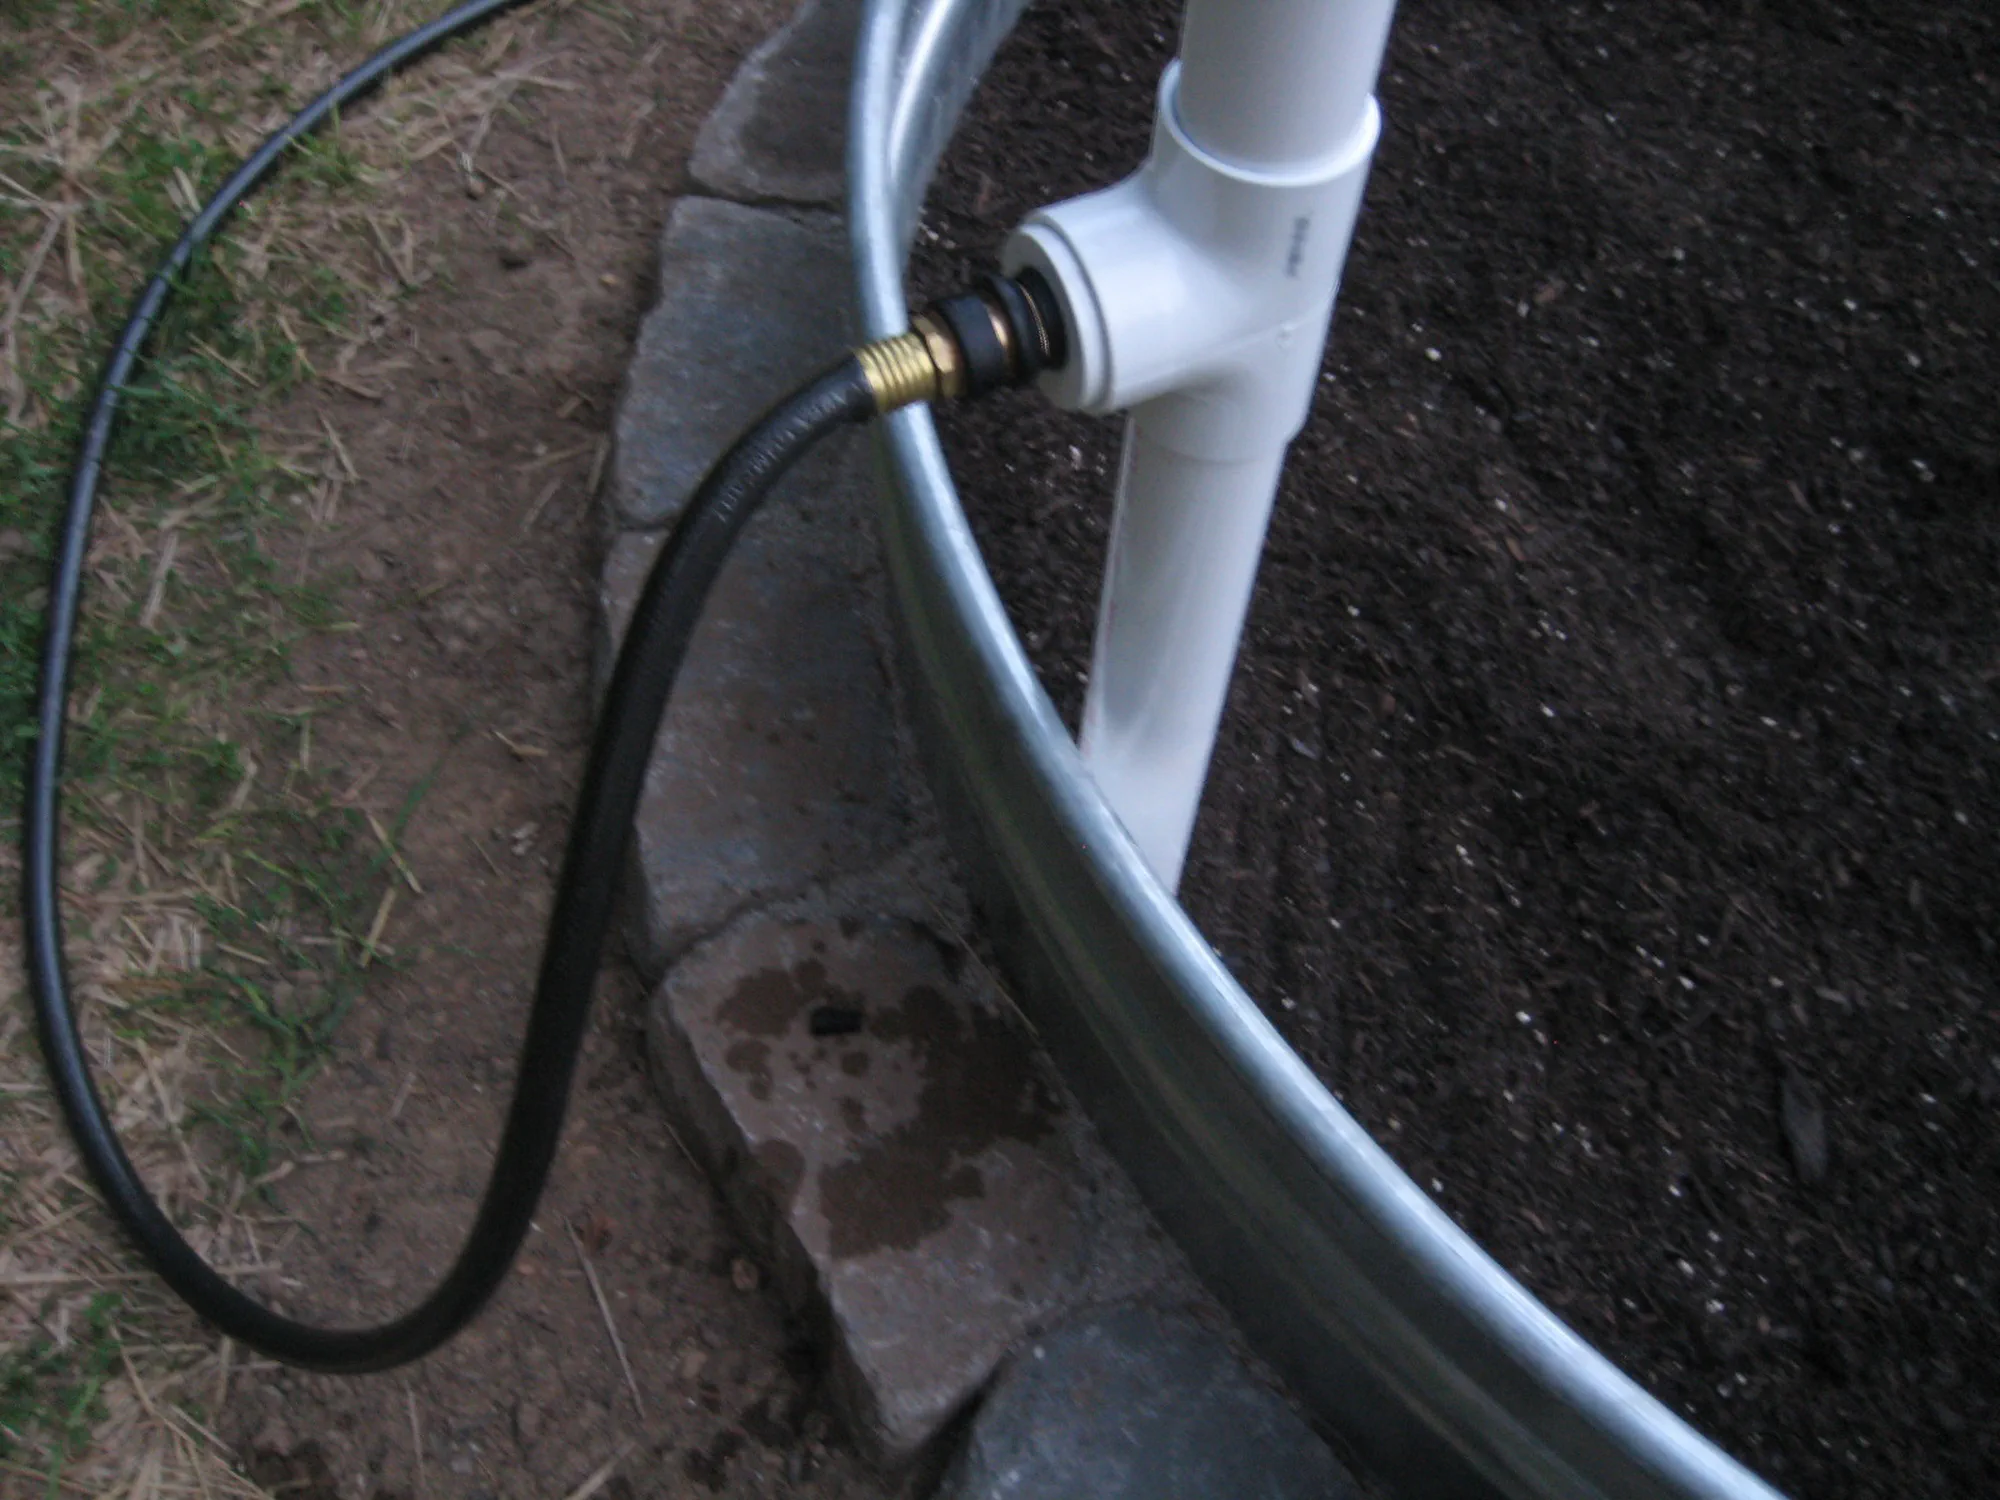
From above (rain/hose), a rain-catcher funnel, or a direct hose connection
The living bit
Worm towers composting kitchen scraps in the bed
What I'd change
The rain catchers were fragile and couldn't take the wind

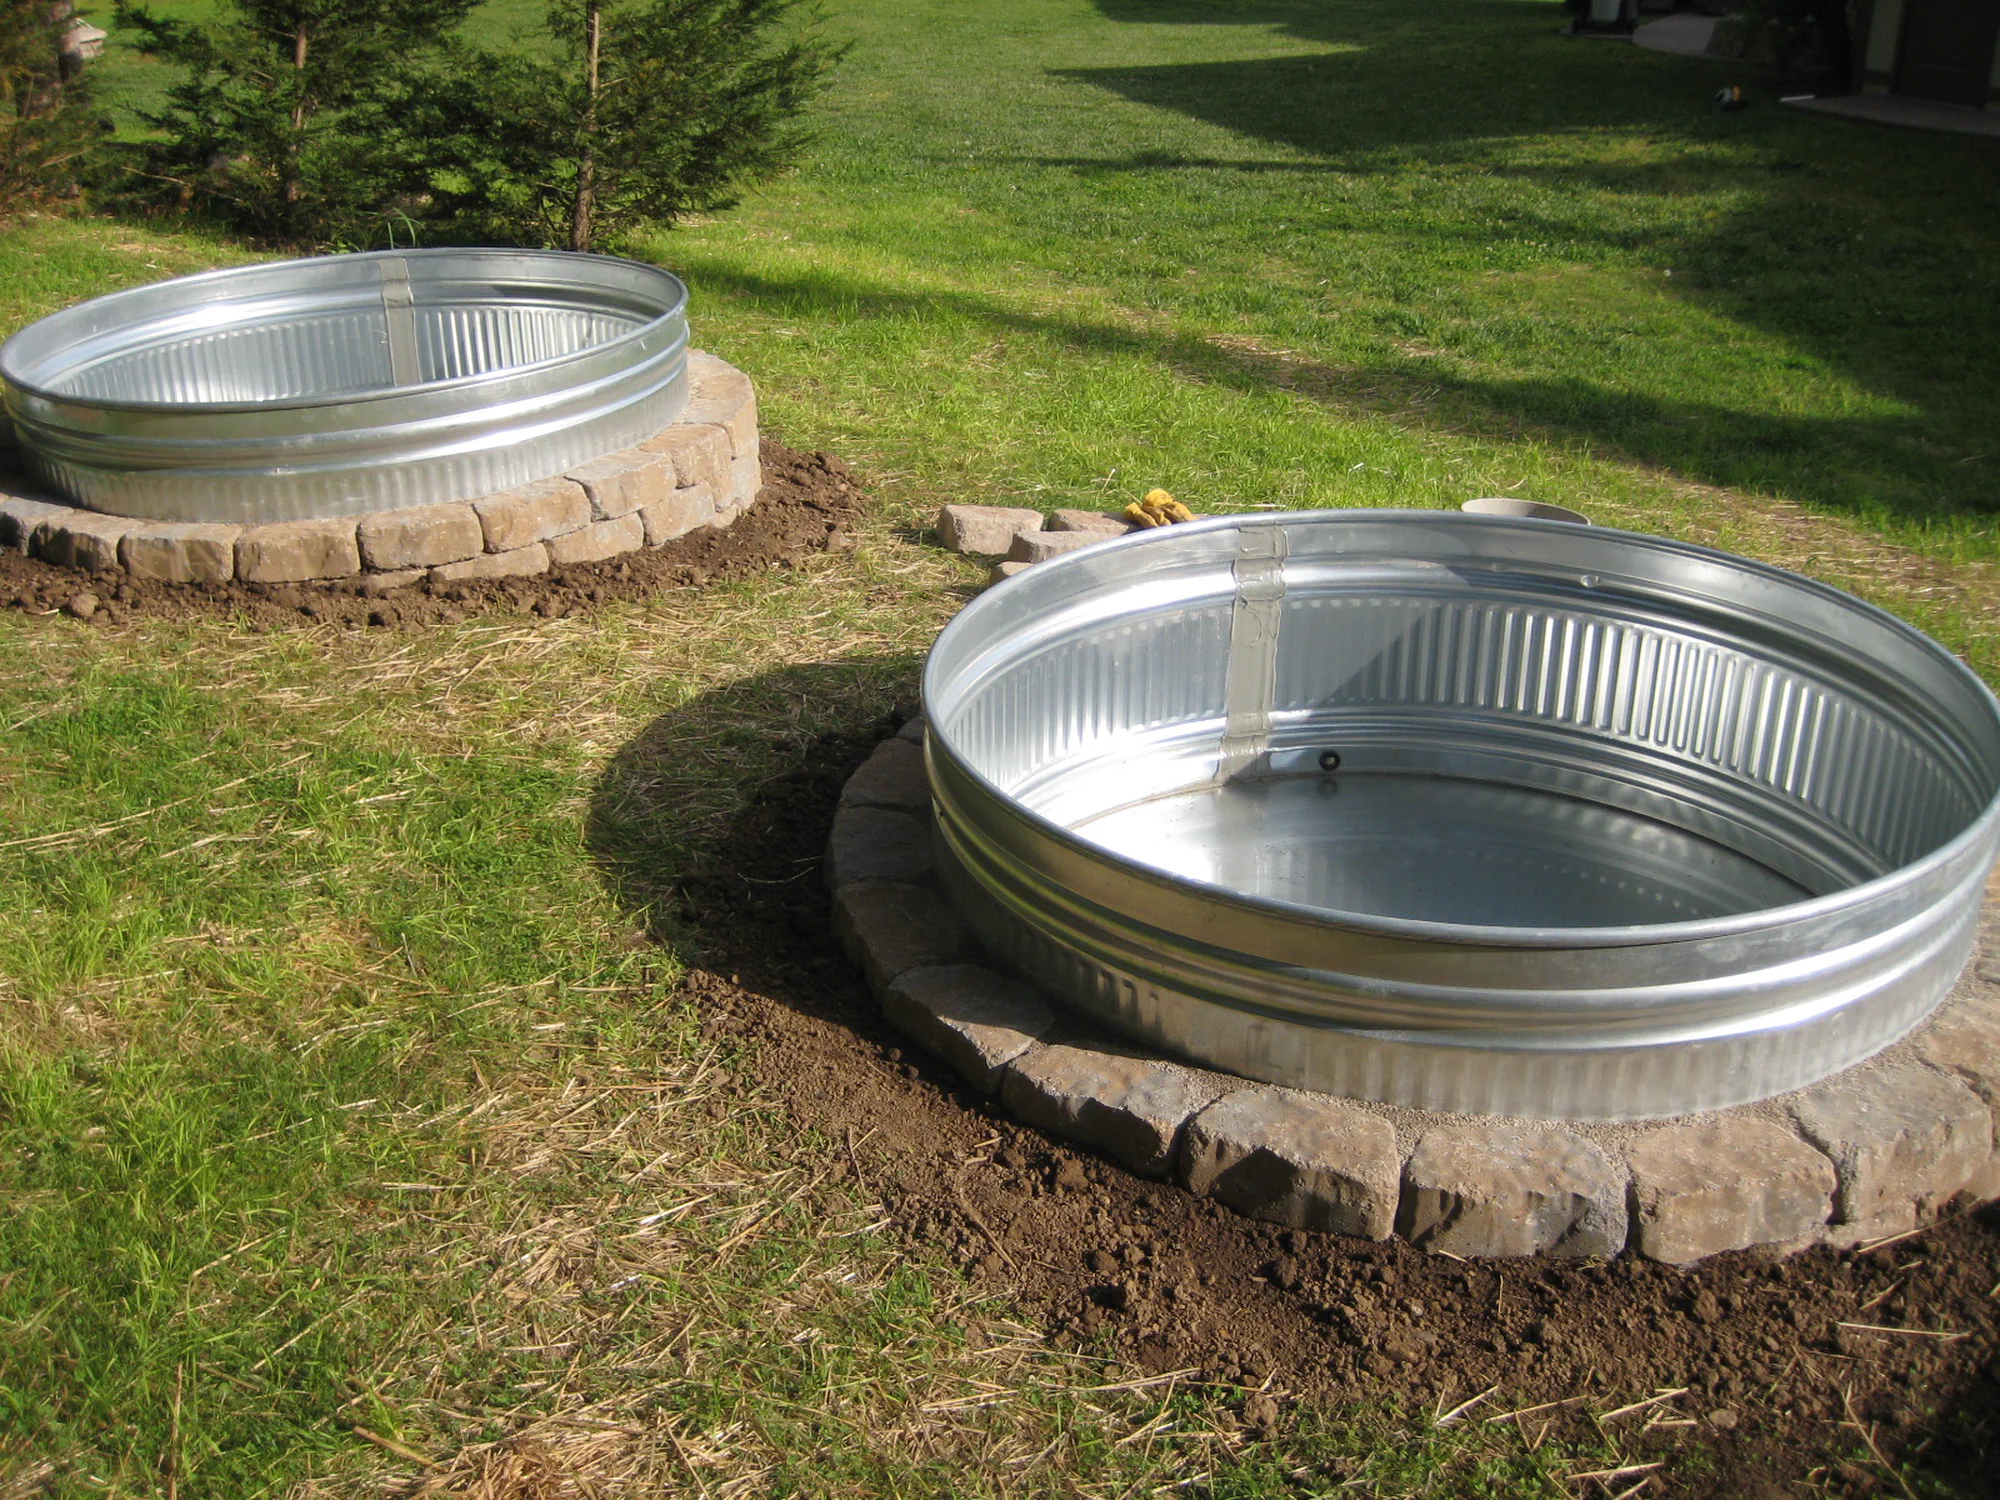
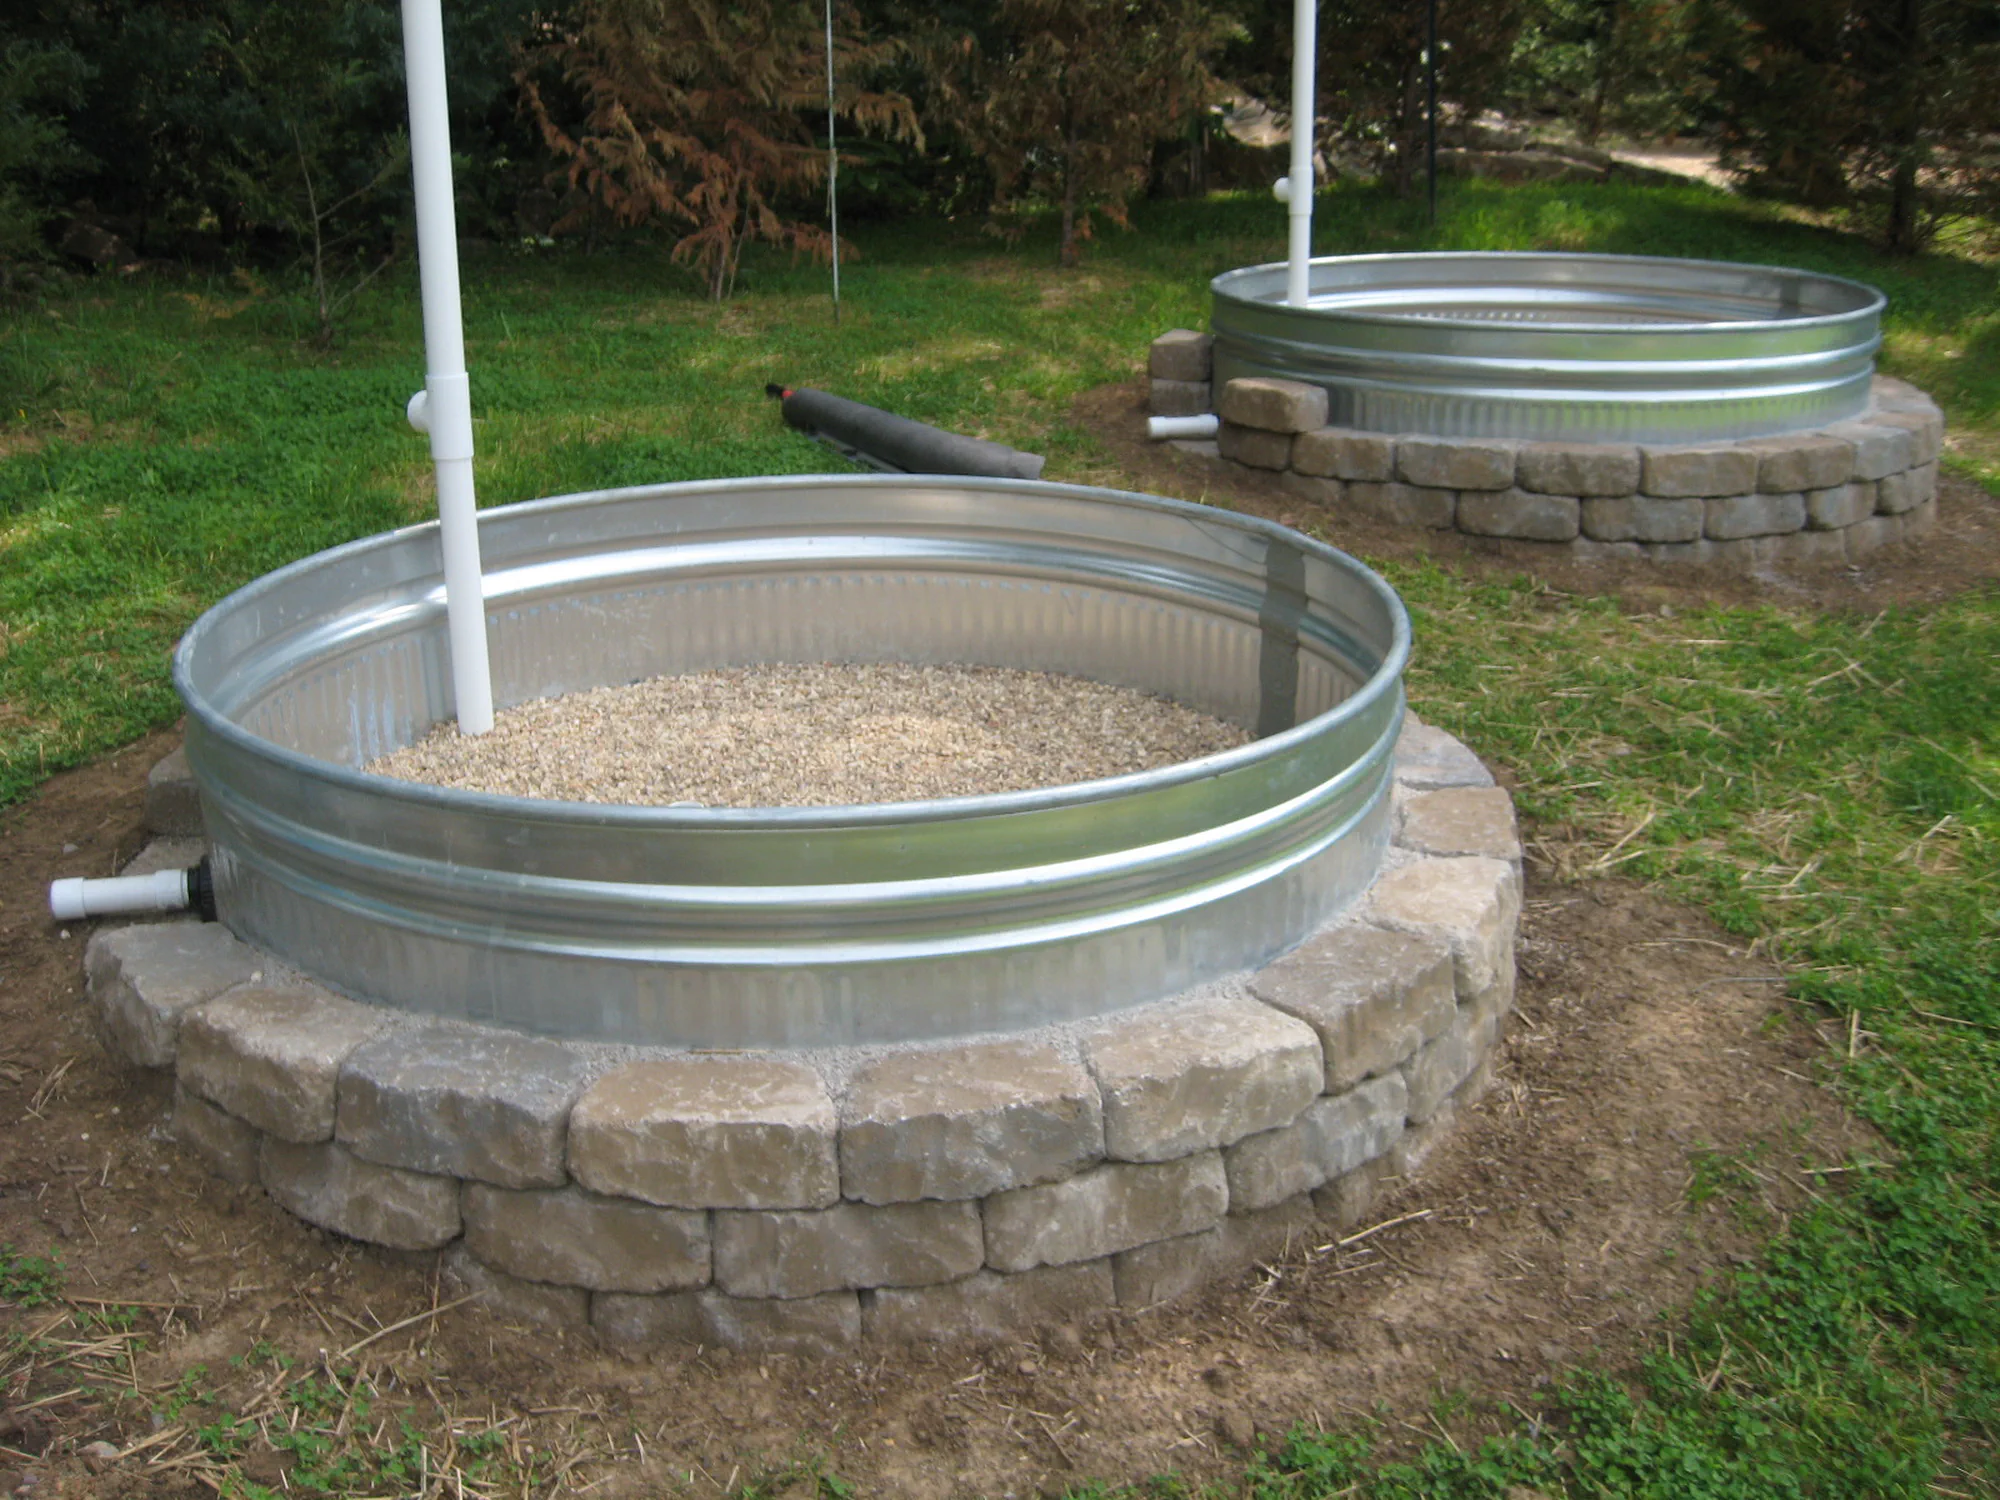
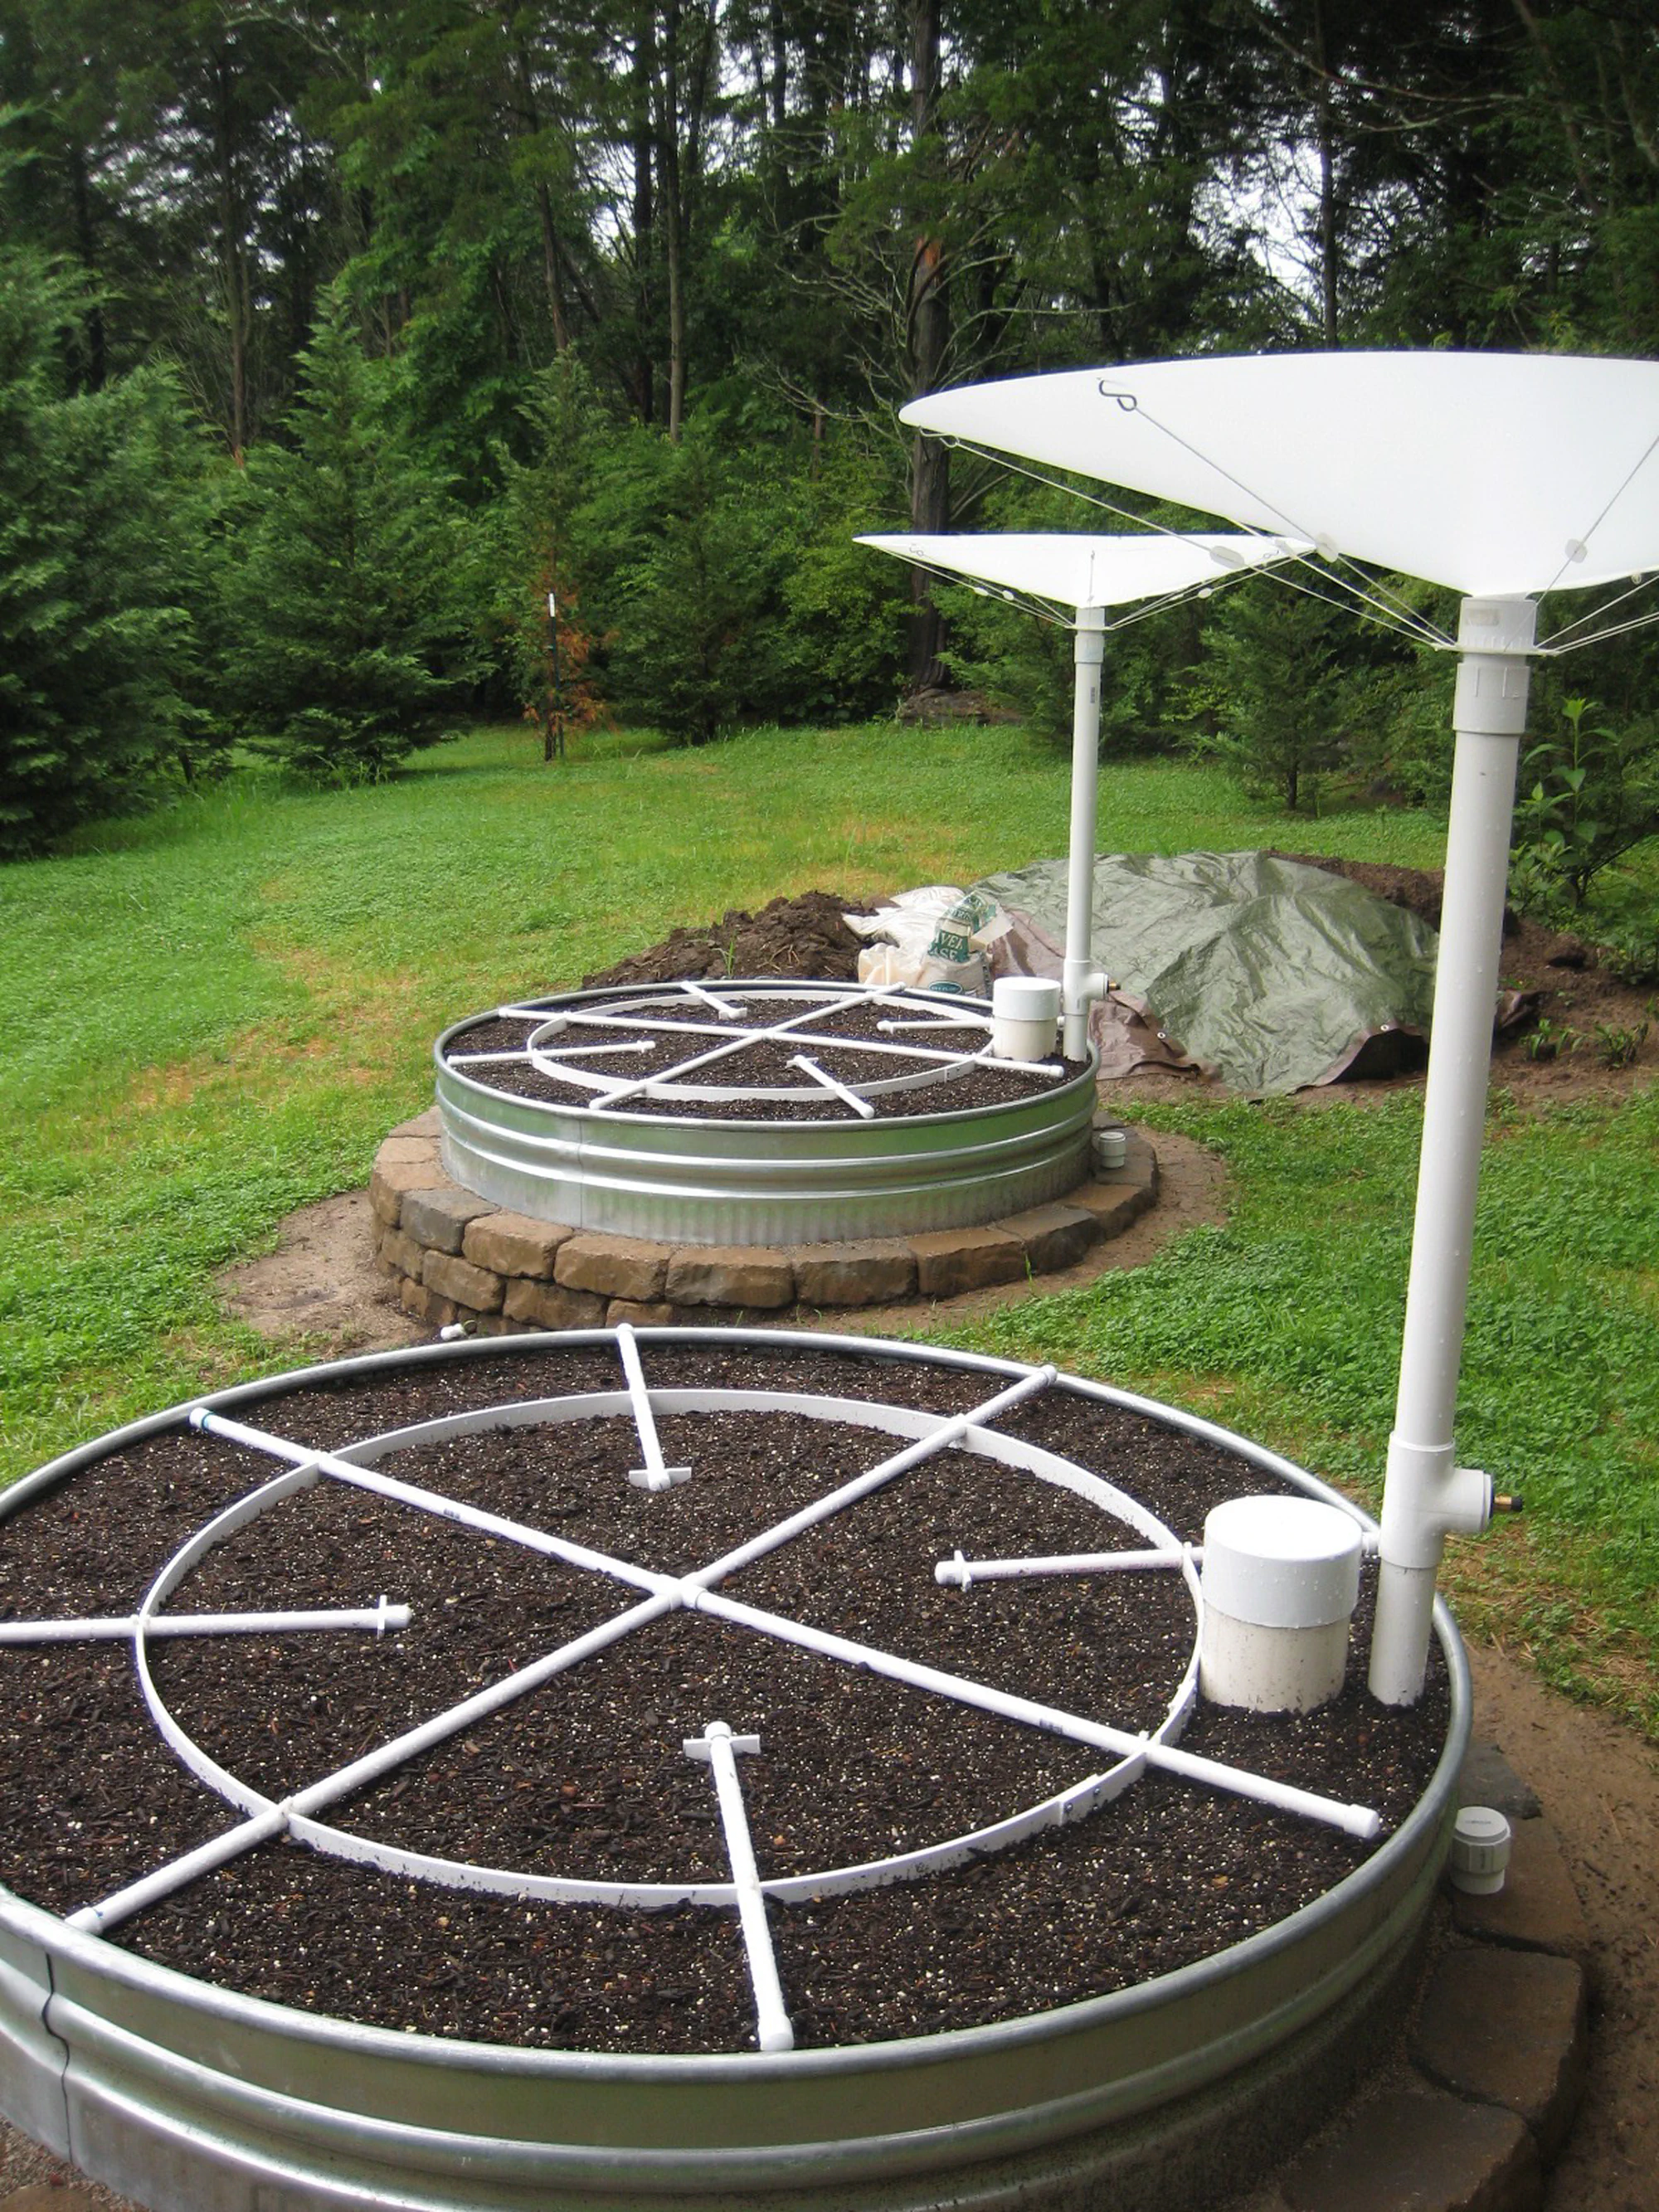
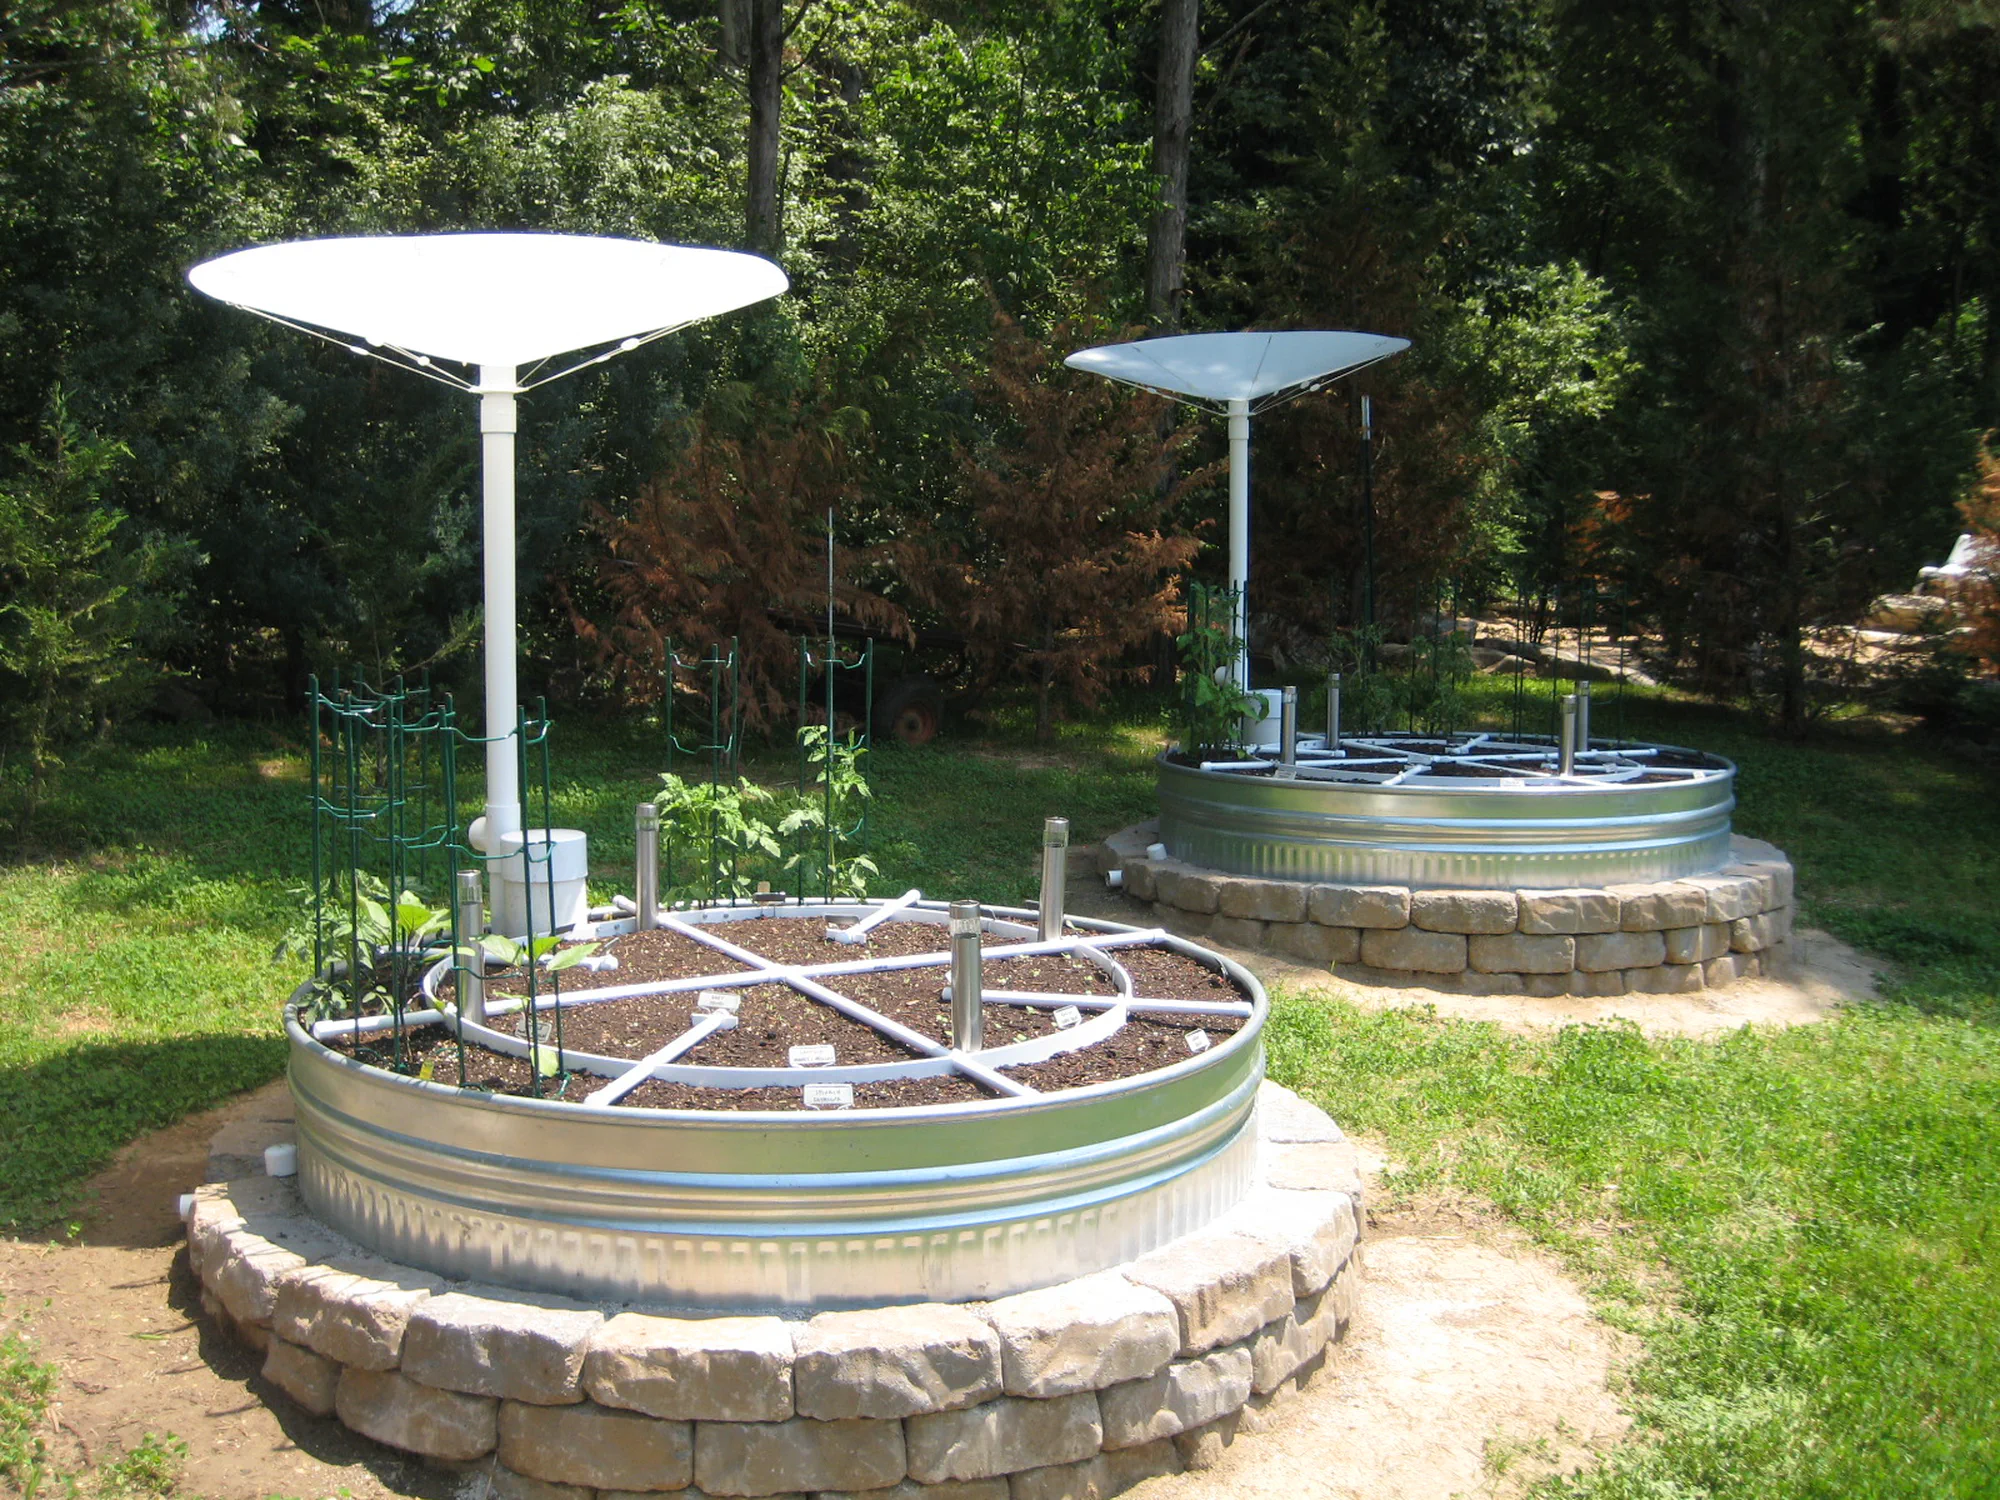
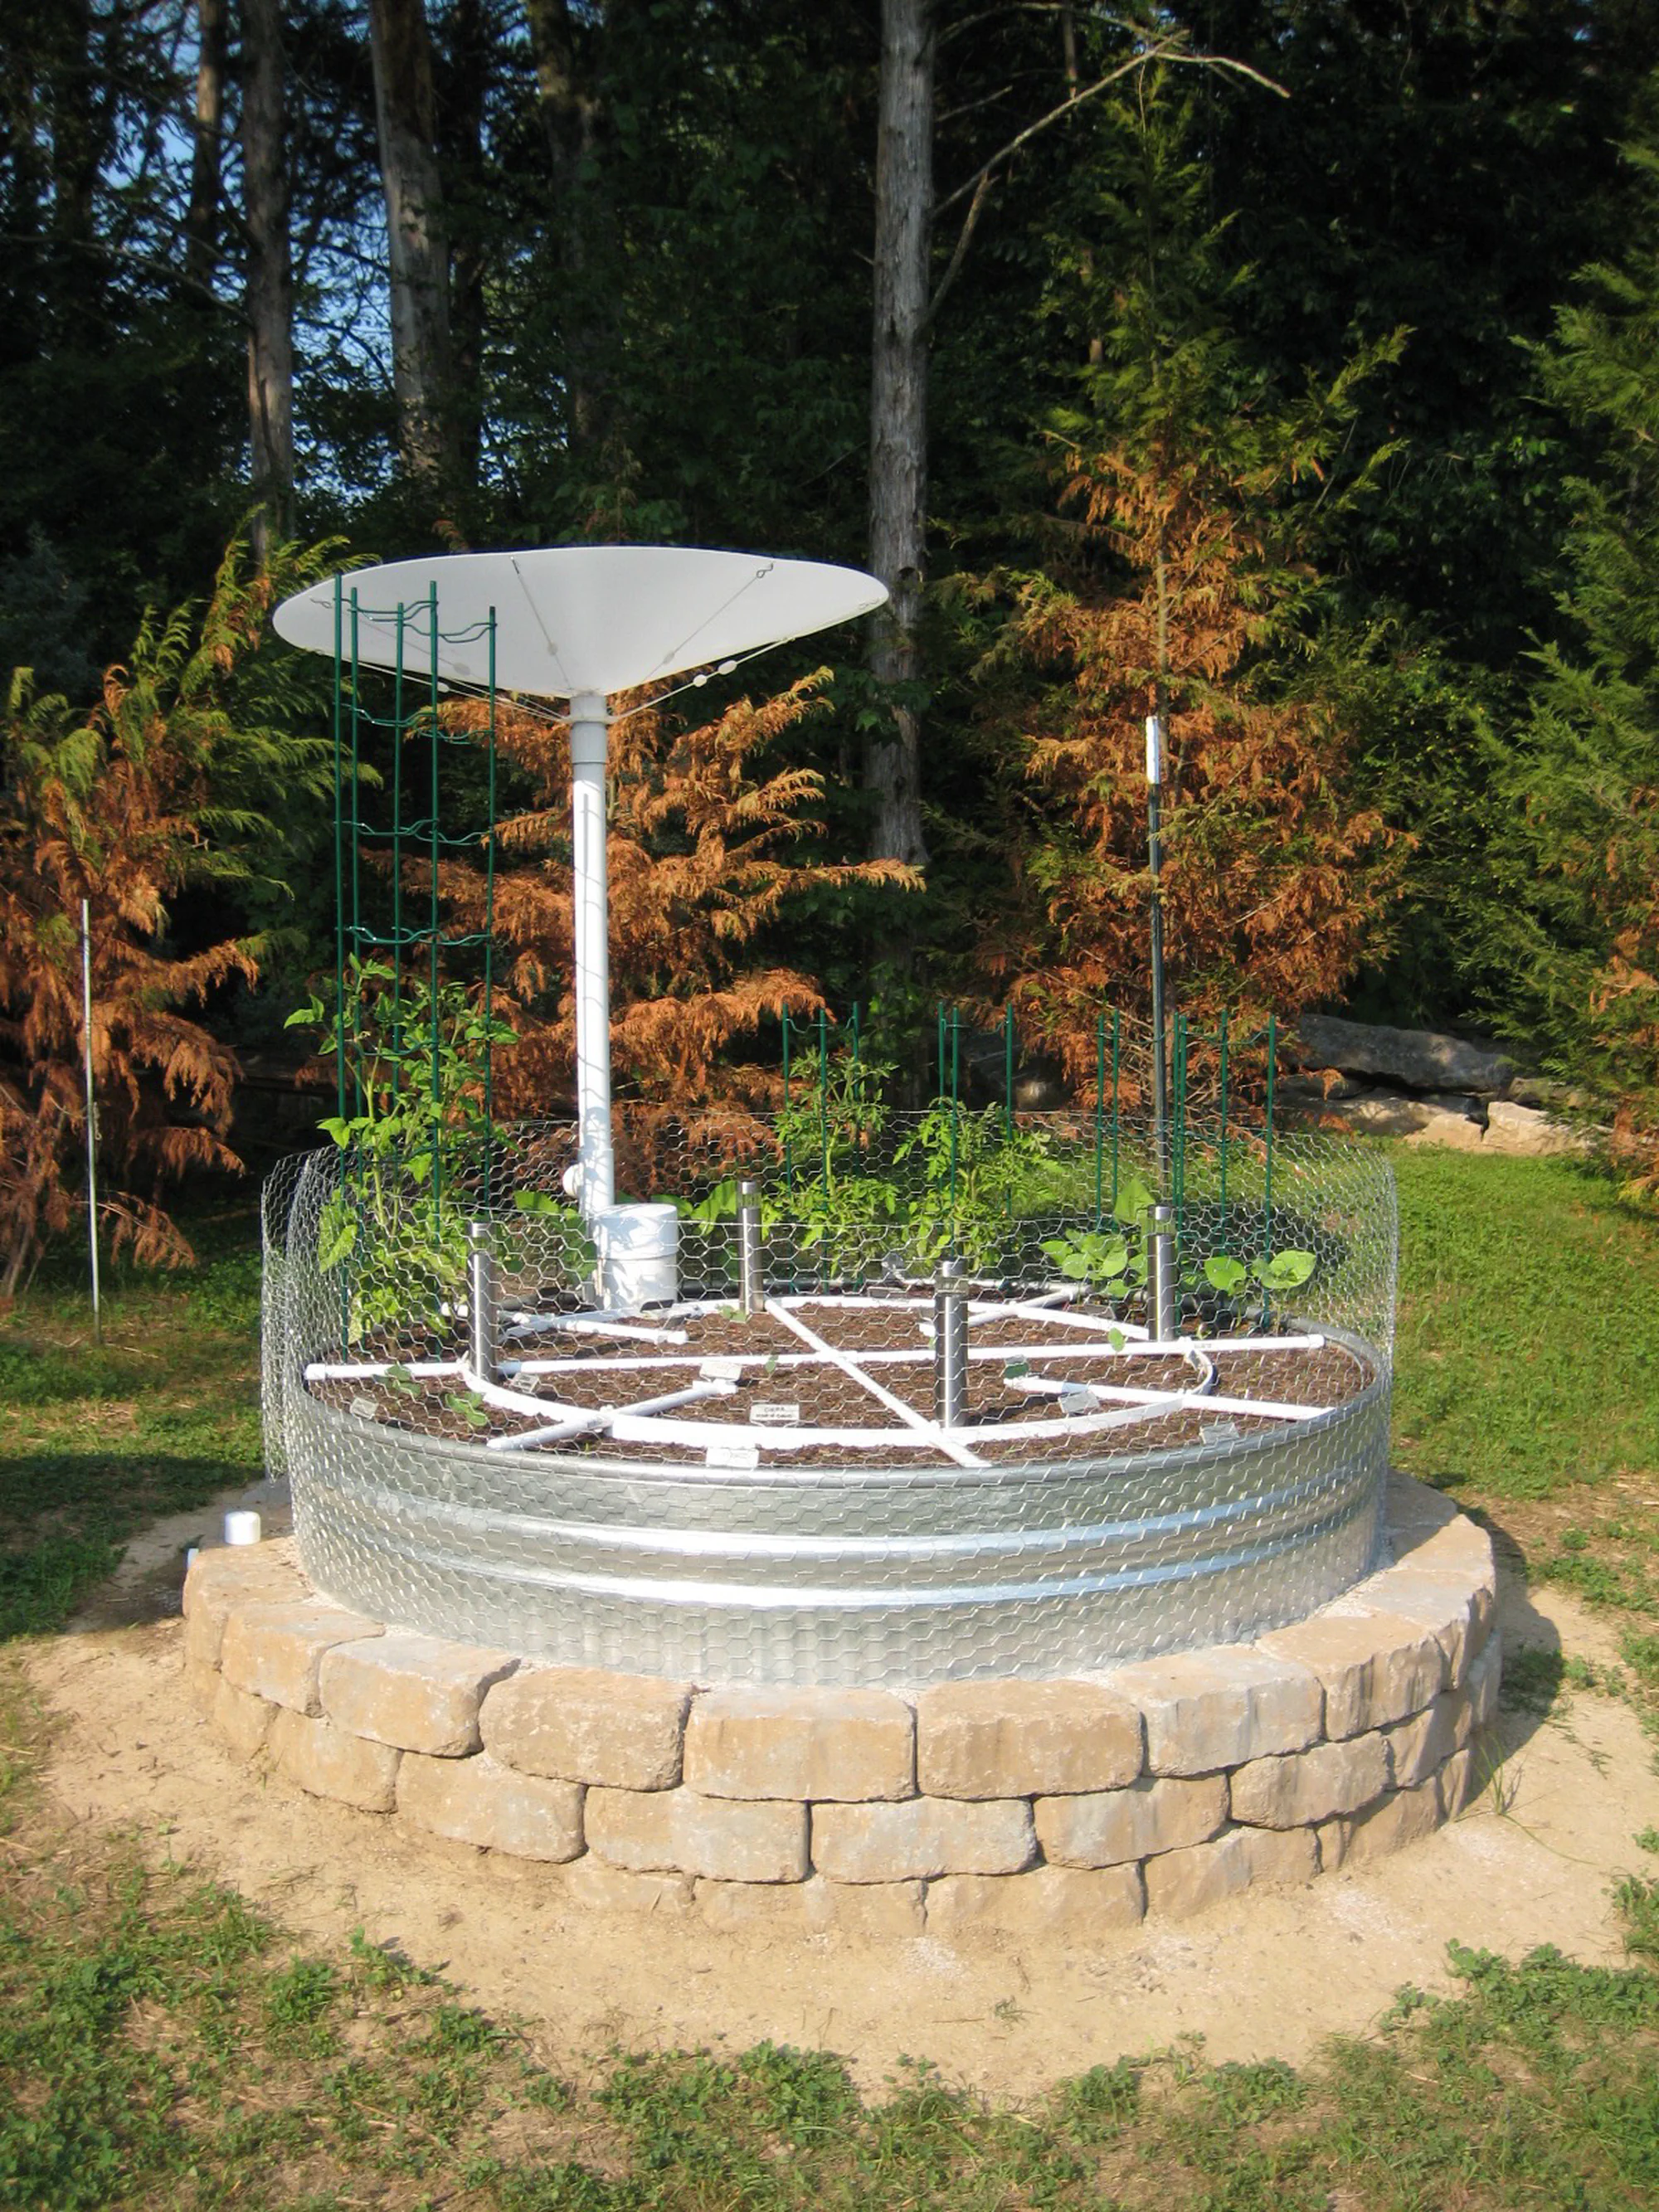
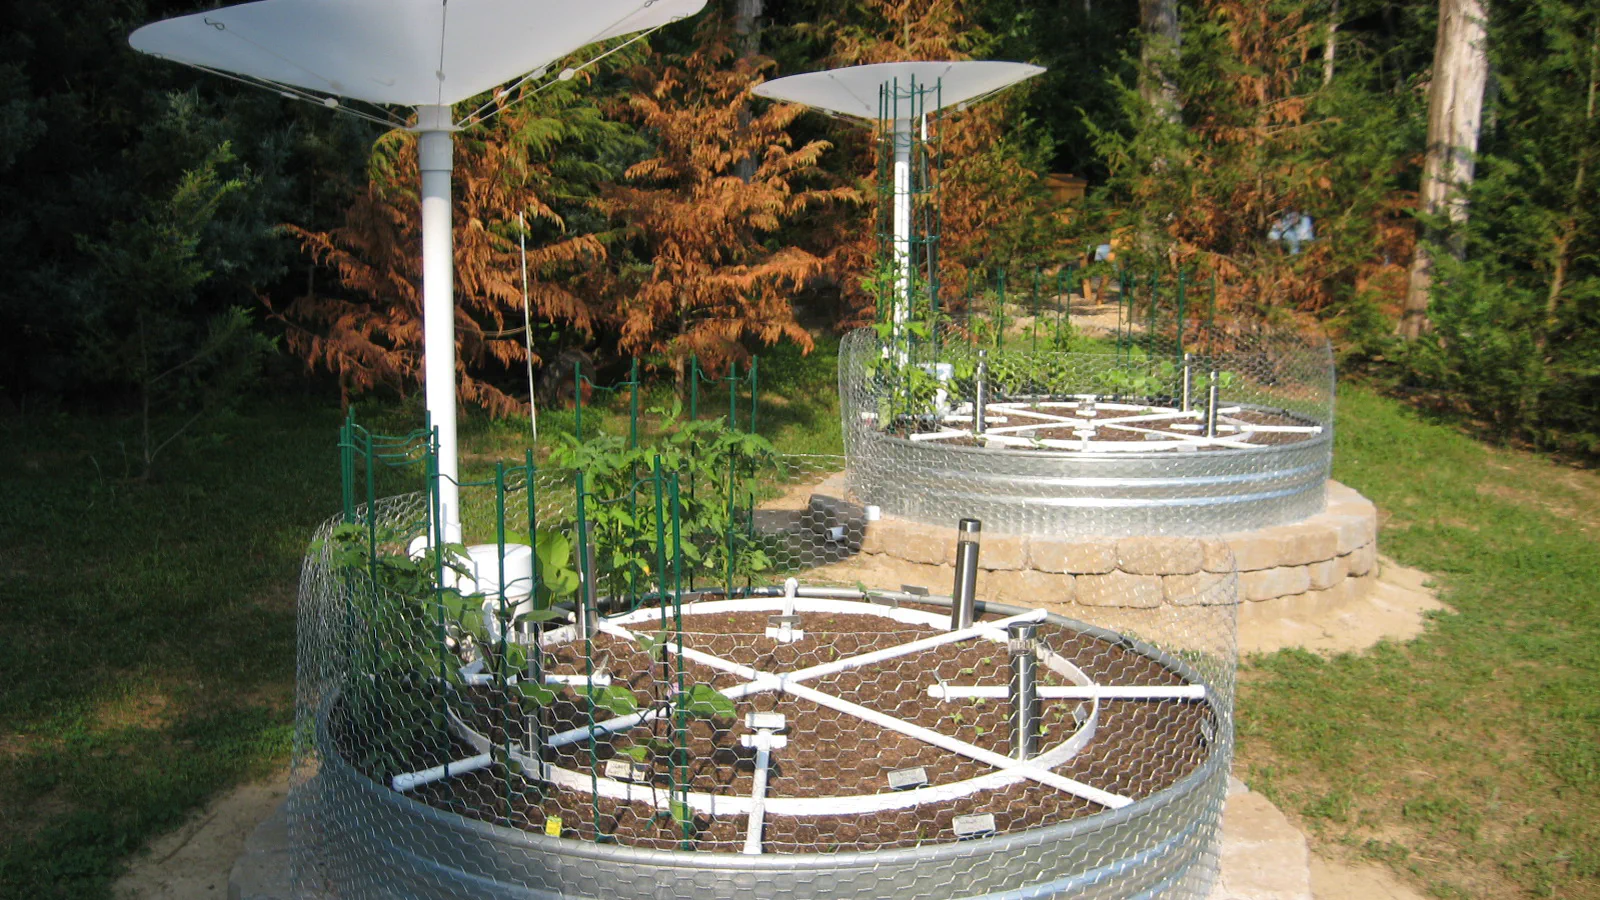
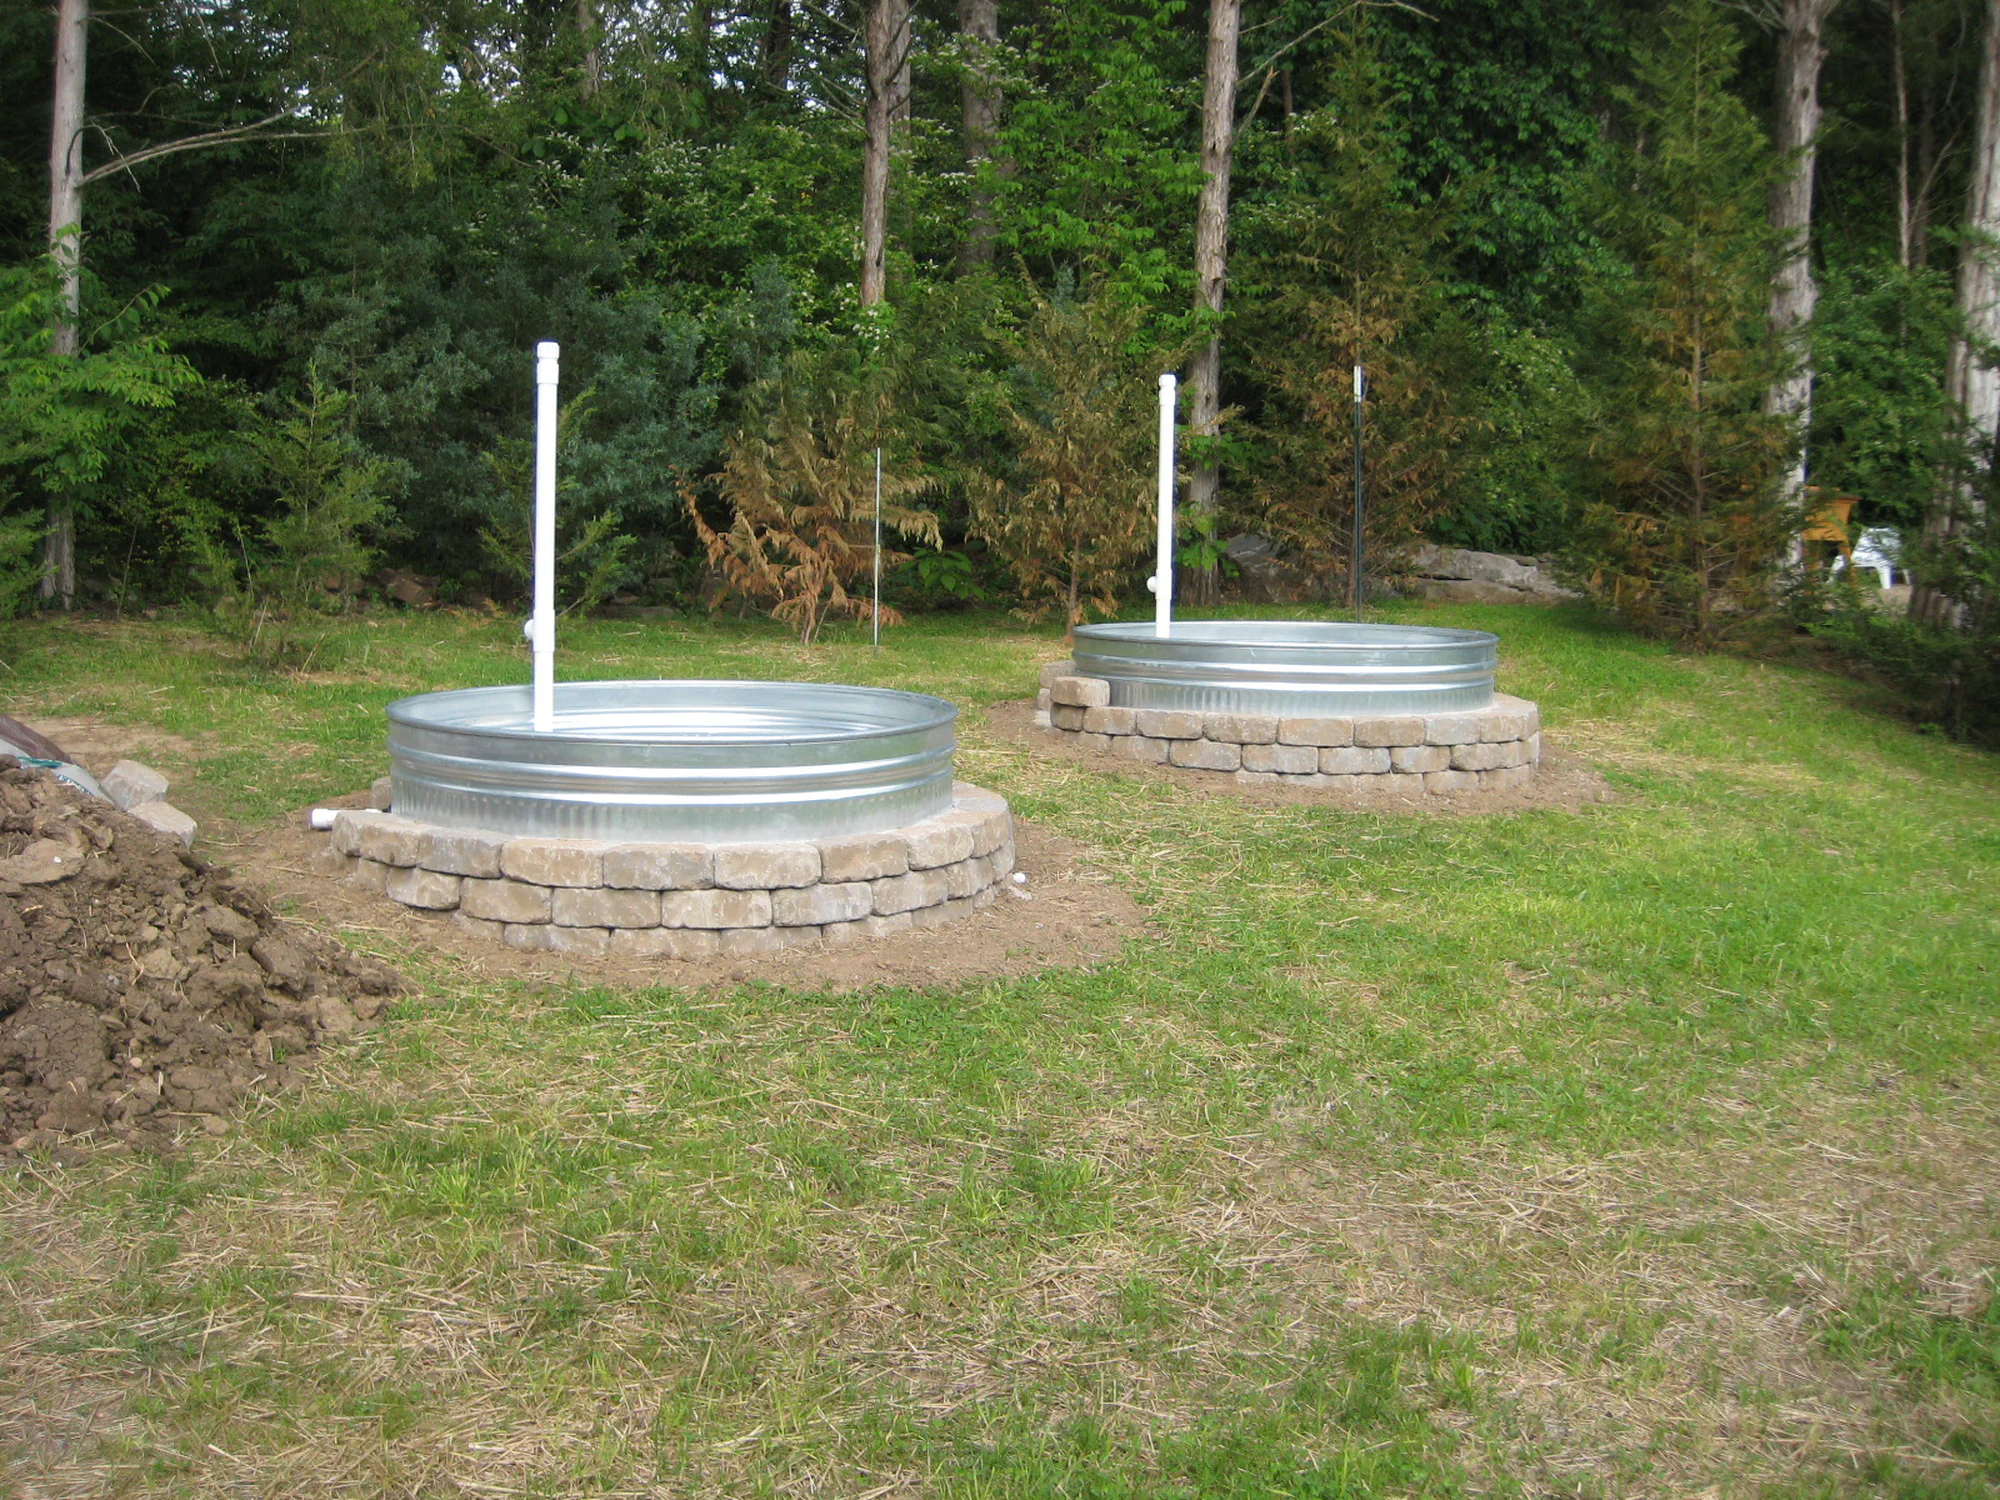
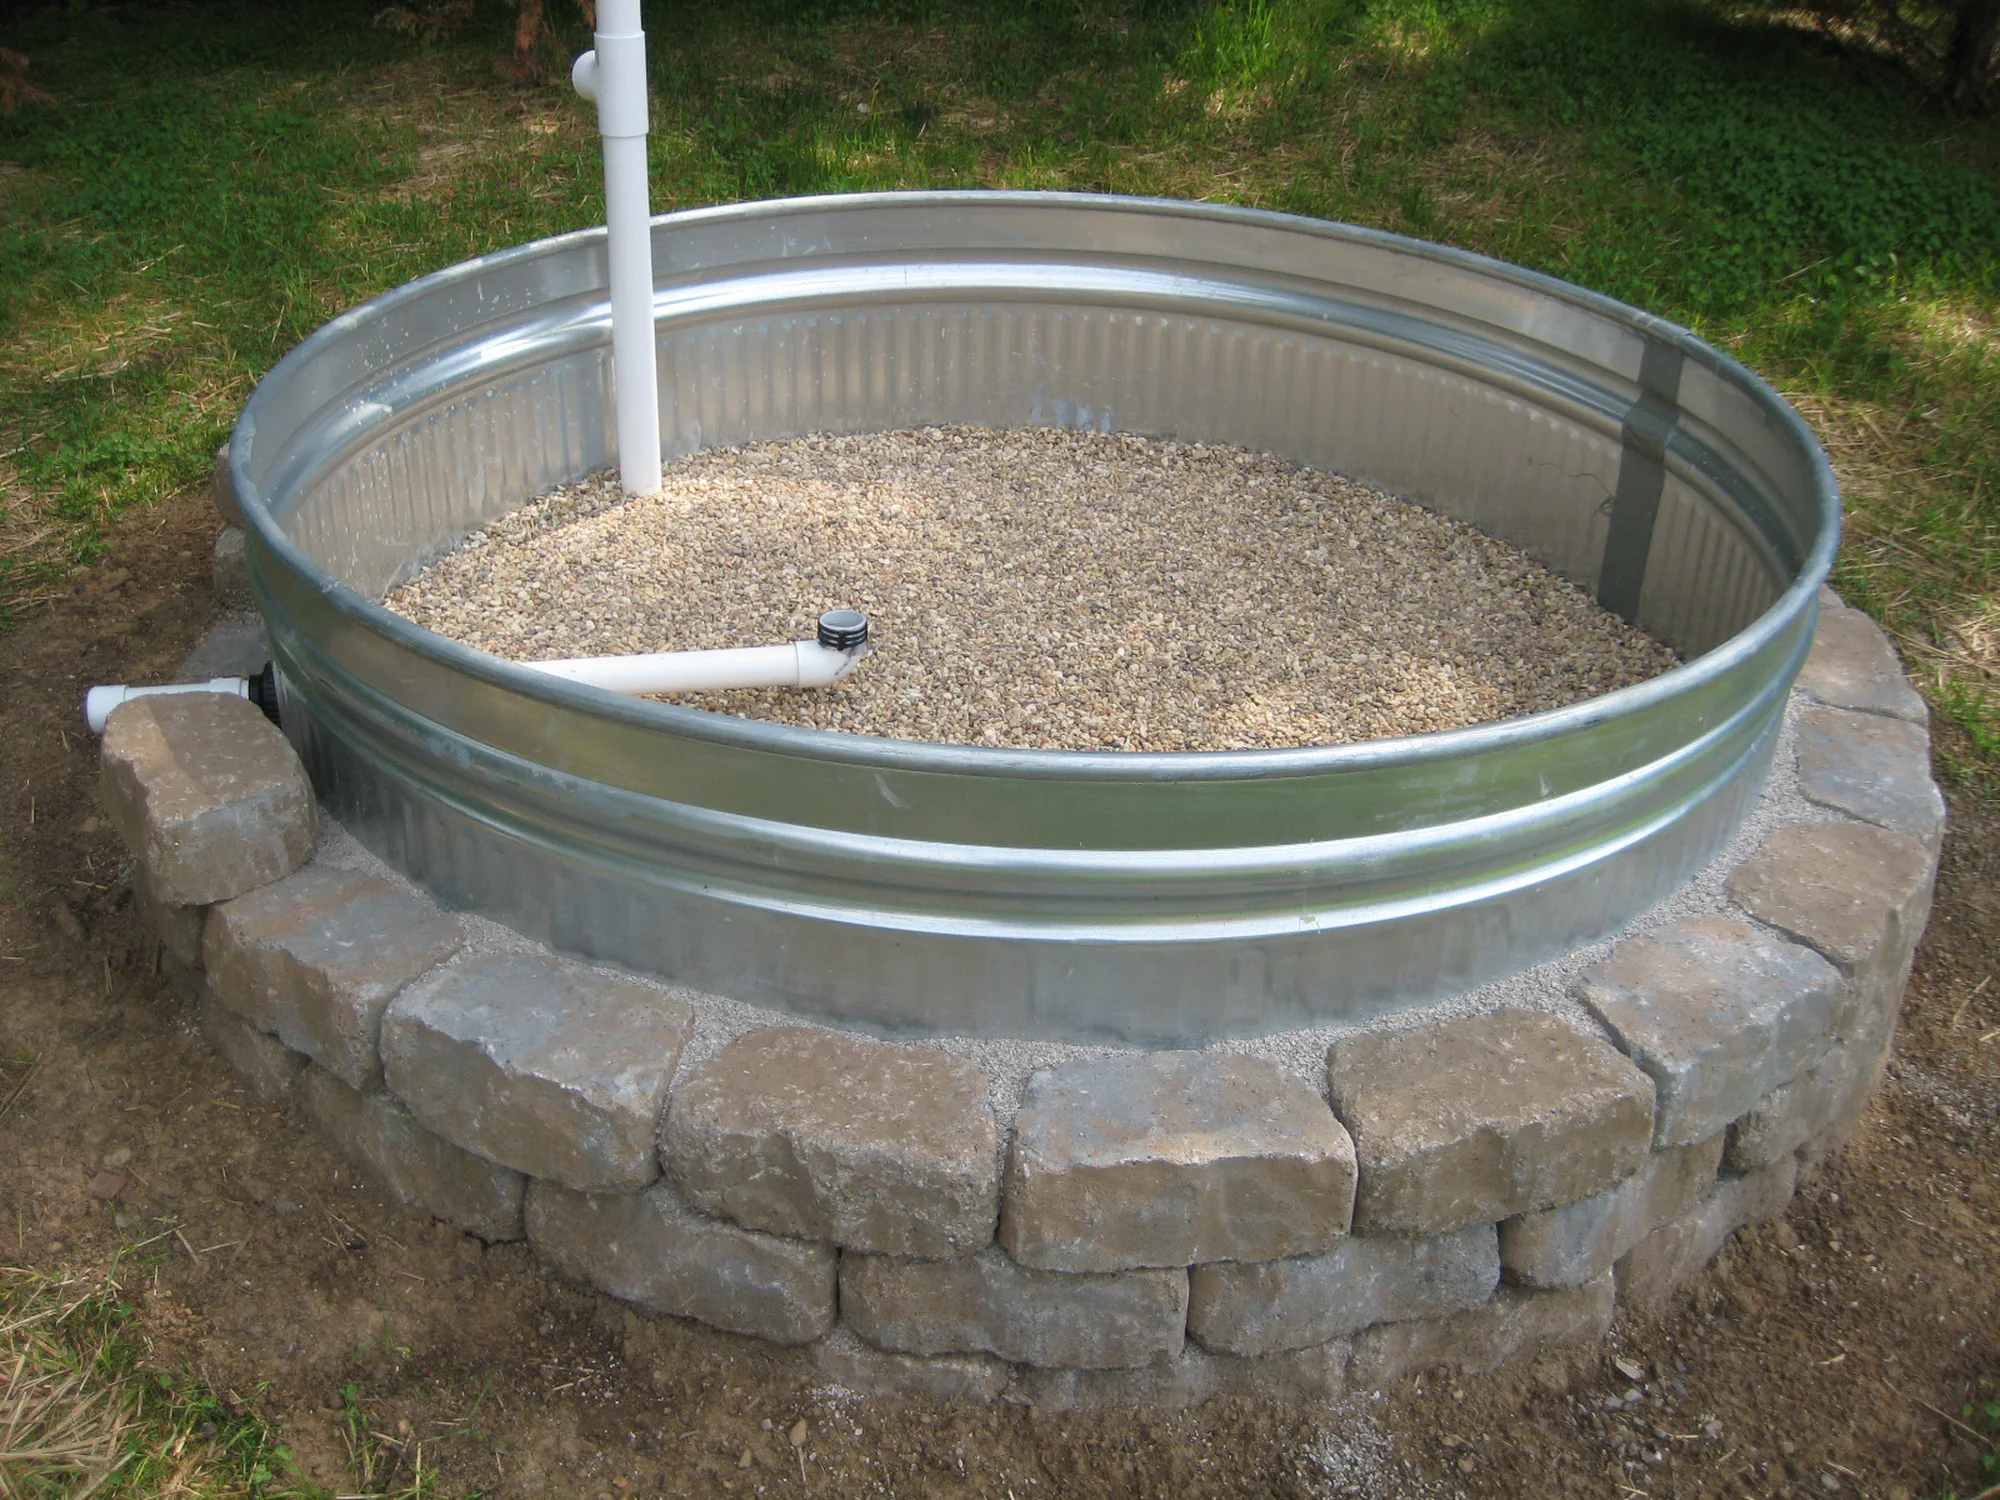
Two raised beds built to mostly water themselves. The idea was a drought-tolerant container garden that draws moisture up from a reservoir underneath instead of being sprinkled from the top — minimizes evaporation and allows the roots to pull what they need while the surface stays dry. Each bed is a galvanized stock tank with a dry-stacked stone surround, plumbed so it can be filled three ways: rain or a hose from above like any garden, a rain catcher that funnels water down below the surface, and a direct hose connection straight into the reservoir. Worms congregate in towers sunk into the soil and turn kitchen scraps into castings. The design started from the sustainable wicking worm bed at Sustainable Gardening Australia; the stock tanks, stone surrounds, and rain catchers are where I took it. Here’s how the pair came together.
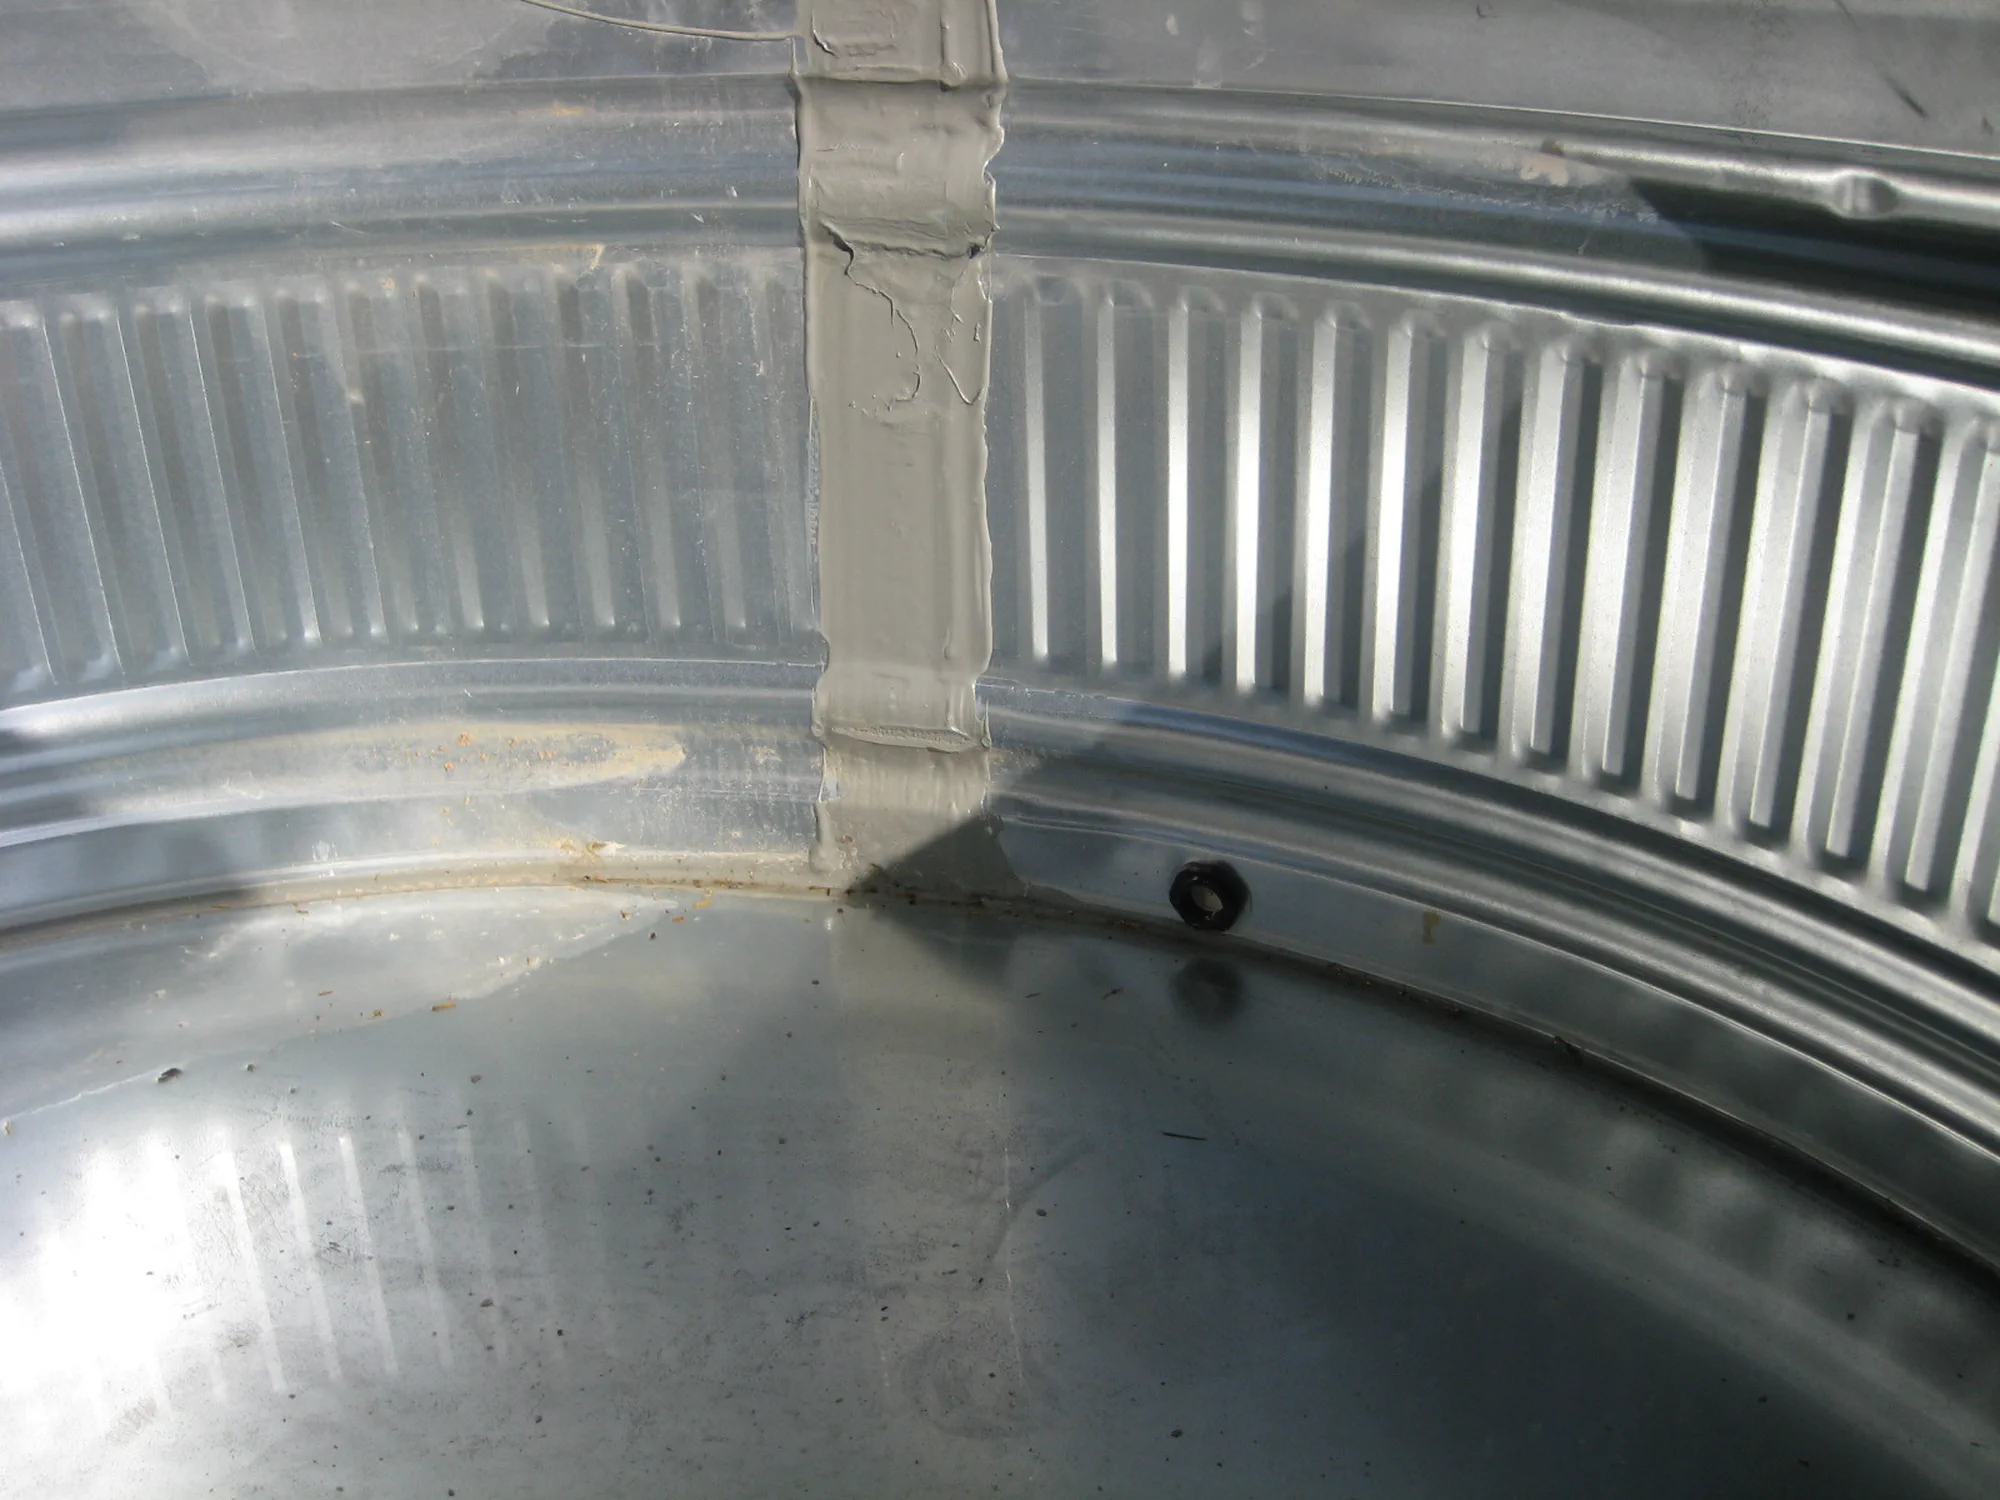
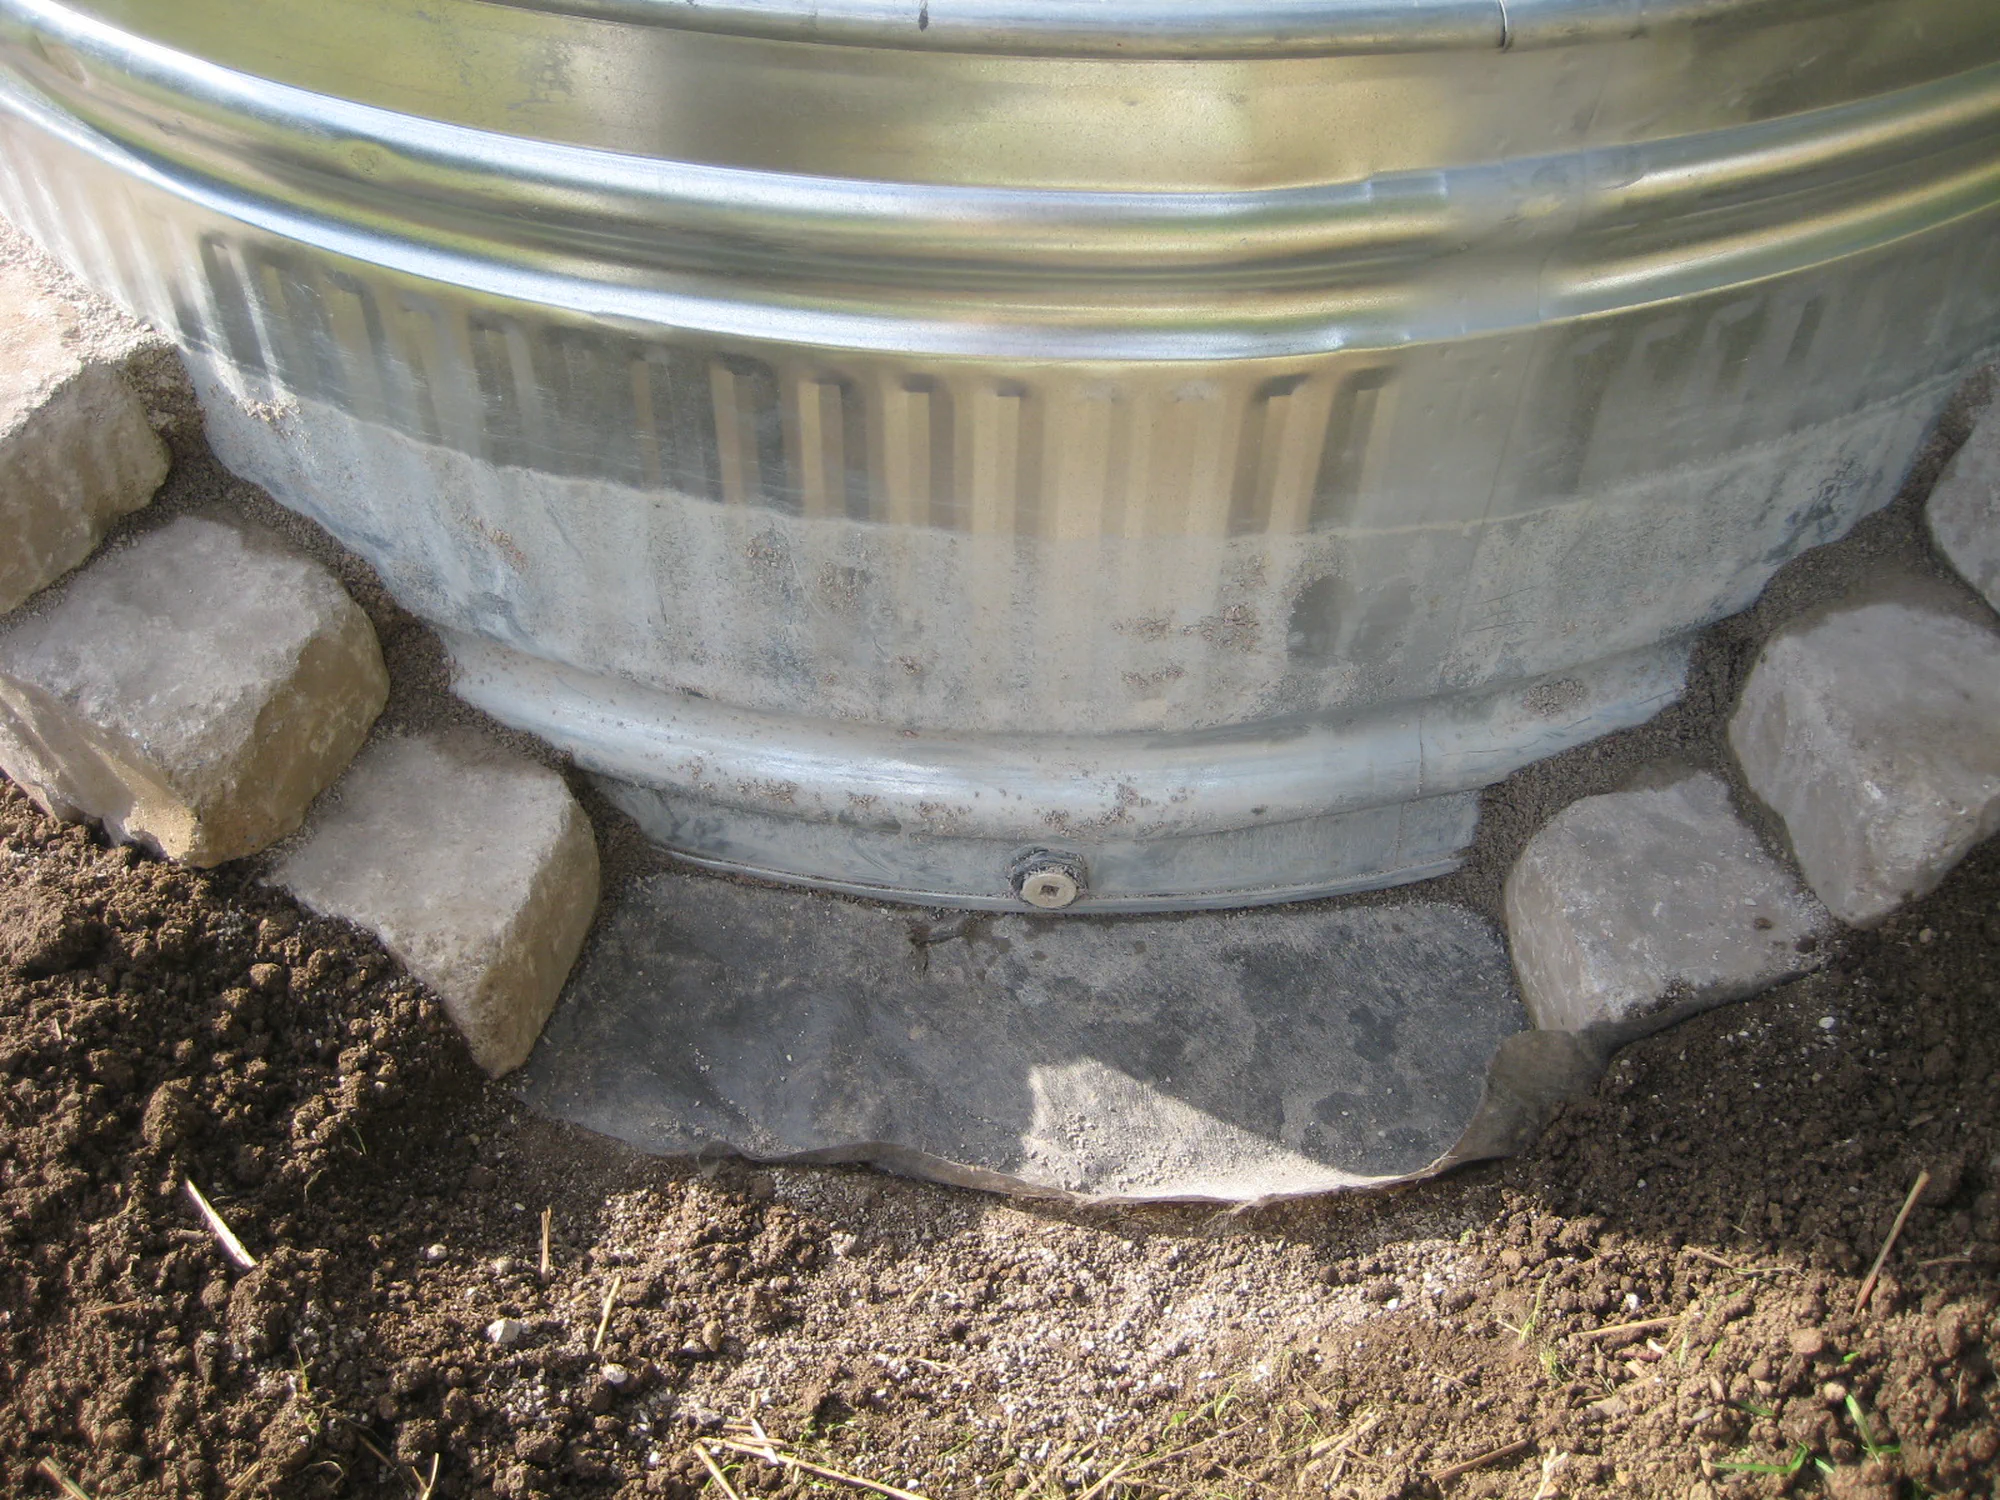
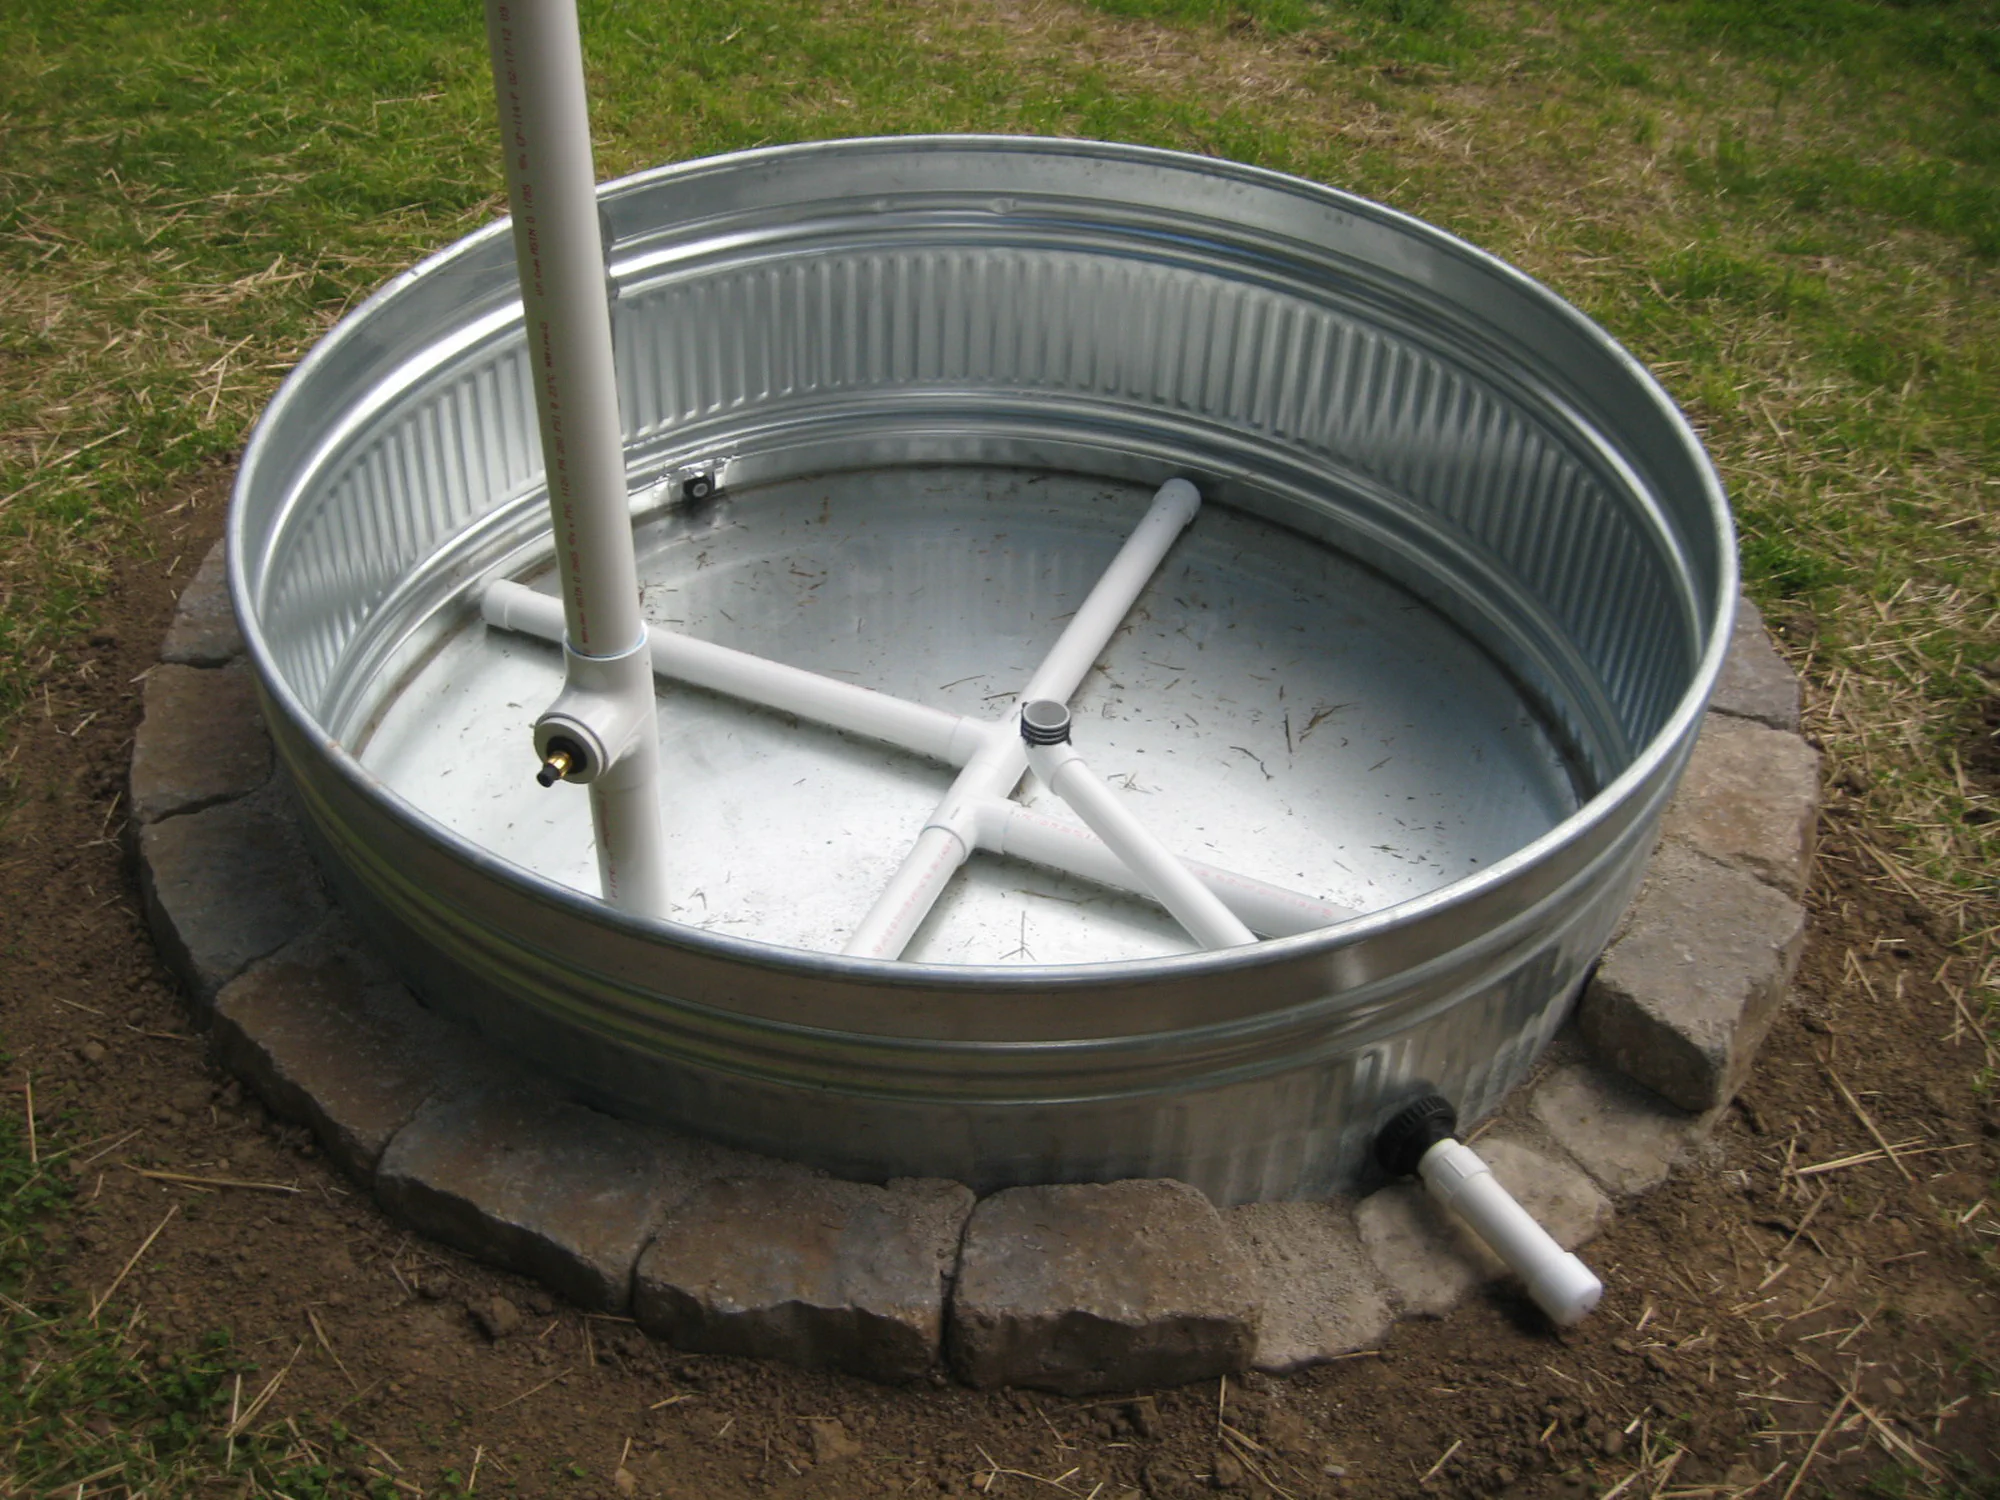
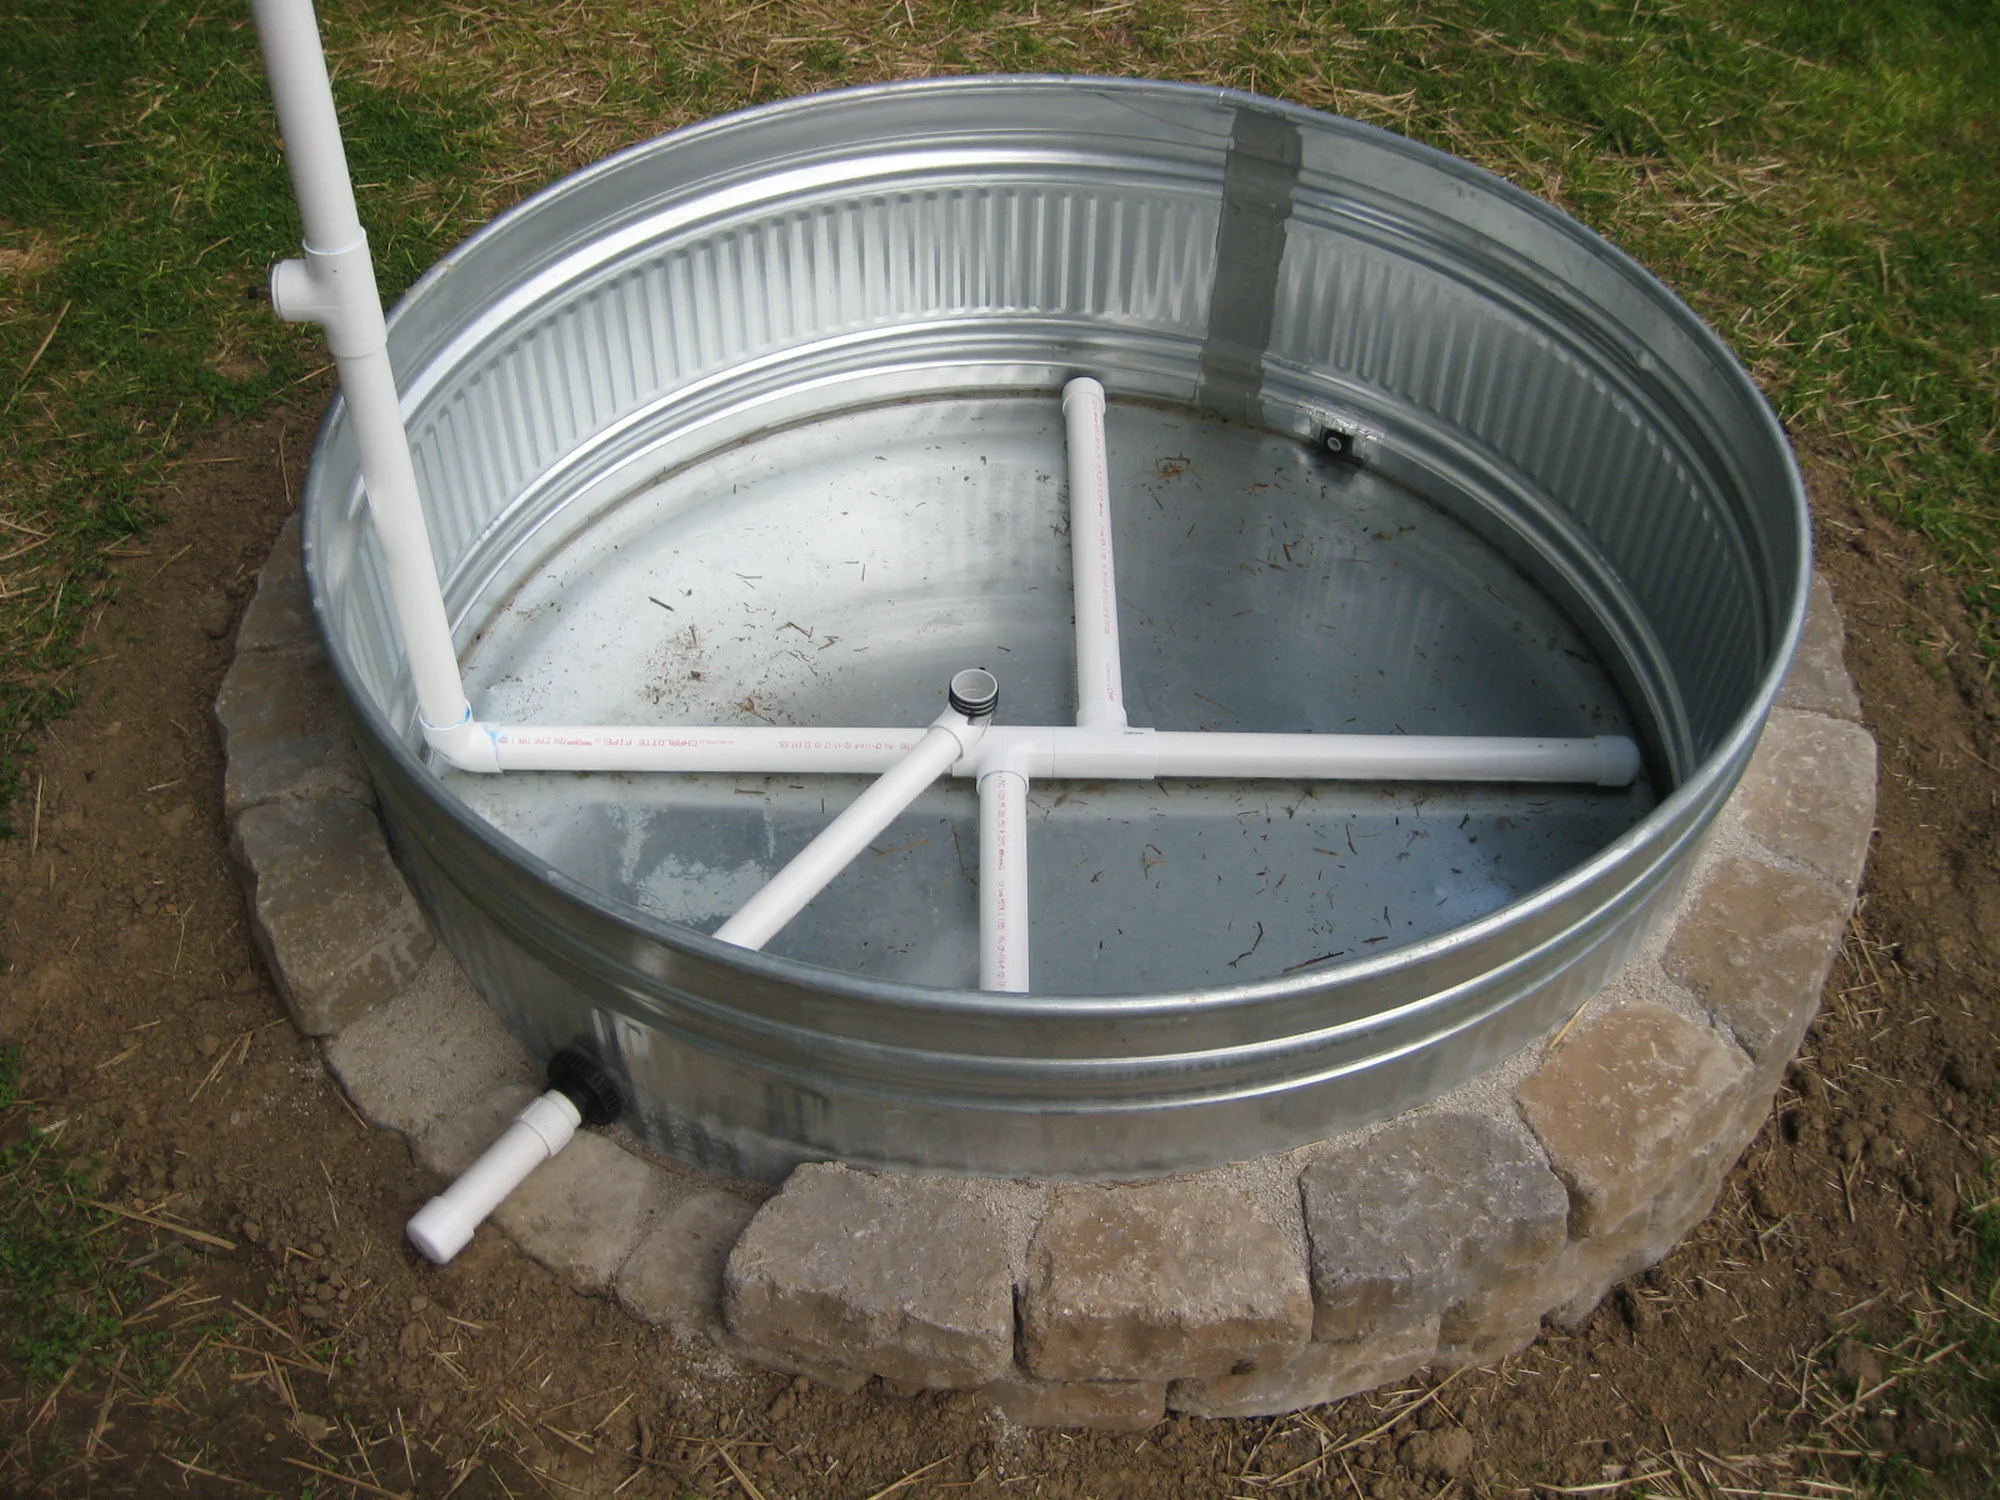
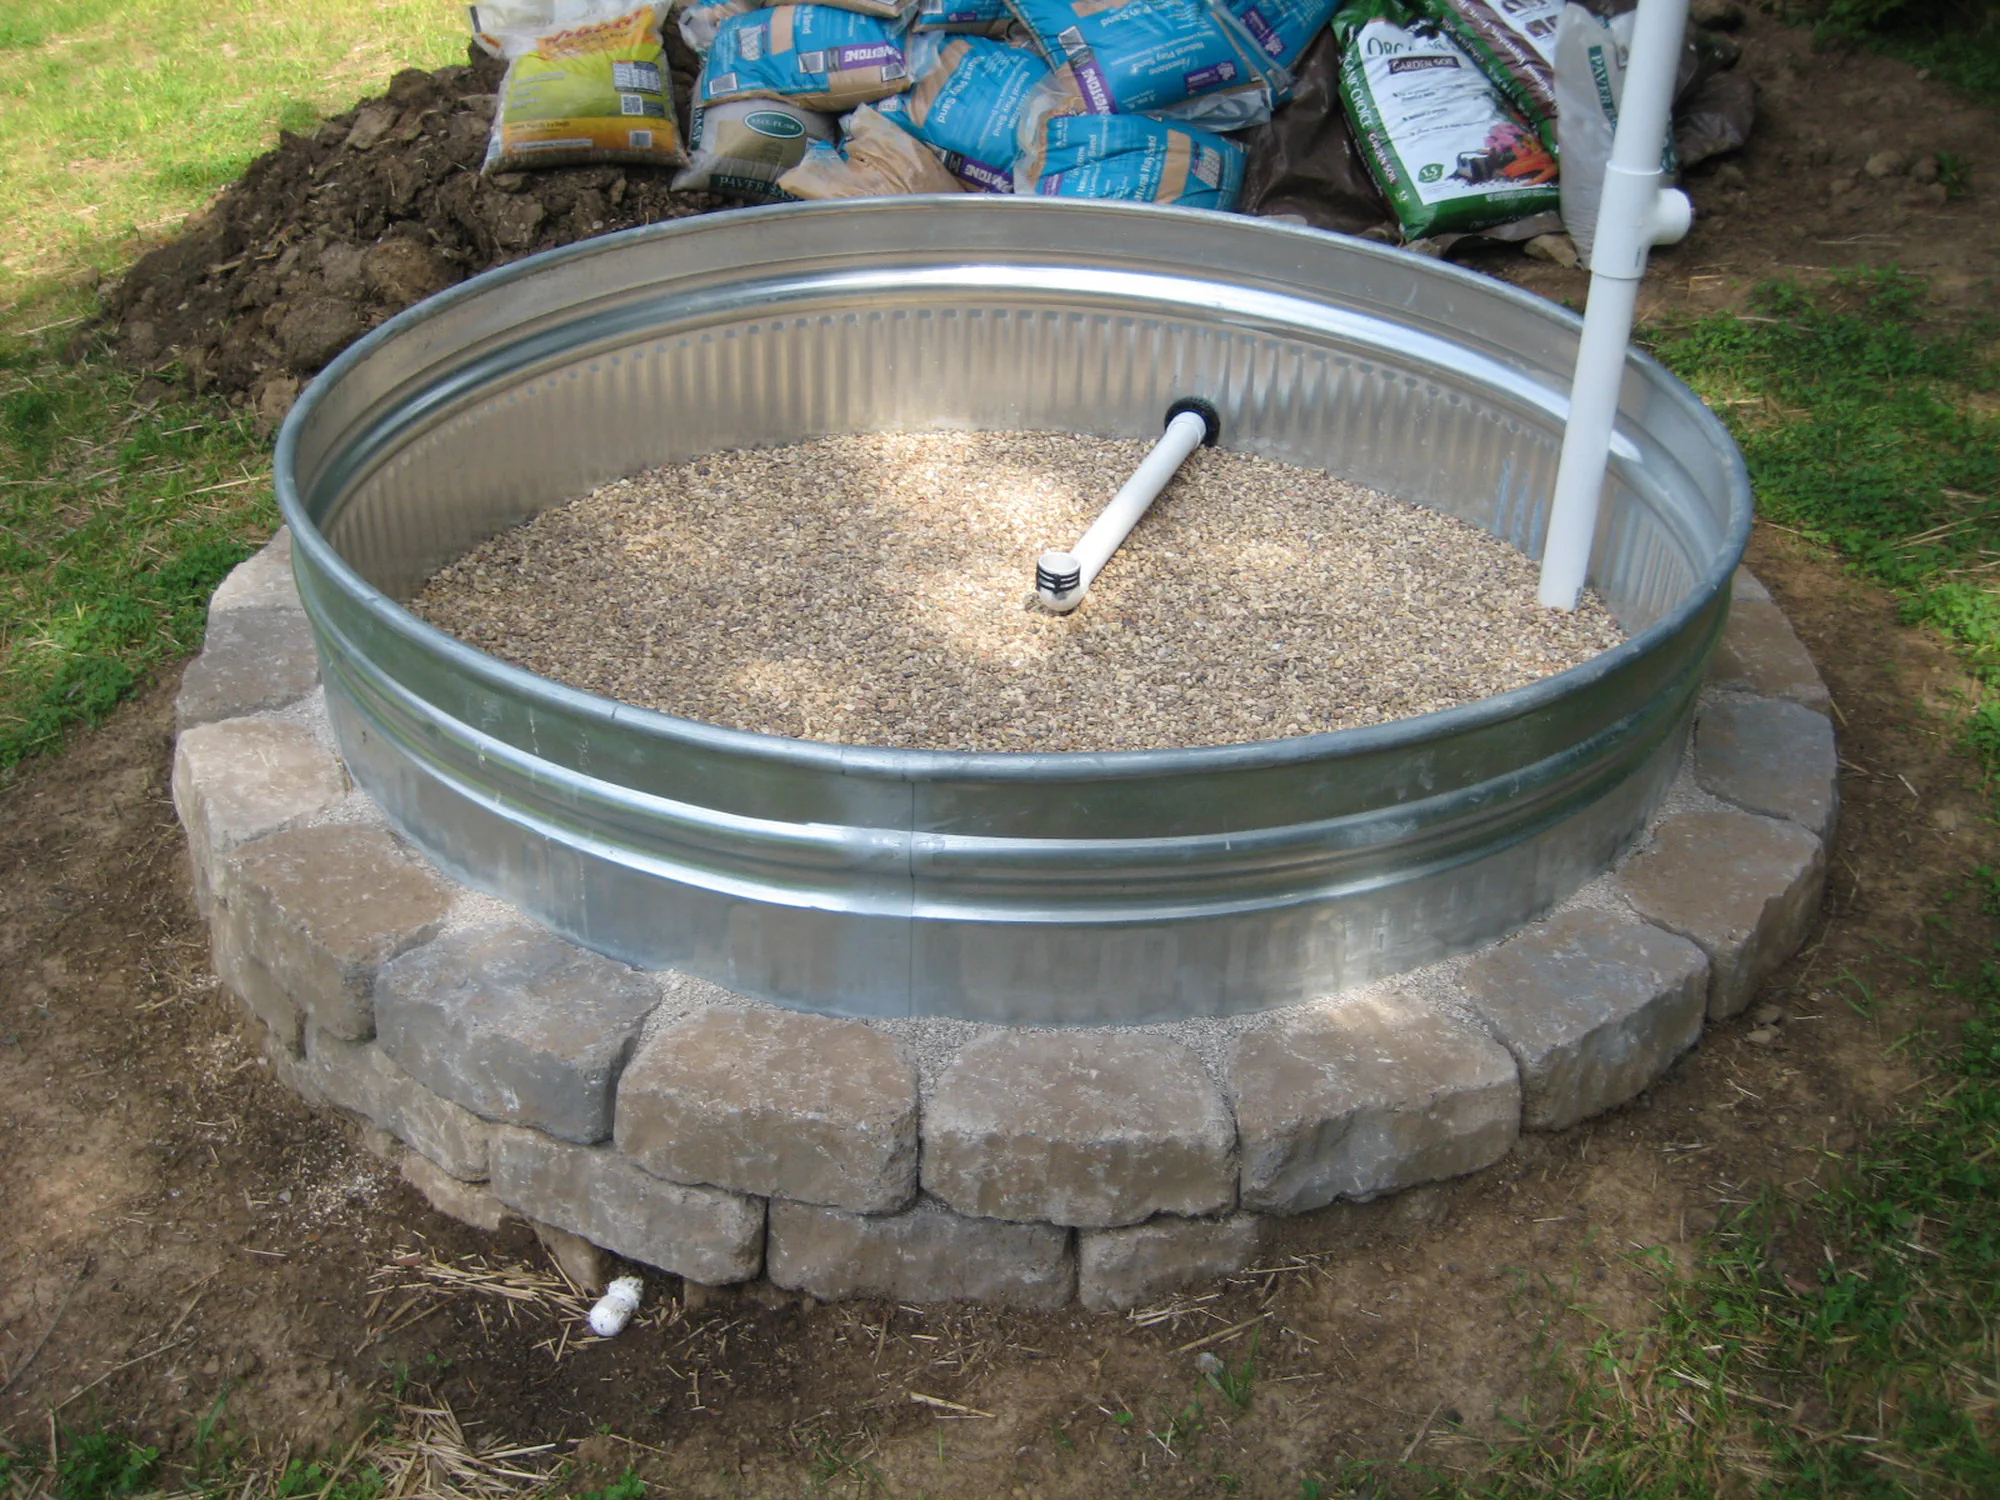
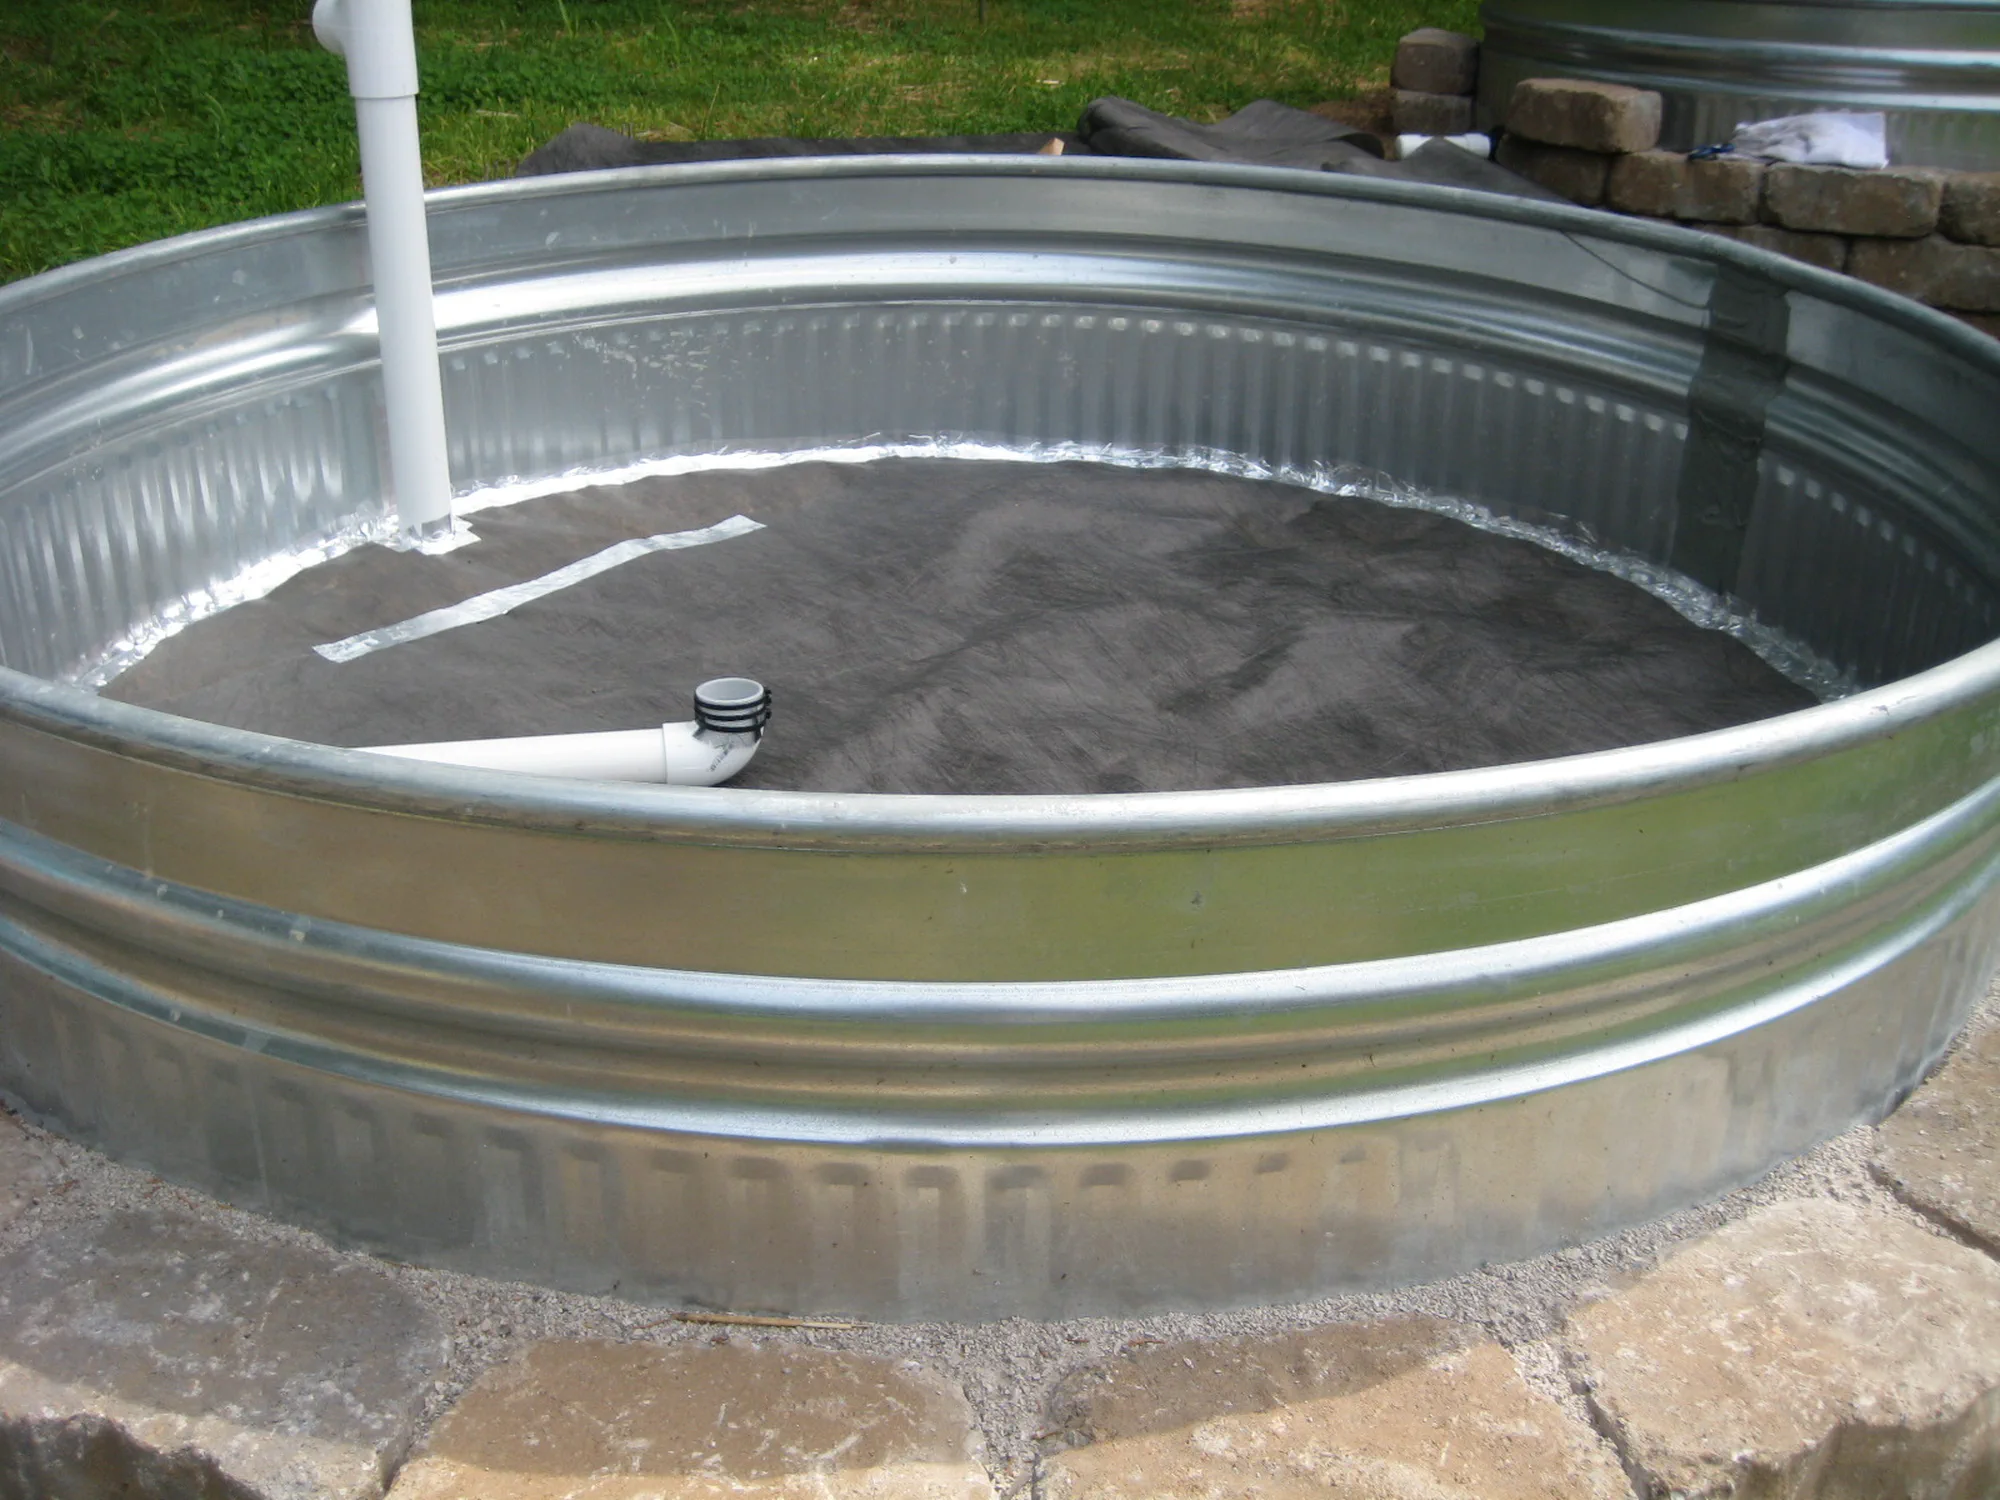
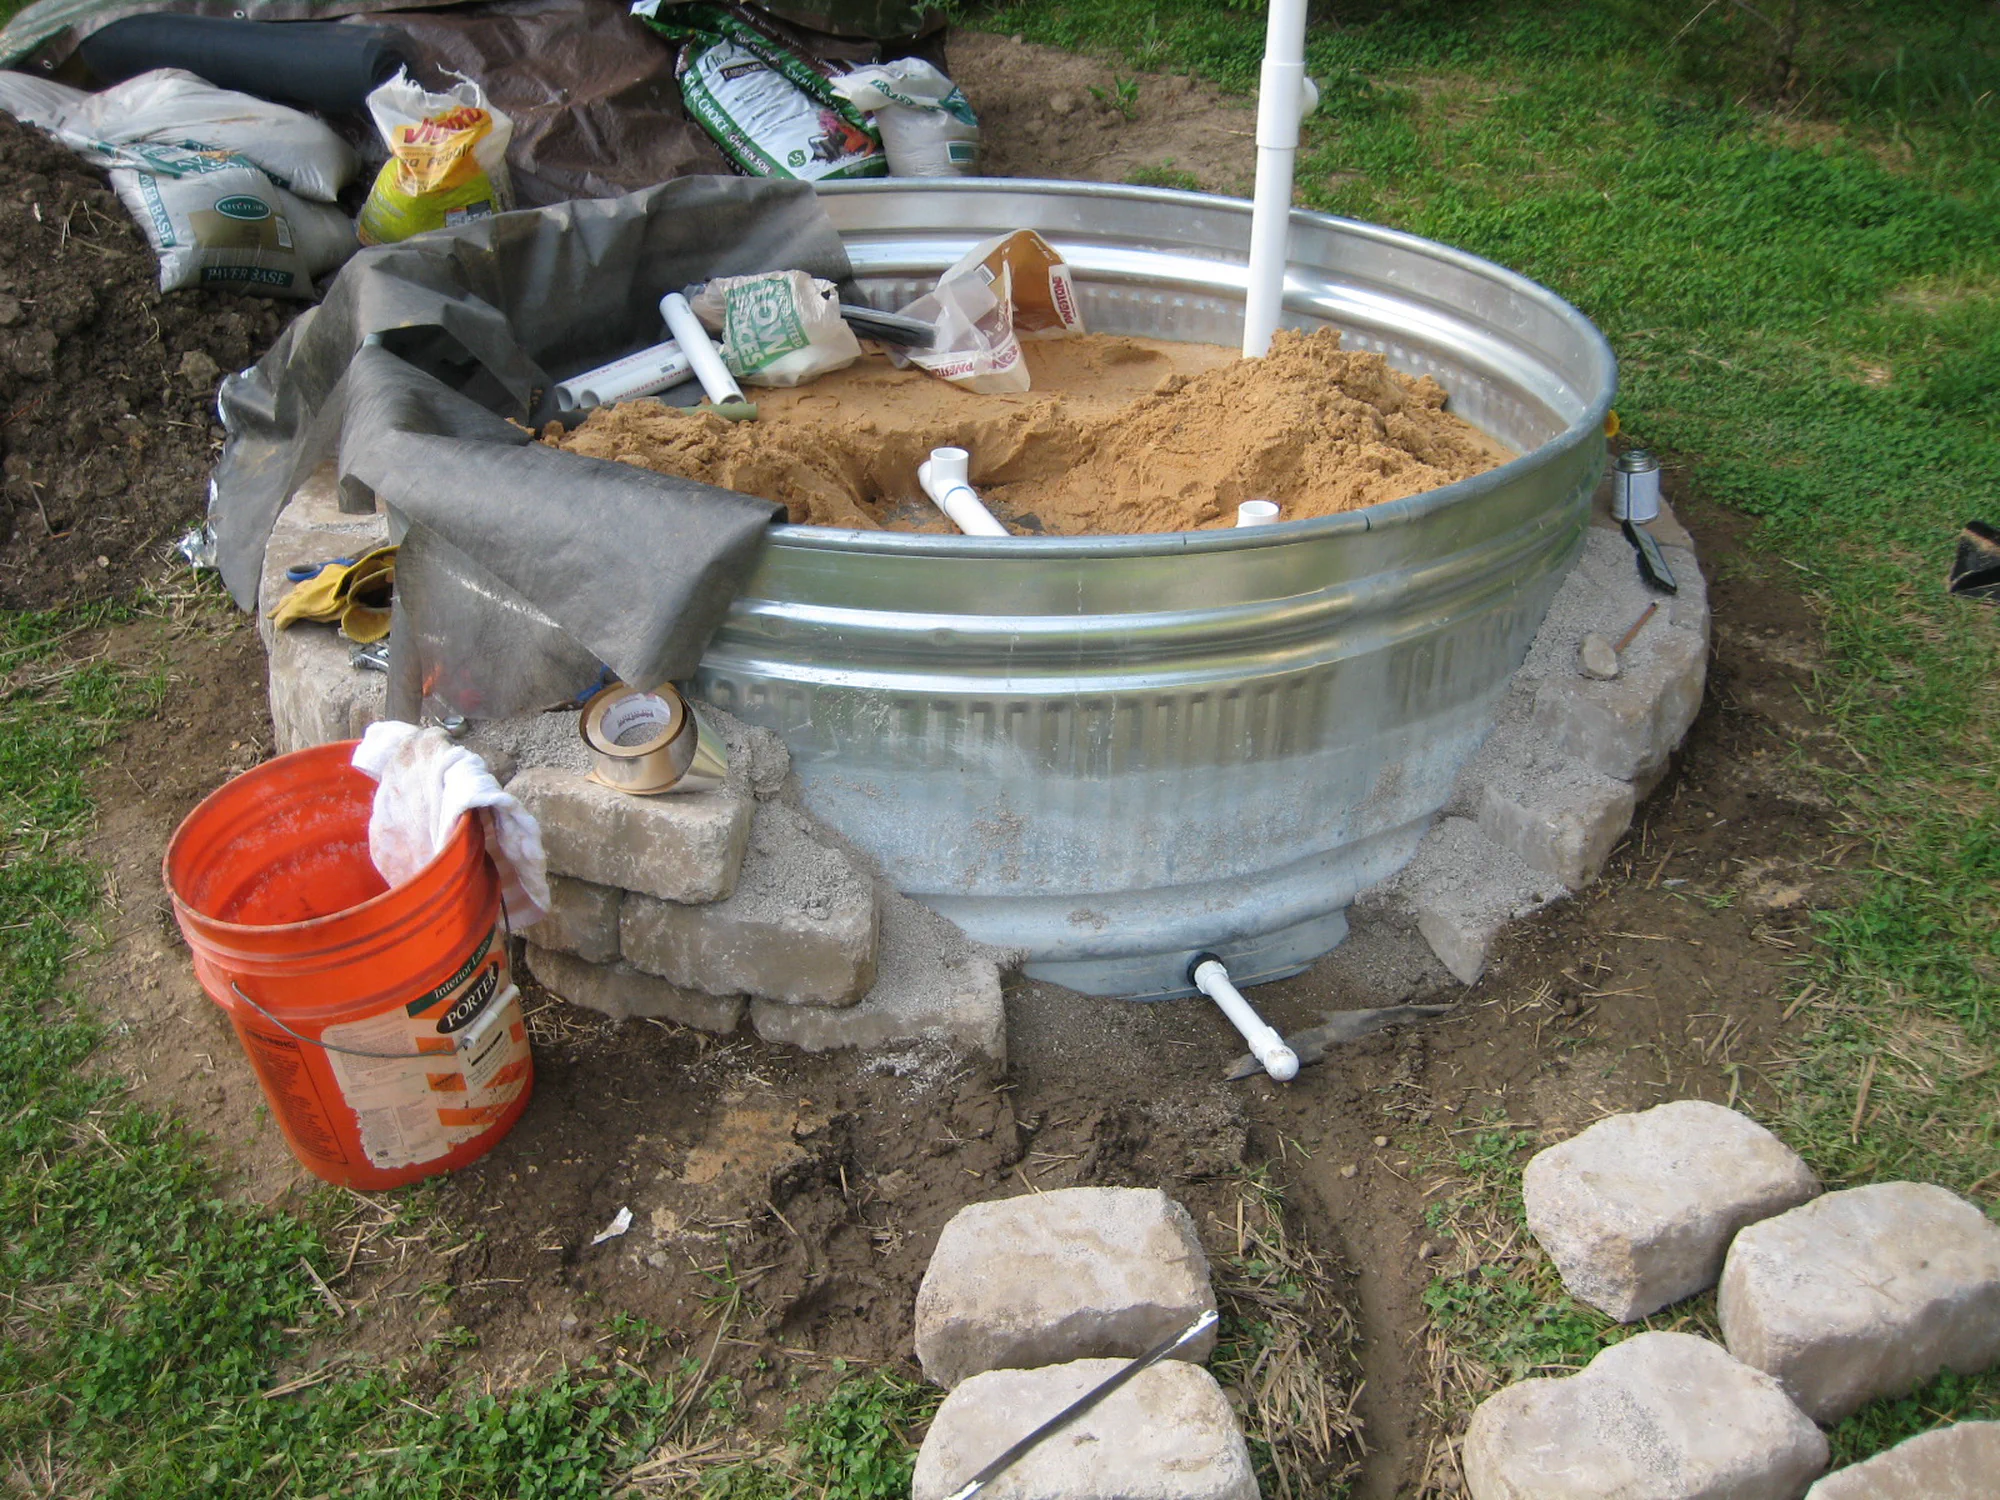
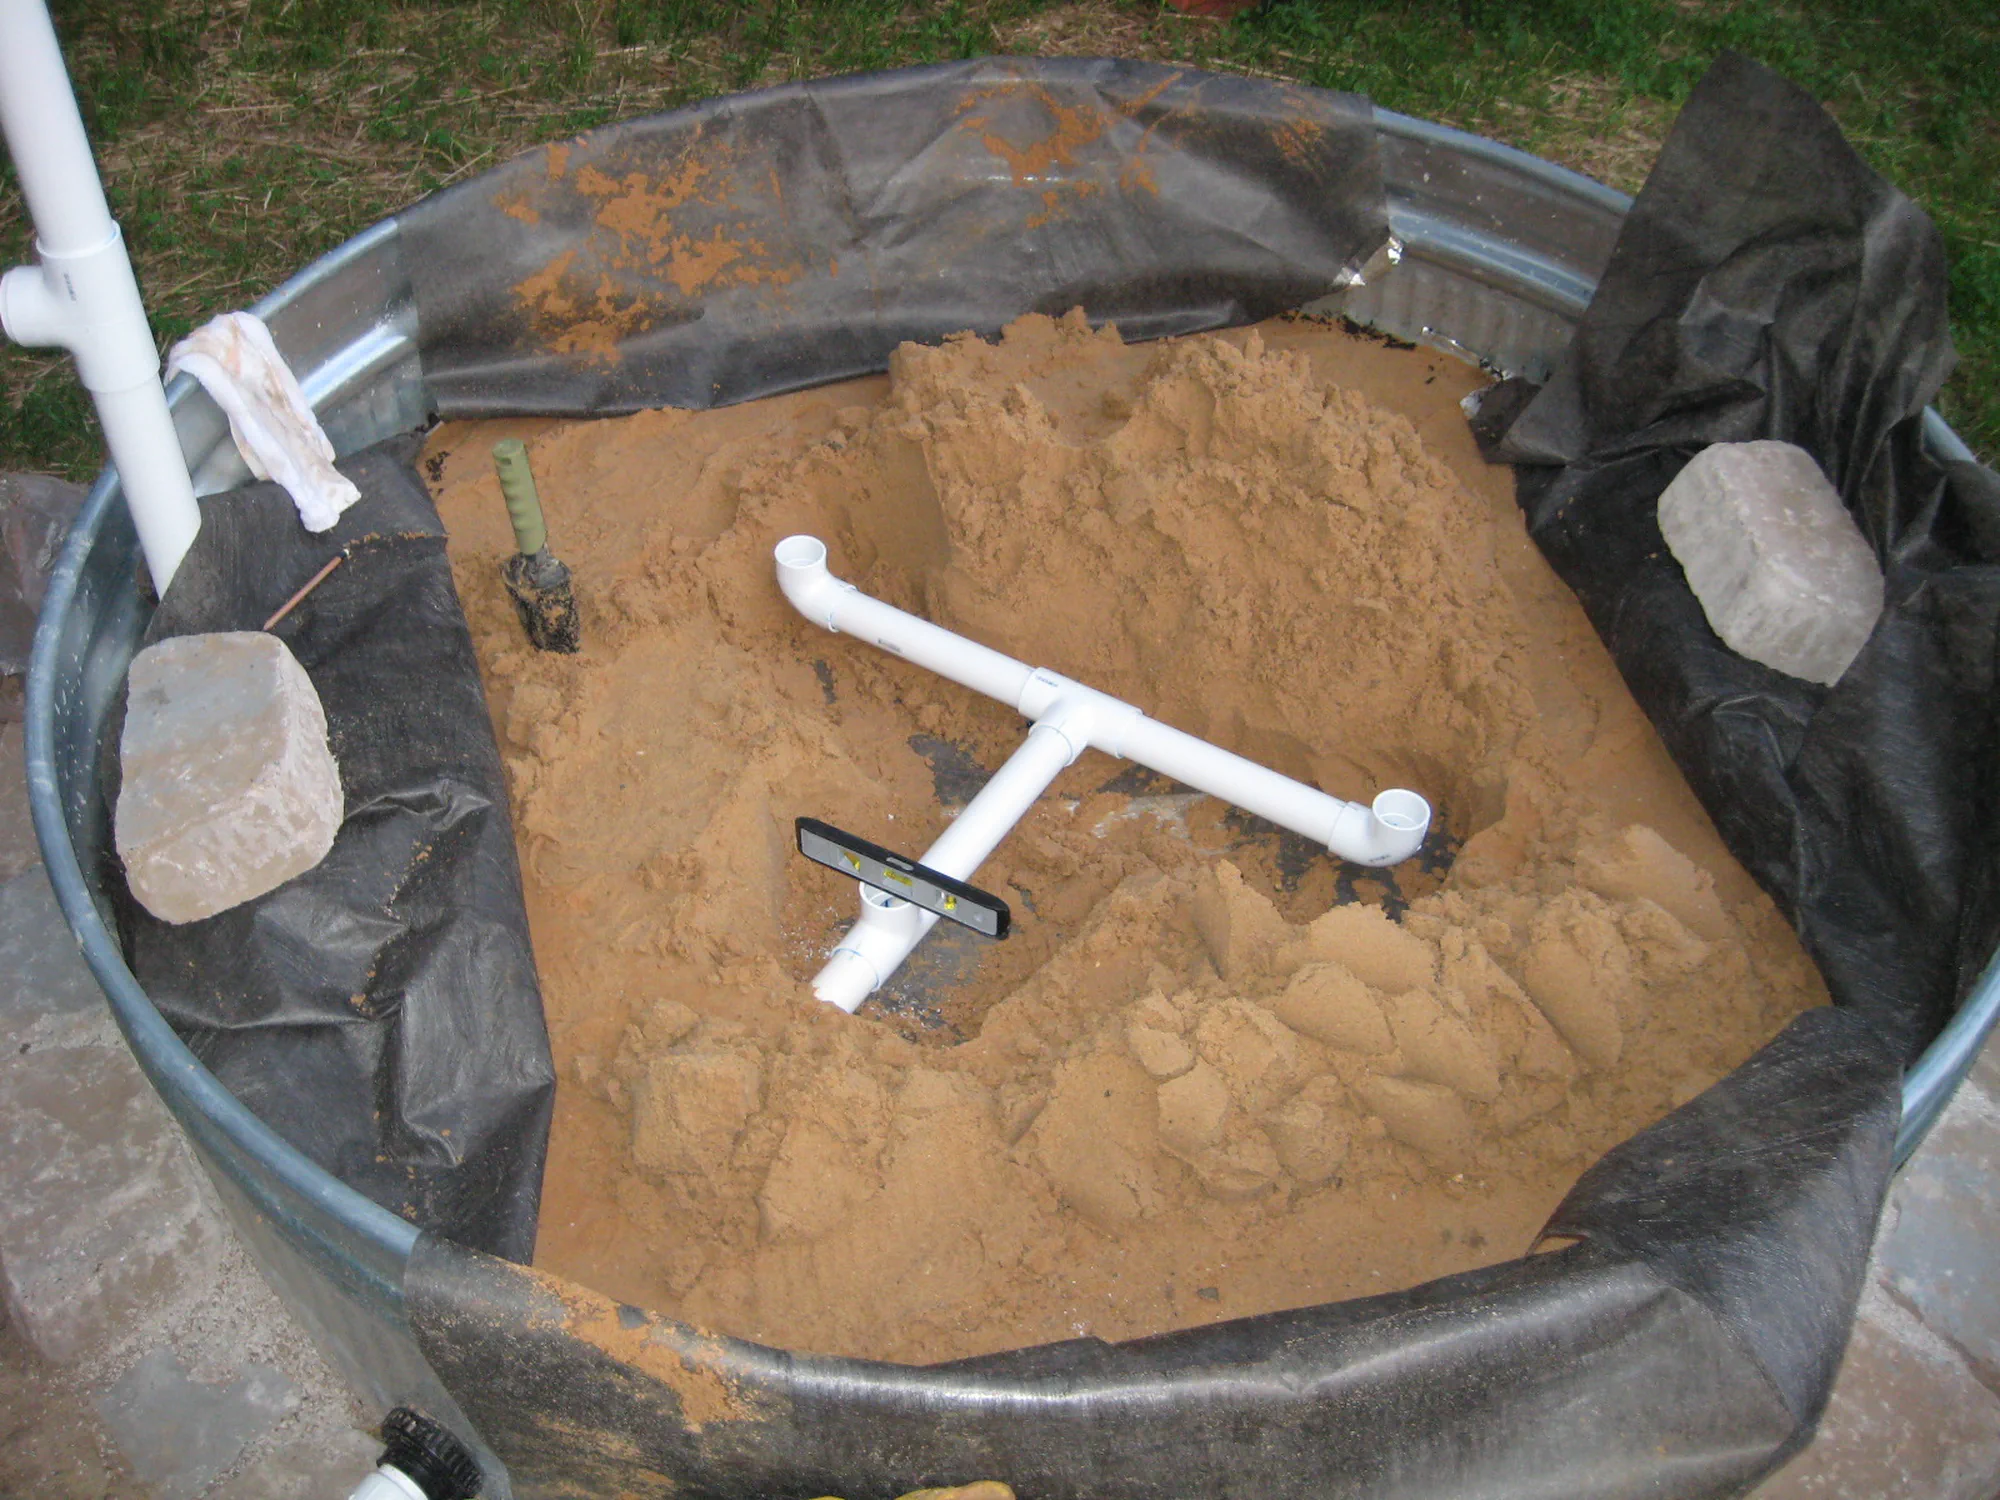
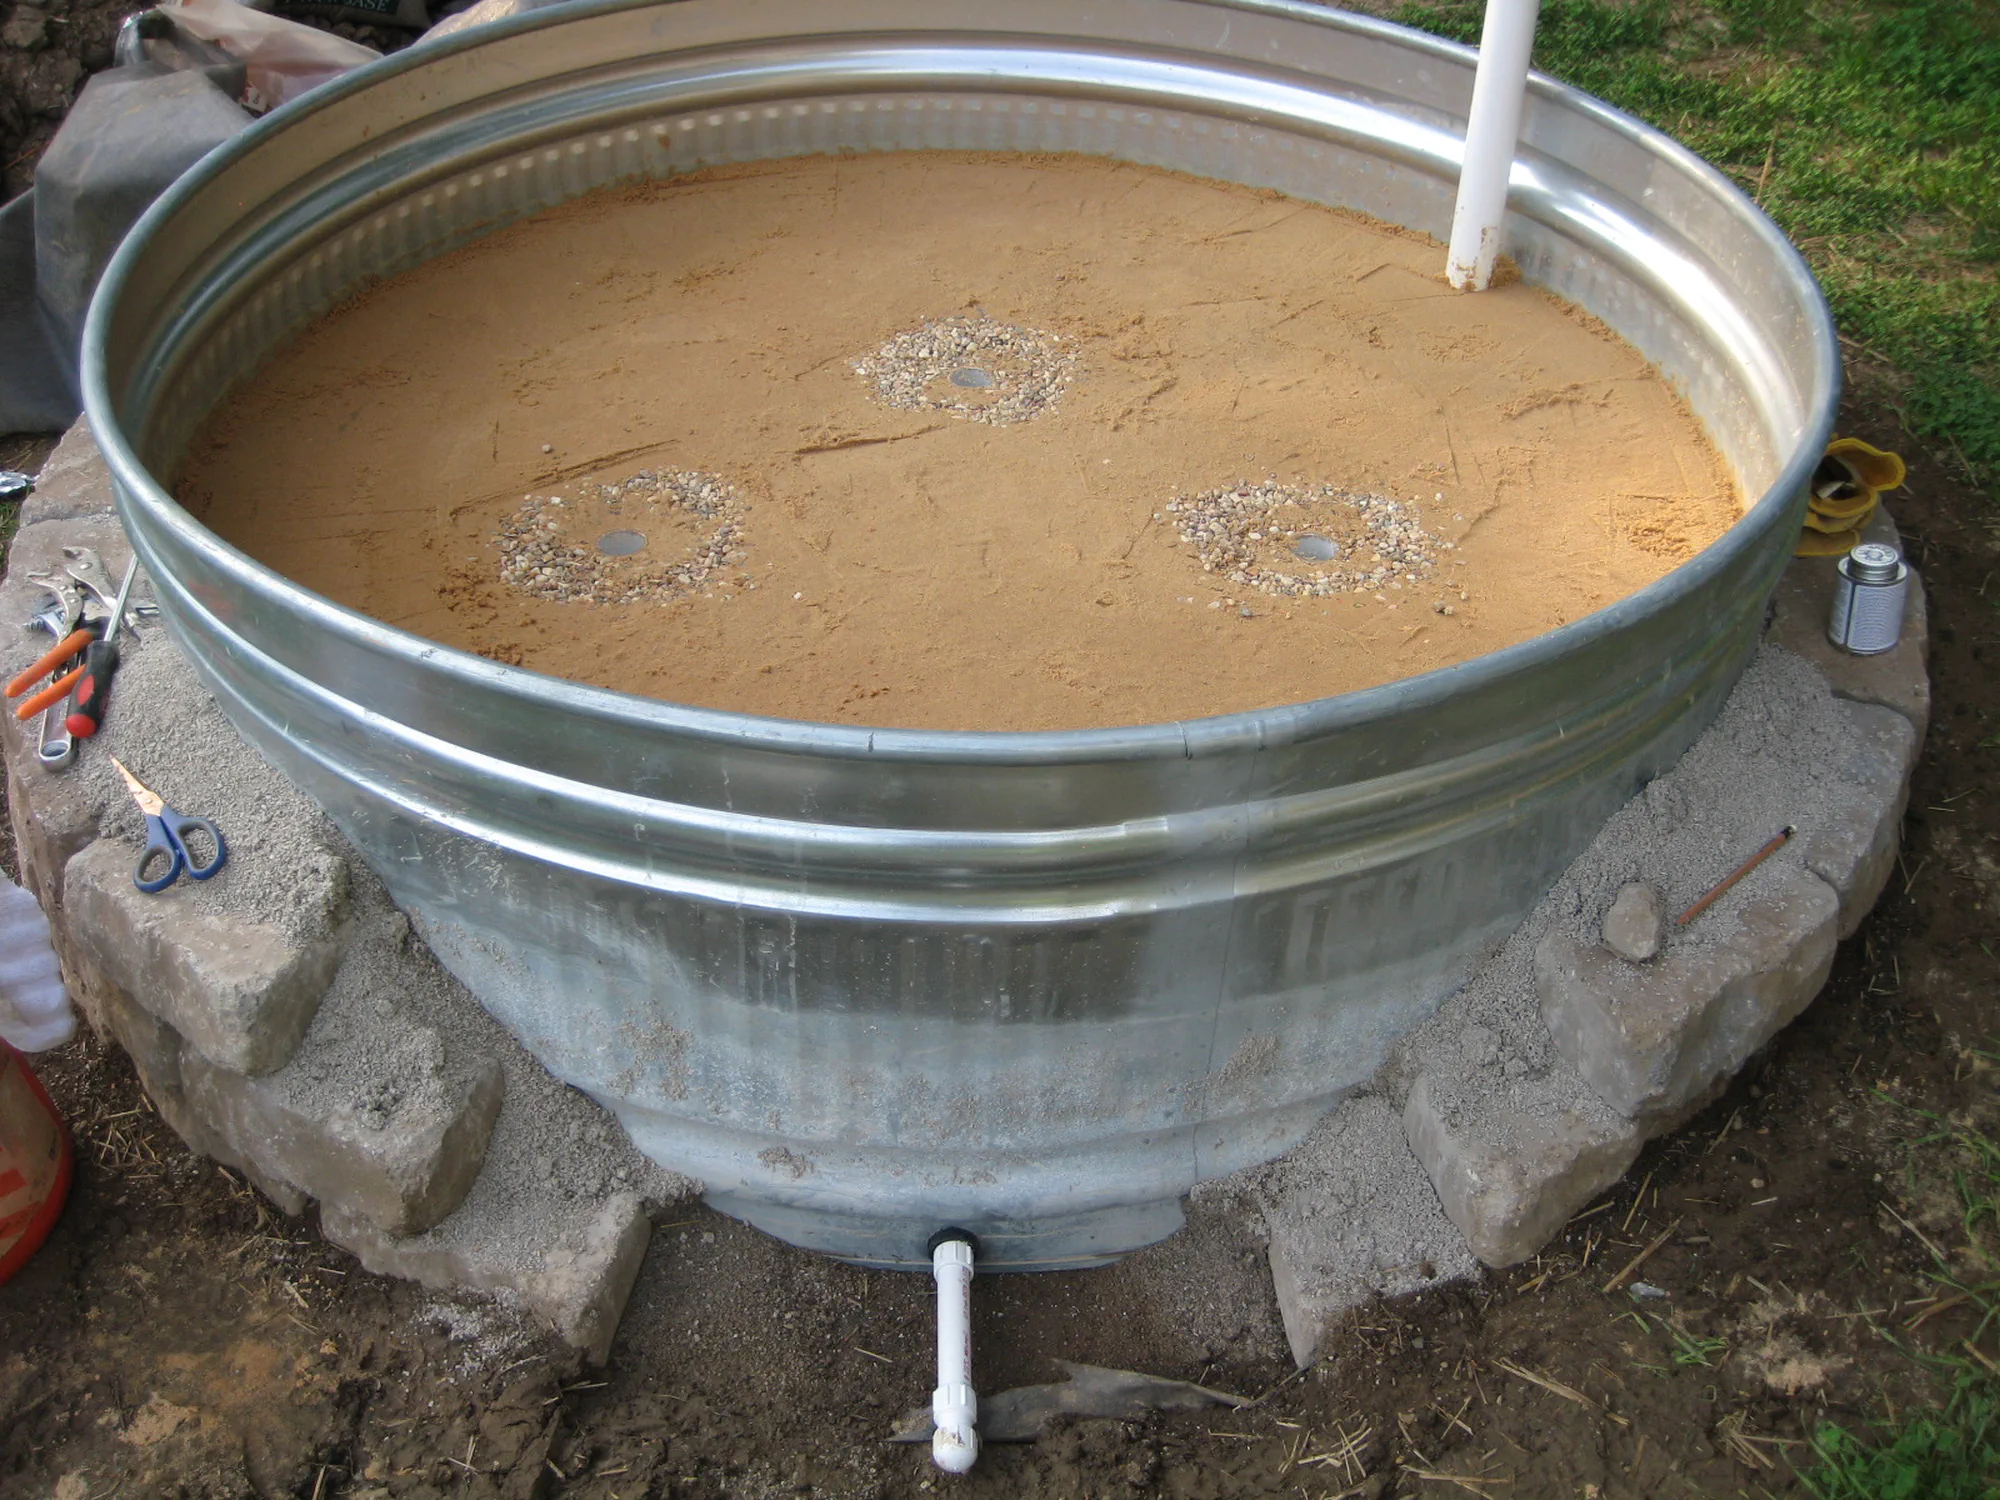
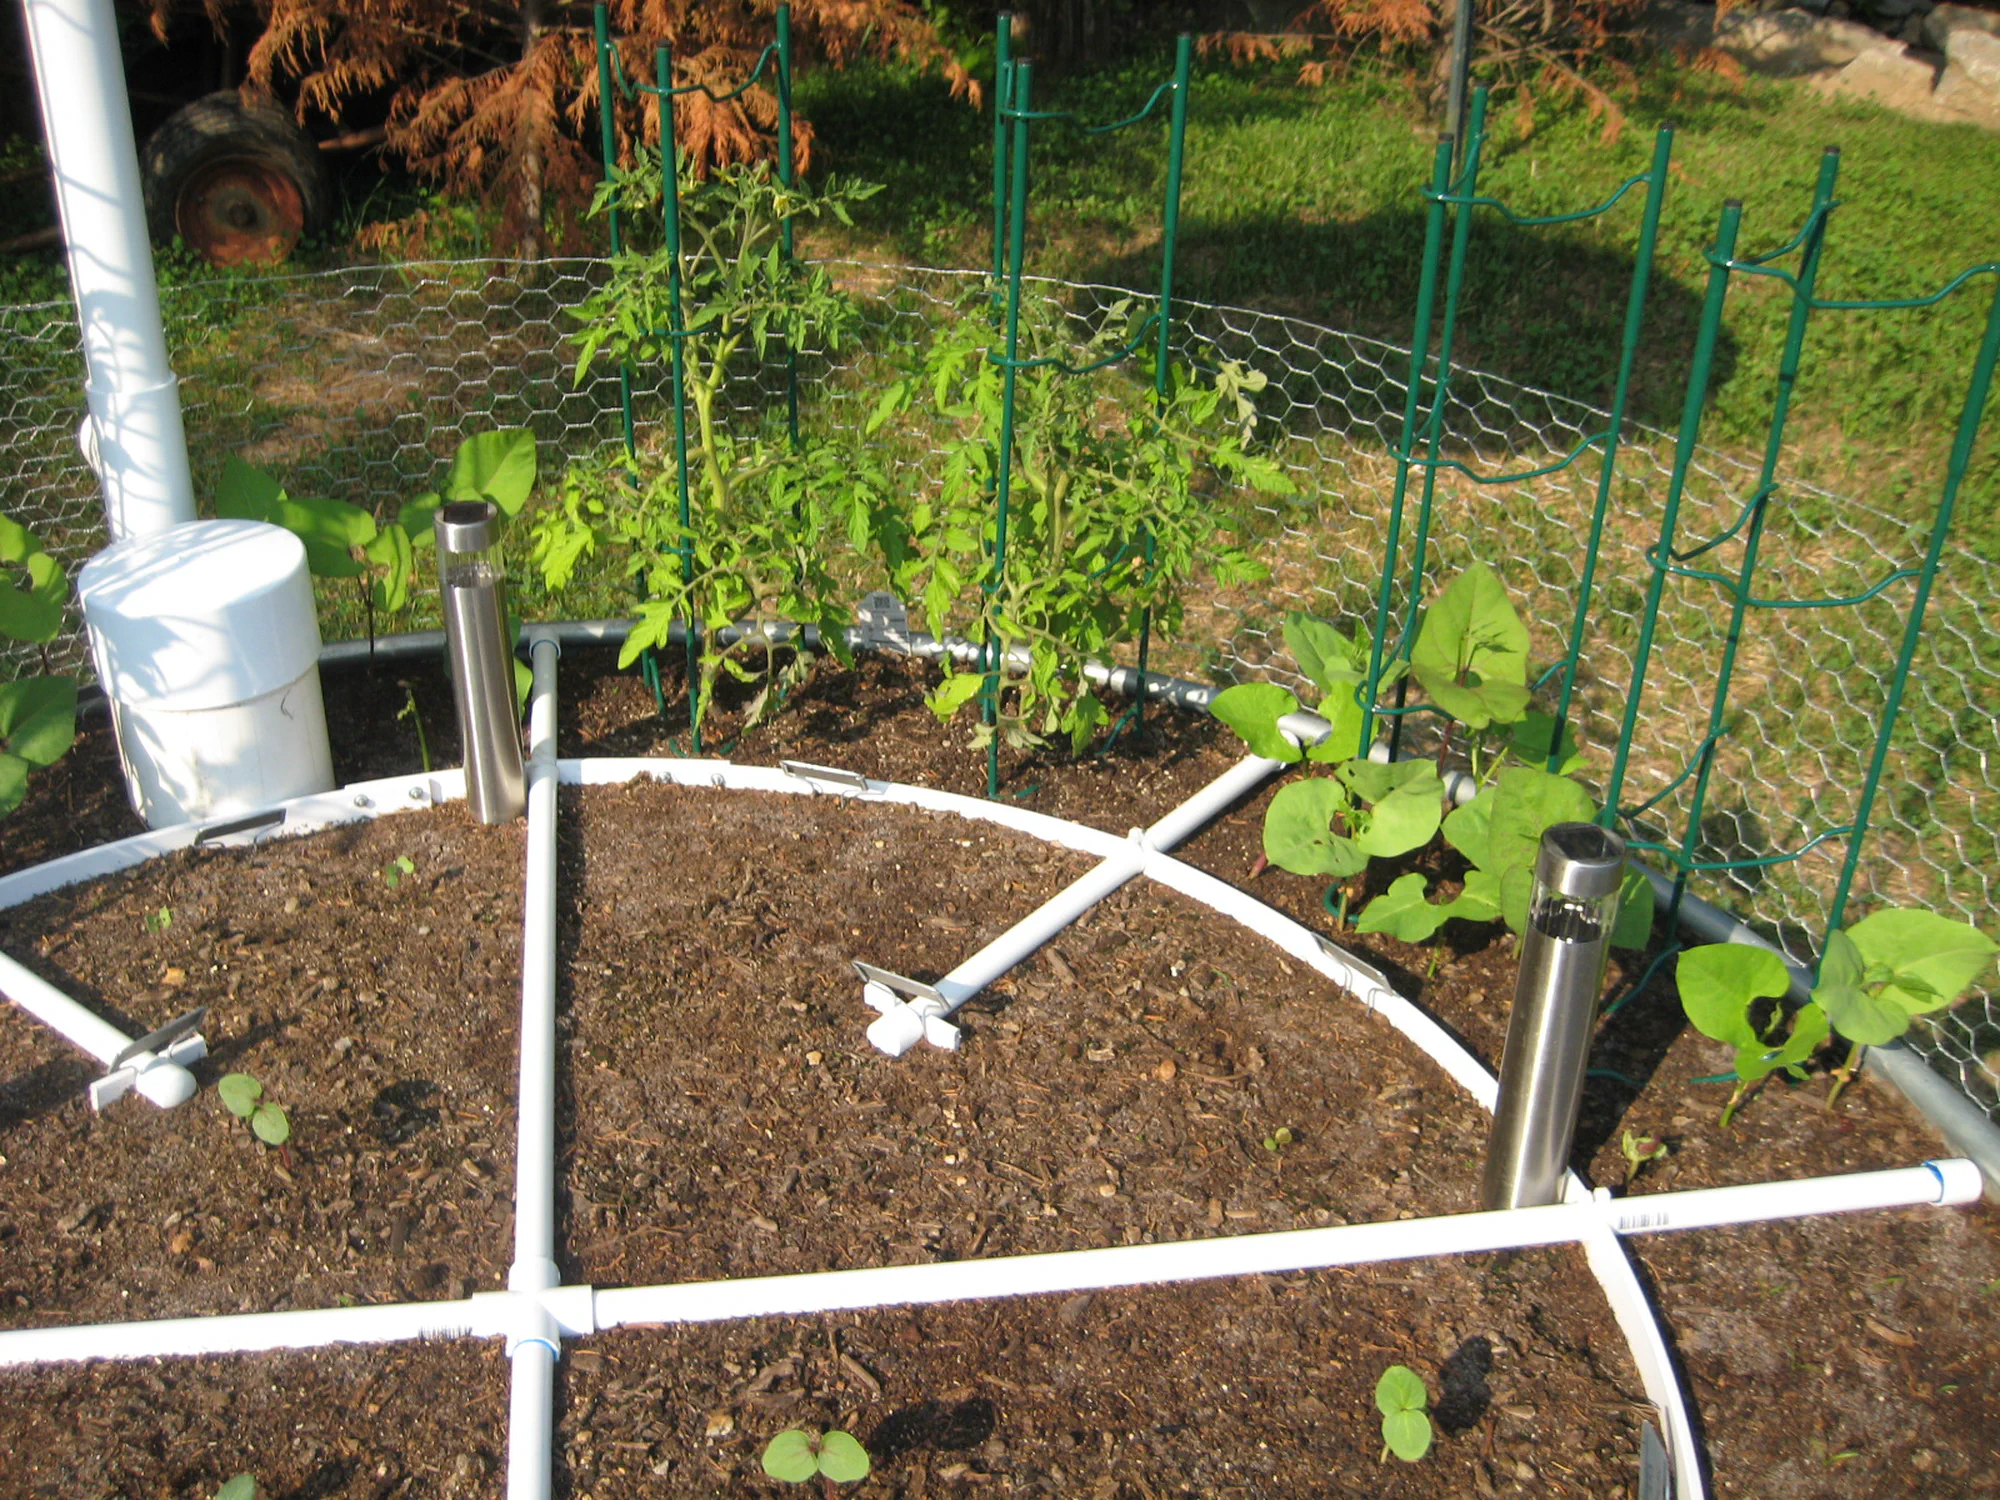
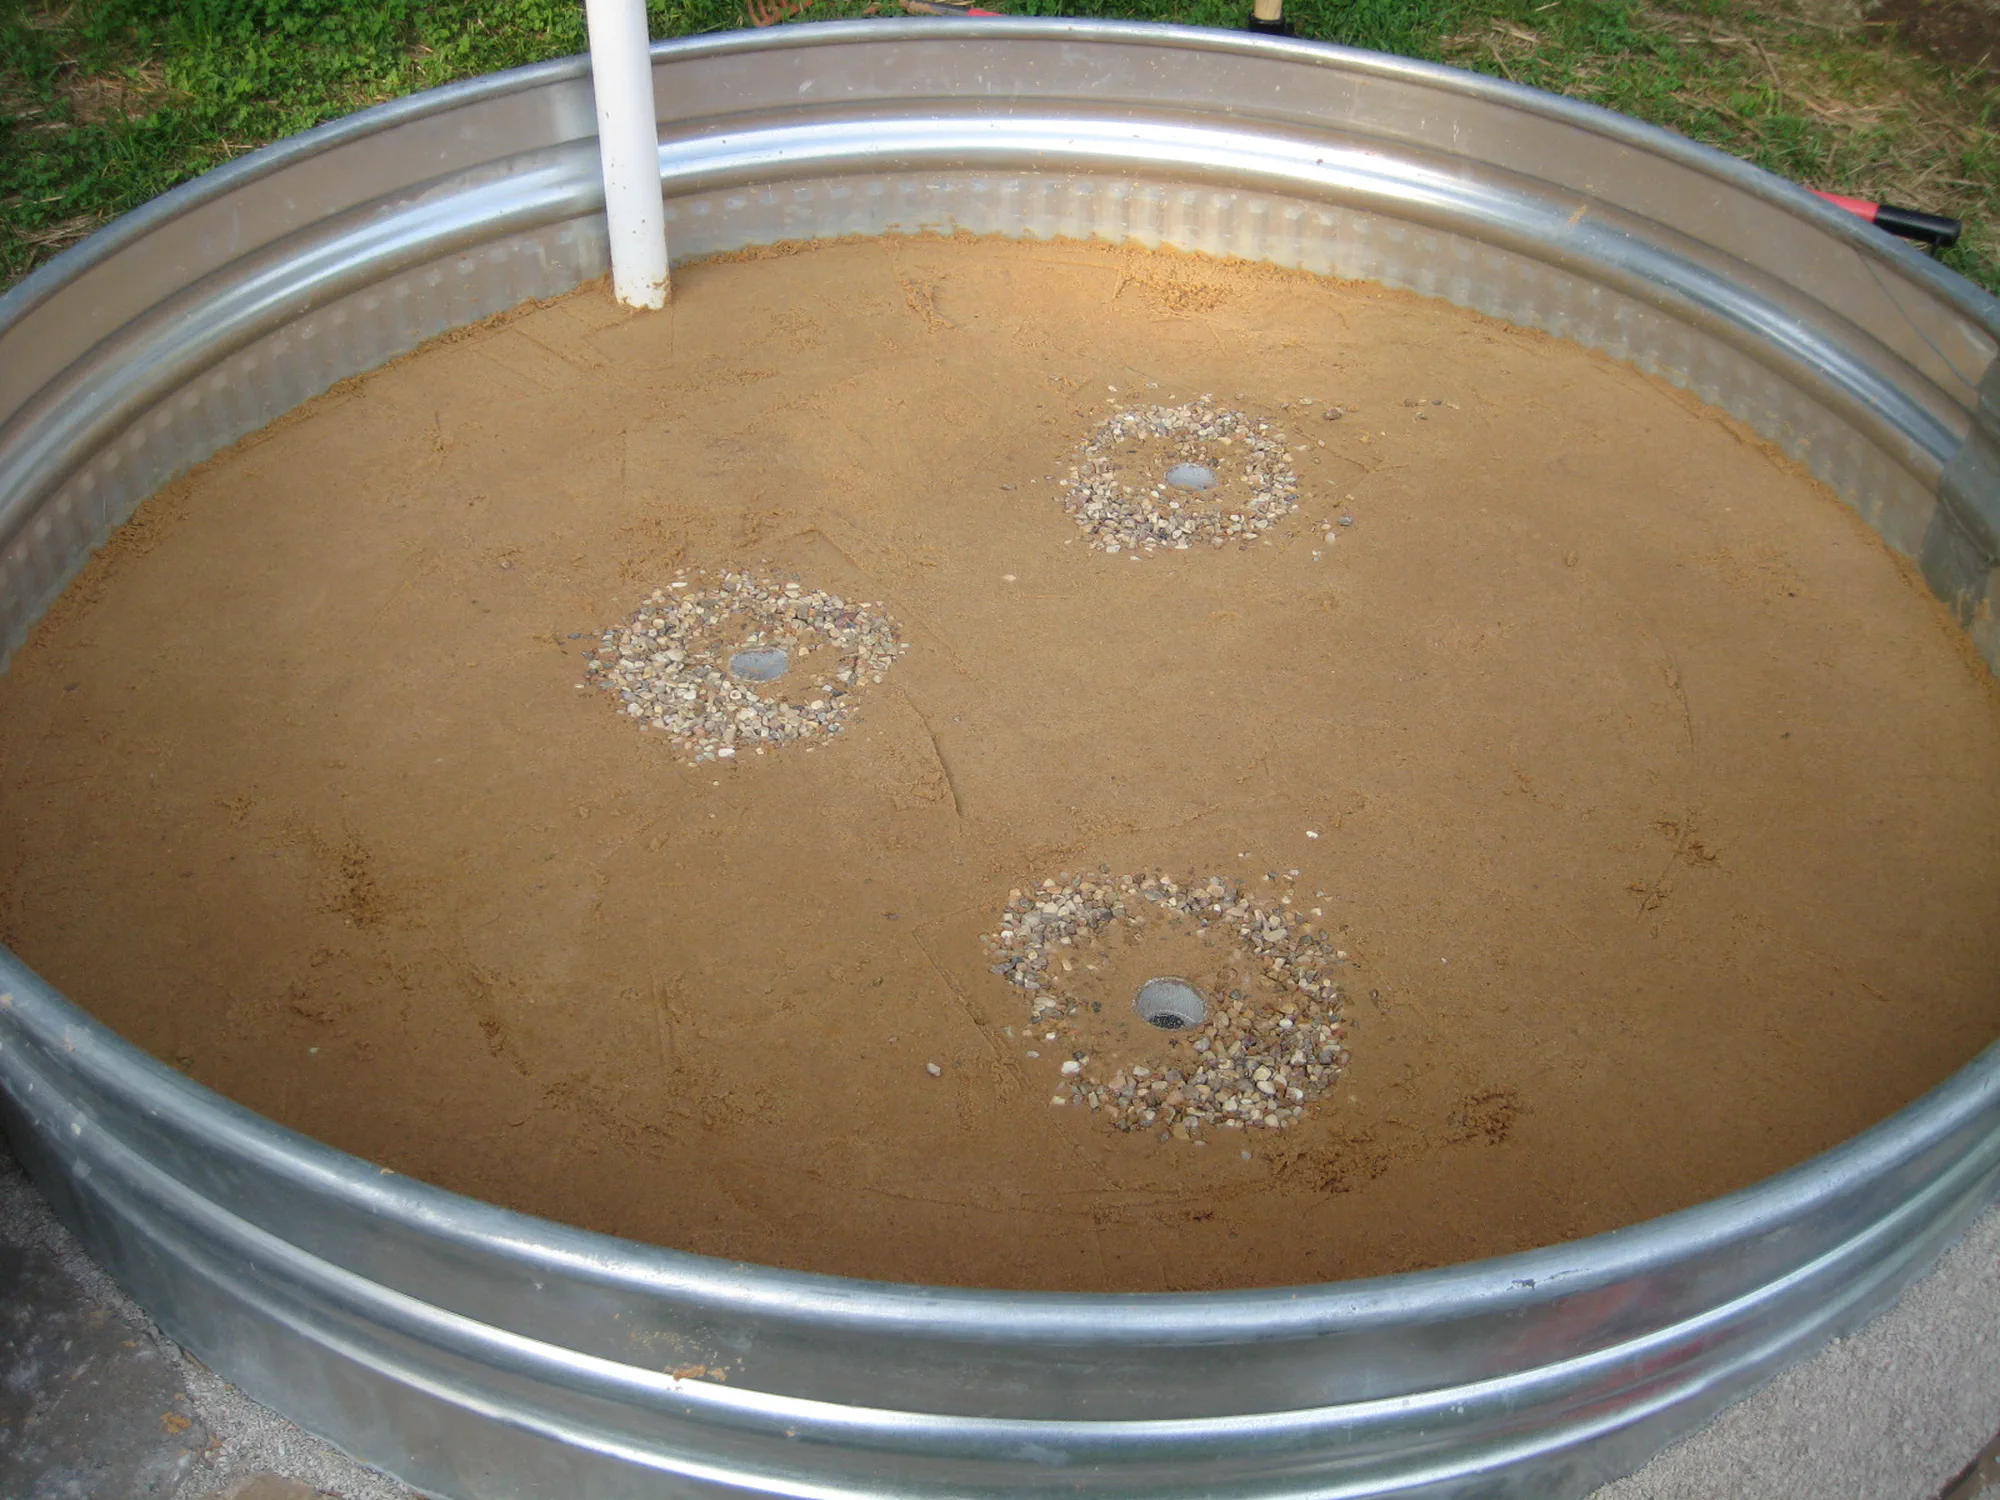
Setting the tanks

One galvanized stock tank dropped onto a carefully leveled circle of yard with a dry-stacked stone-block surround. The ring hides the bare tank wall for a better aesthetic.
Backfilling the stone surround. The bulkhead fitting low on the tank wall provides a way to drain the gardens if ever needed.
A free-standing PVC mast — the spine that would later carry the rain catcher above the bed.

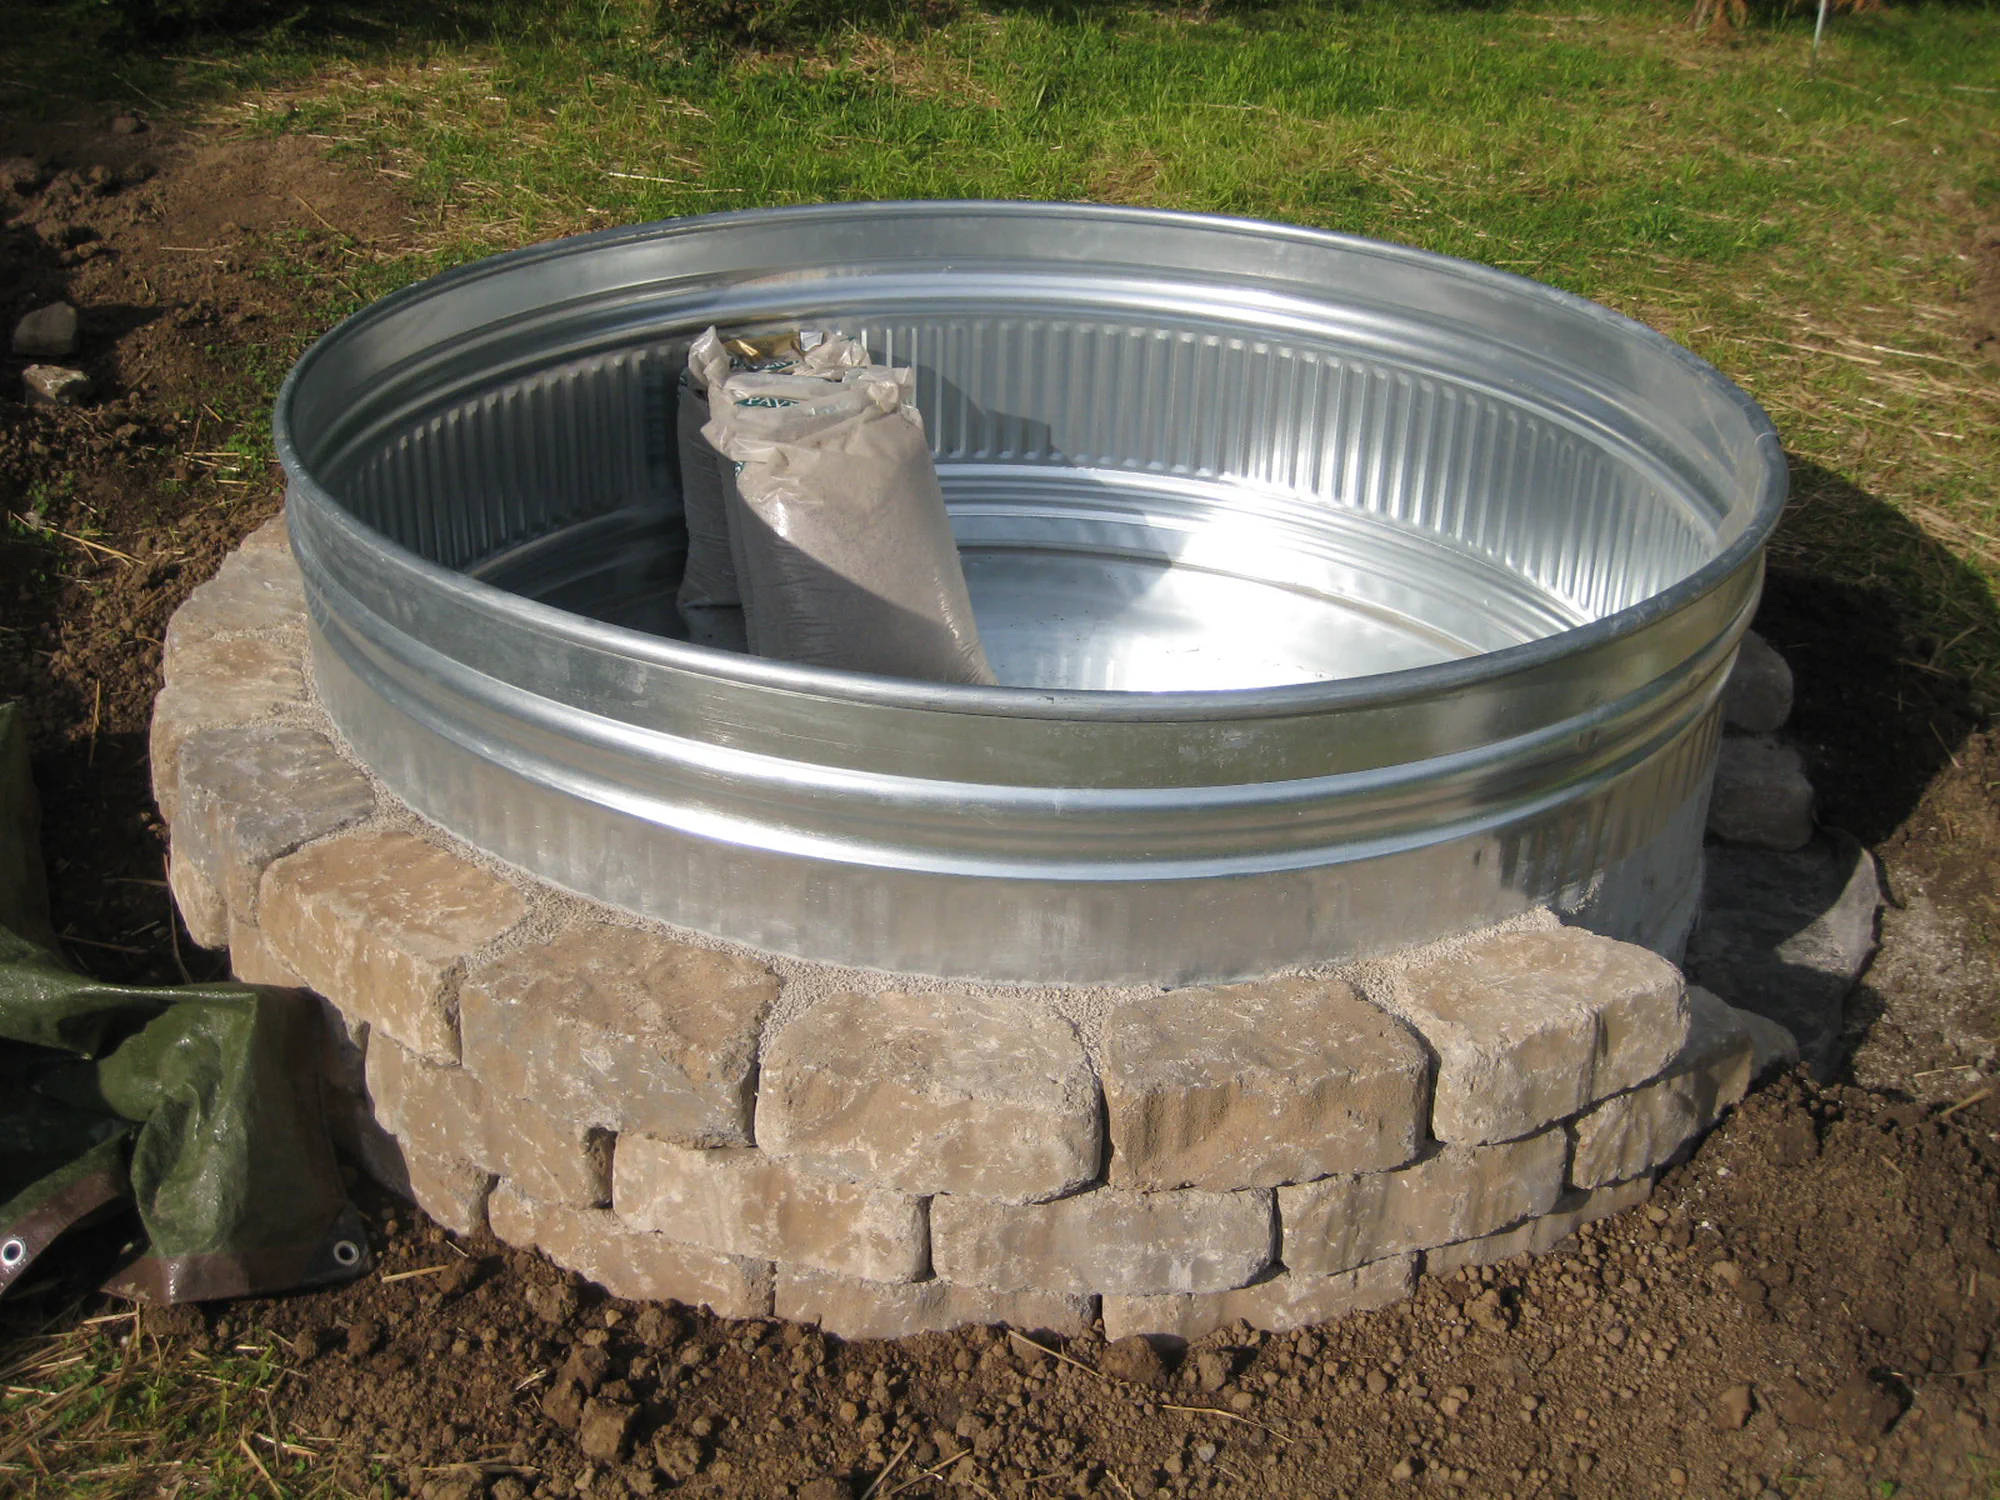
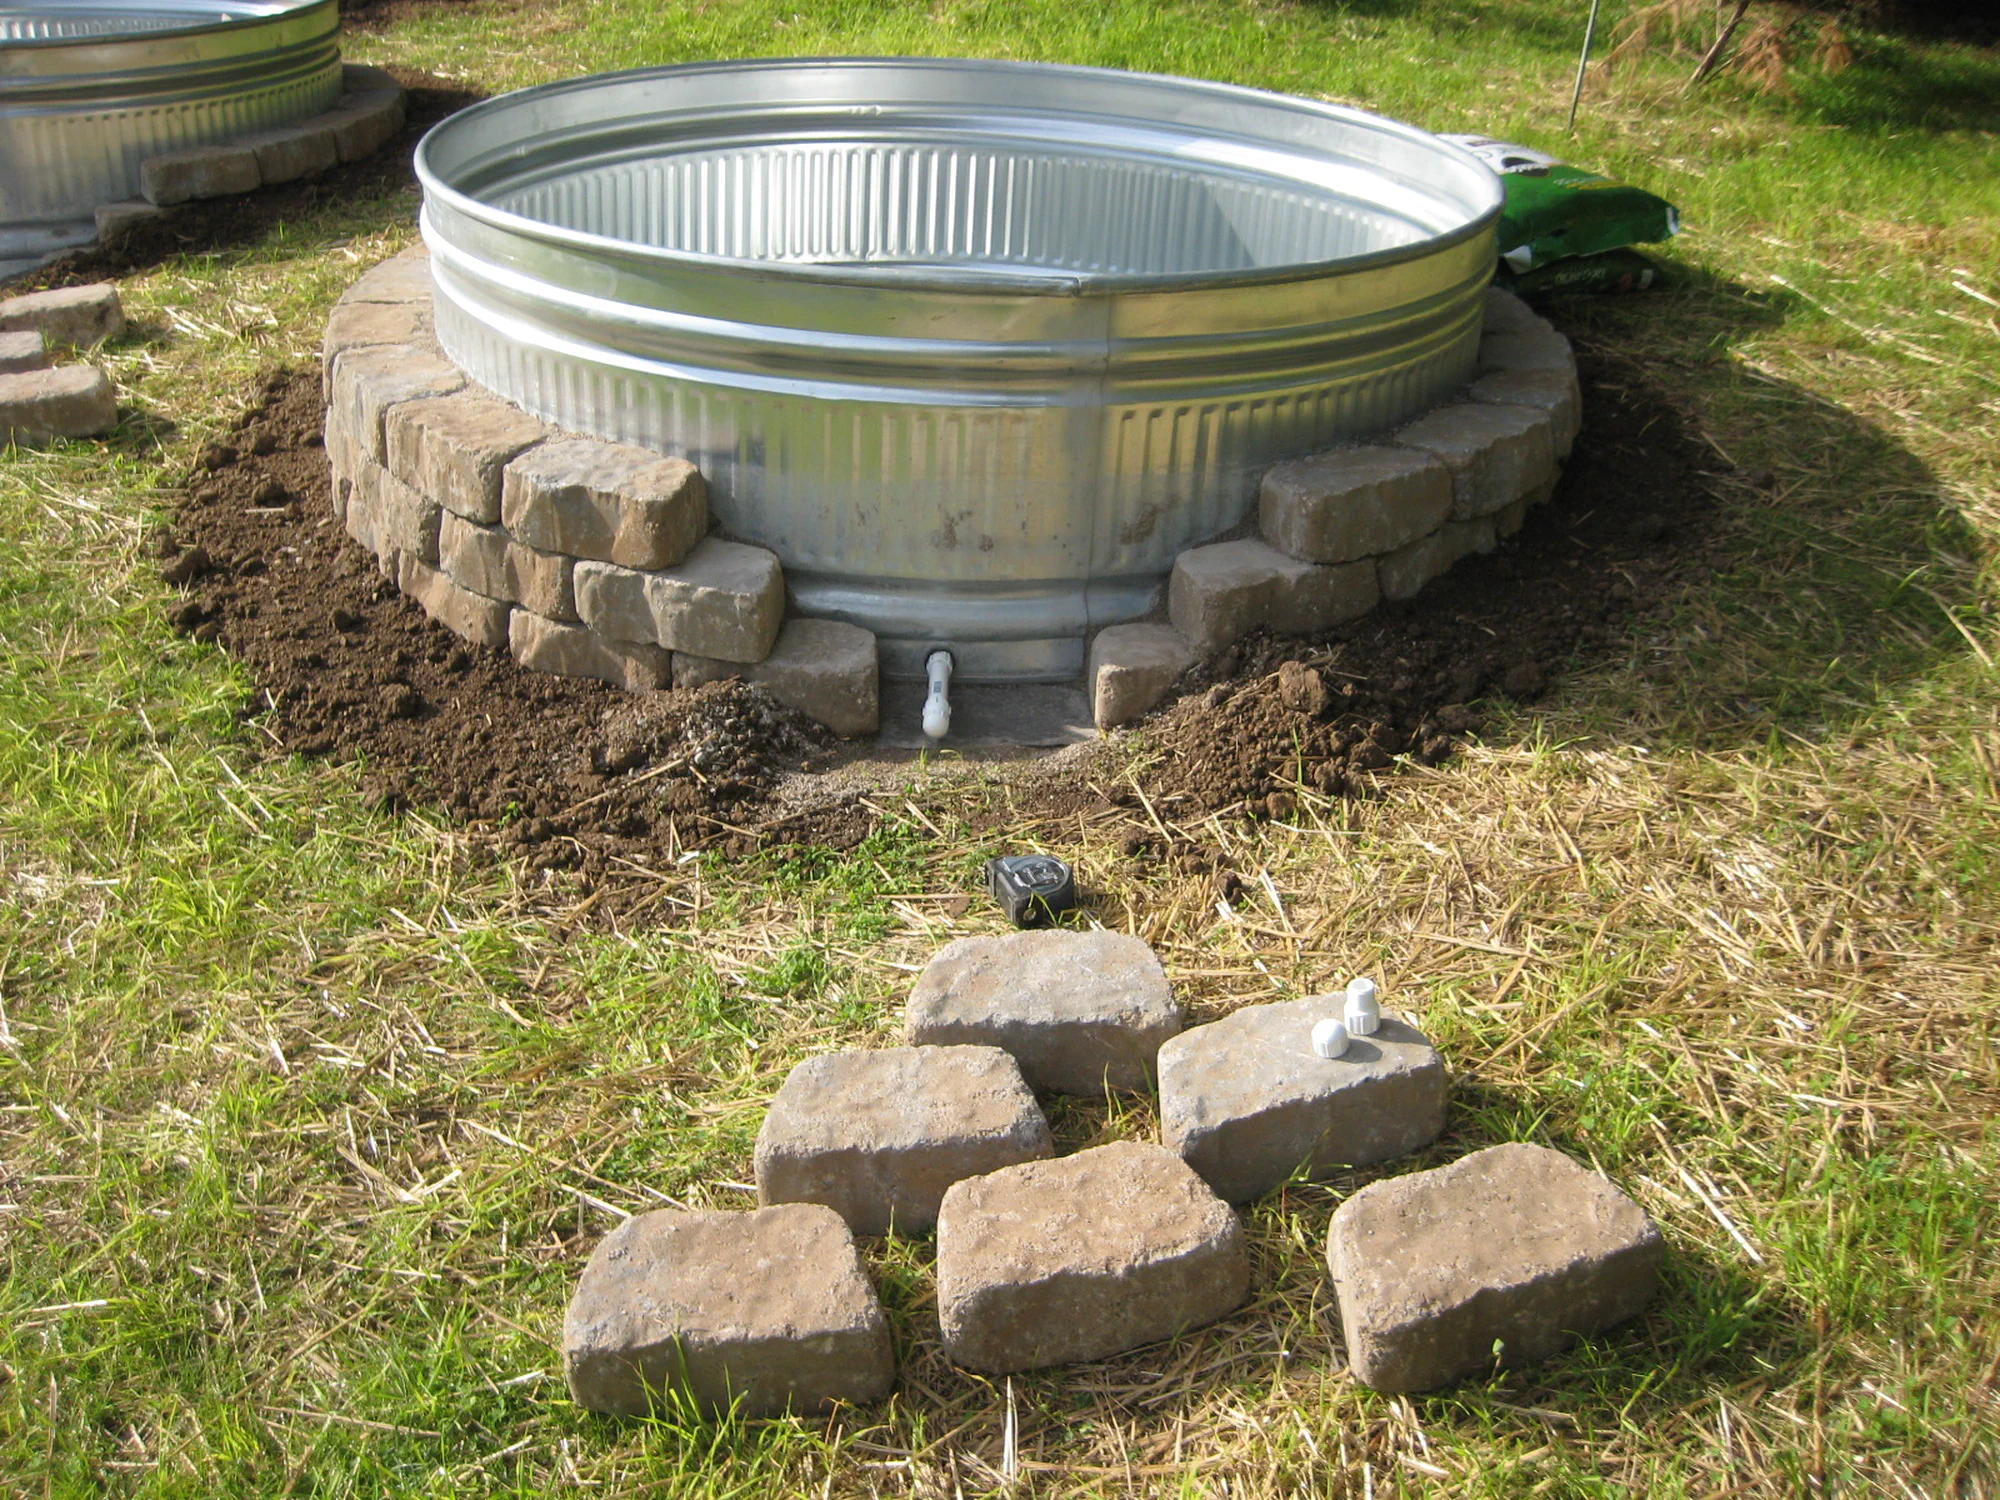
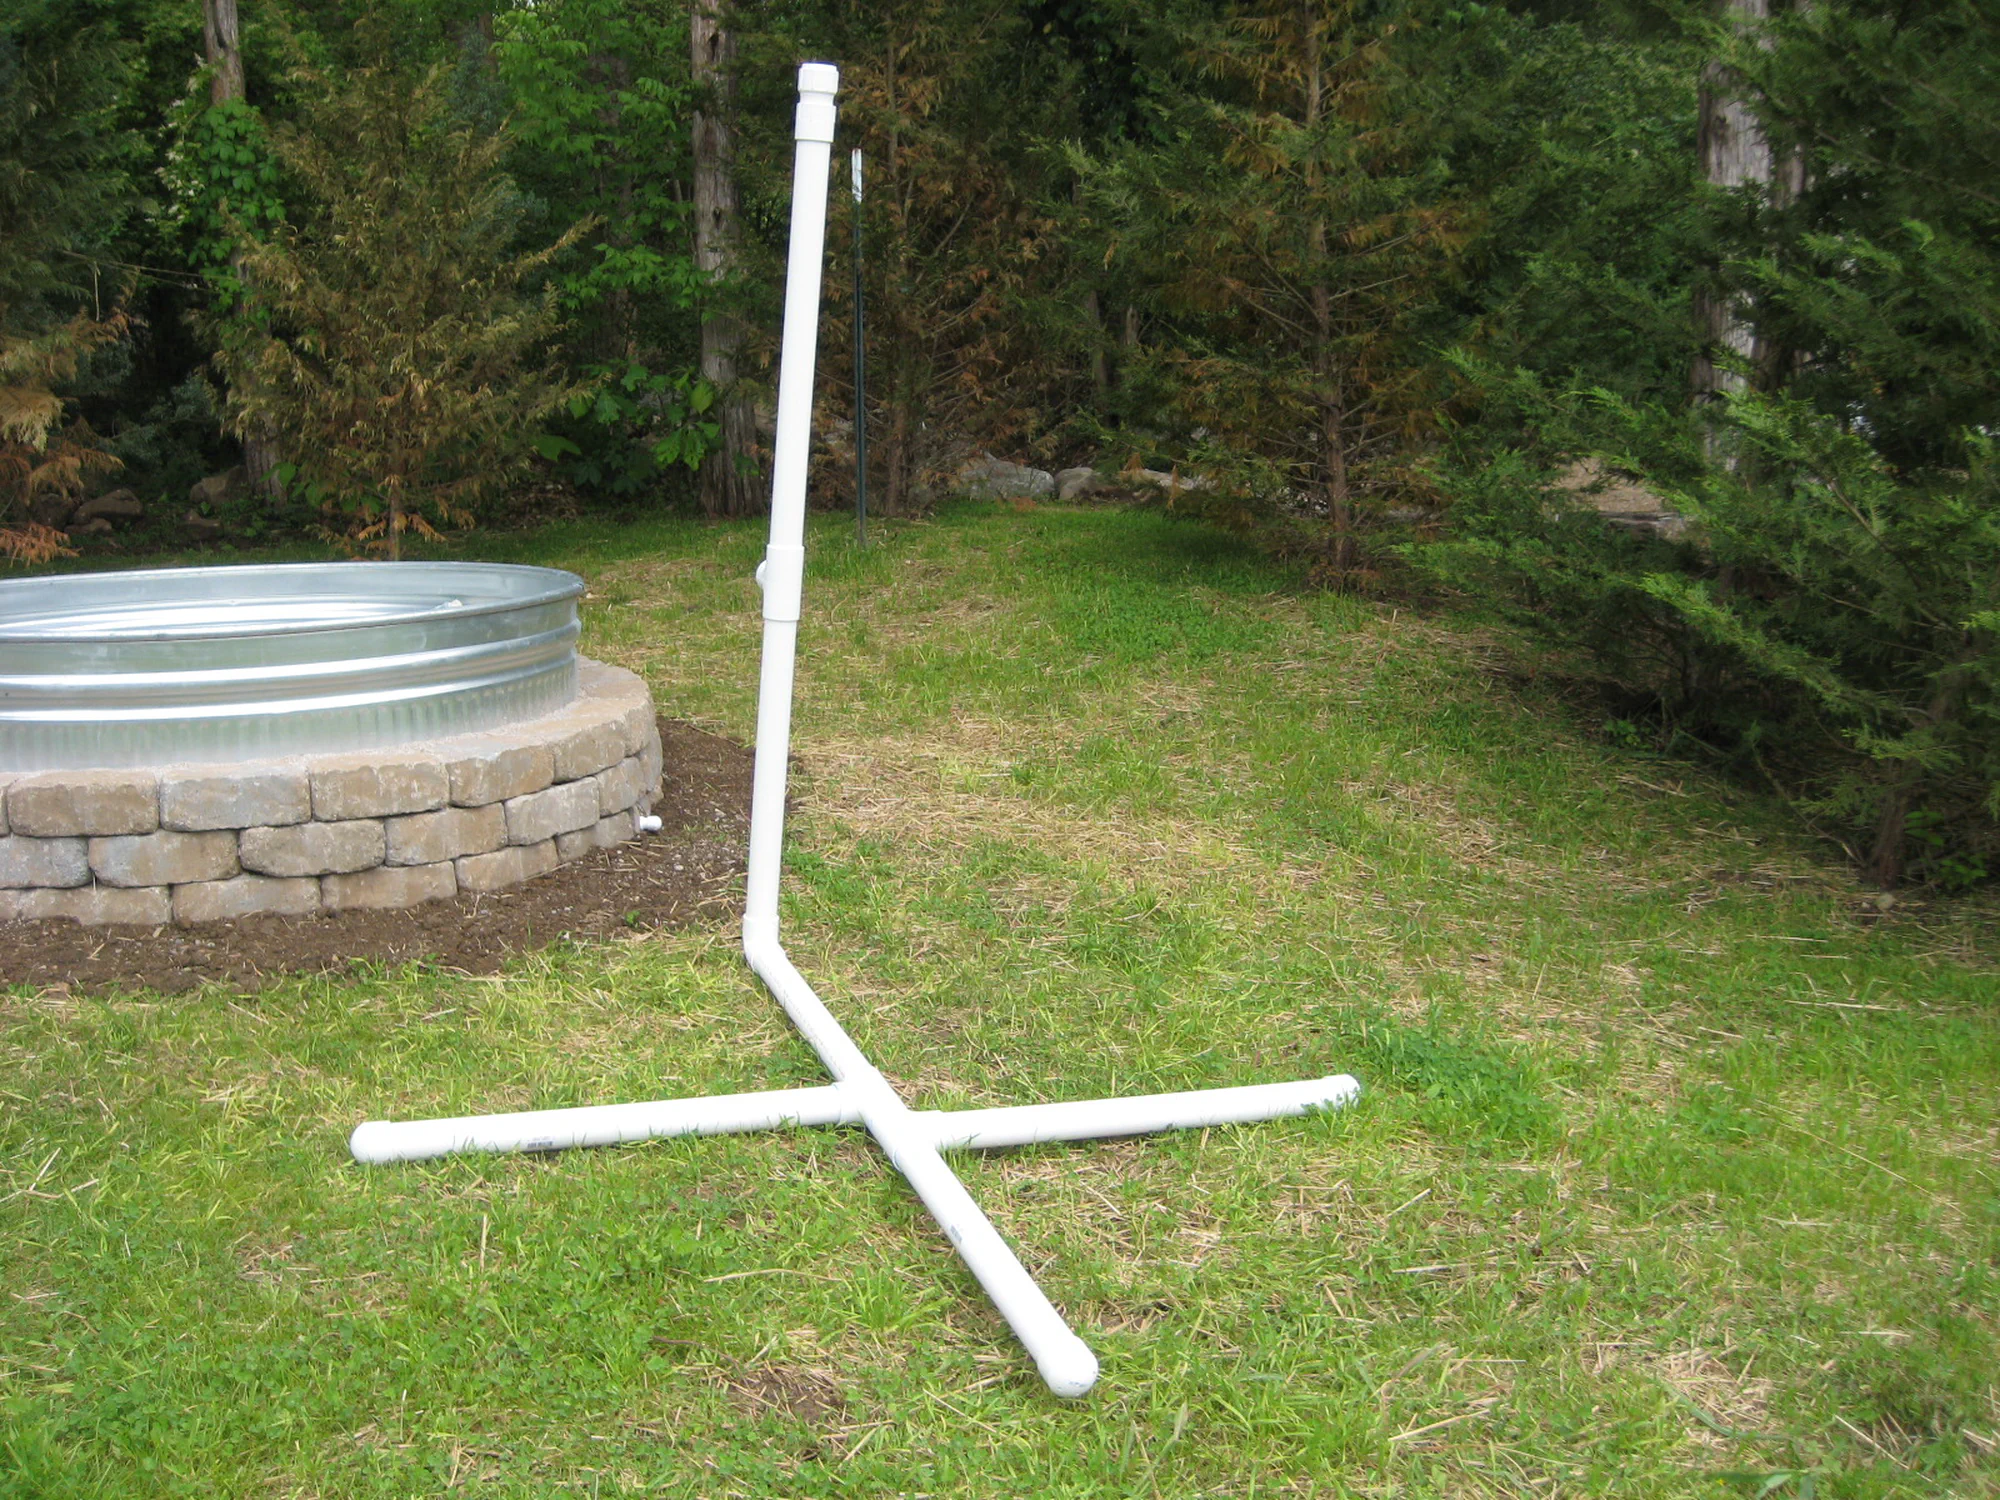
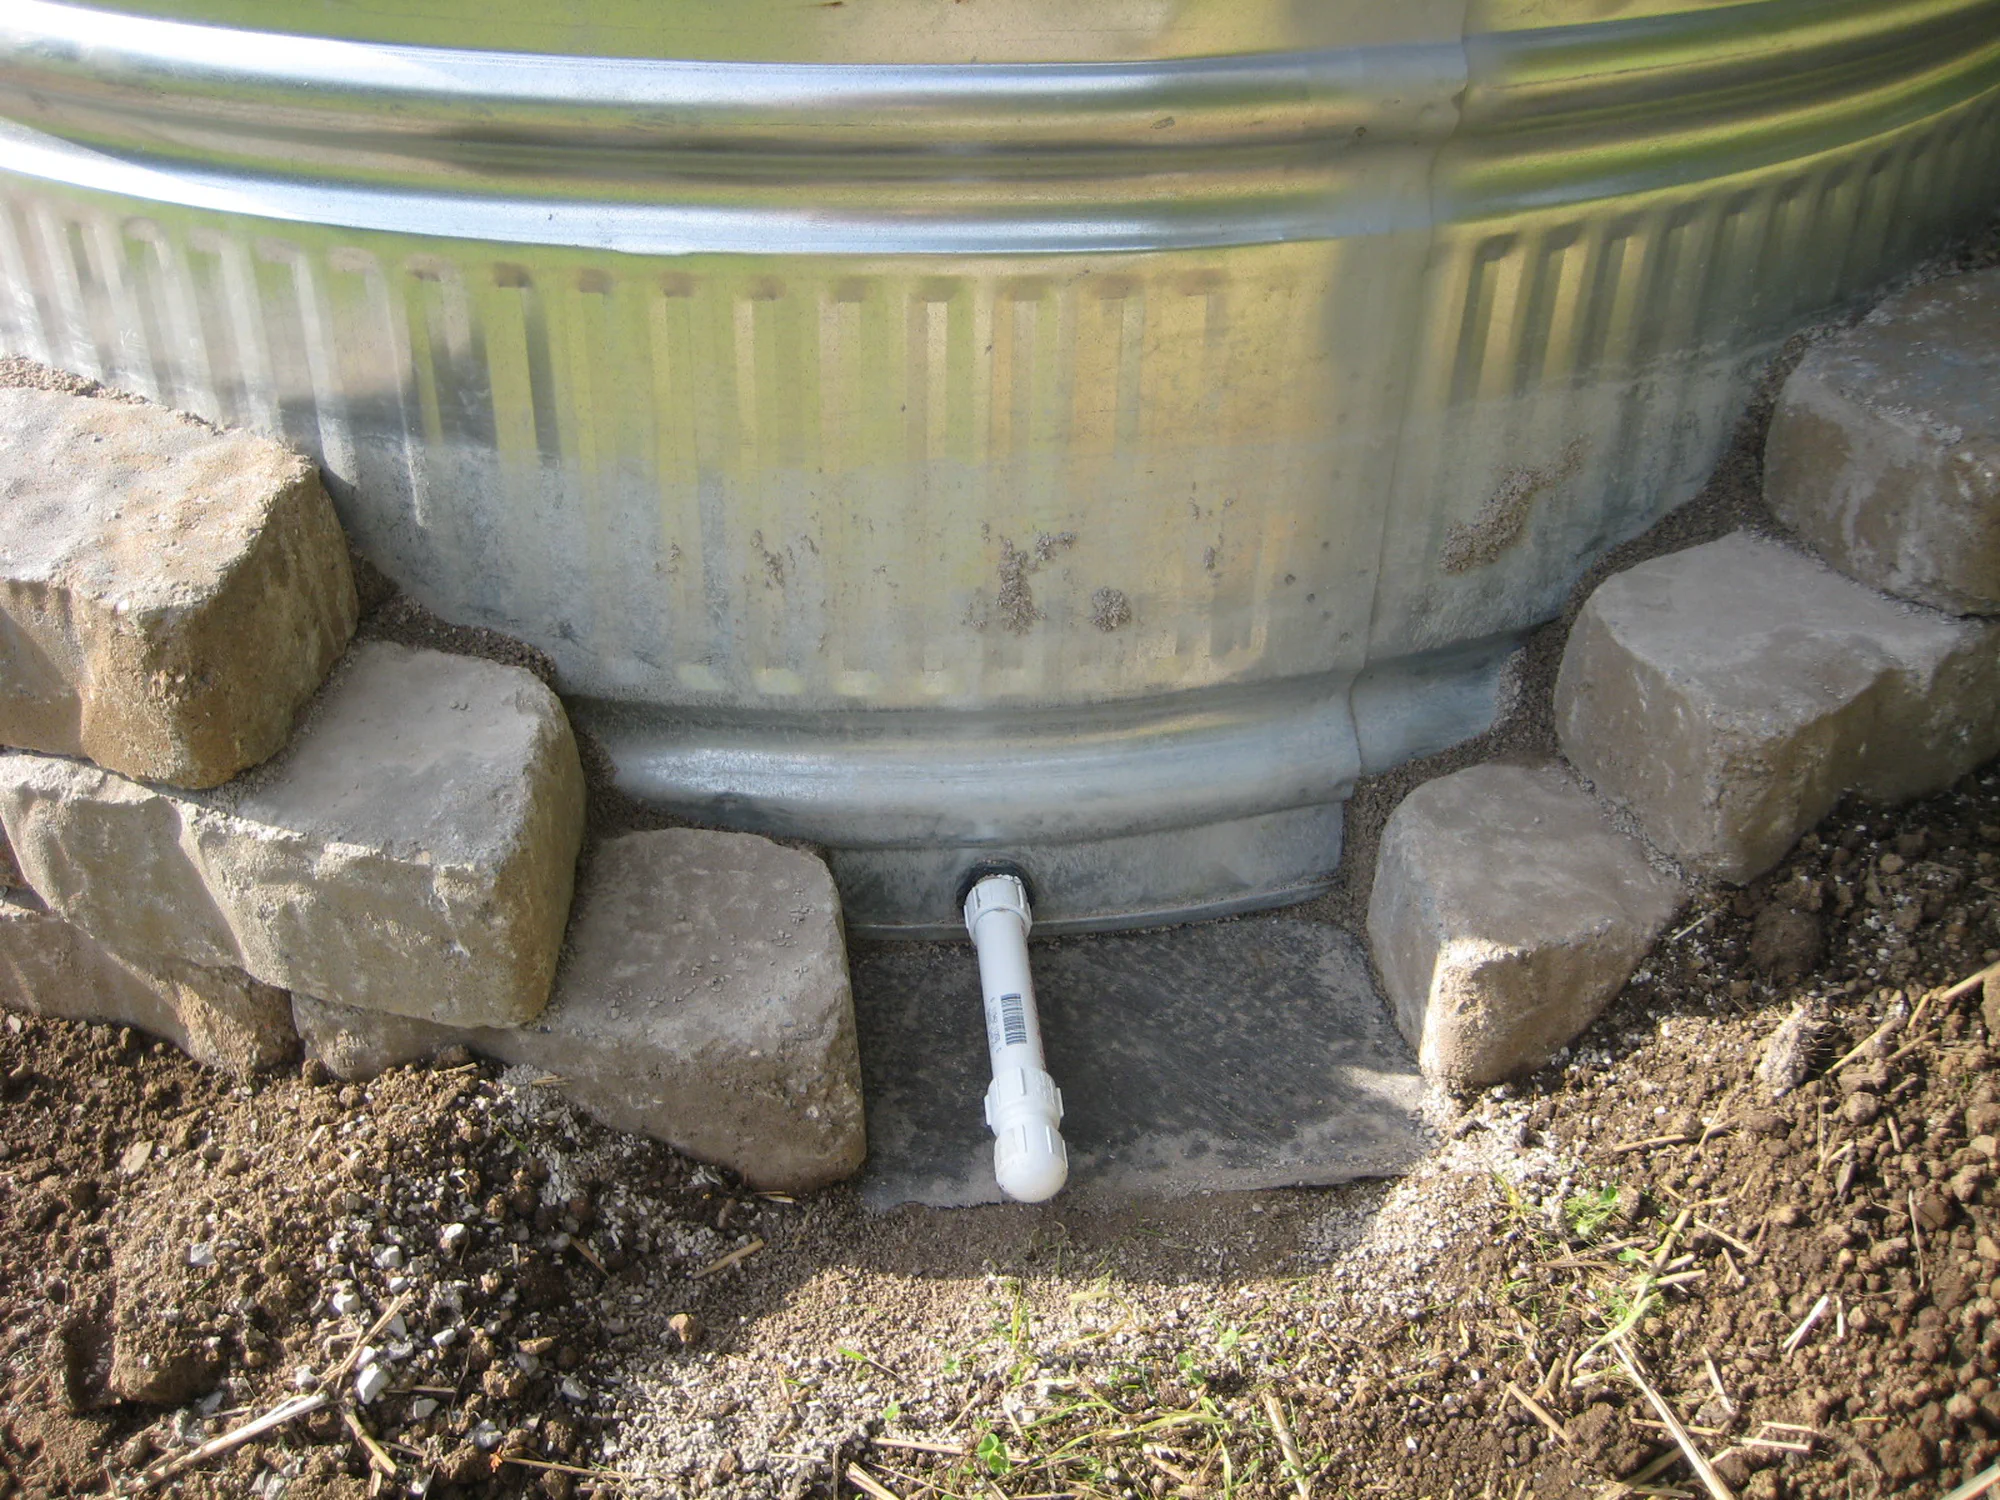
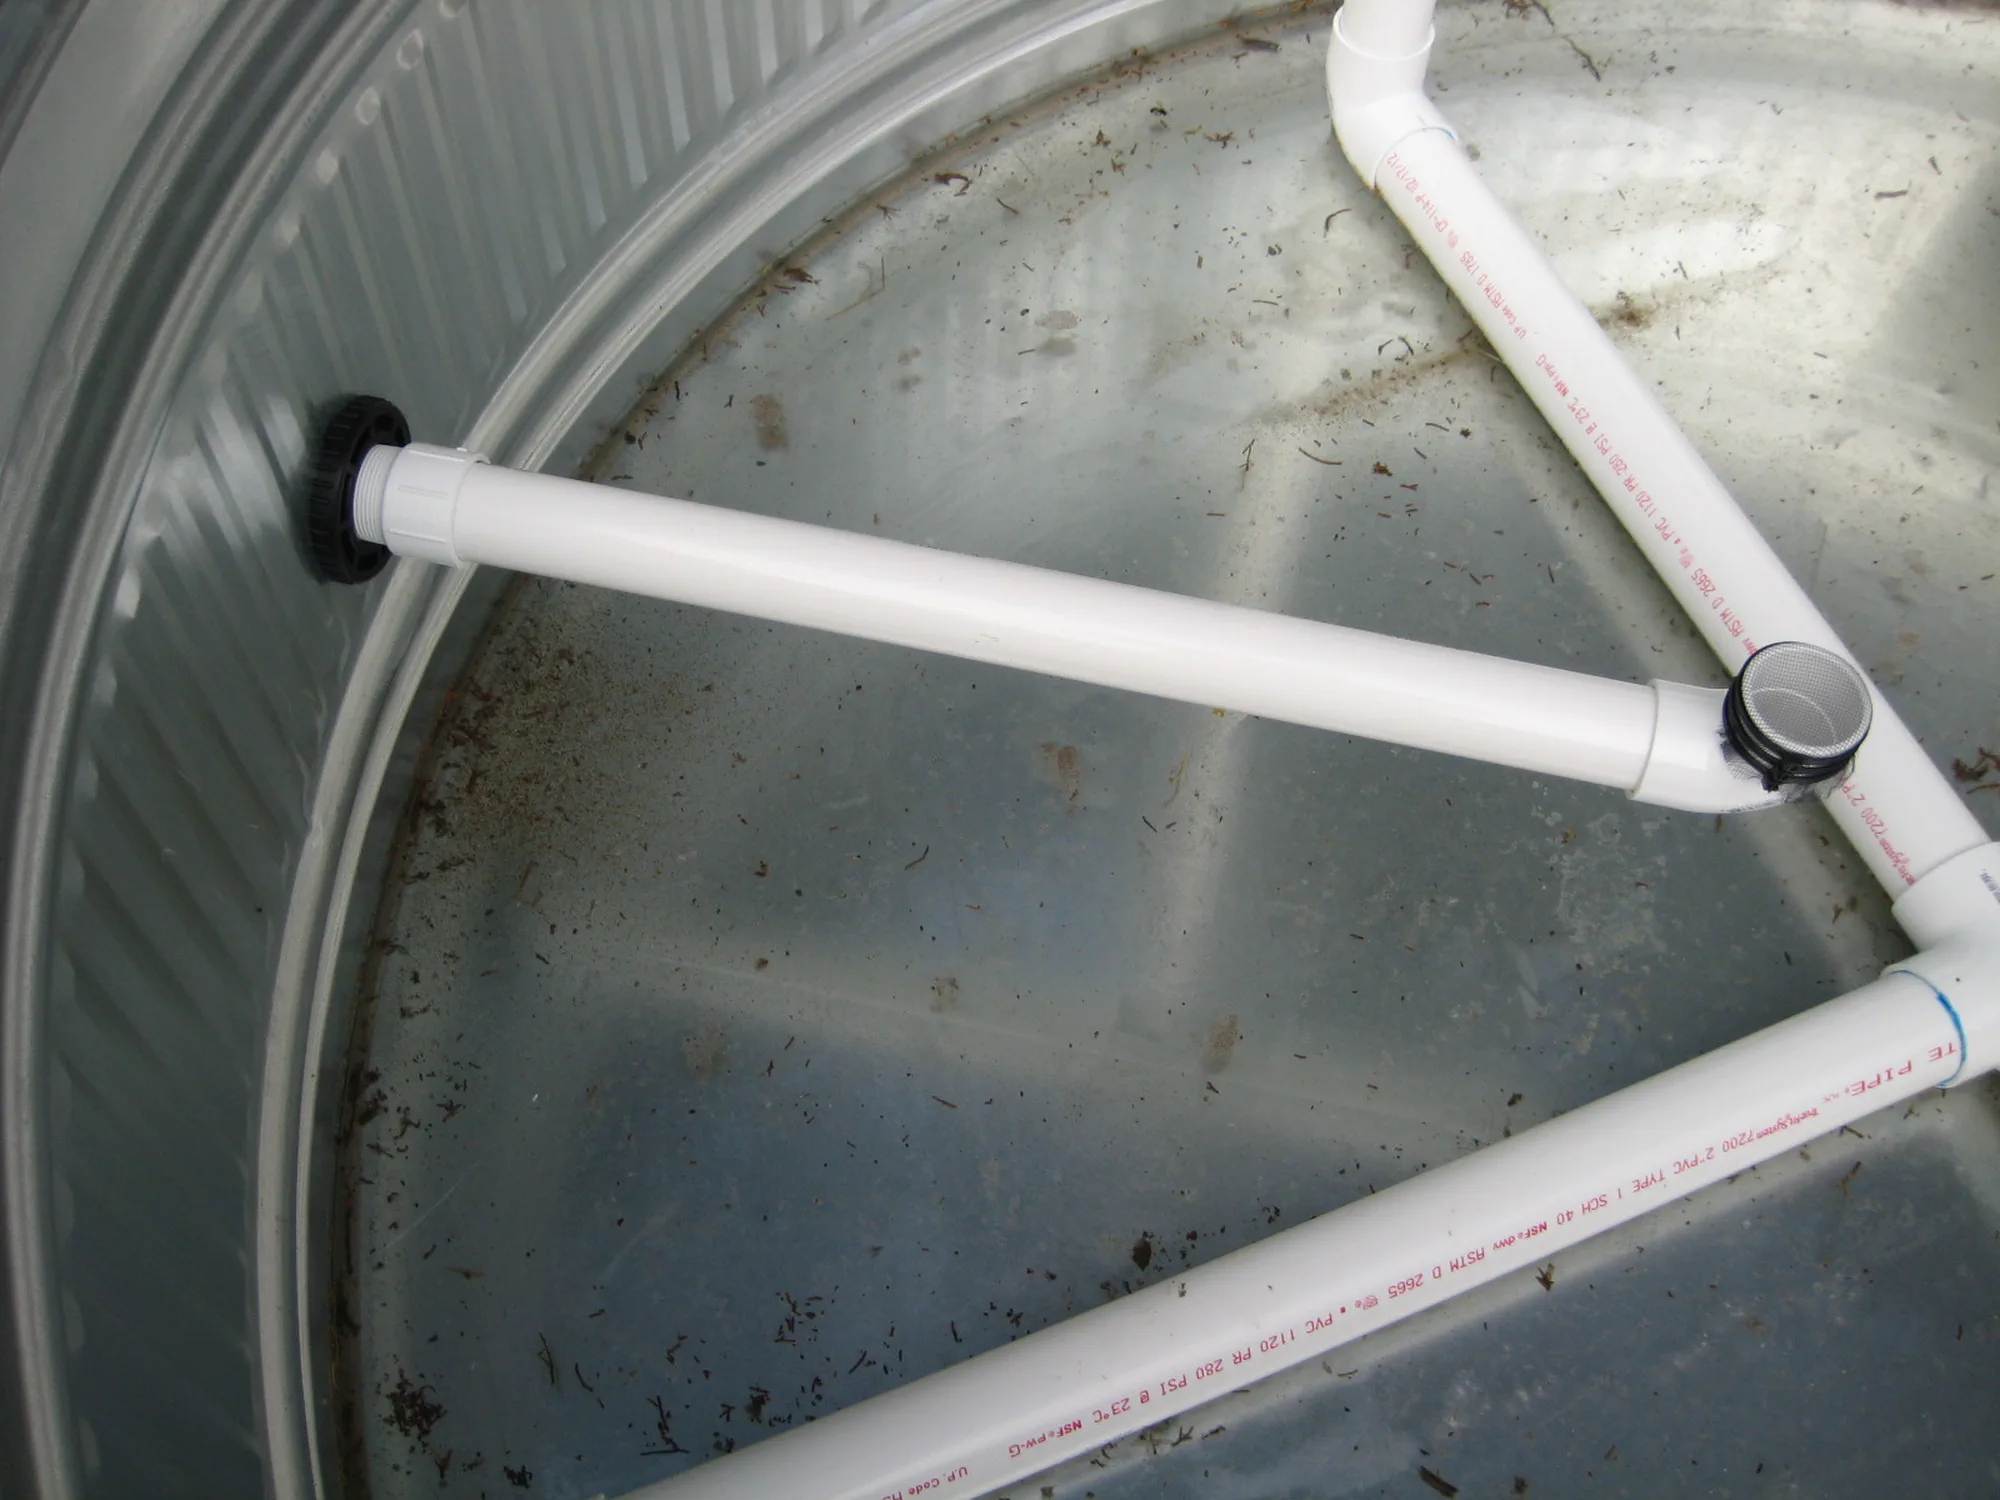
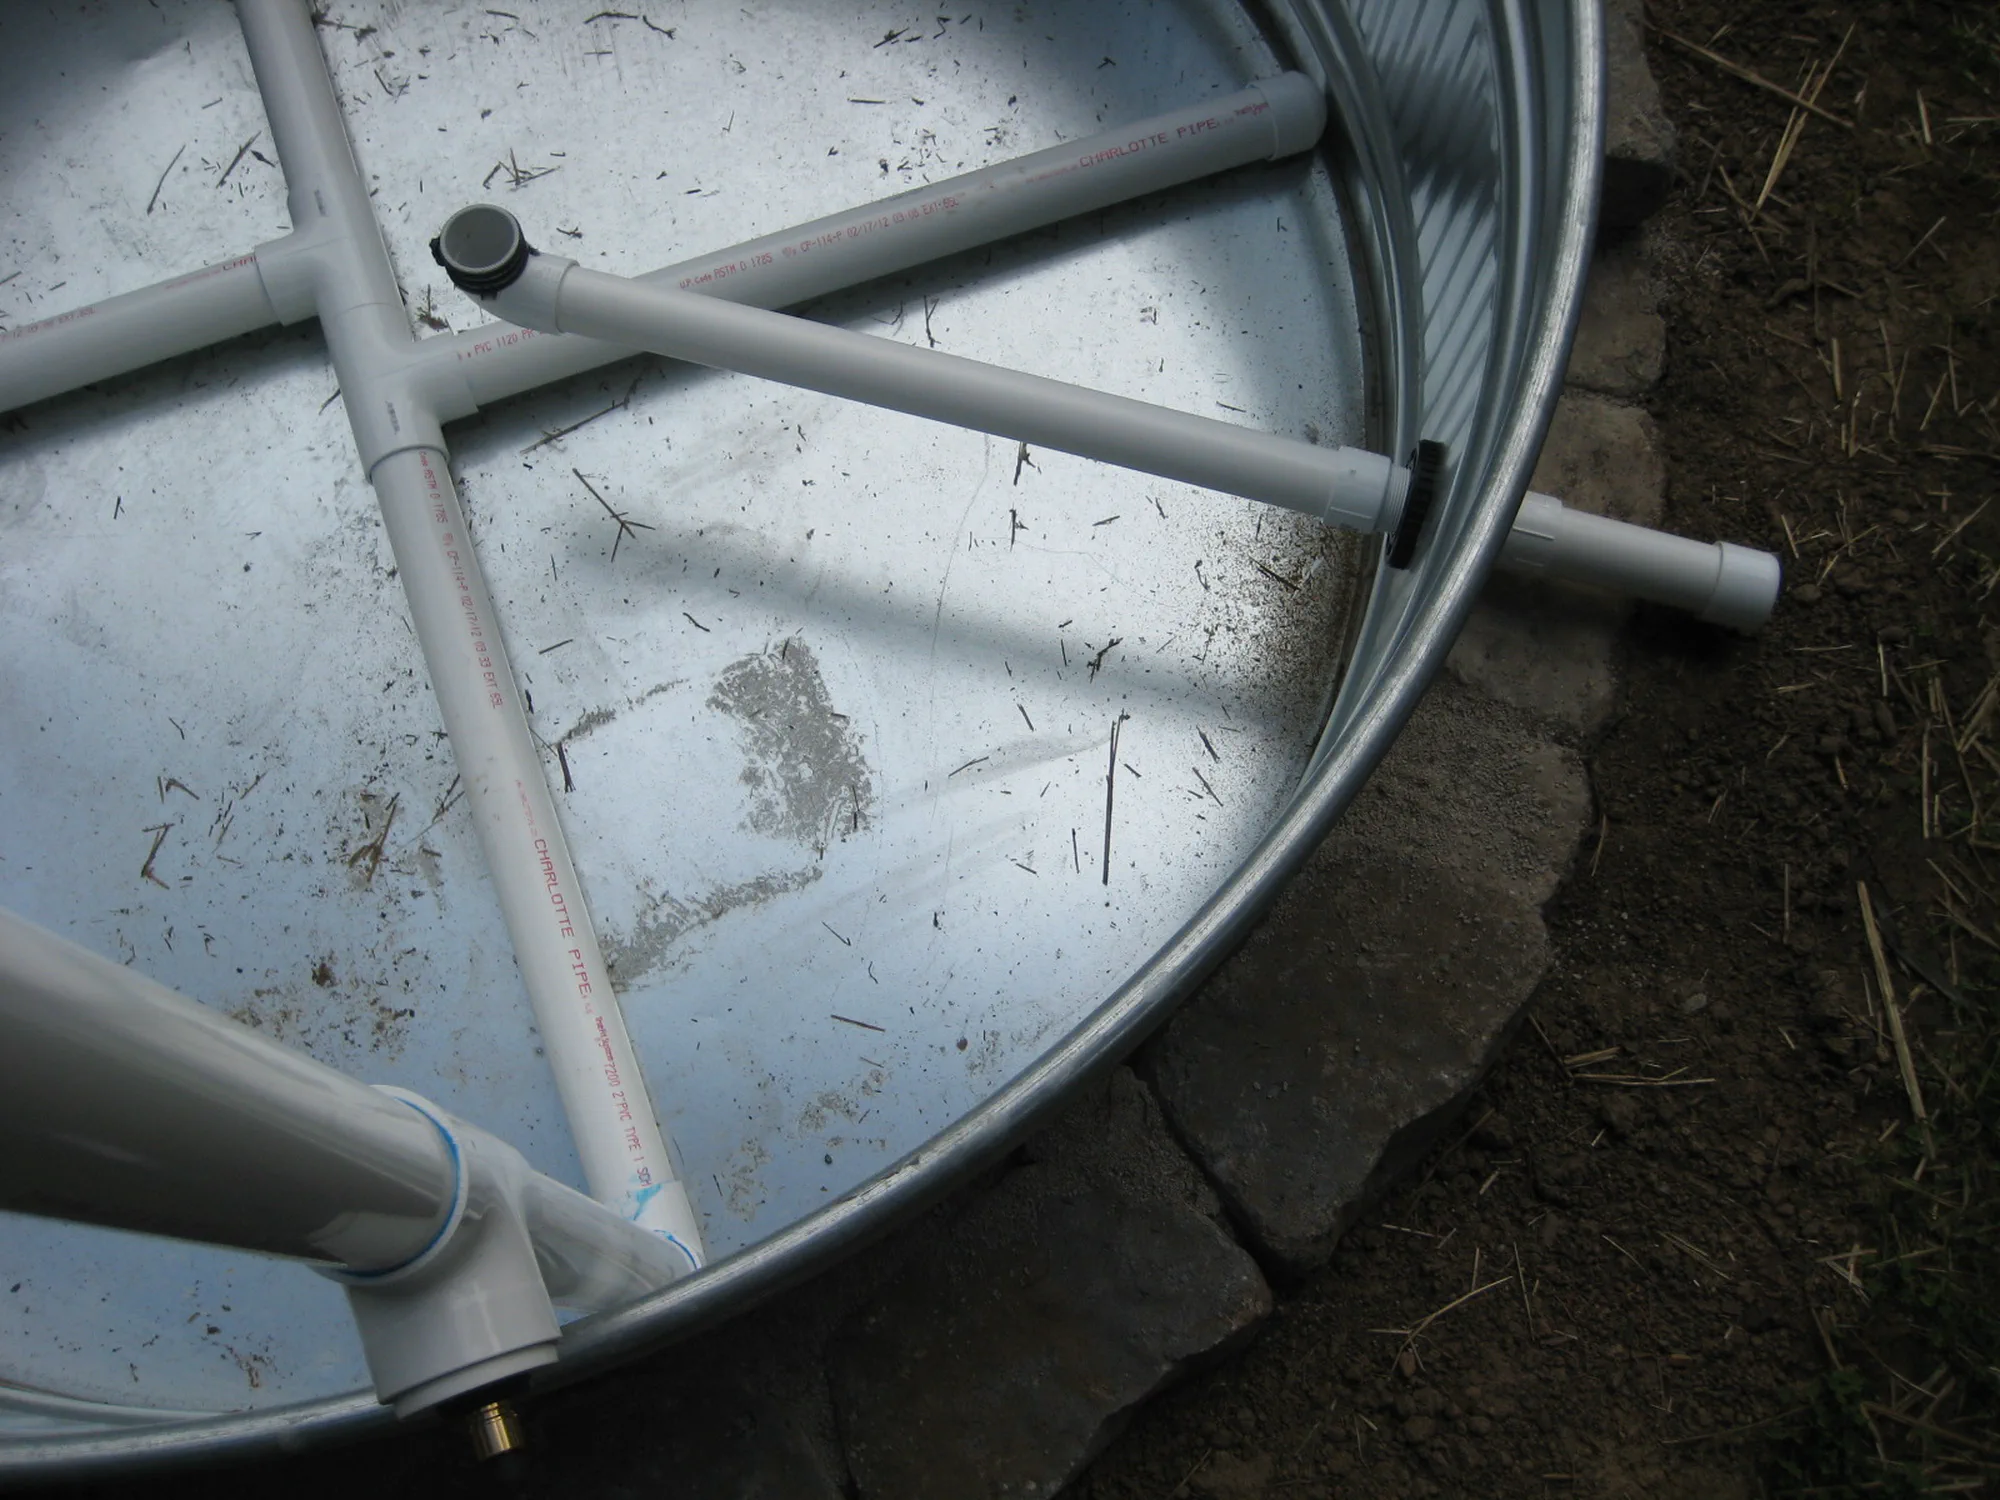
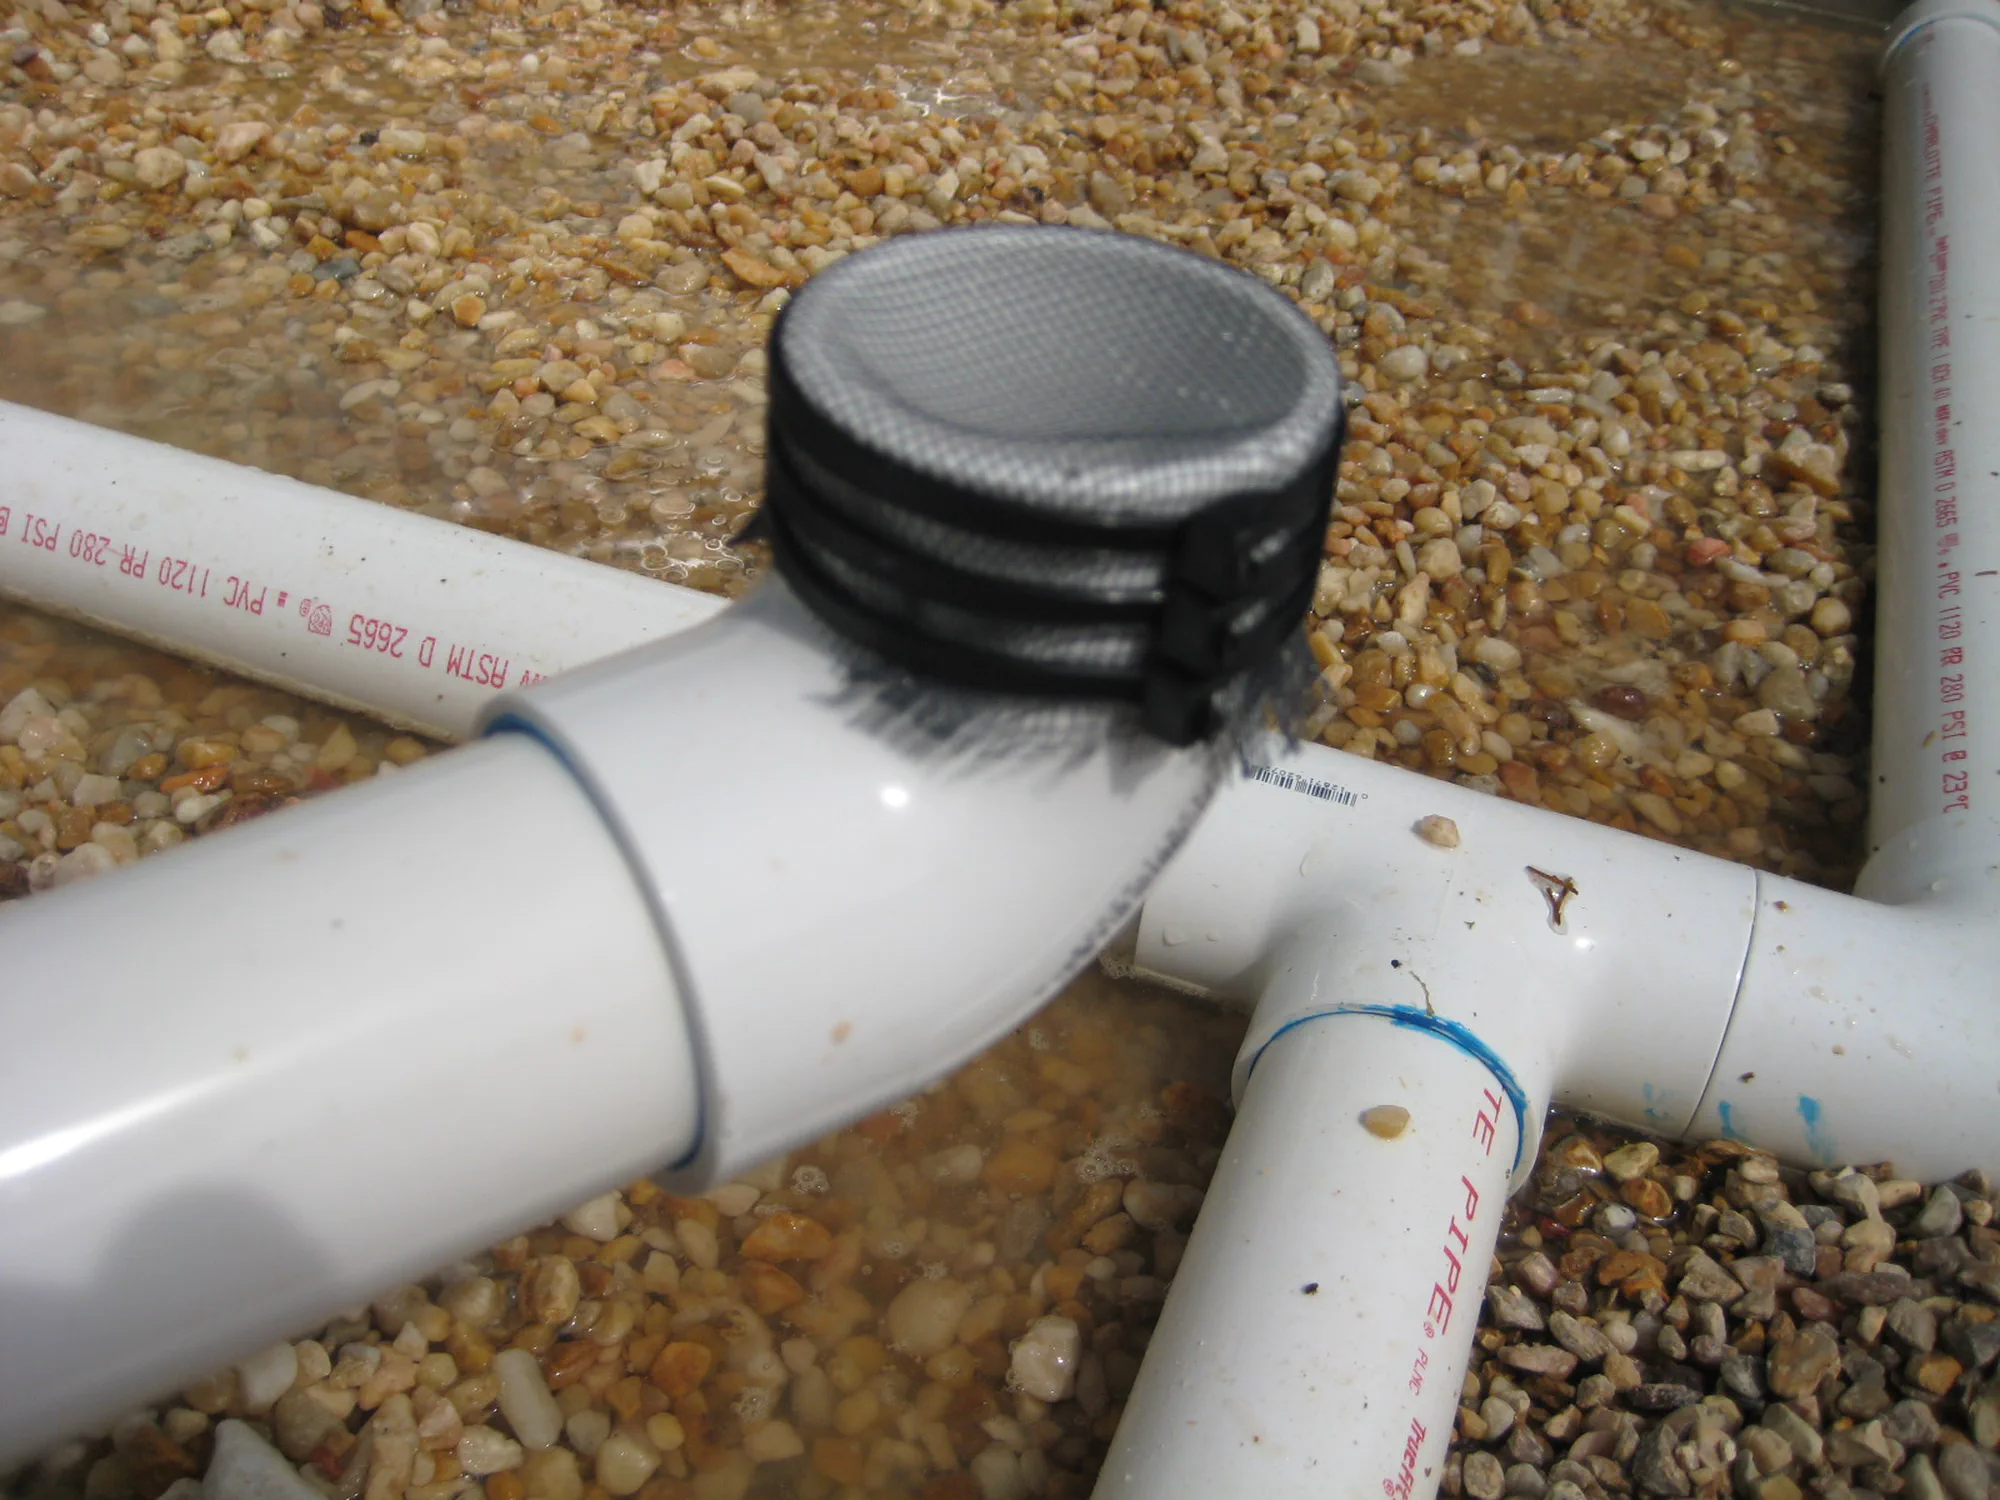
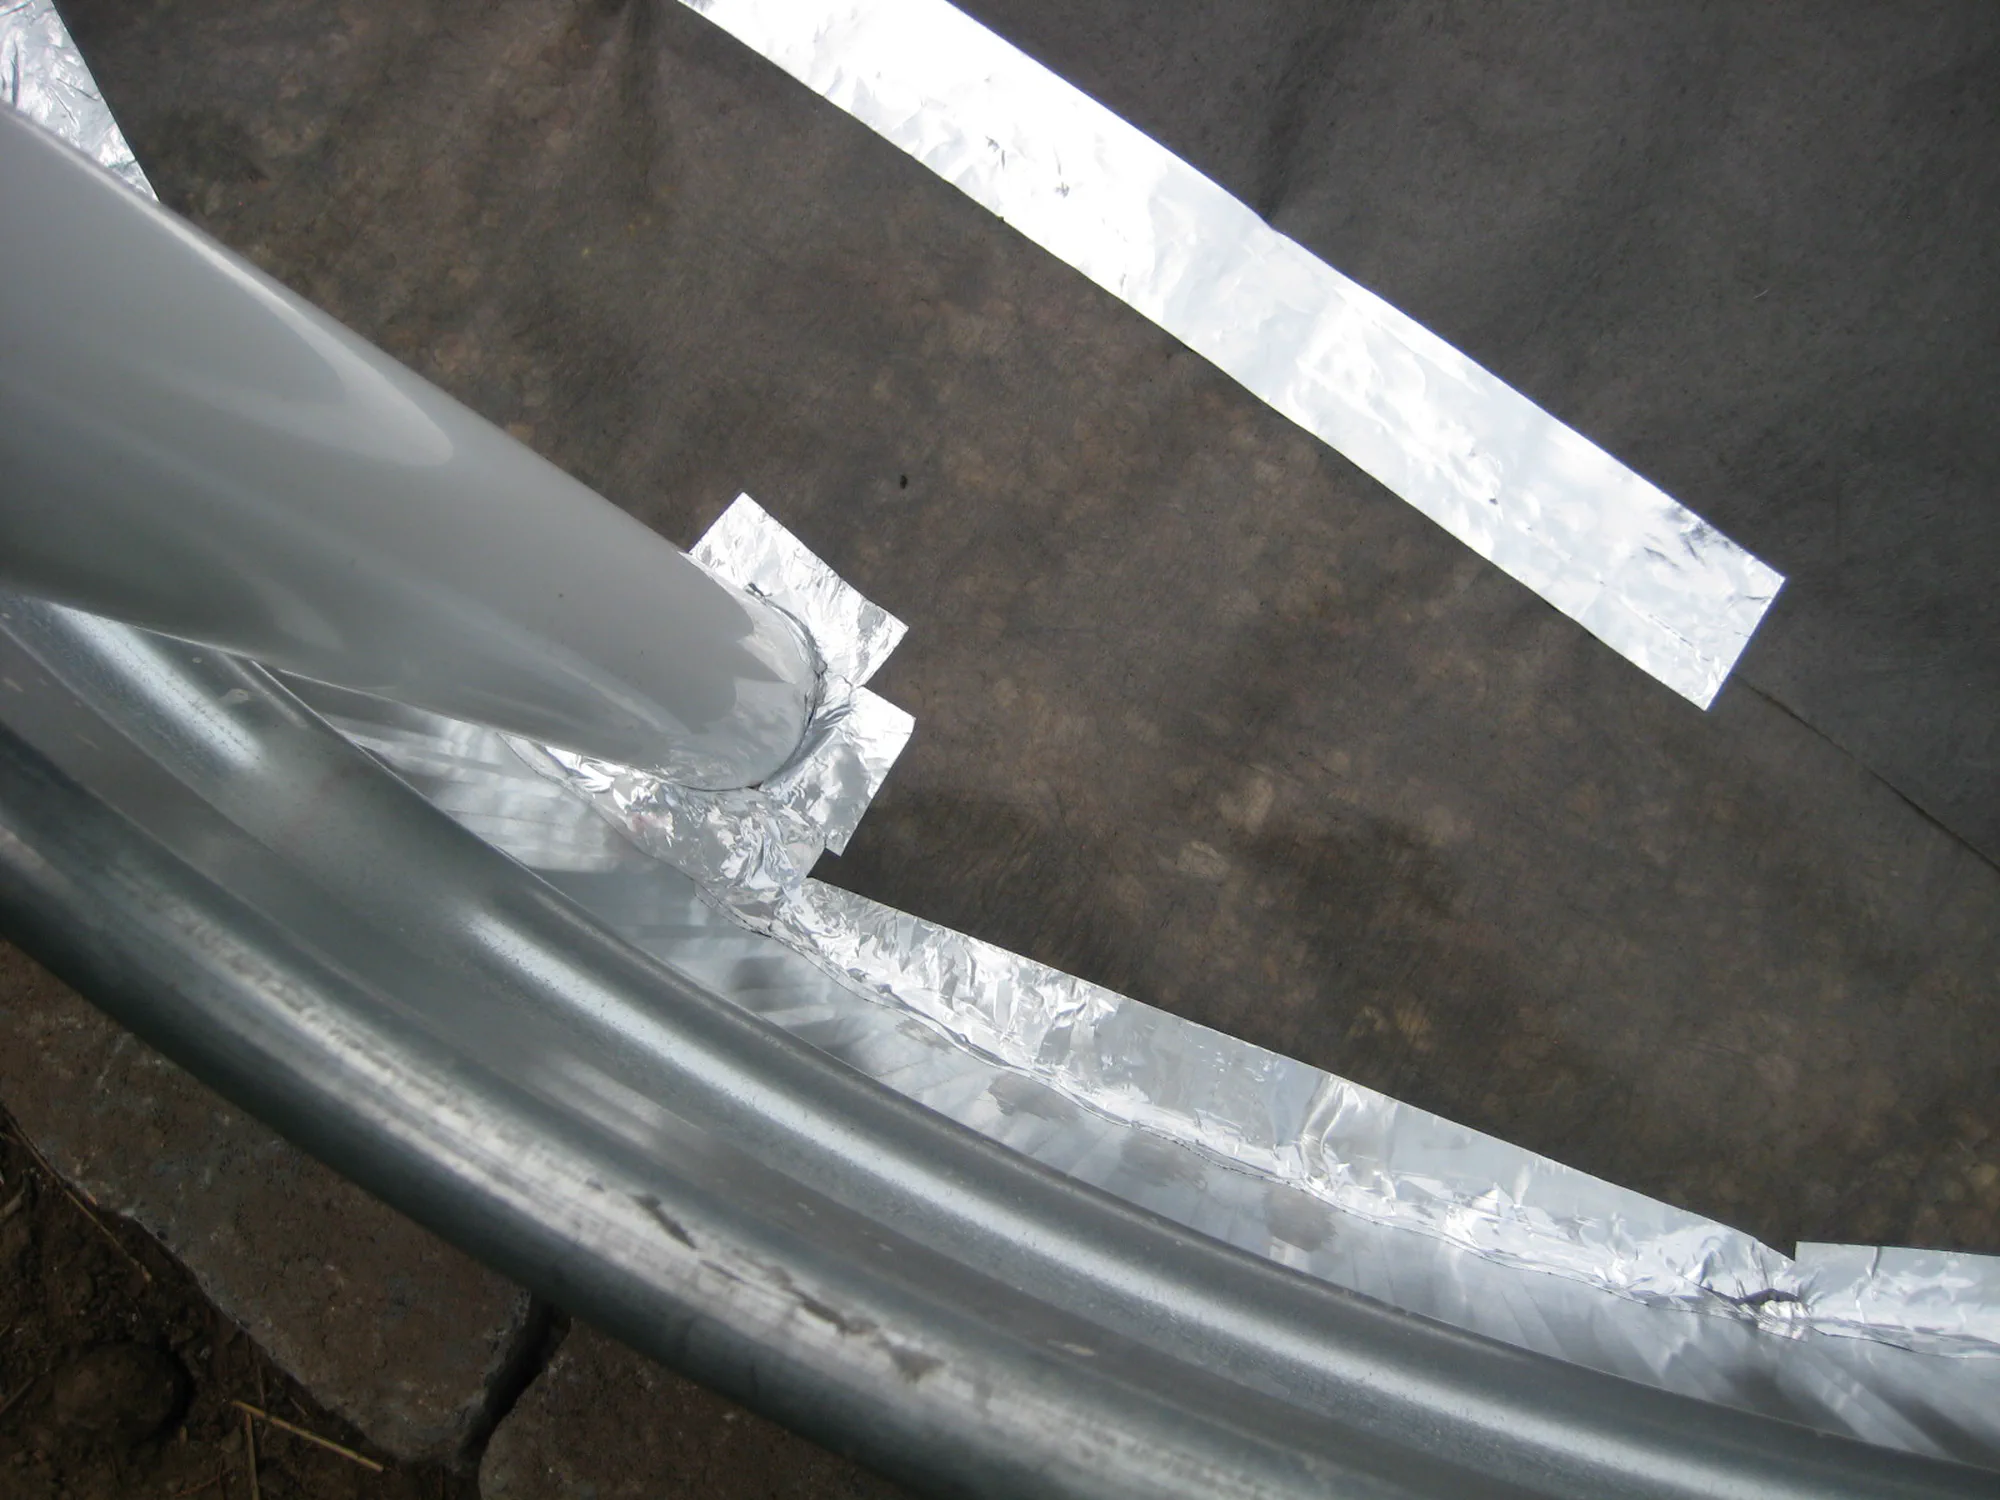
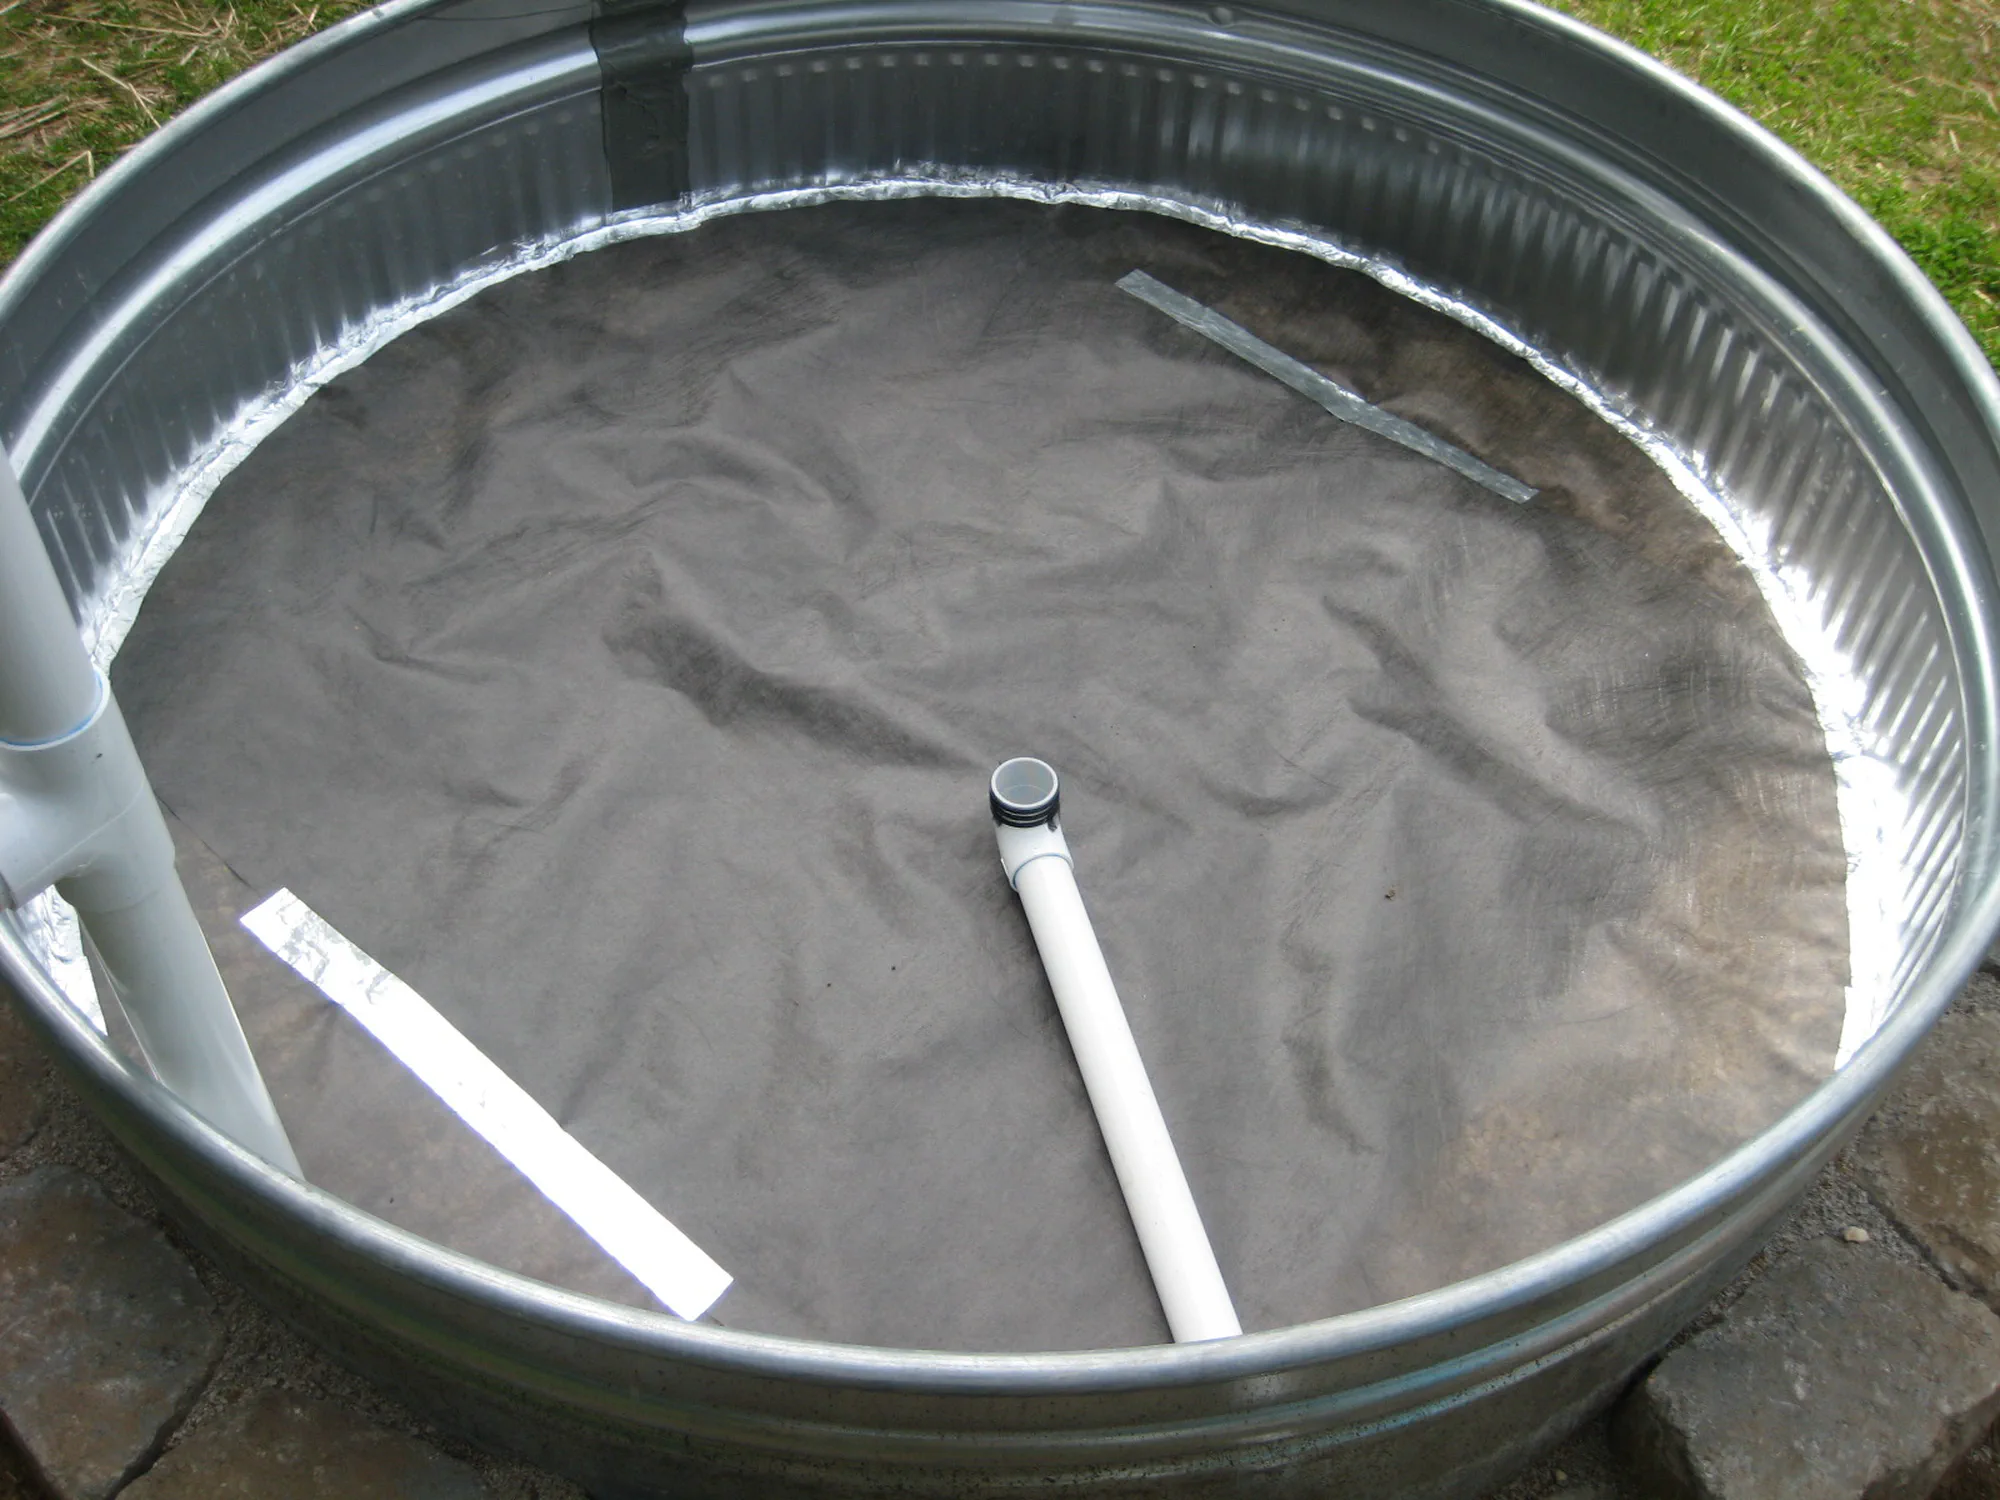
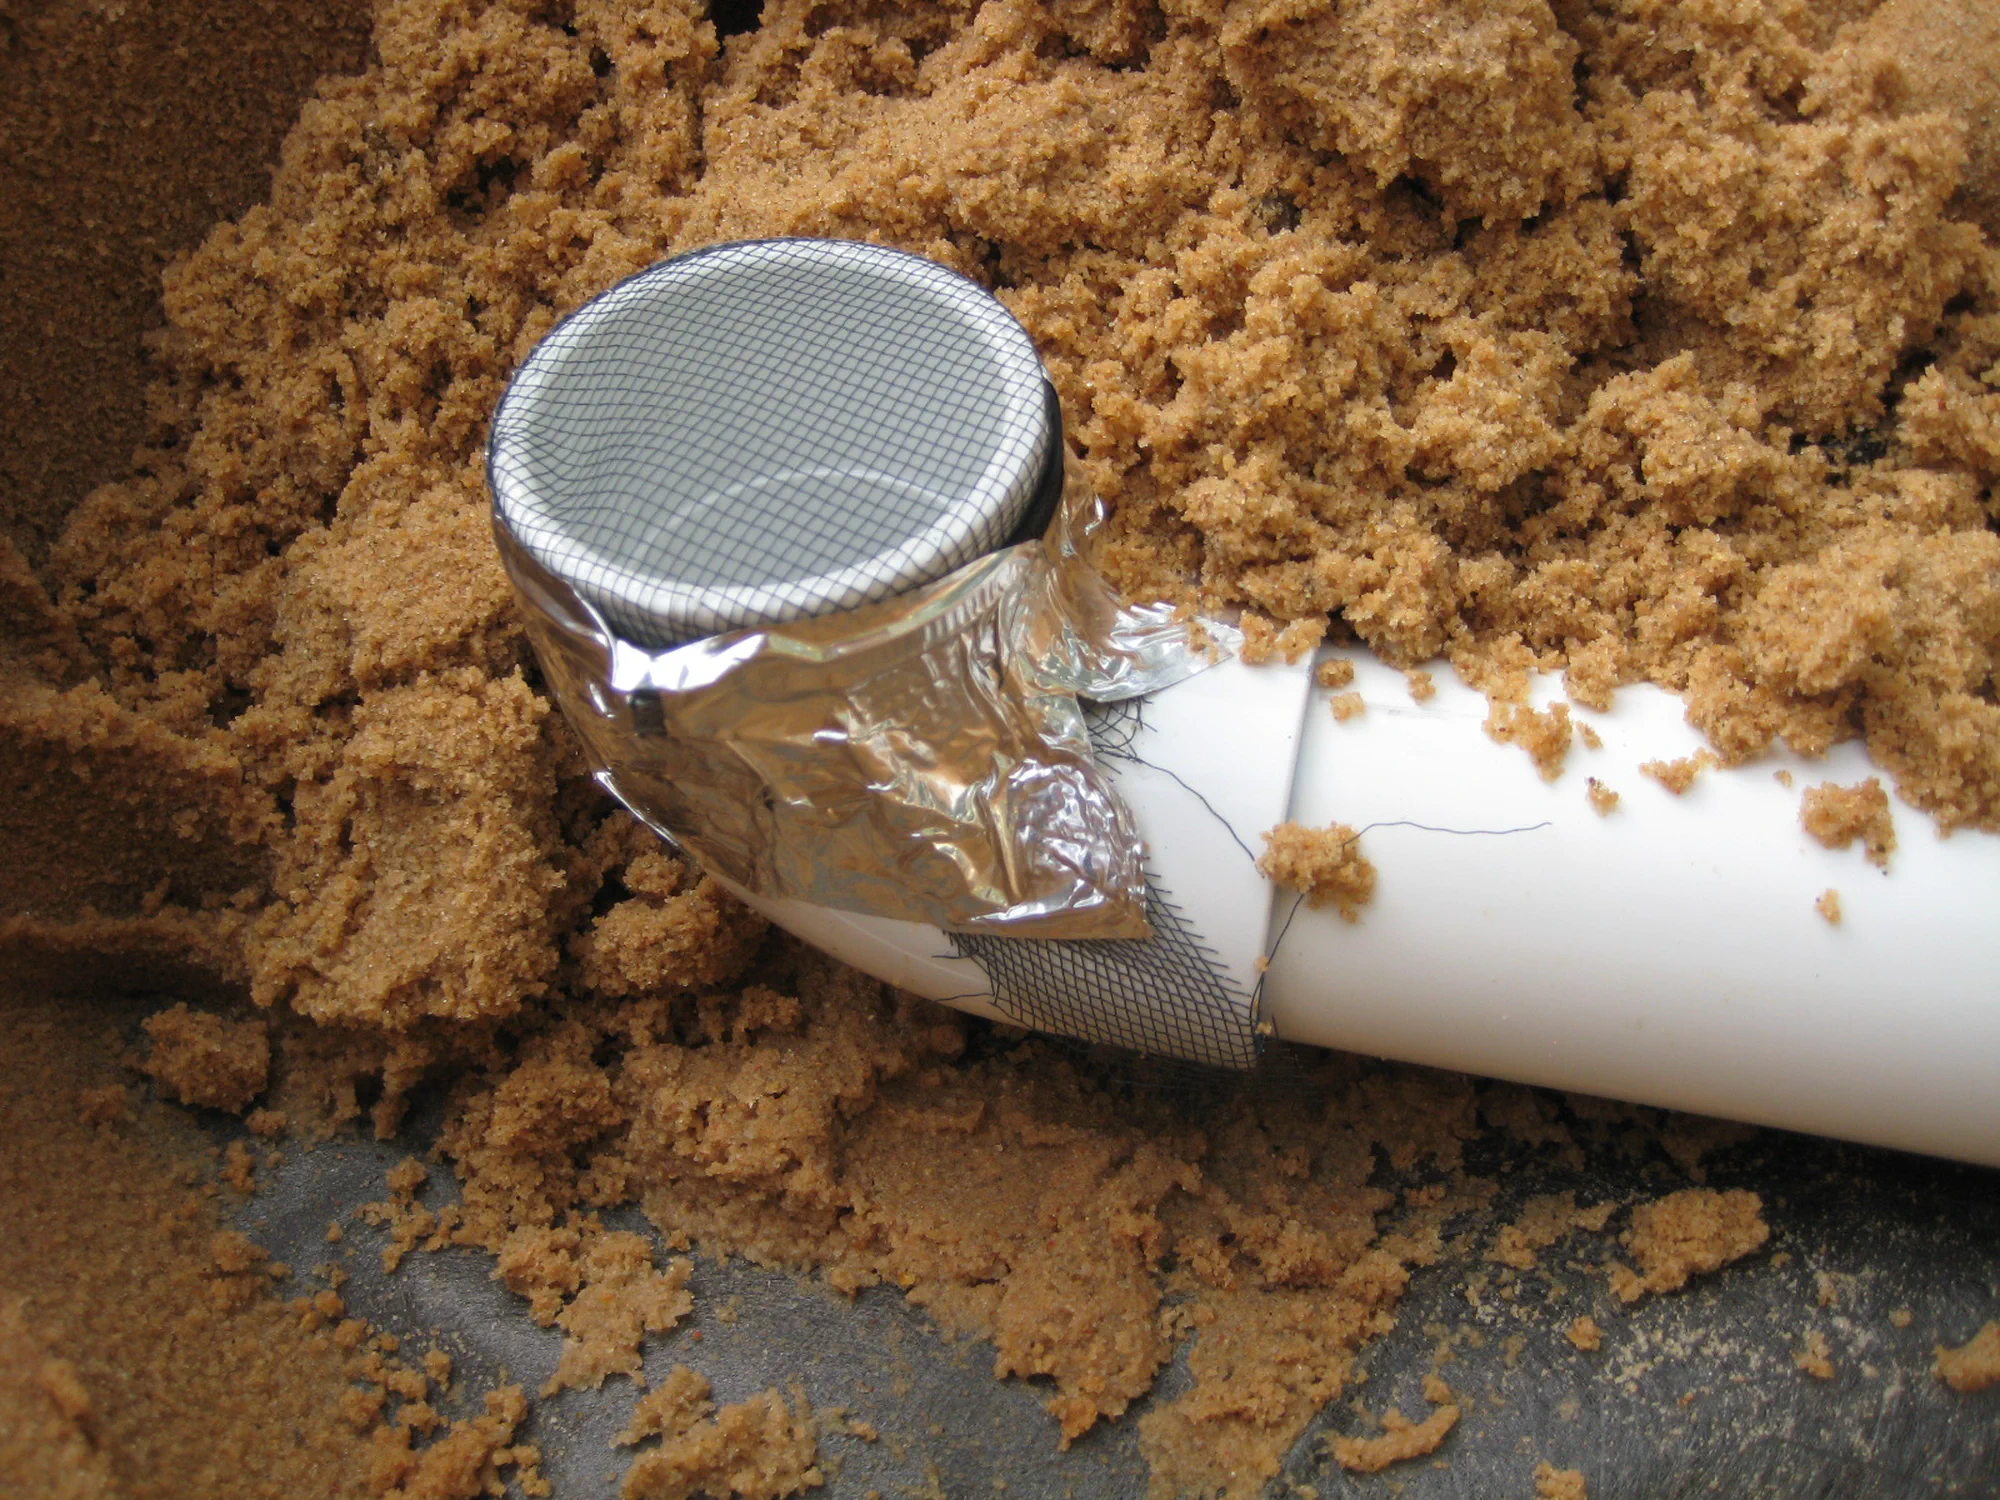
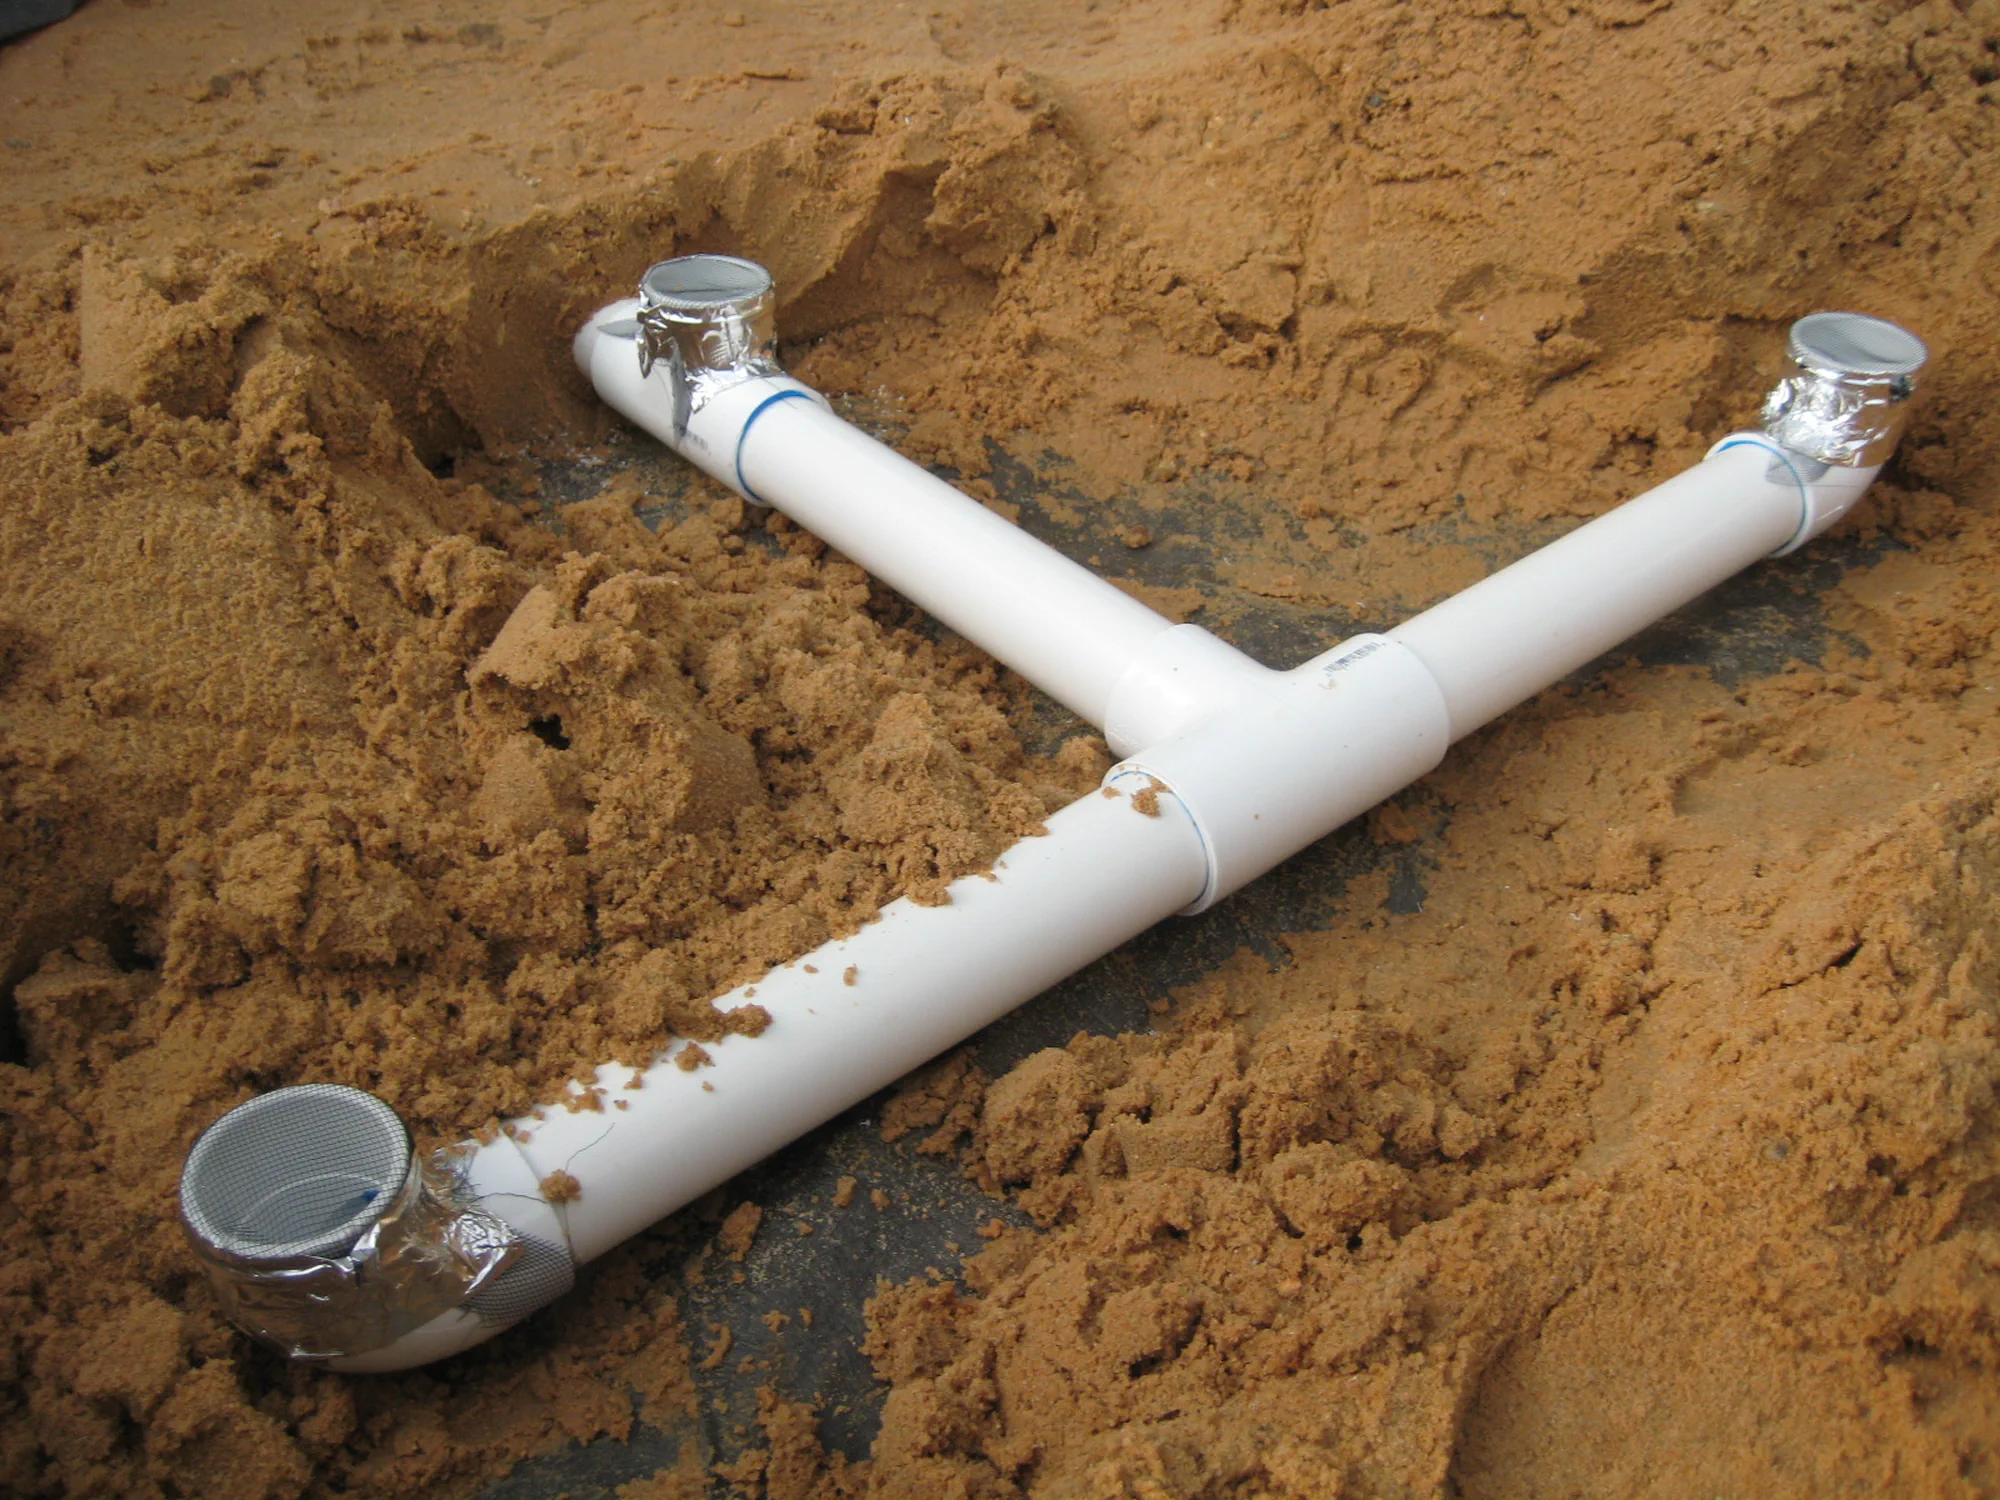
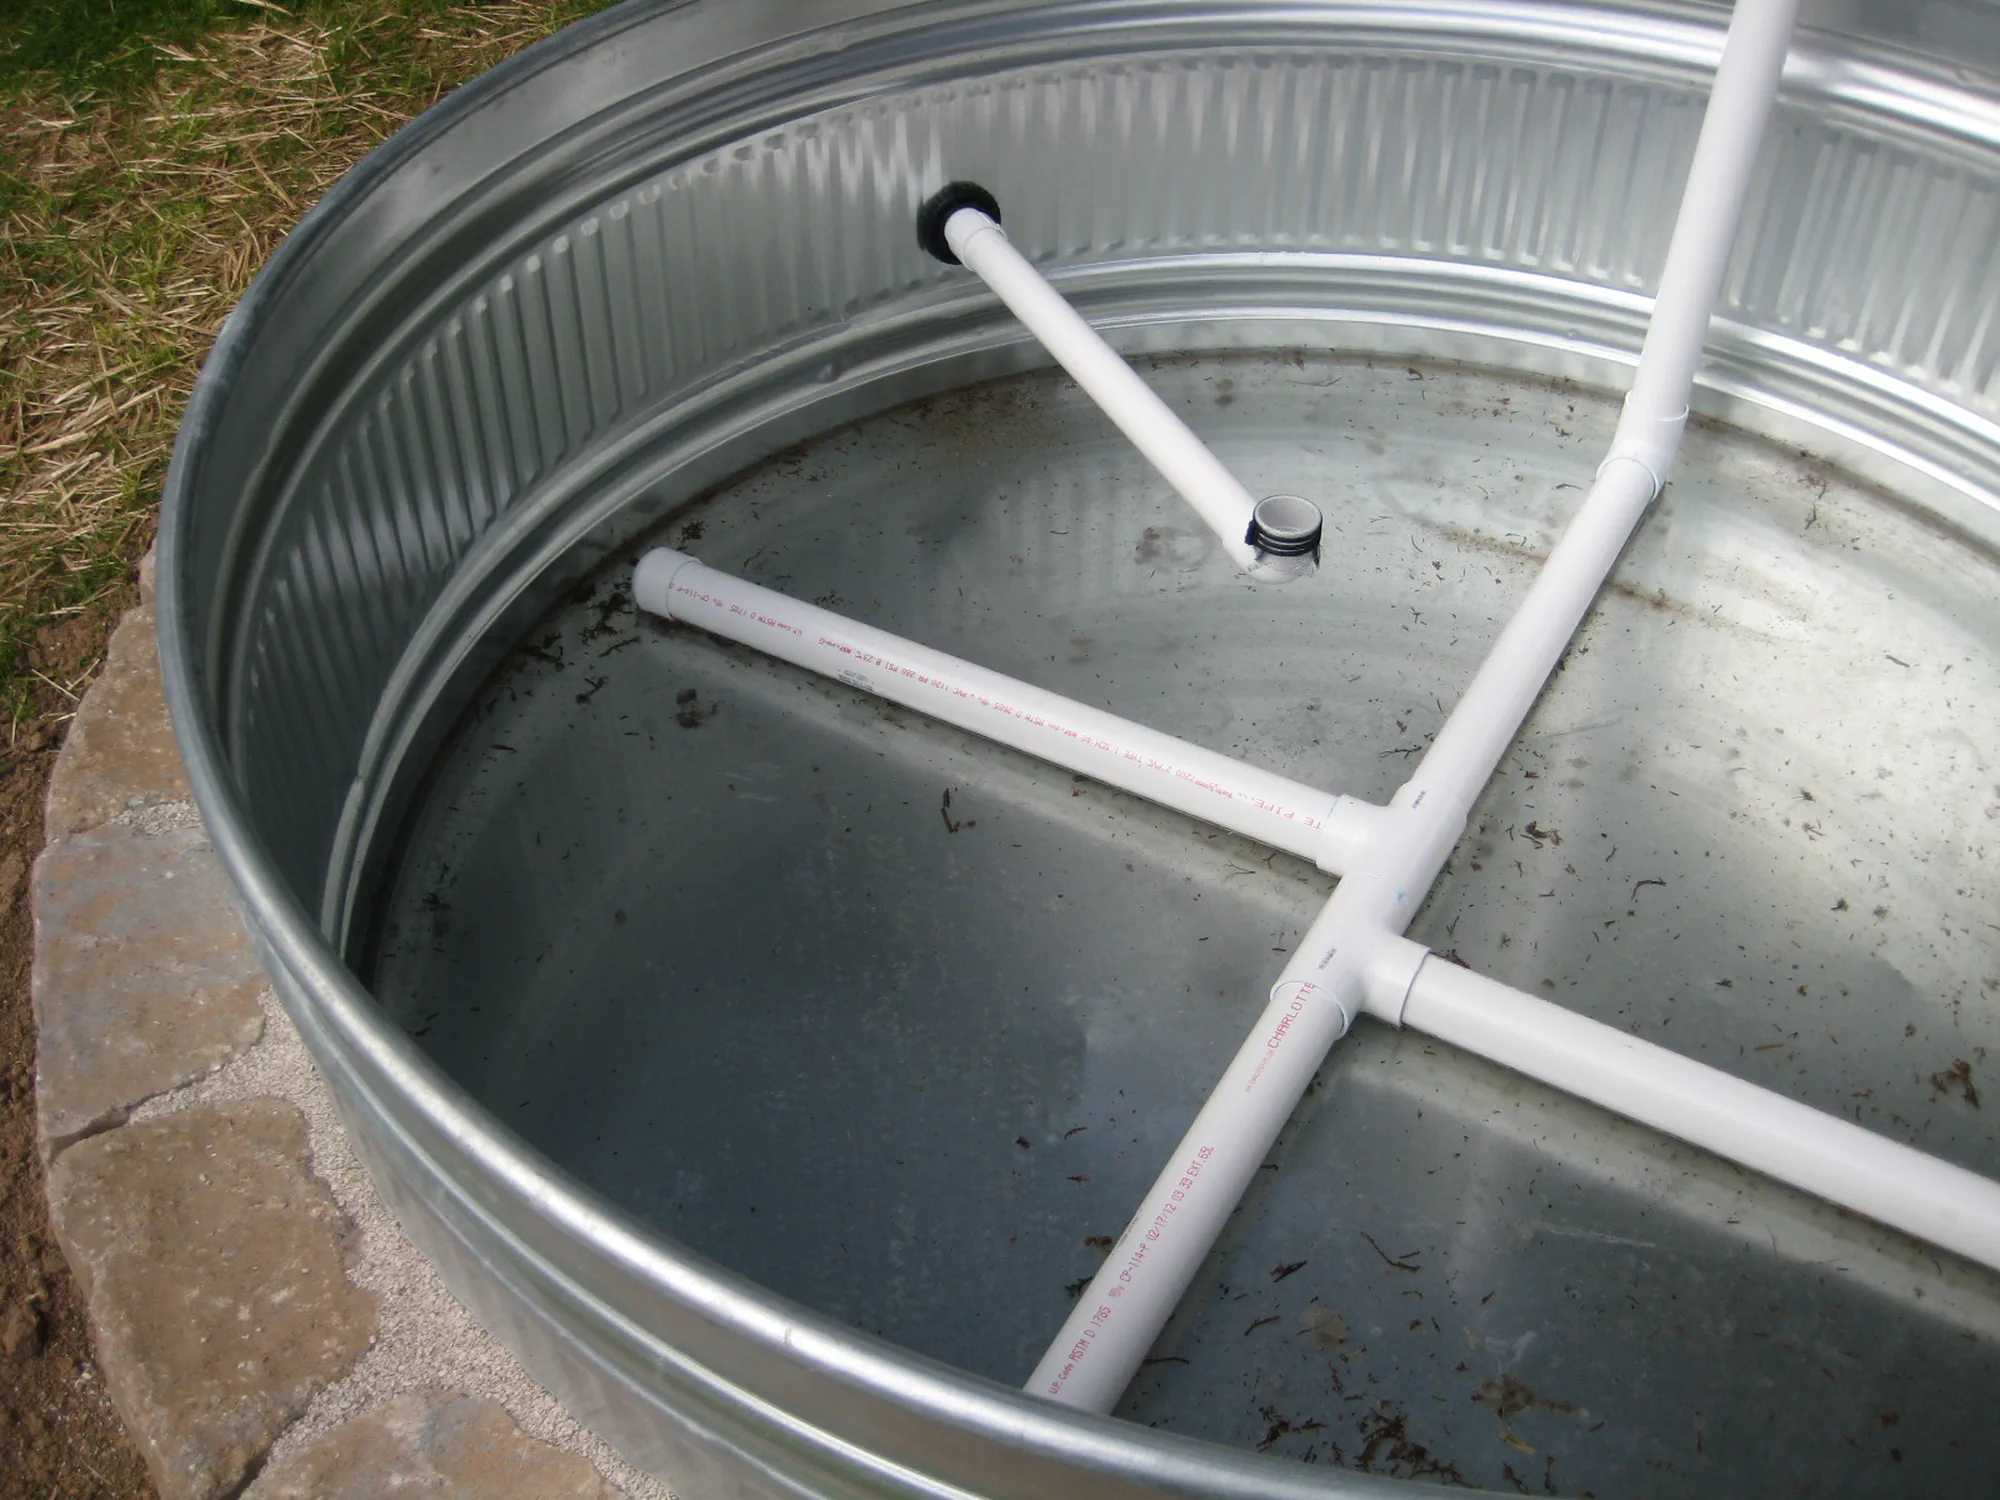
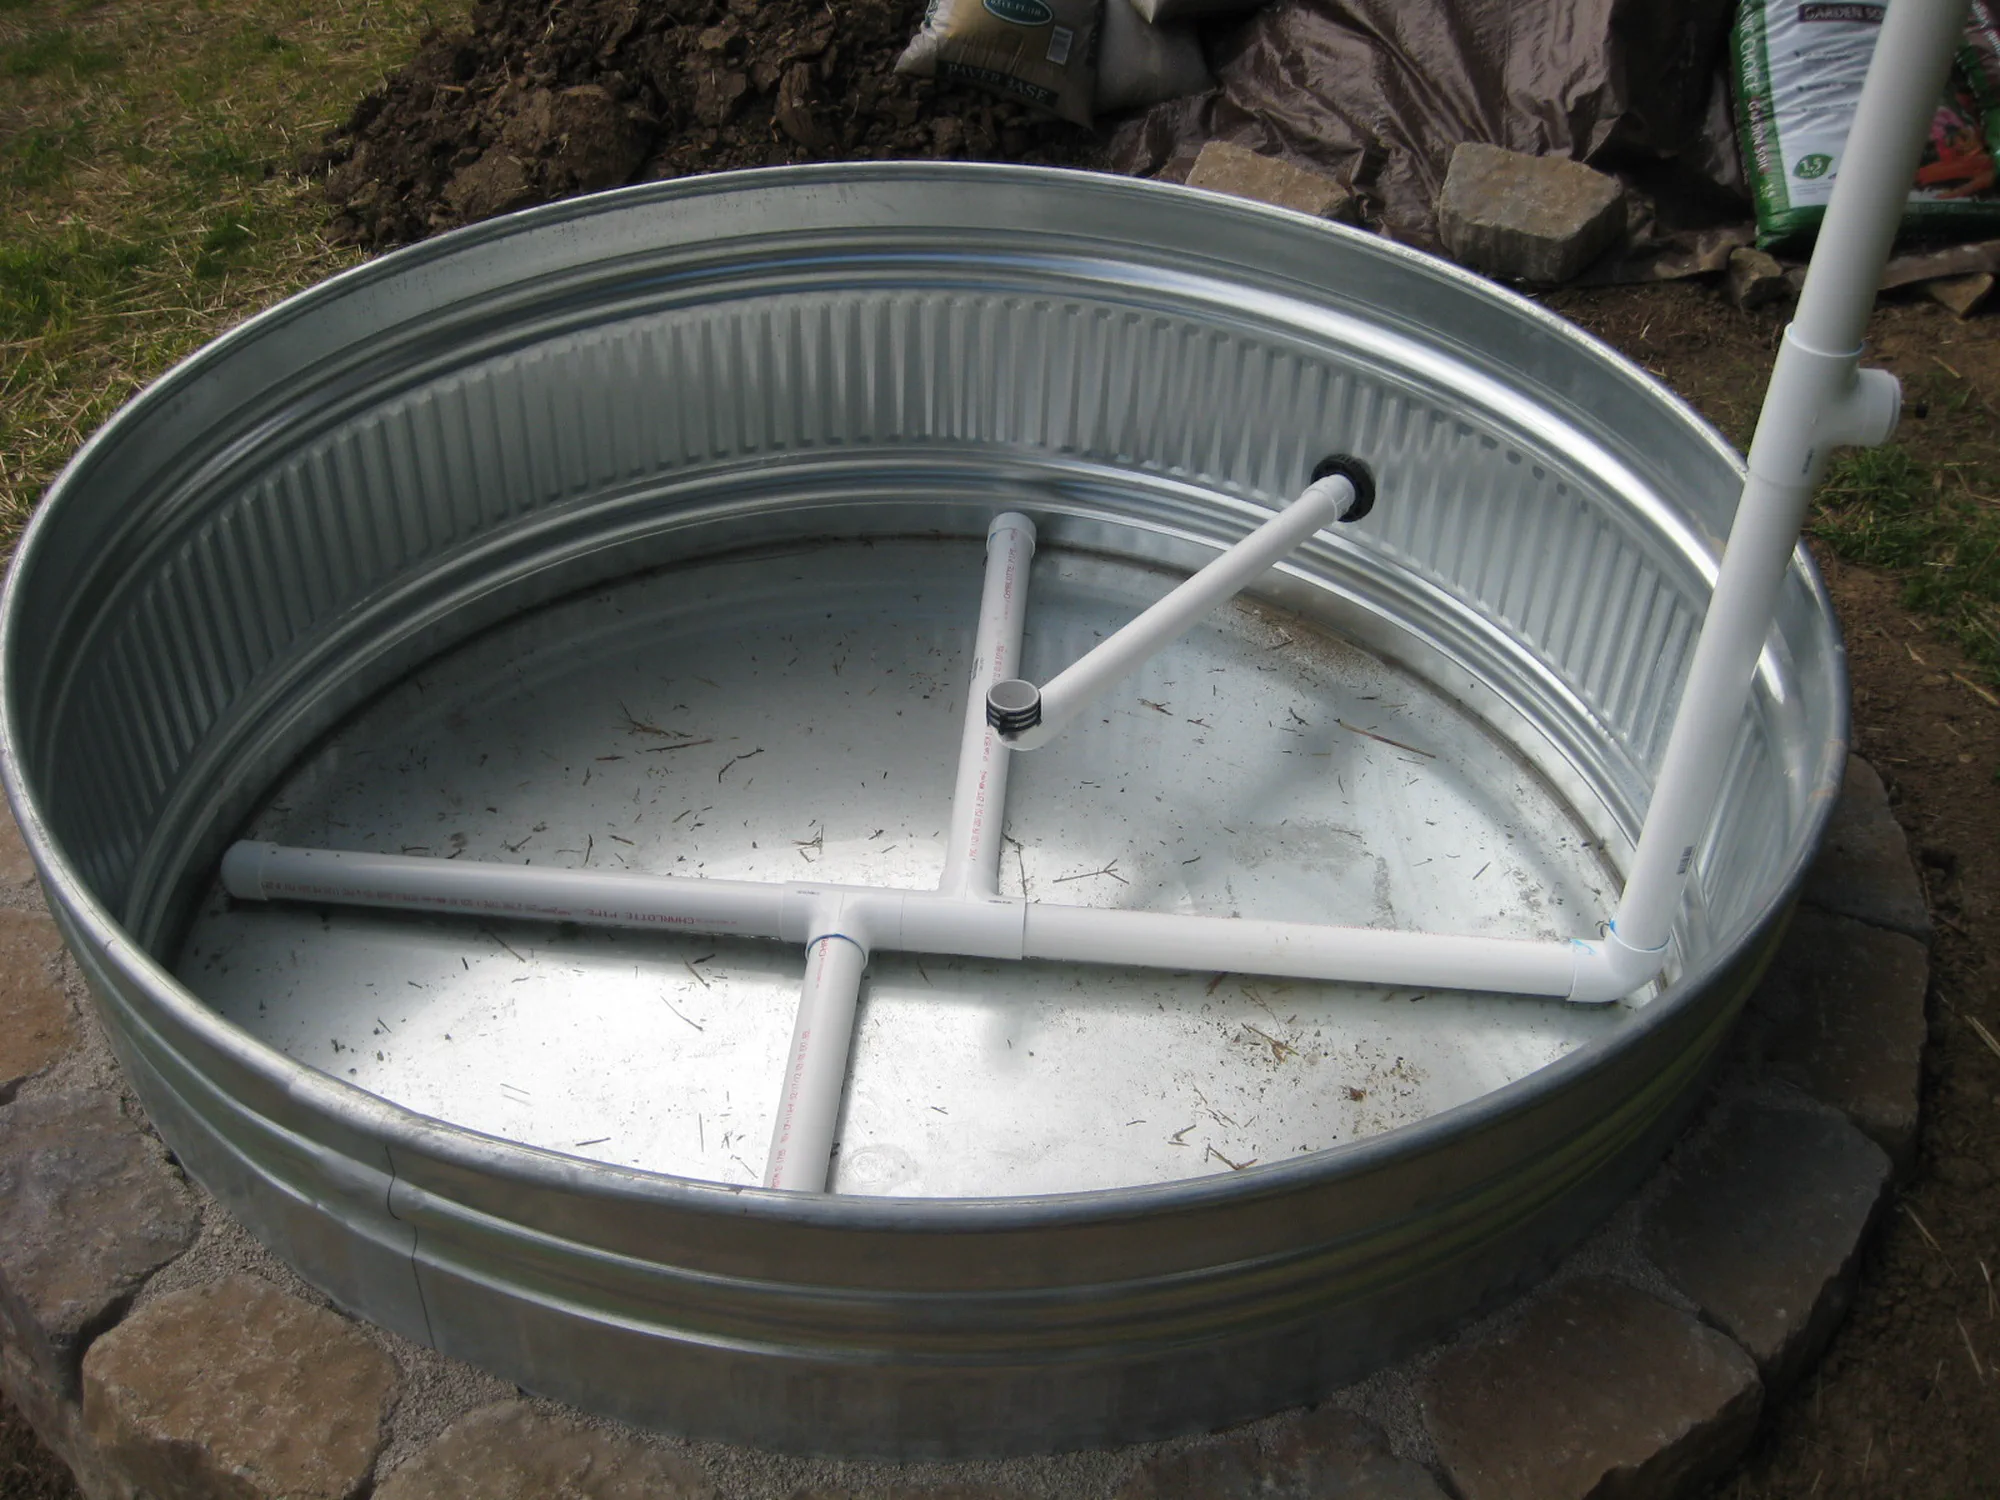
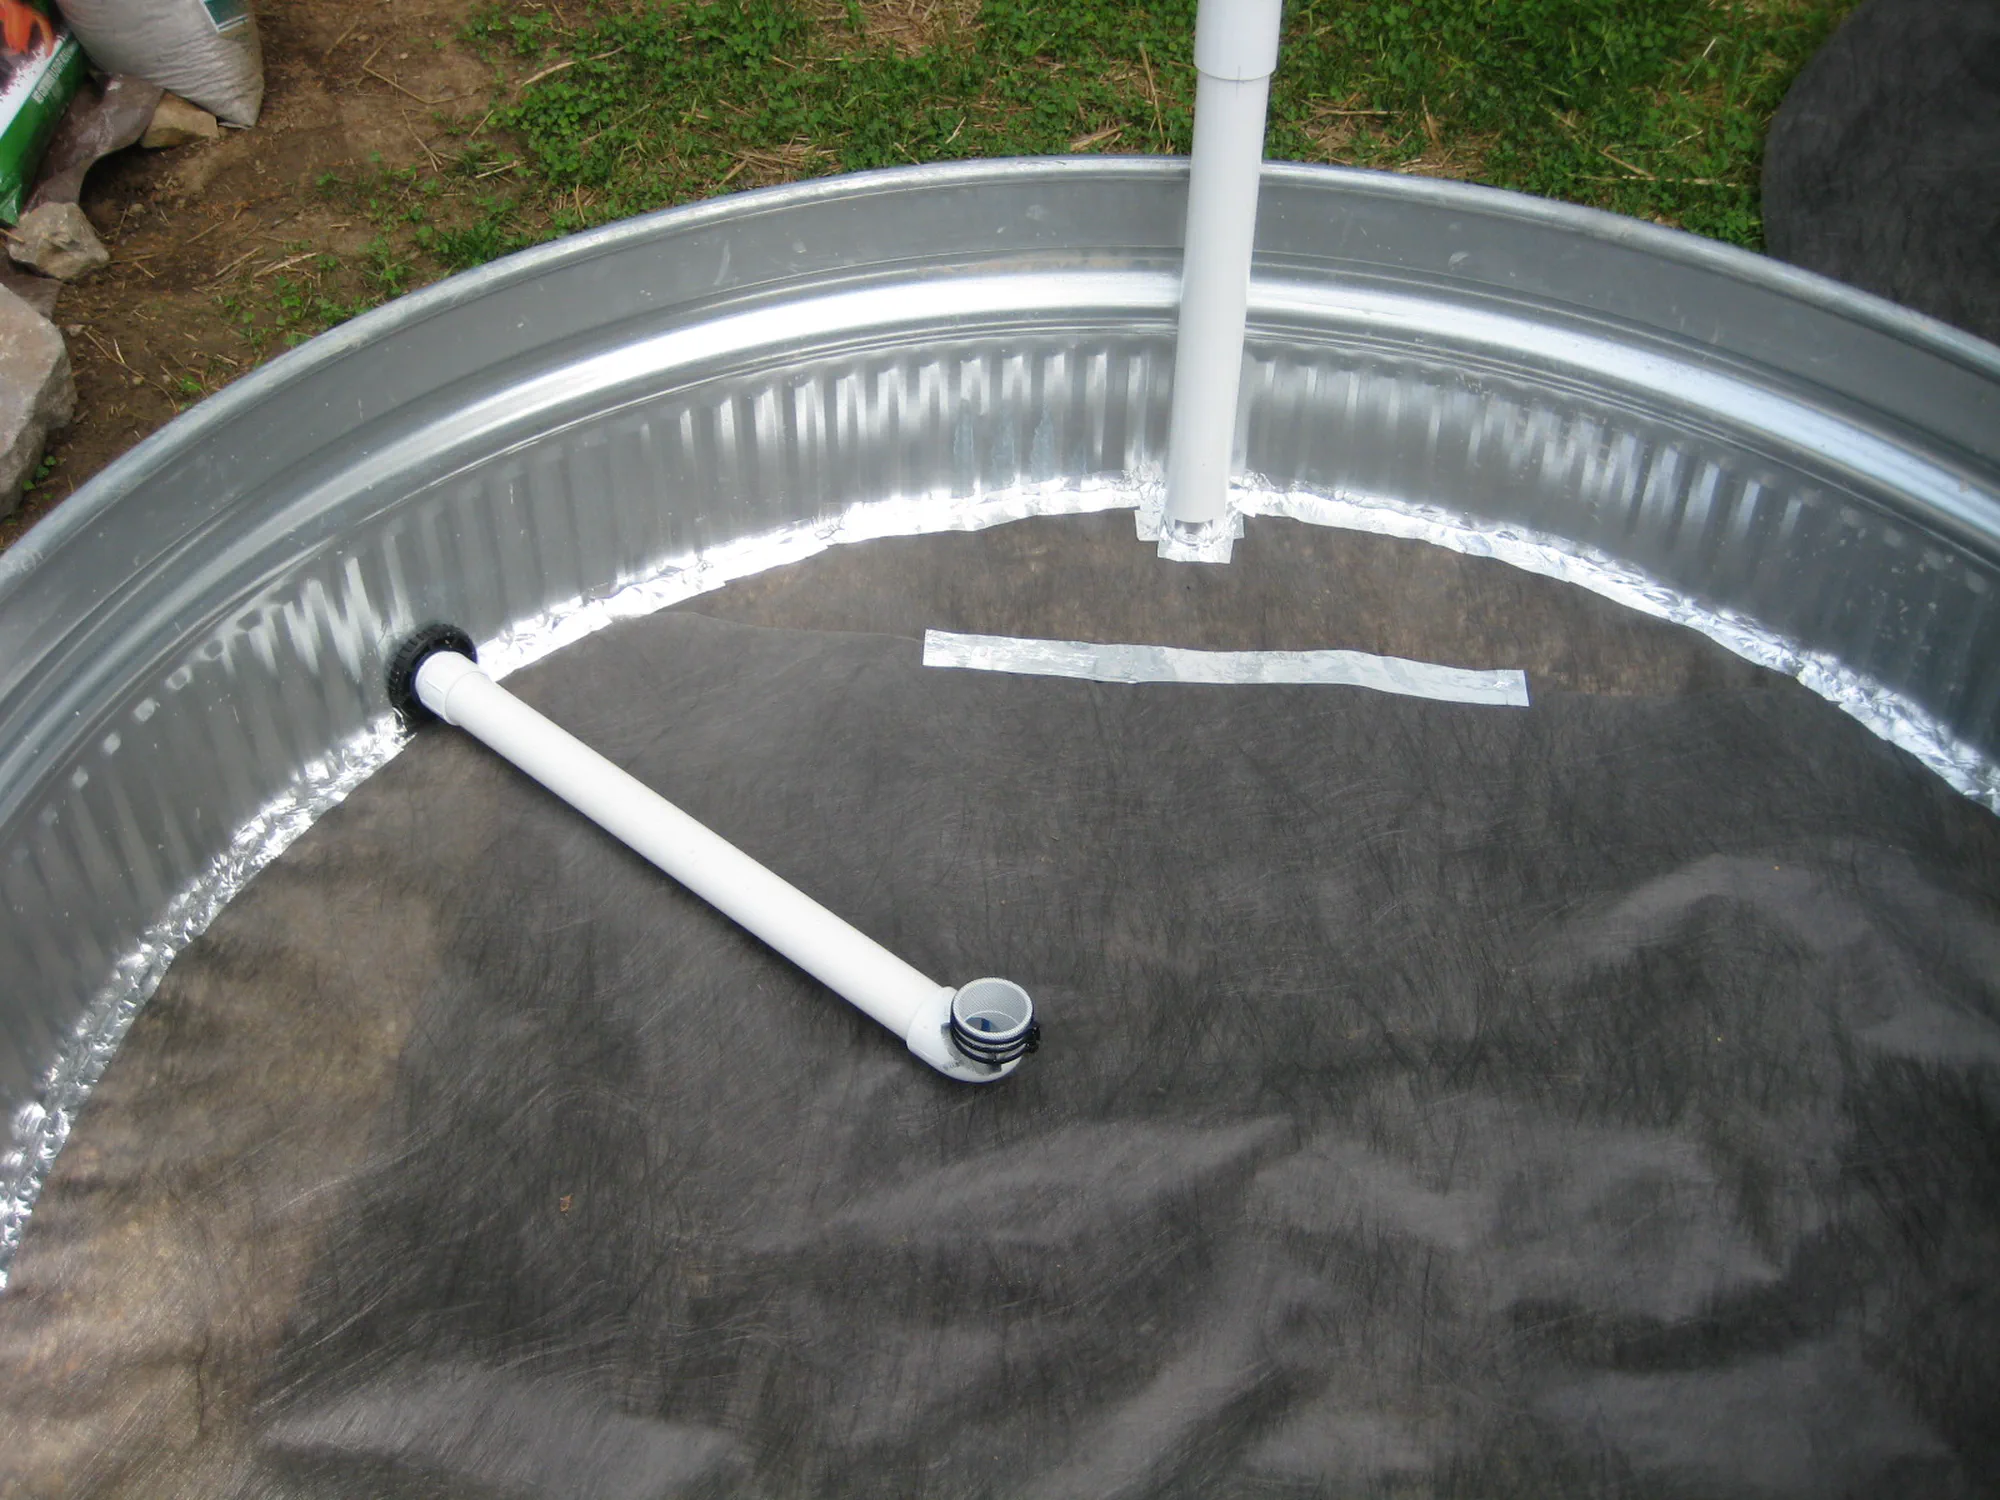
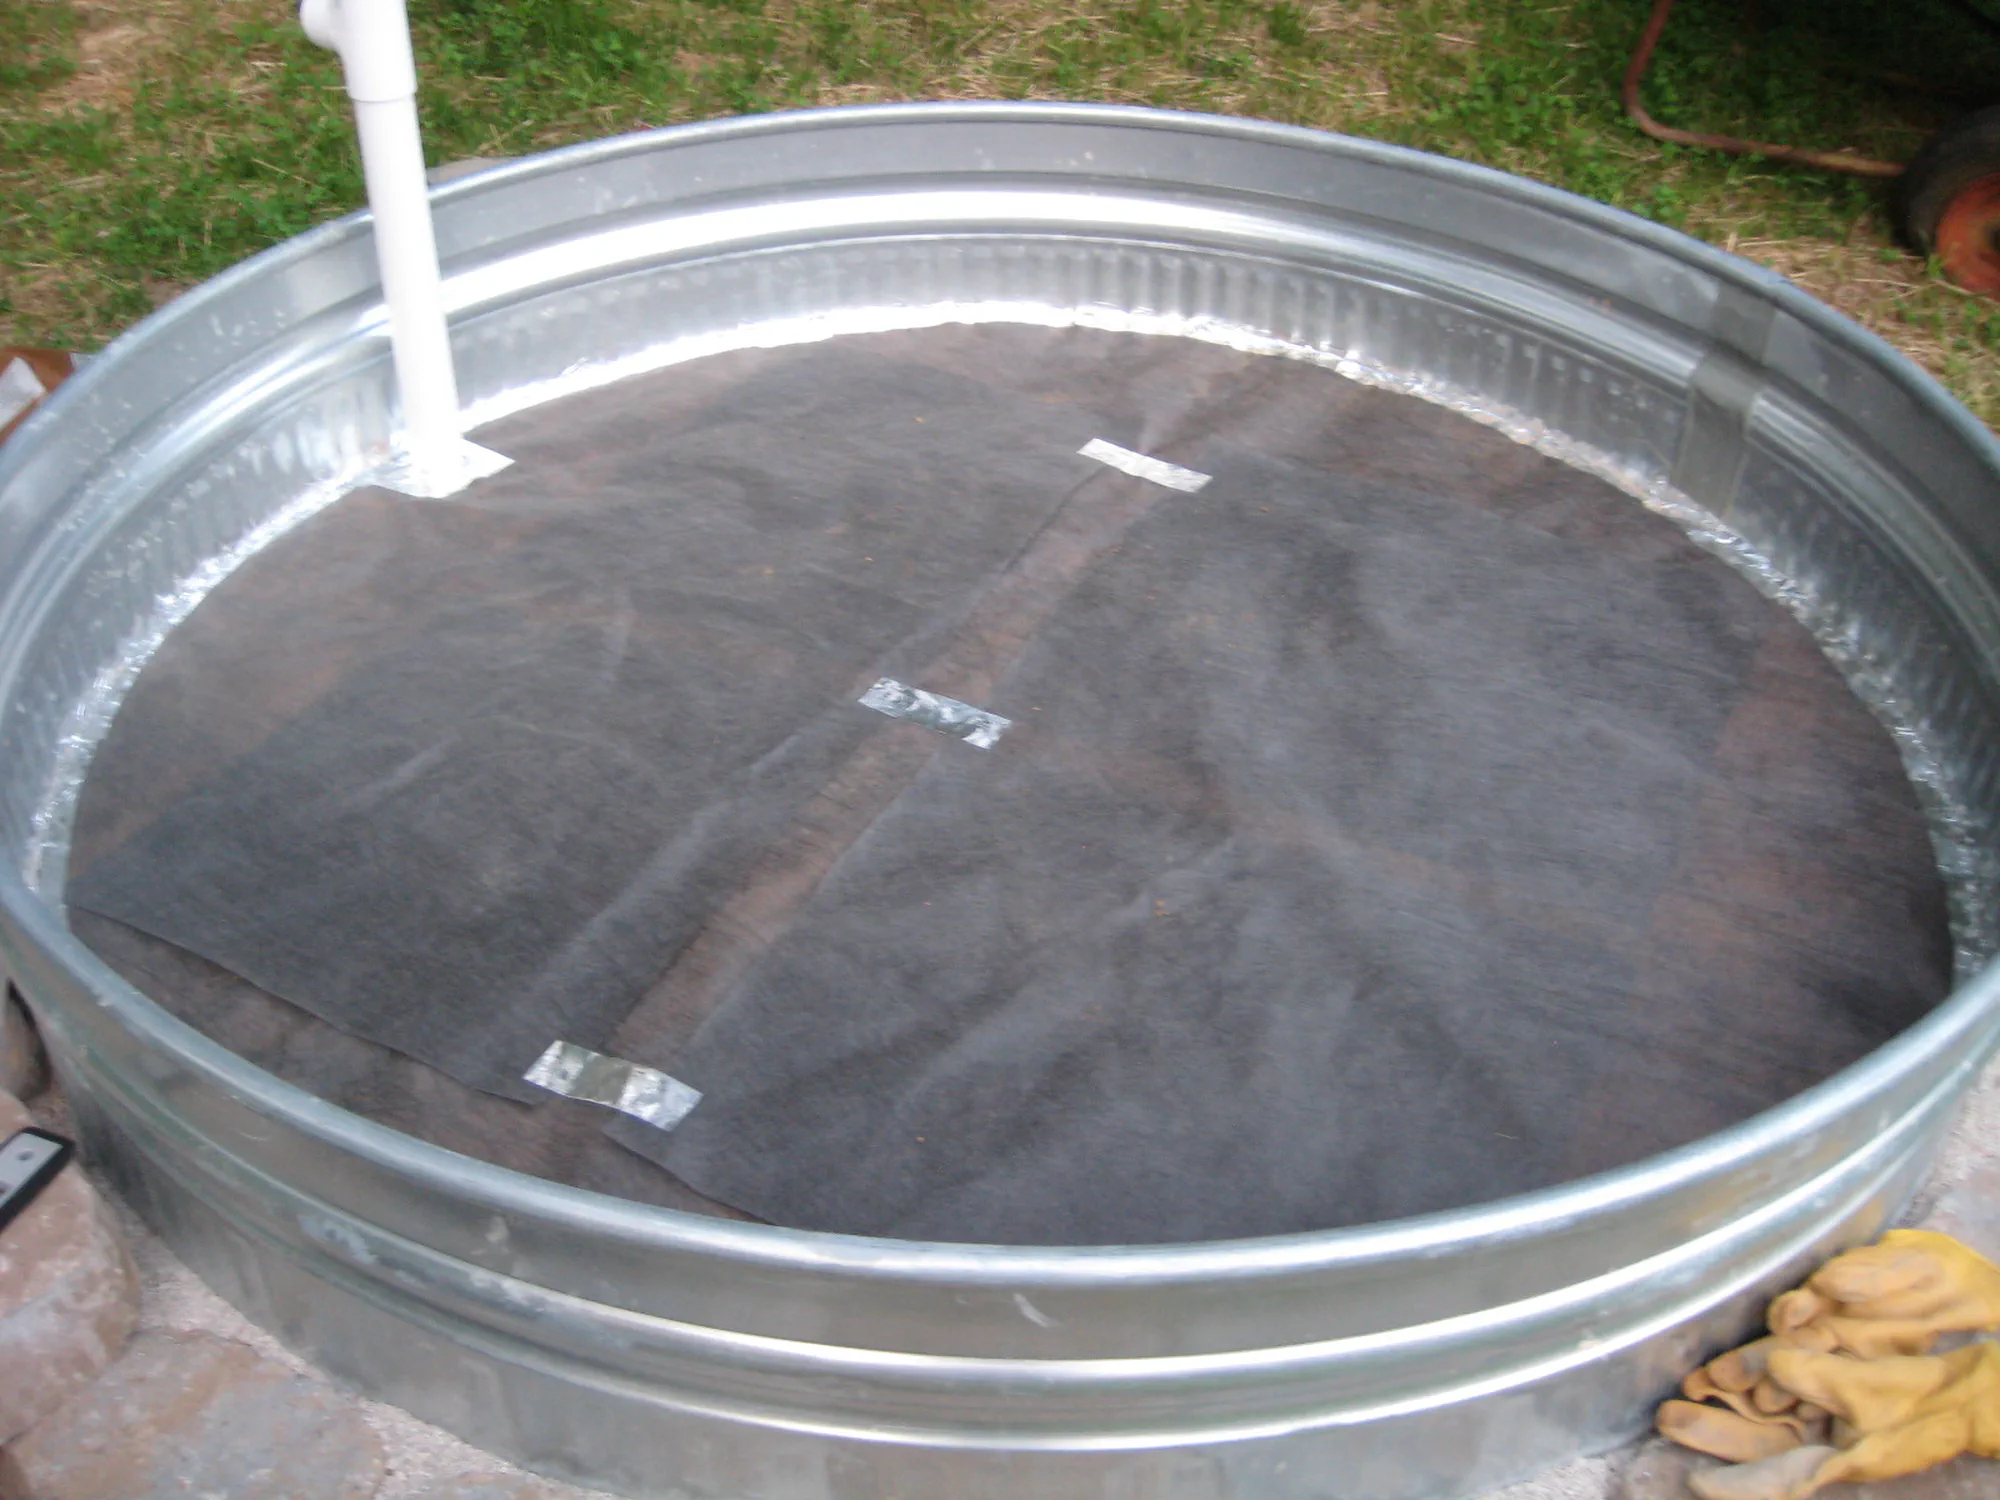
Plumbing the reservoir

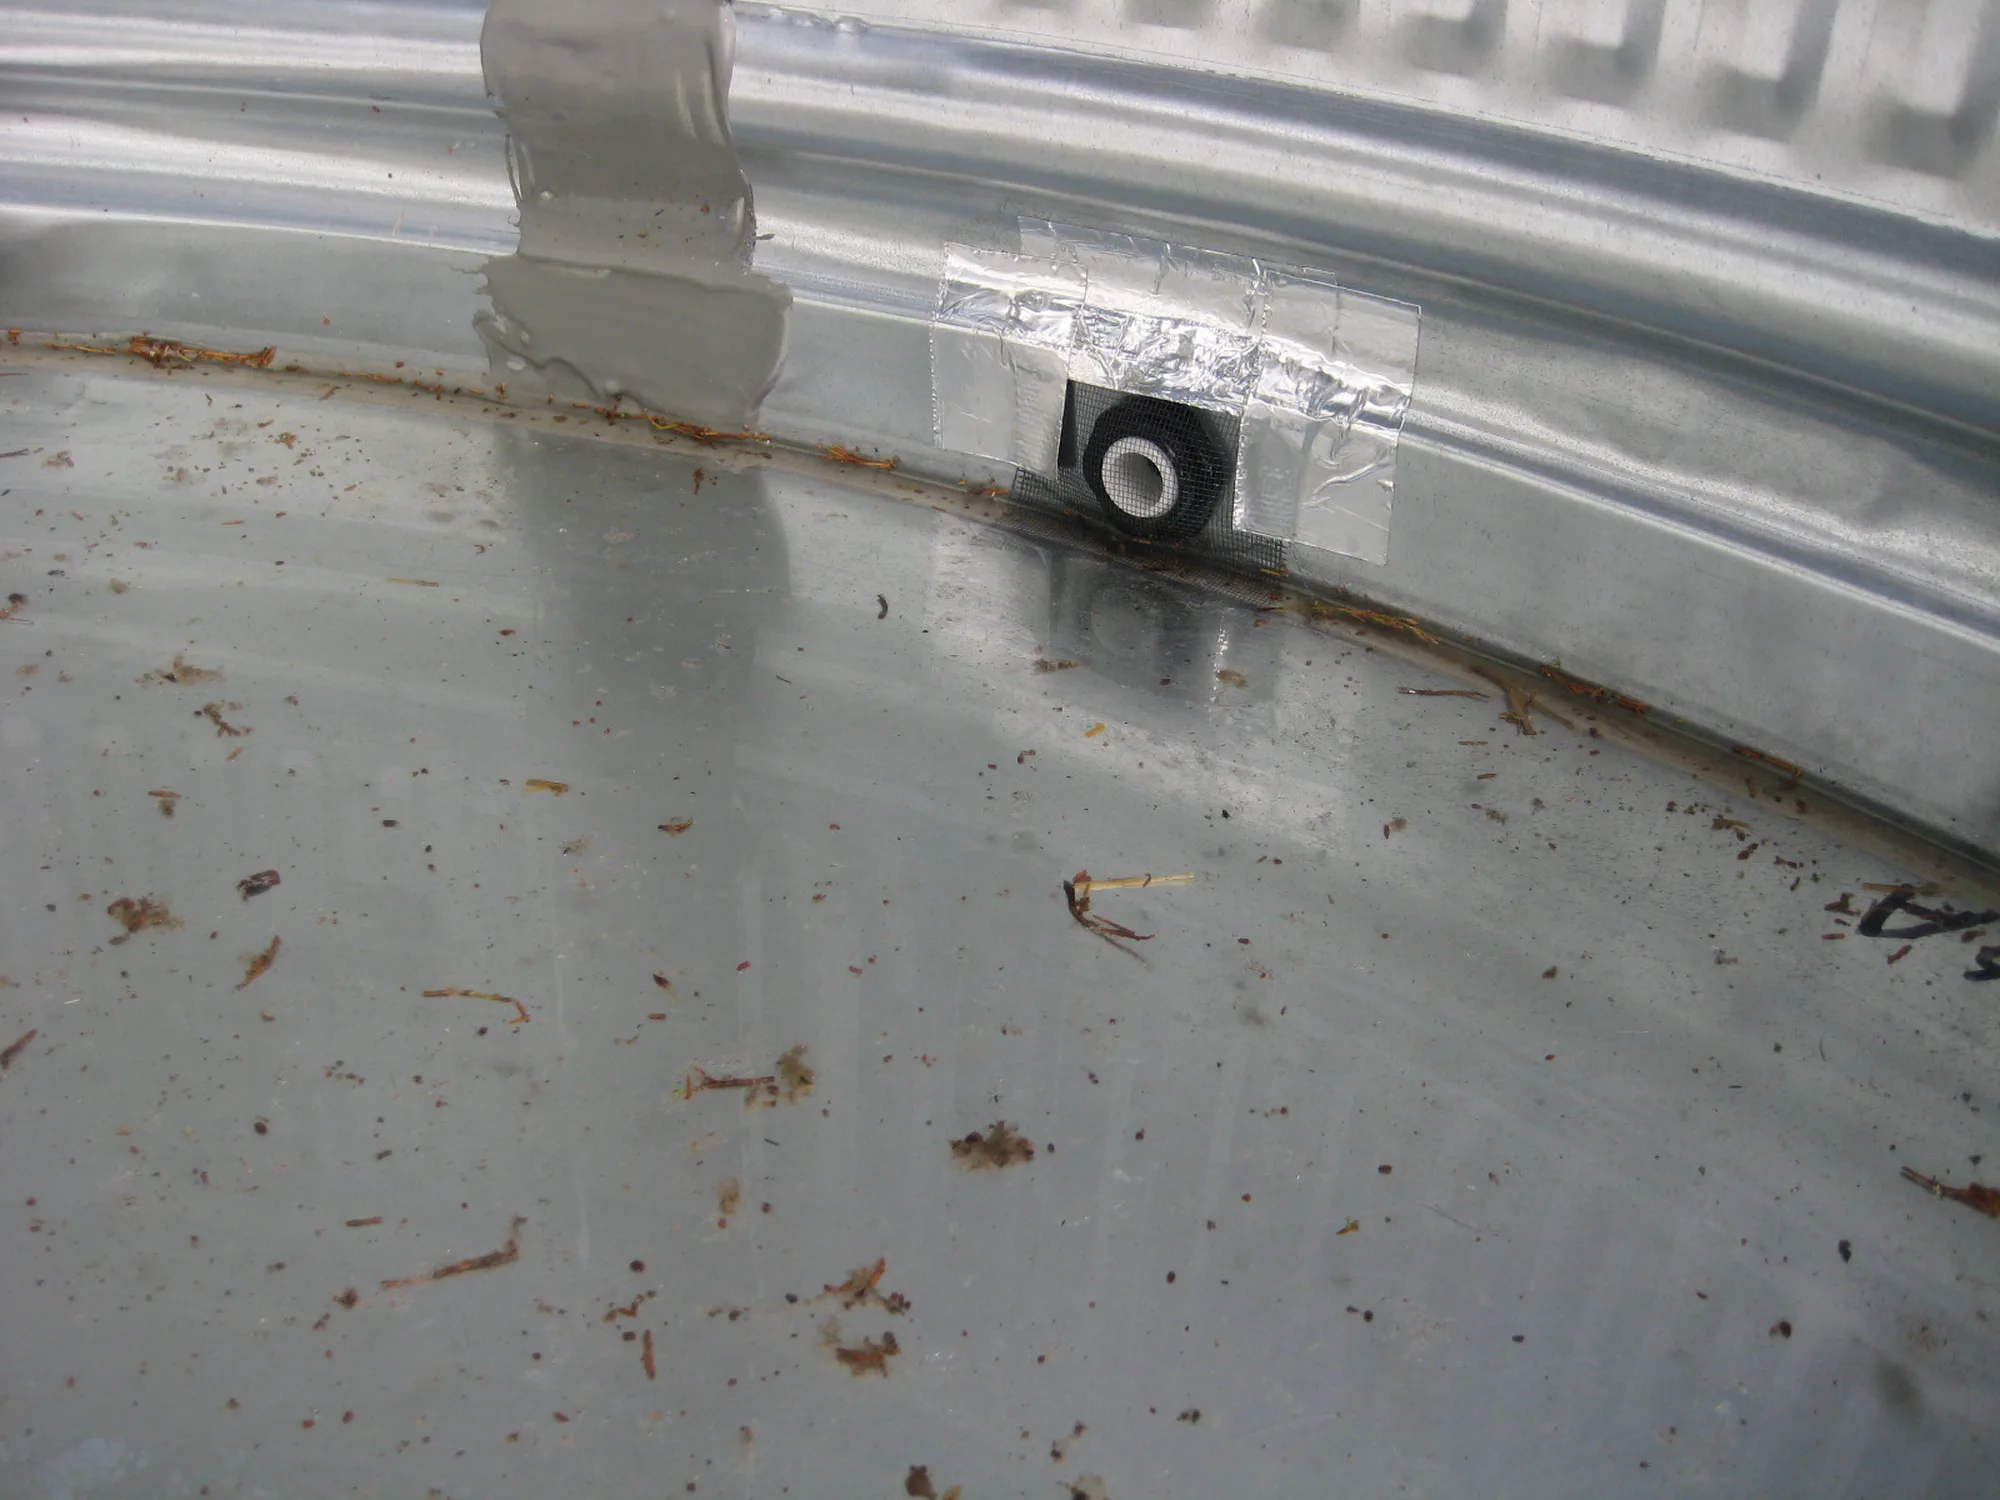
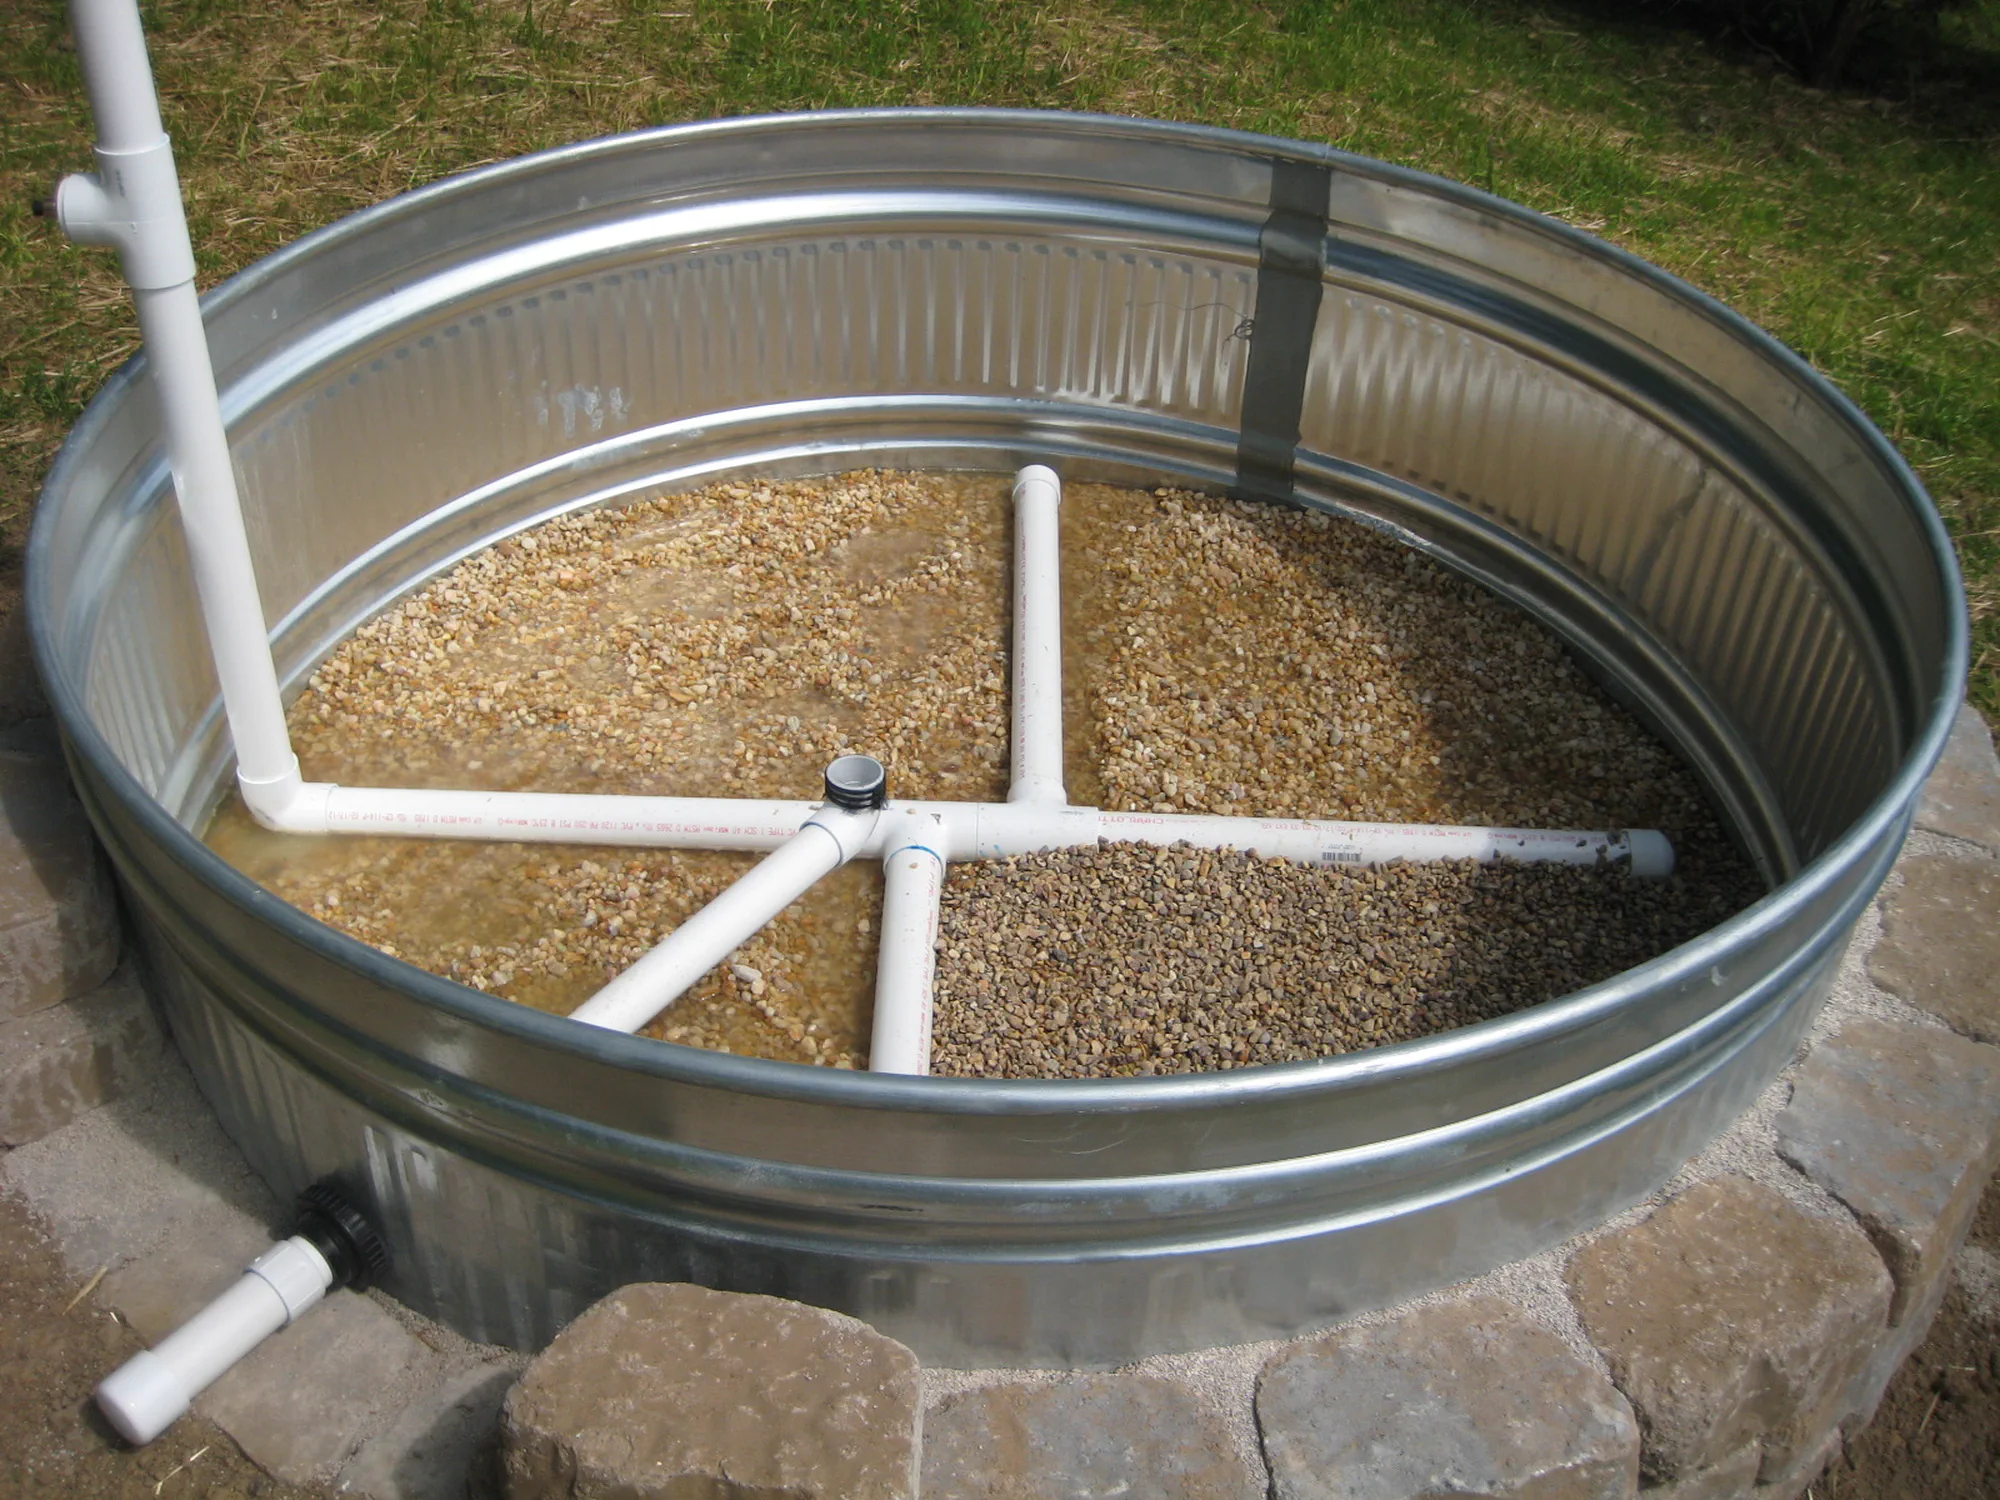
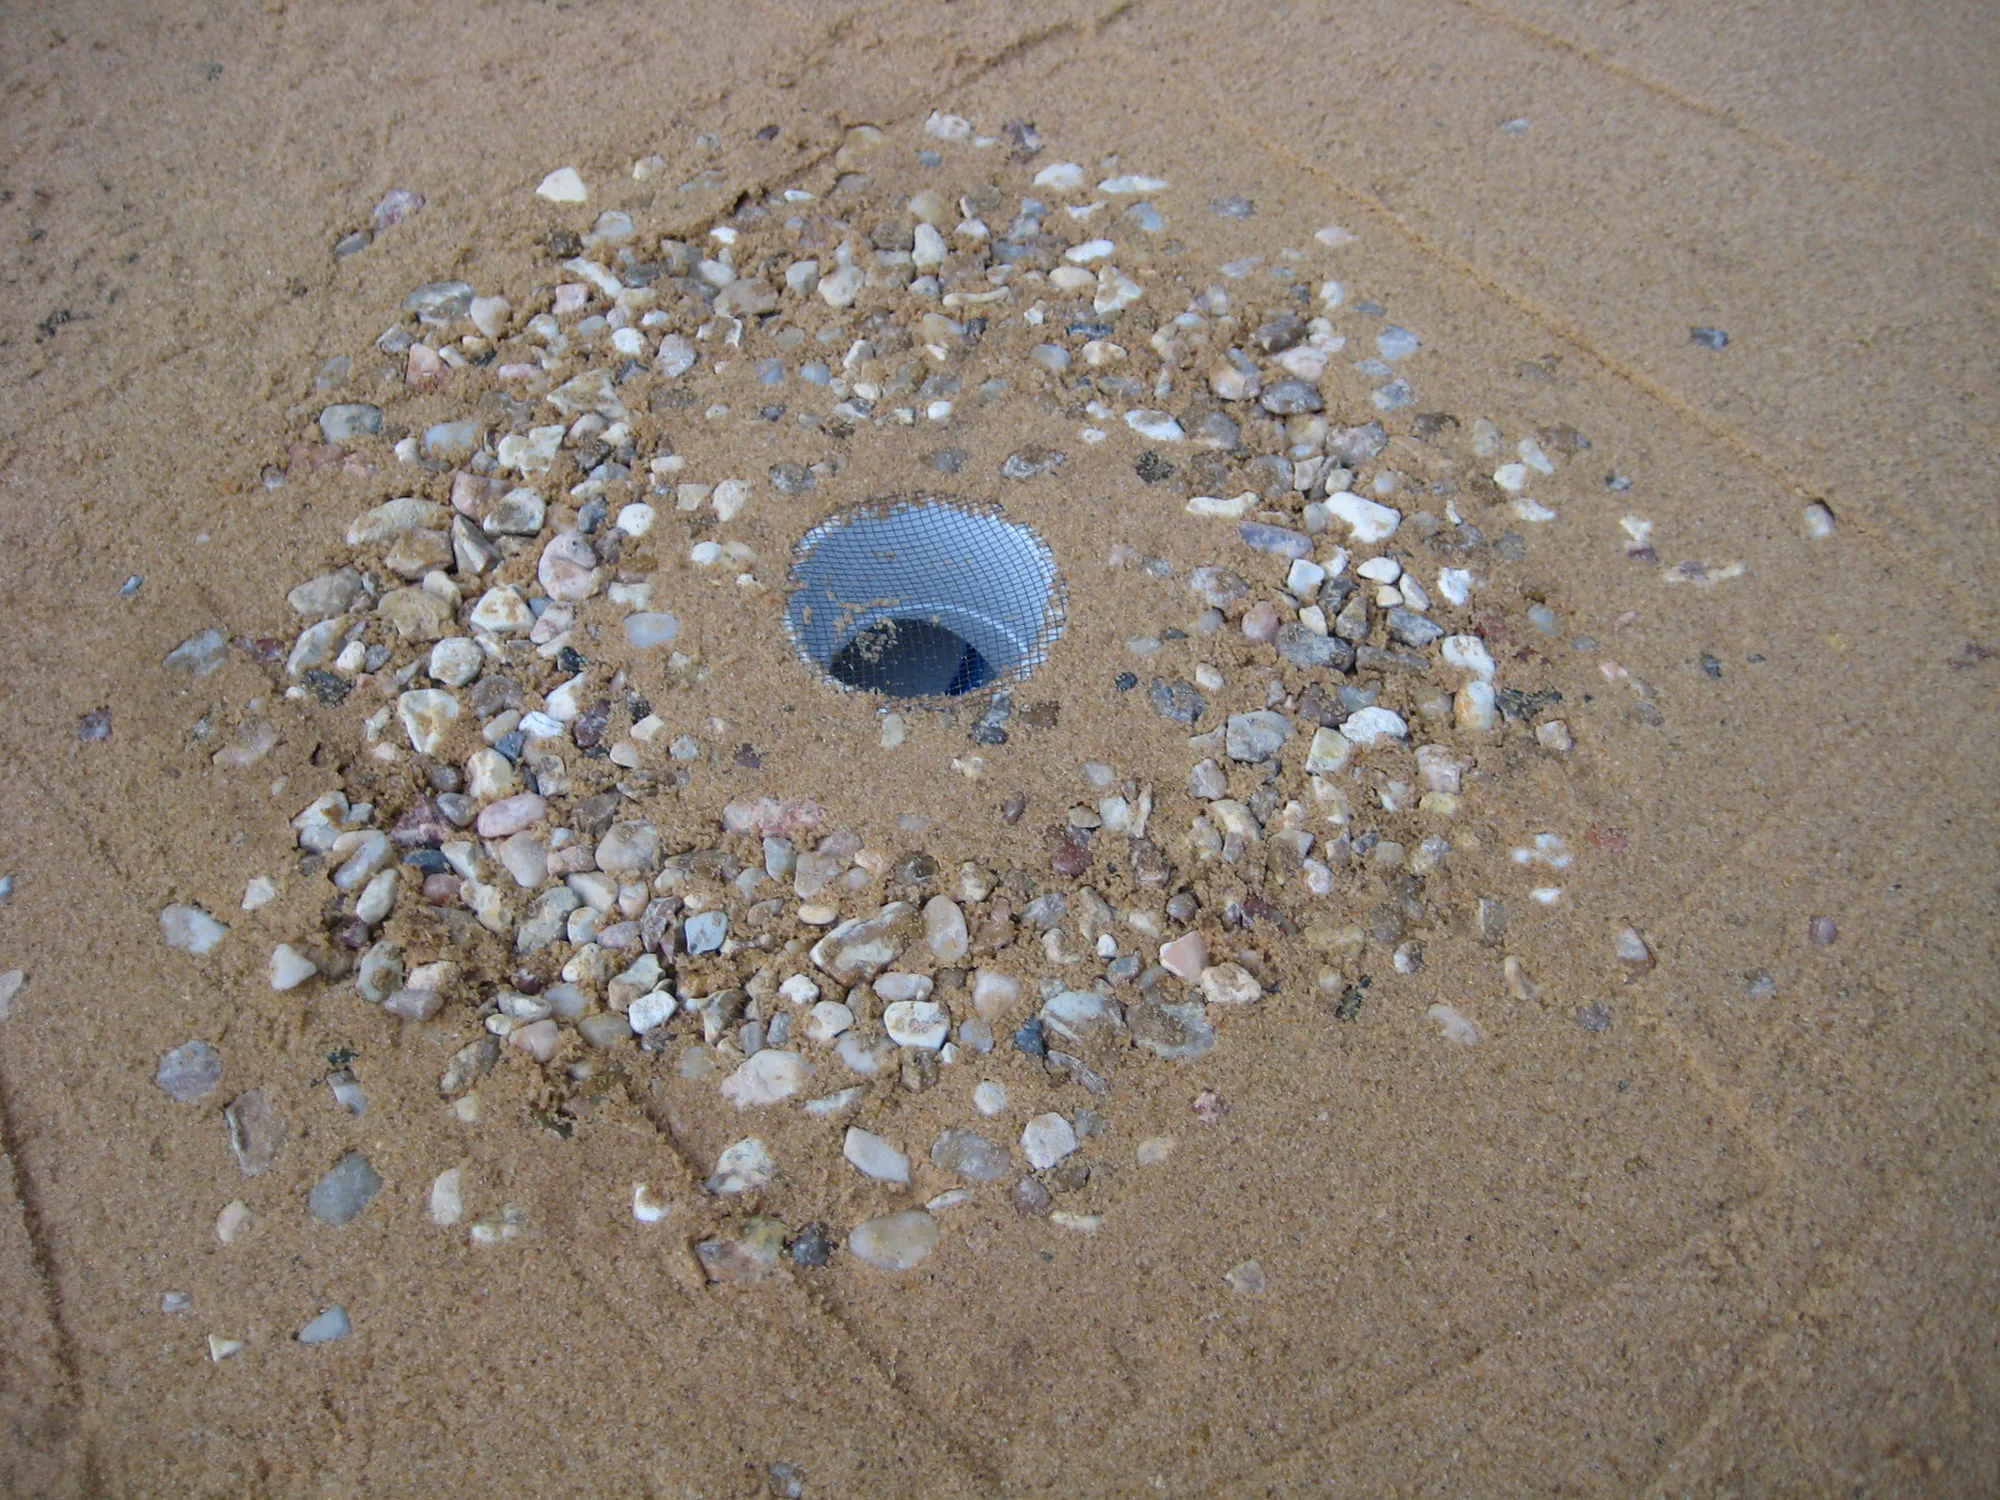
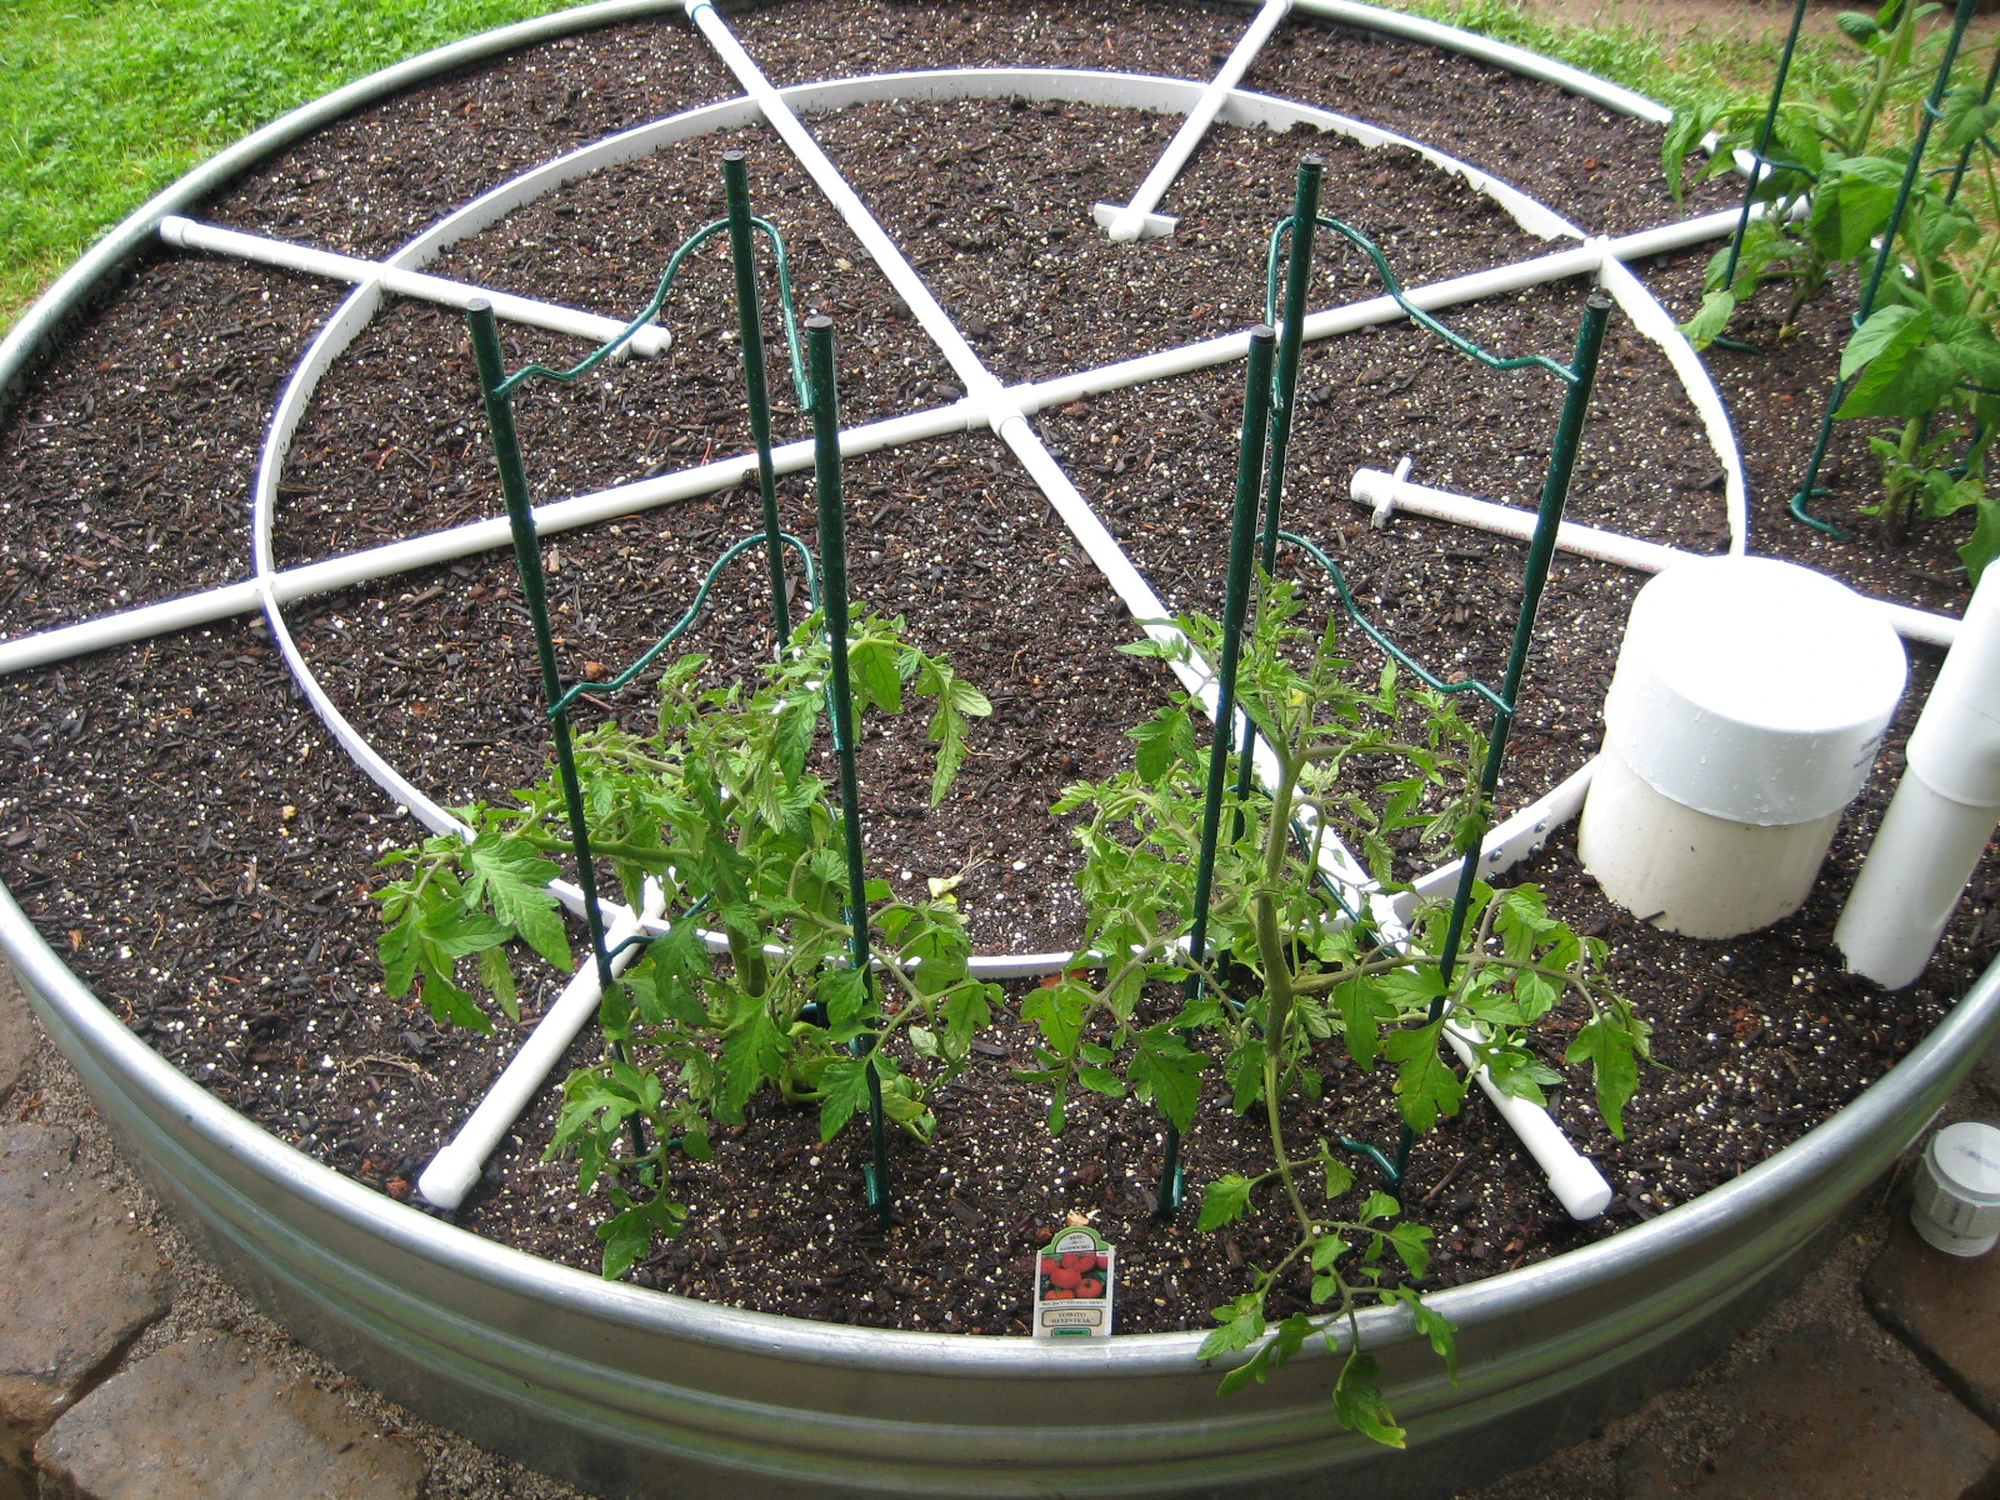
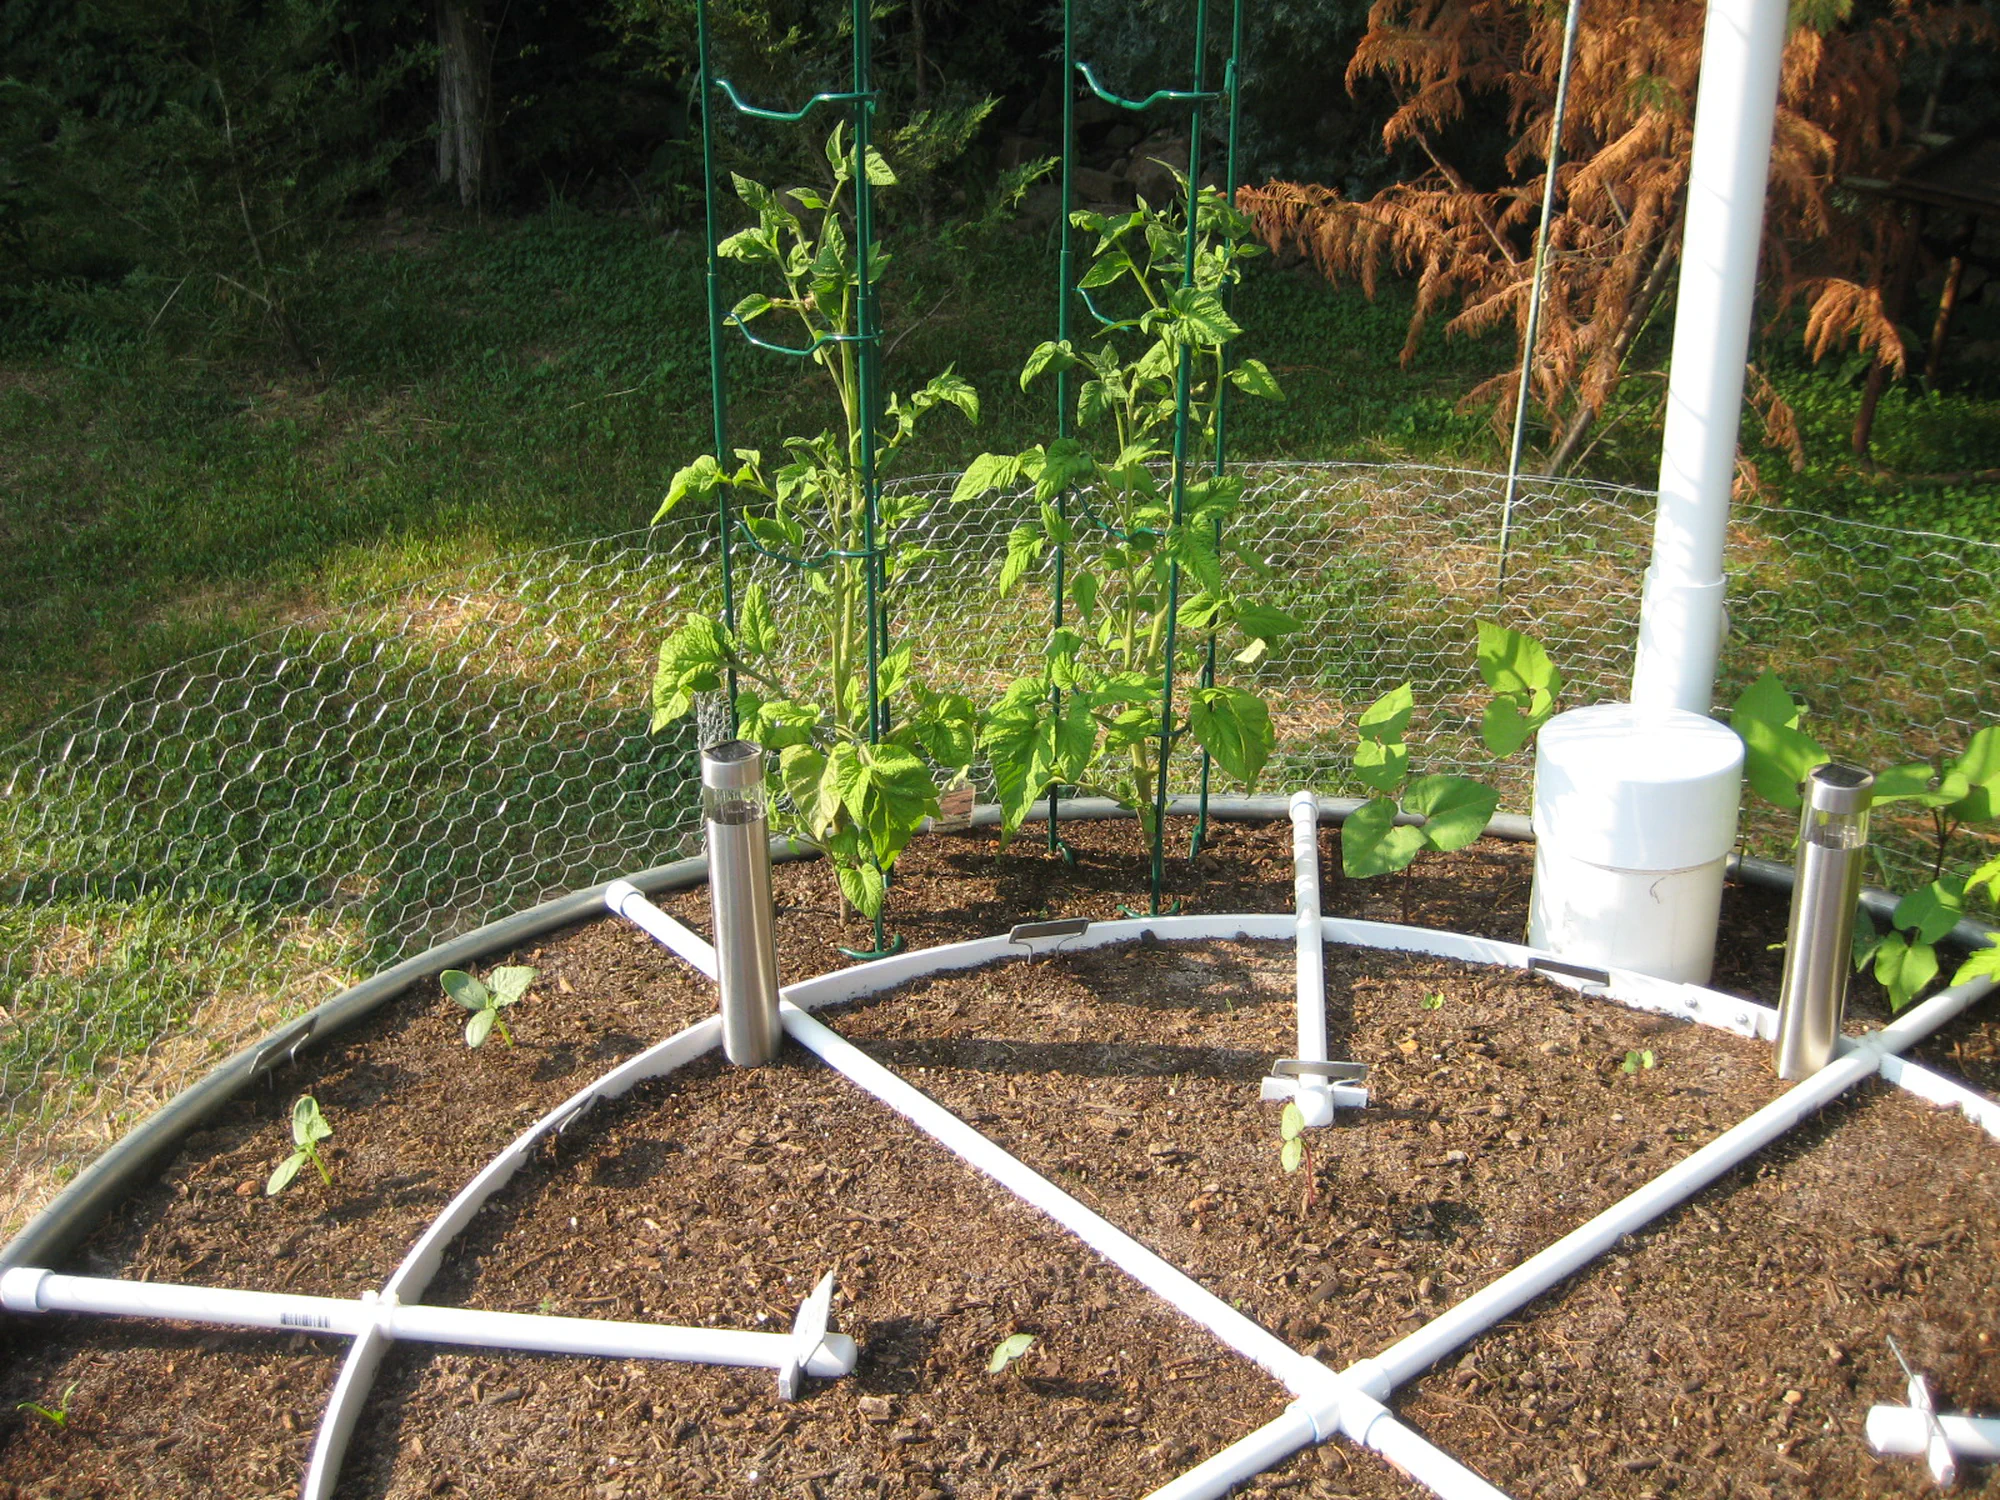
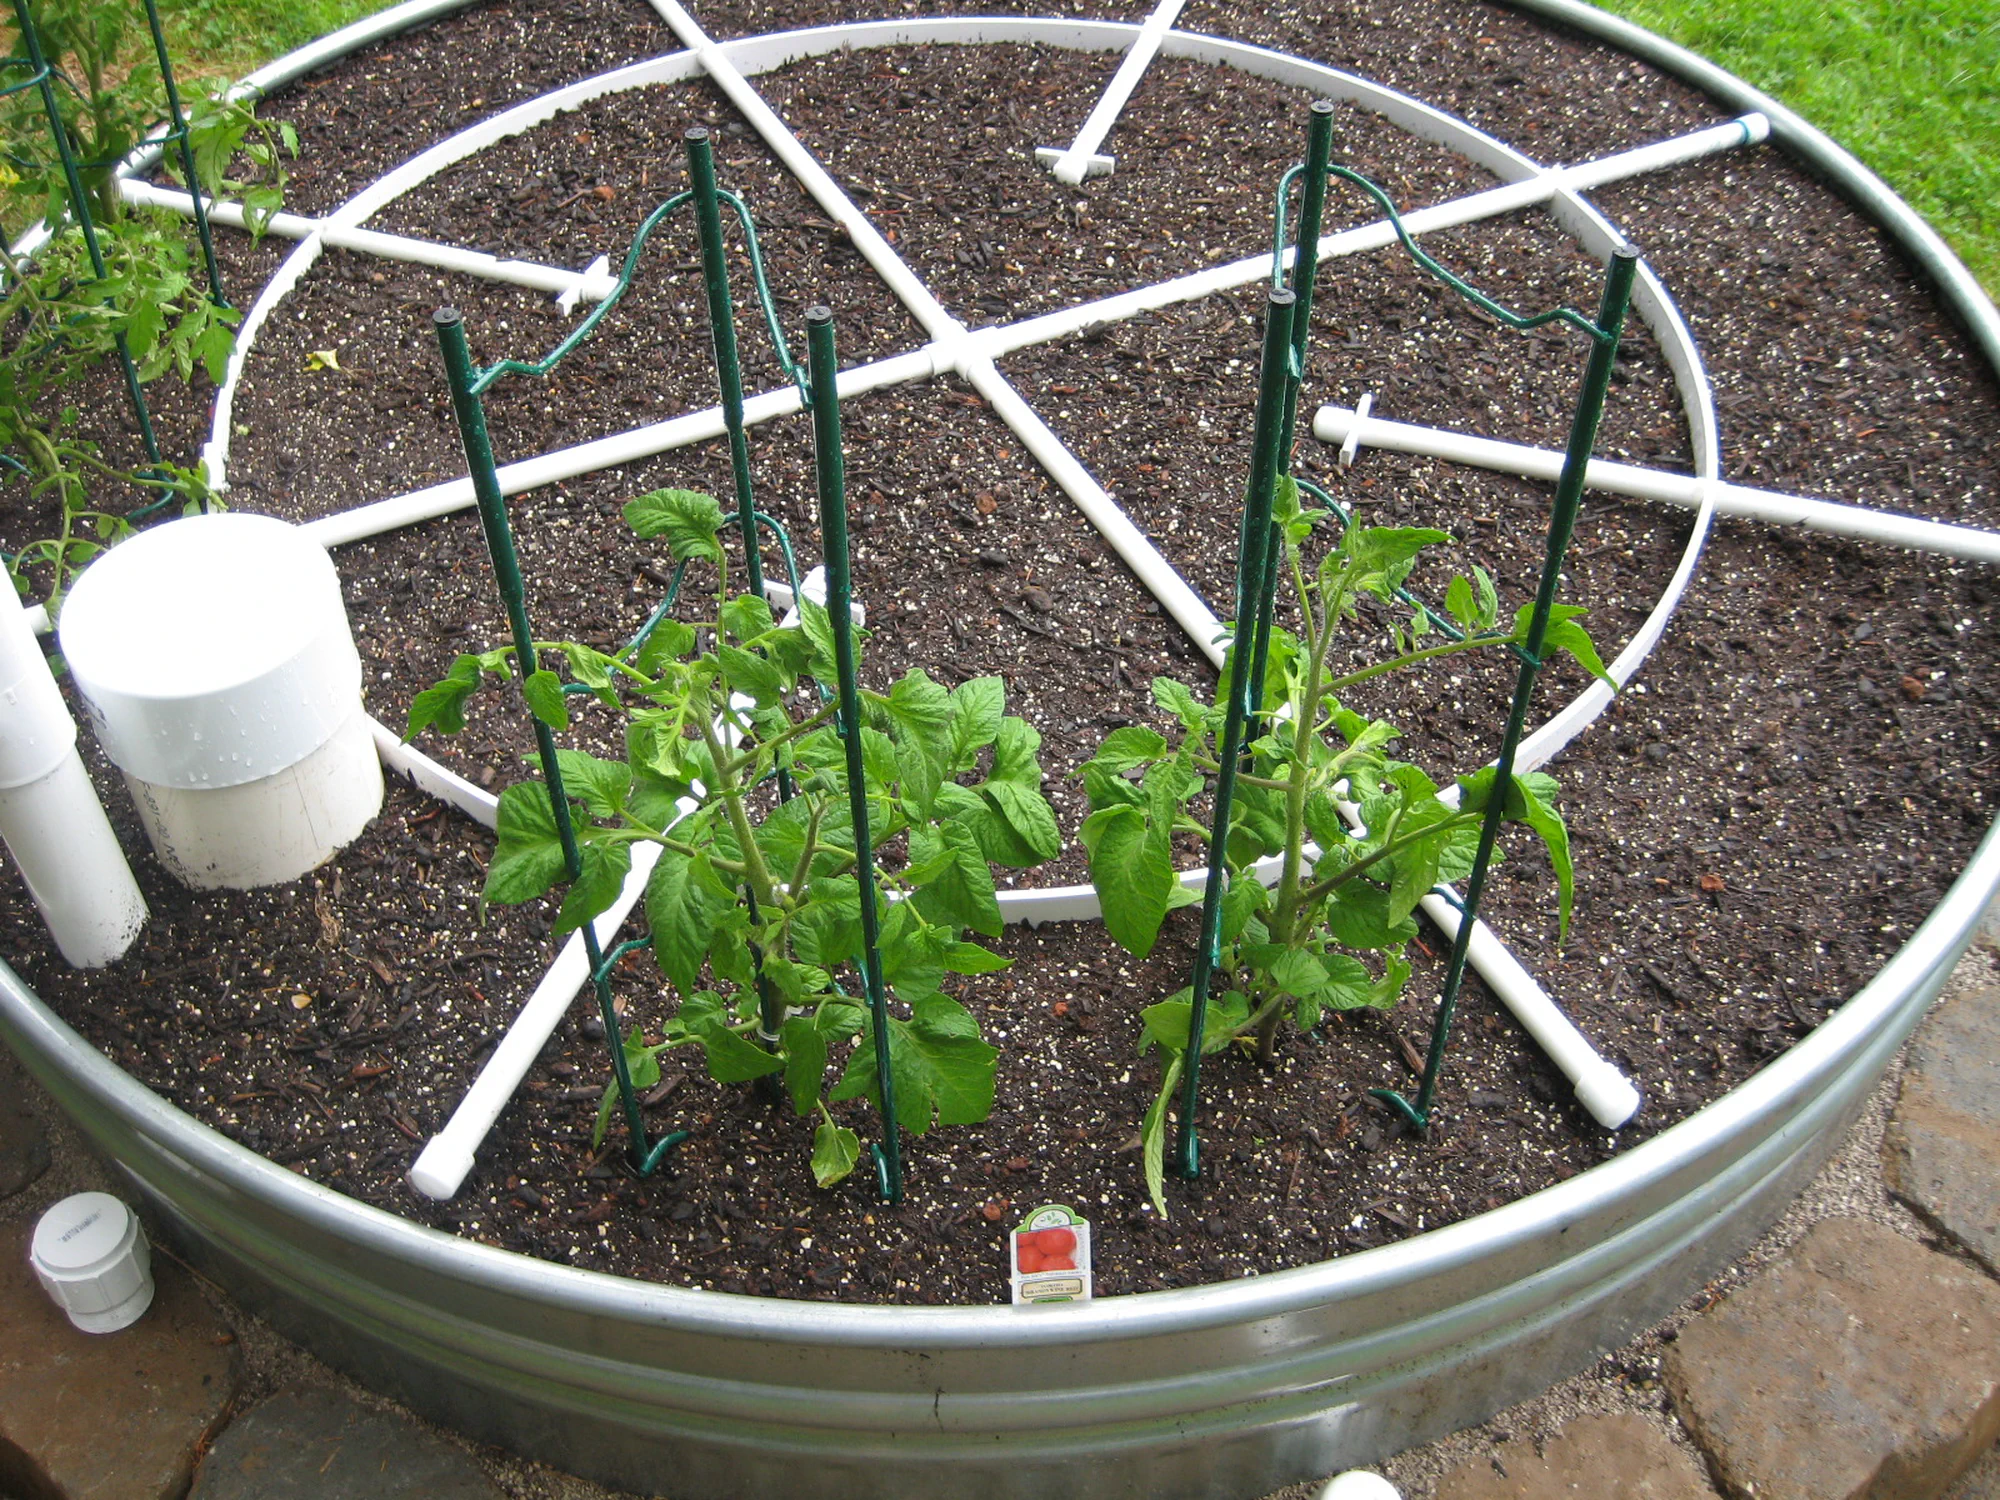
This is the part that makes a wicking bed work. Water gets directed into the bottom, not the top, so the lowest layer holds a reservoir and the soil above it draws moisture up by capillary action. It’s important it didn’t just become a plant swimming pool, which is the purpose of that horizontal pipe with the mesh screen — that’s the overflow.

Inside the floor: a PVC distribution manifold. Water enters at the bottom and spreads across the whole footprint instead of pooling in one spot. The vertical pipe is the fill riser; the threaded port feeds out through the wall as an overflow.
The manifold from another angle, fill riser standing out of the tank.
Both tanks sited at the edge of the woods, risers up. Sadly those leyland cypress trees in the background could've used a wicking watering system.
Pea gravel poured over the manifold. This is the reservoir the bed wicks from. The side overflow outlet sets the maximum water level and spills the rest, so the bed can't waterlog.

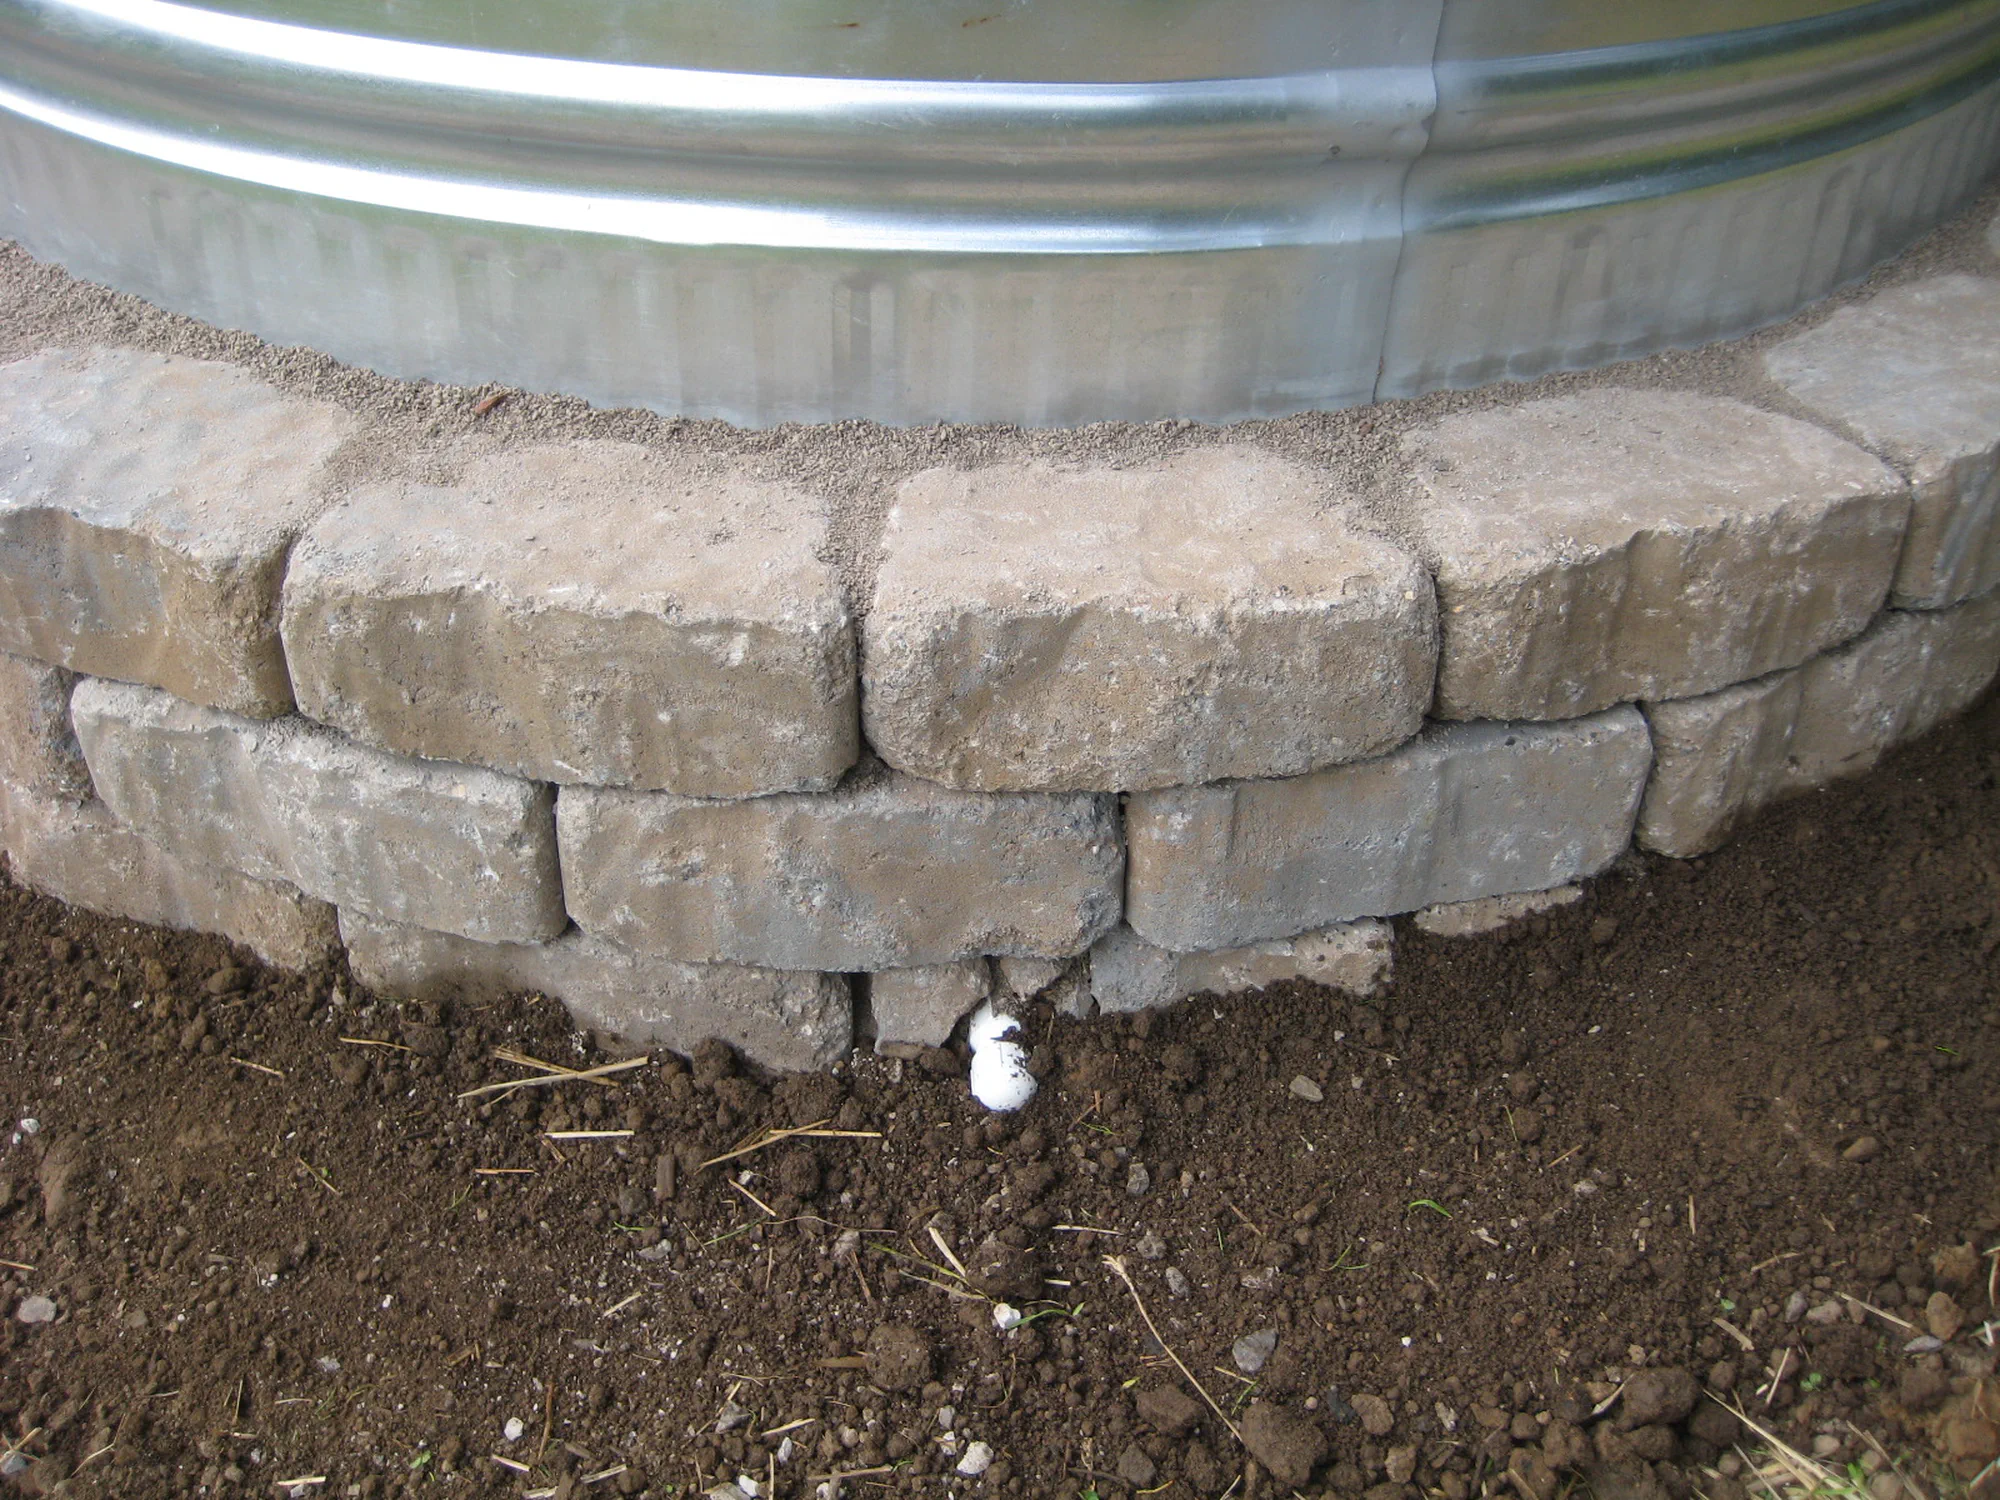
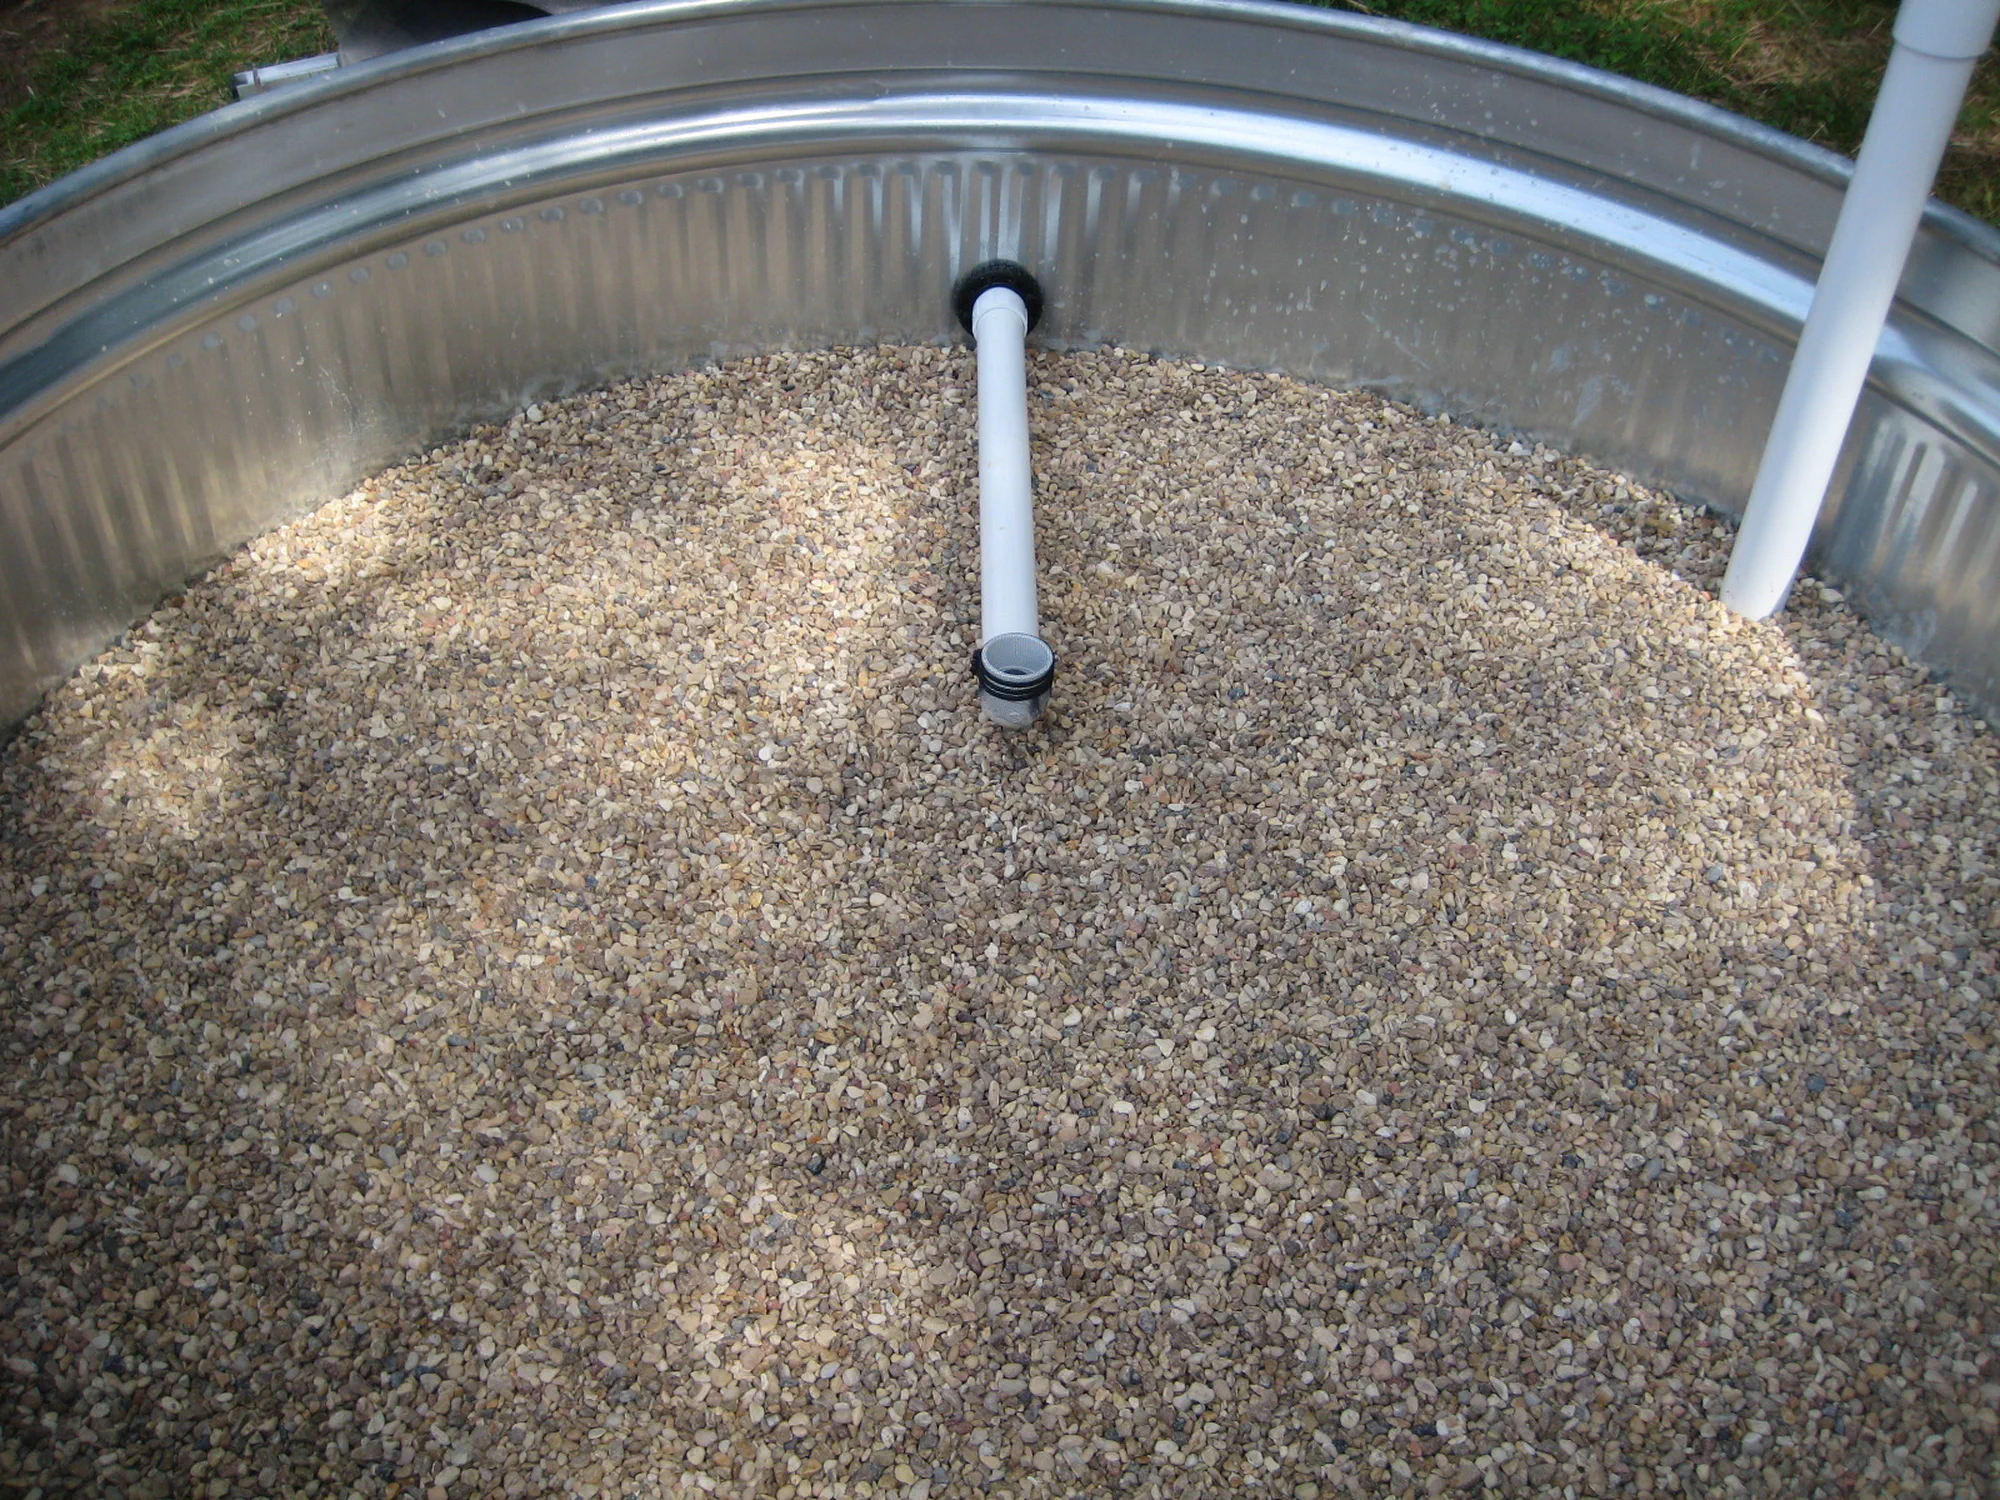
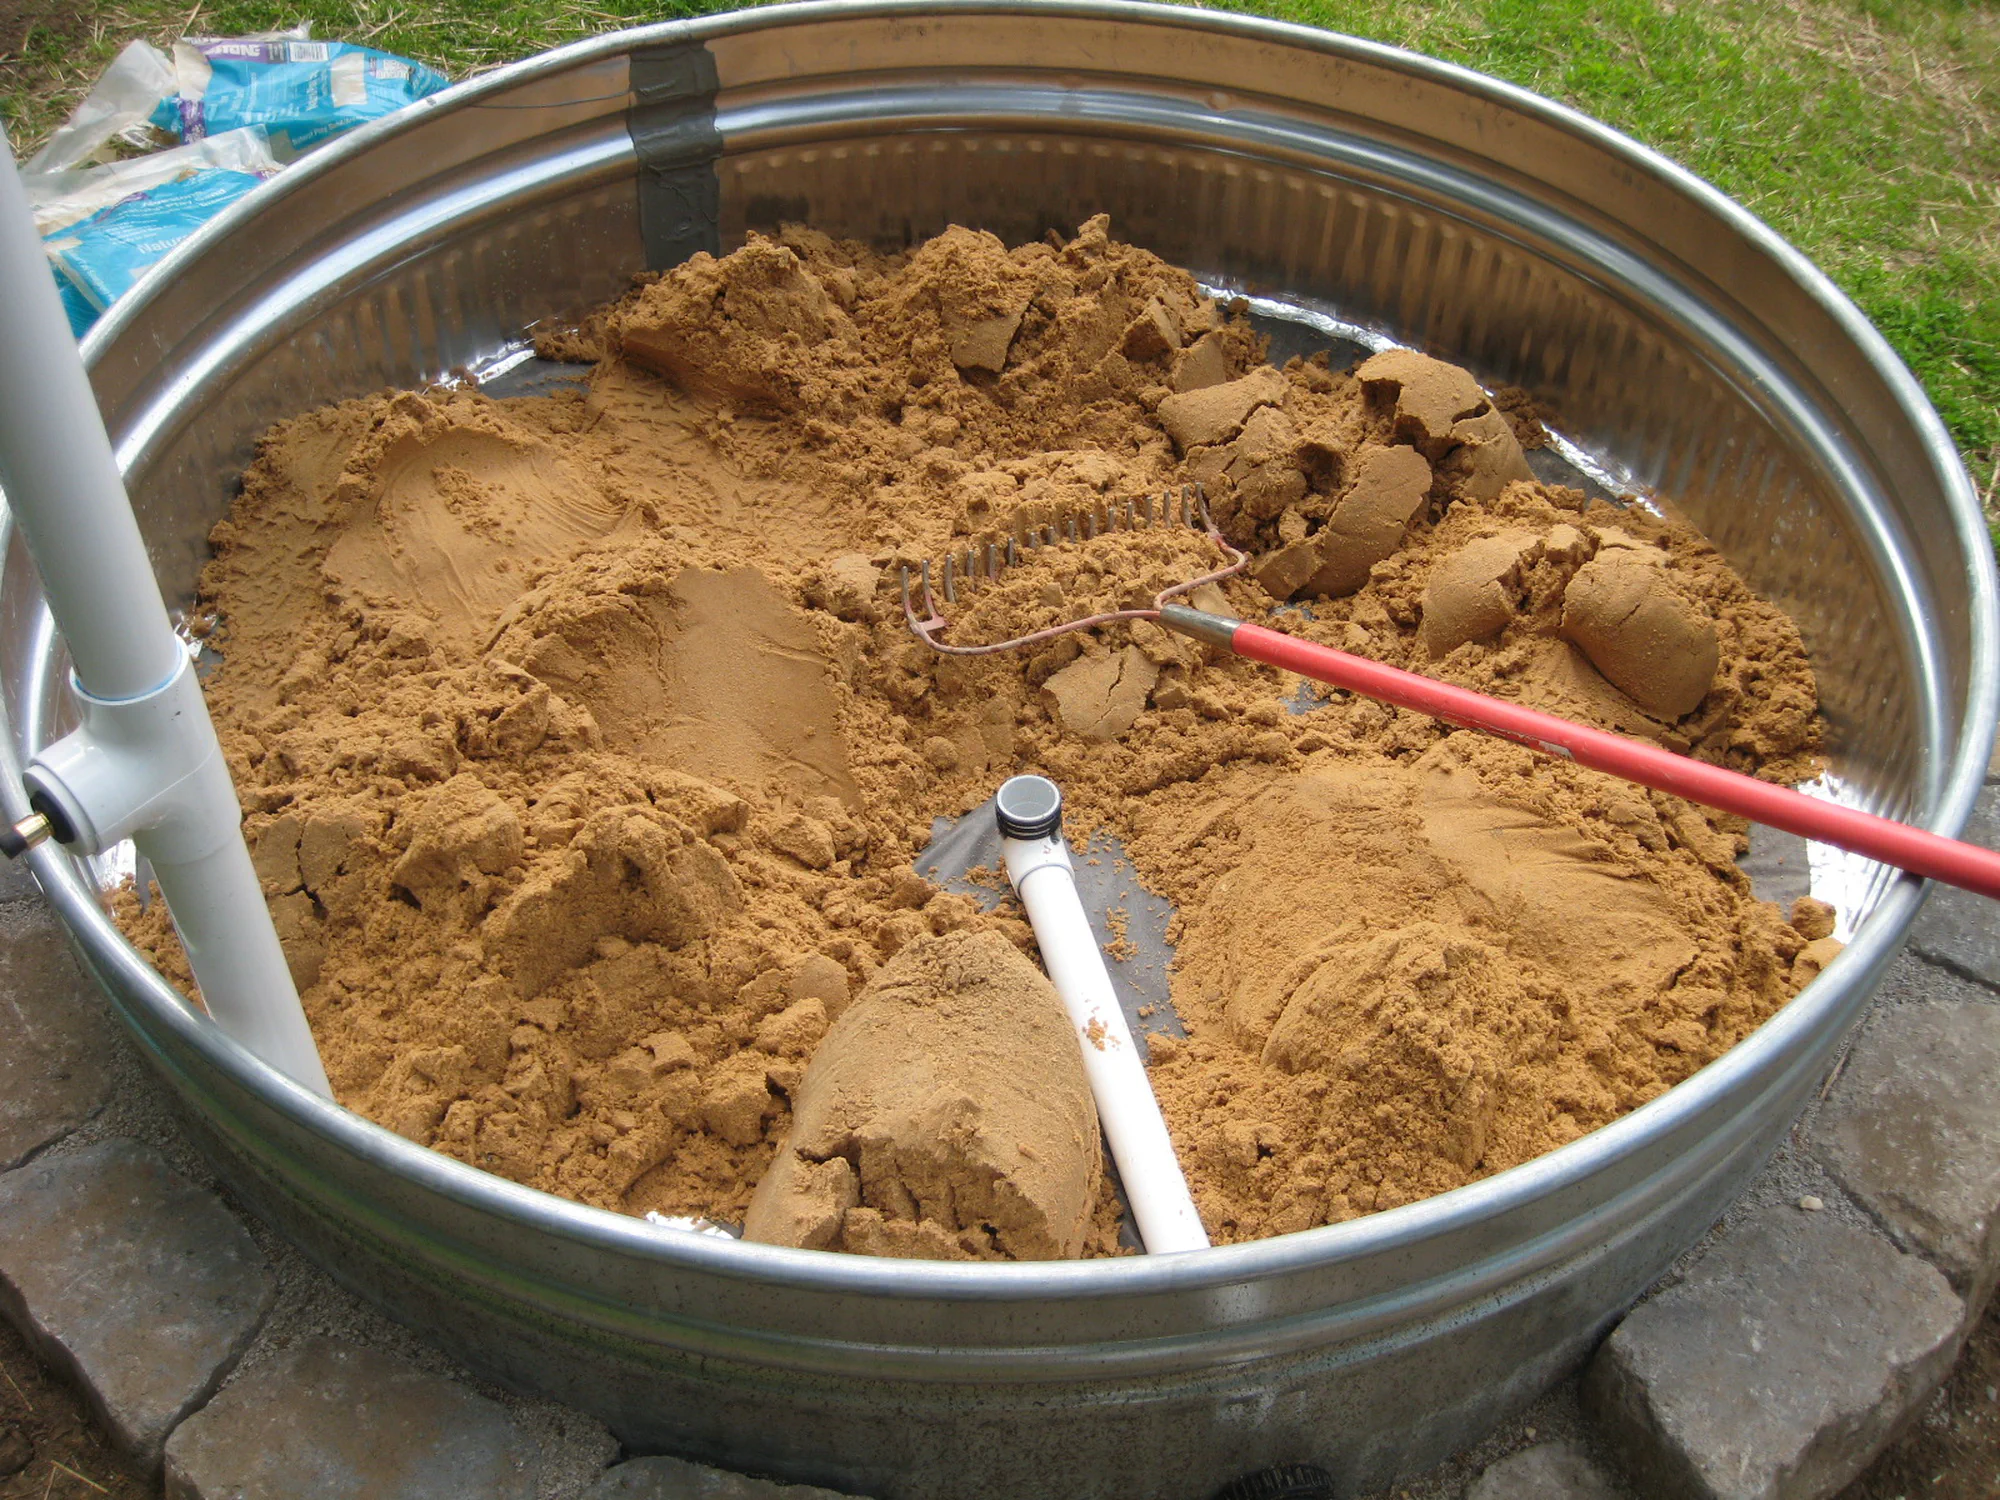
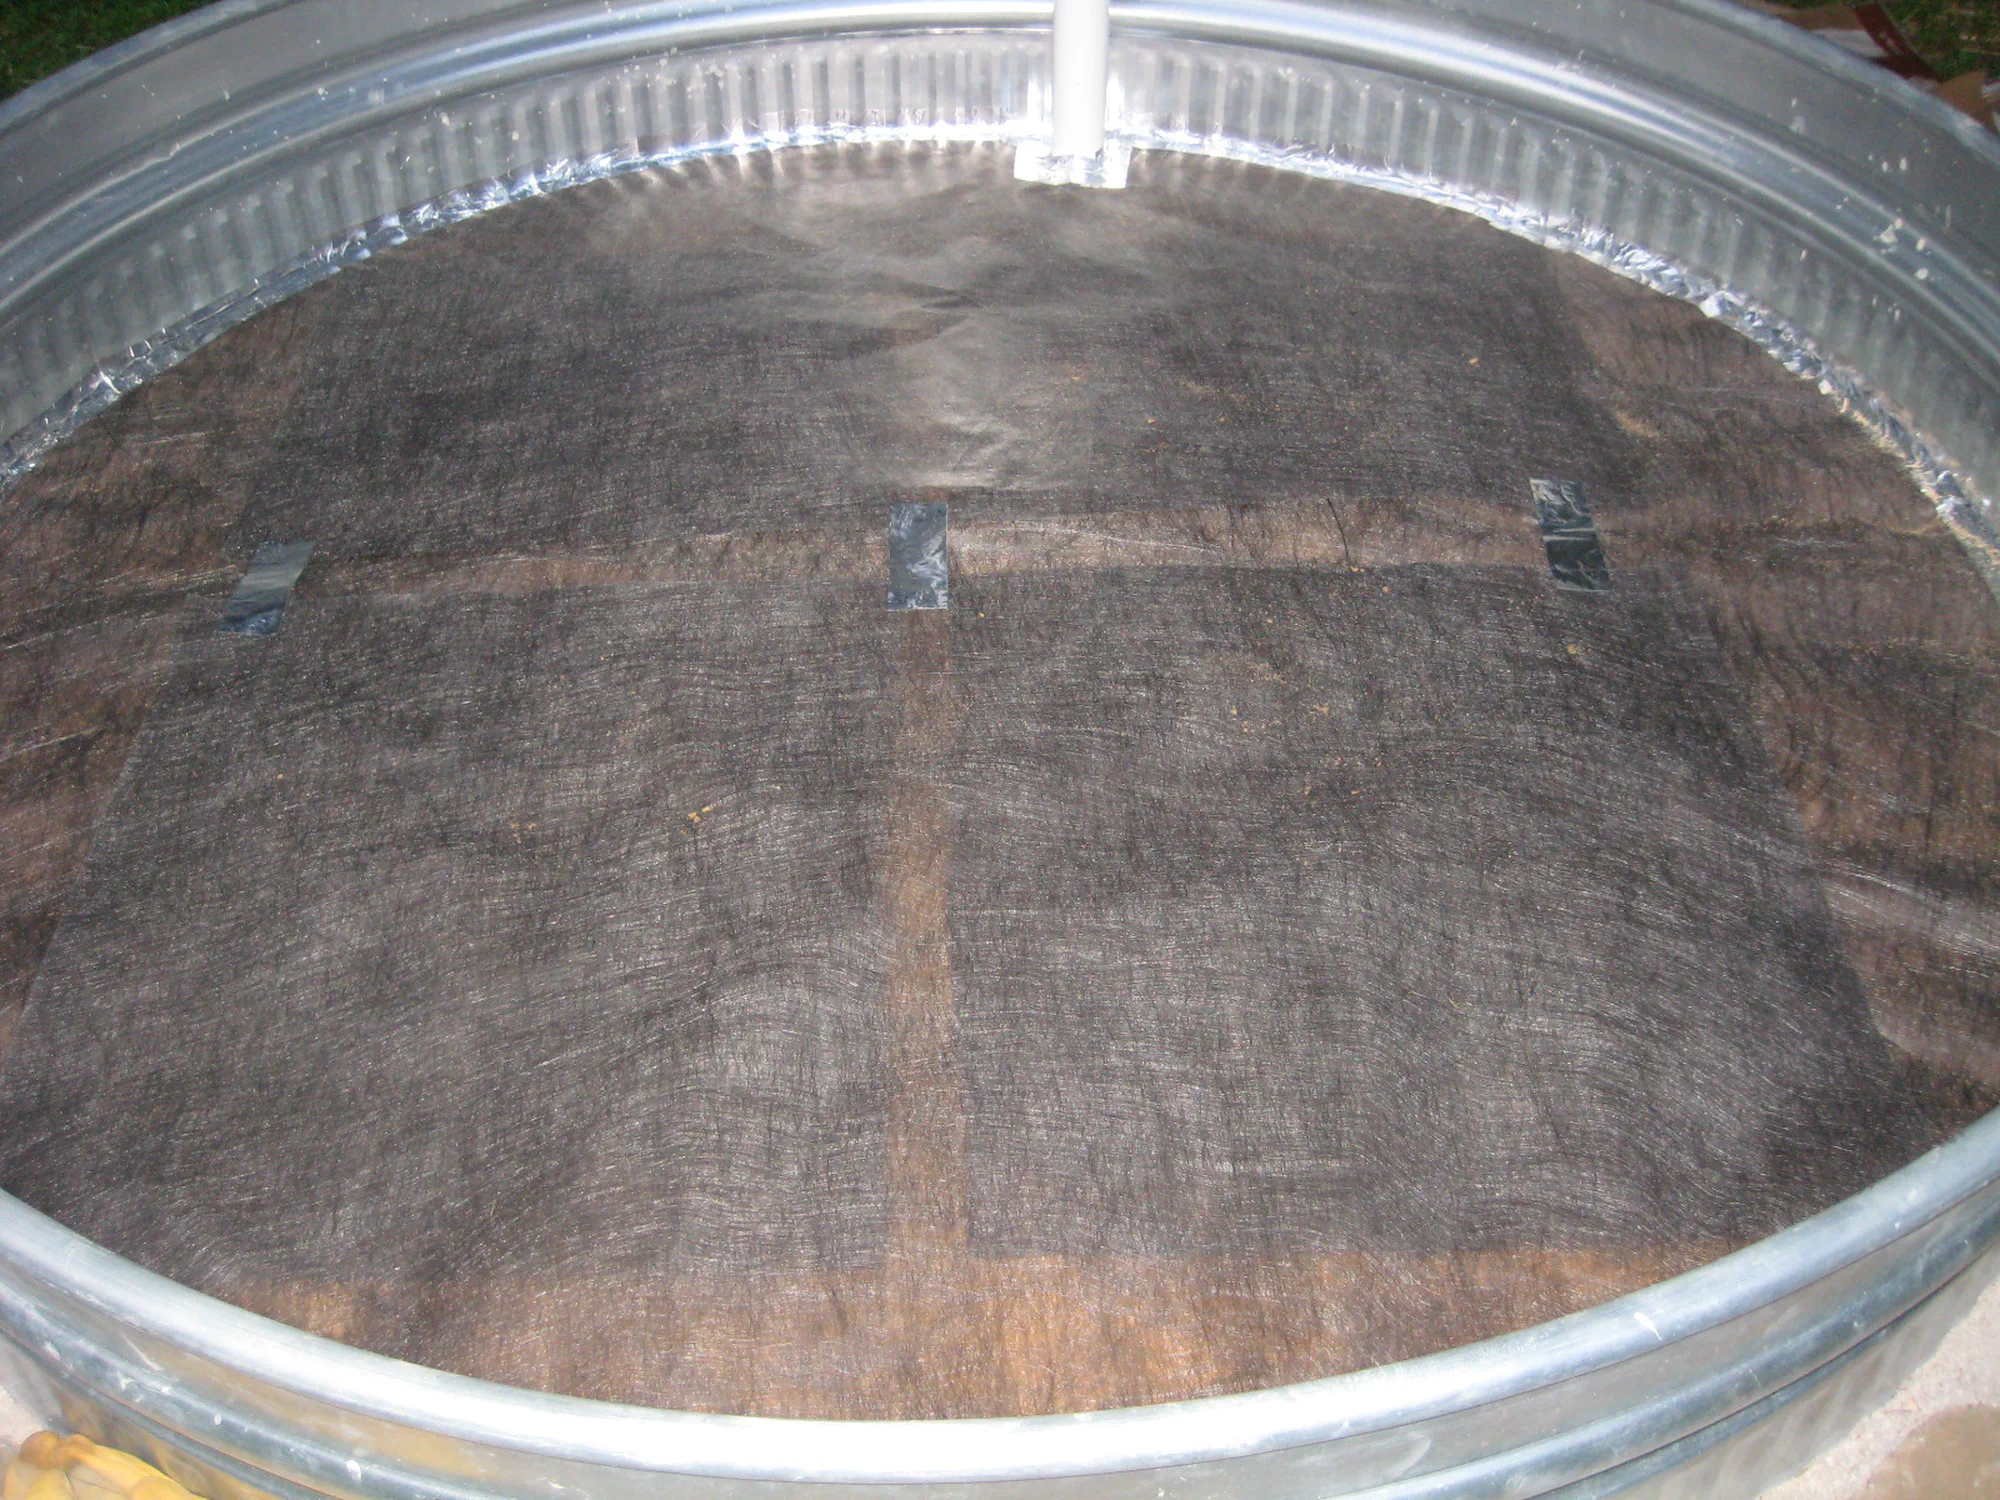
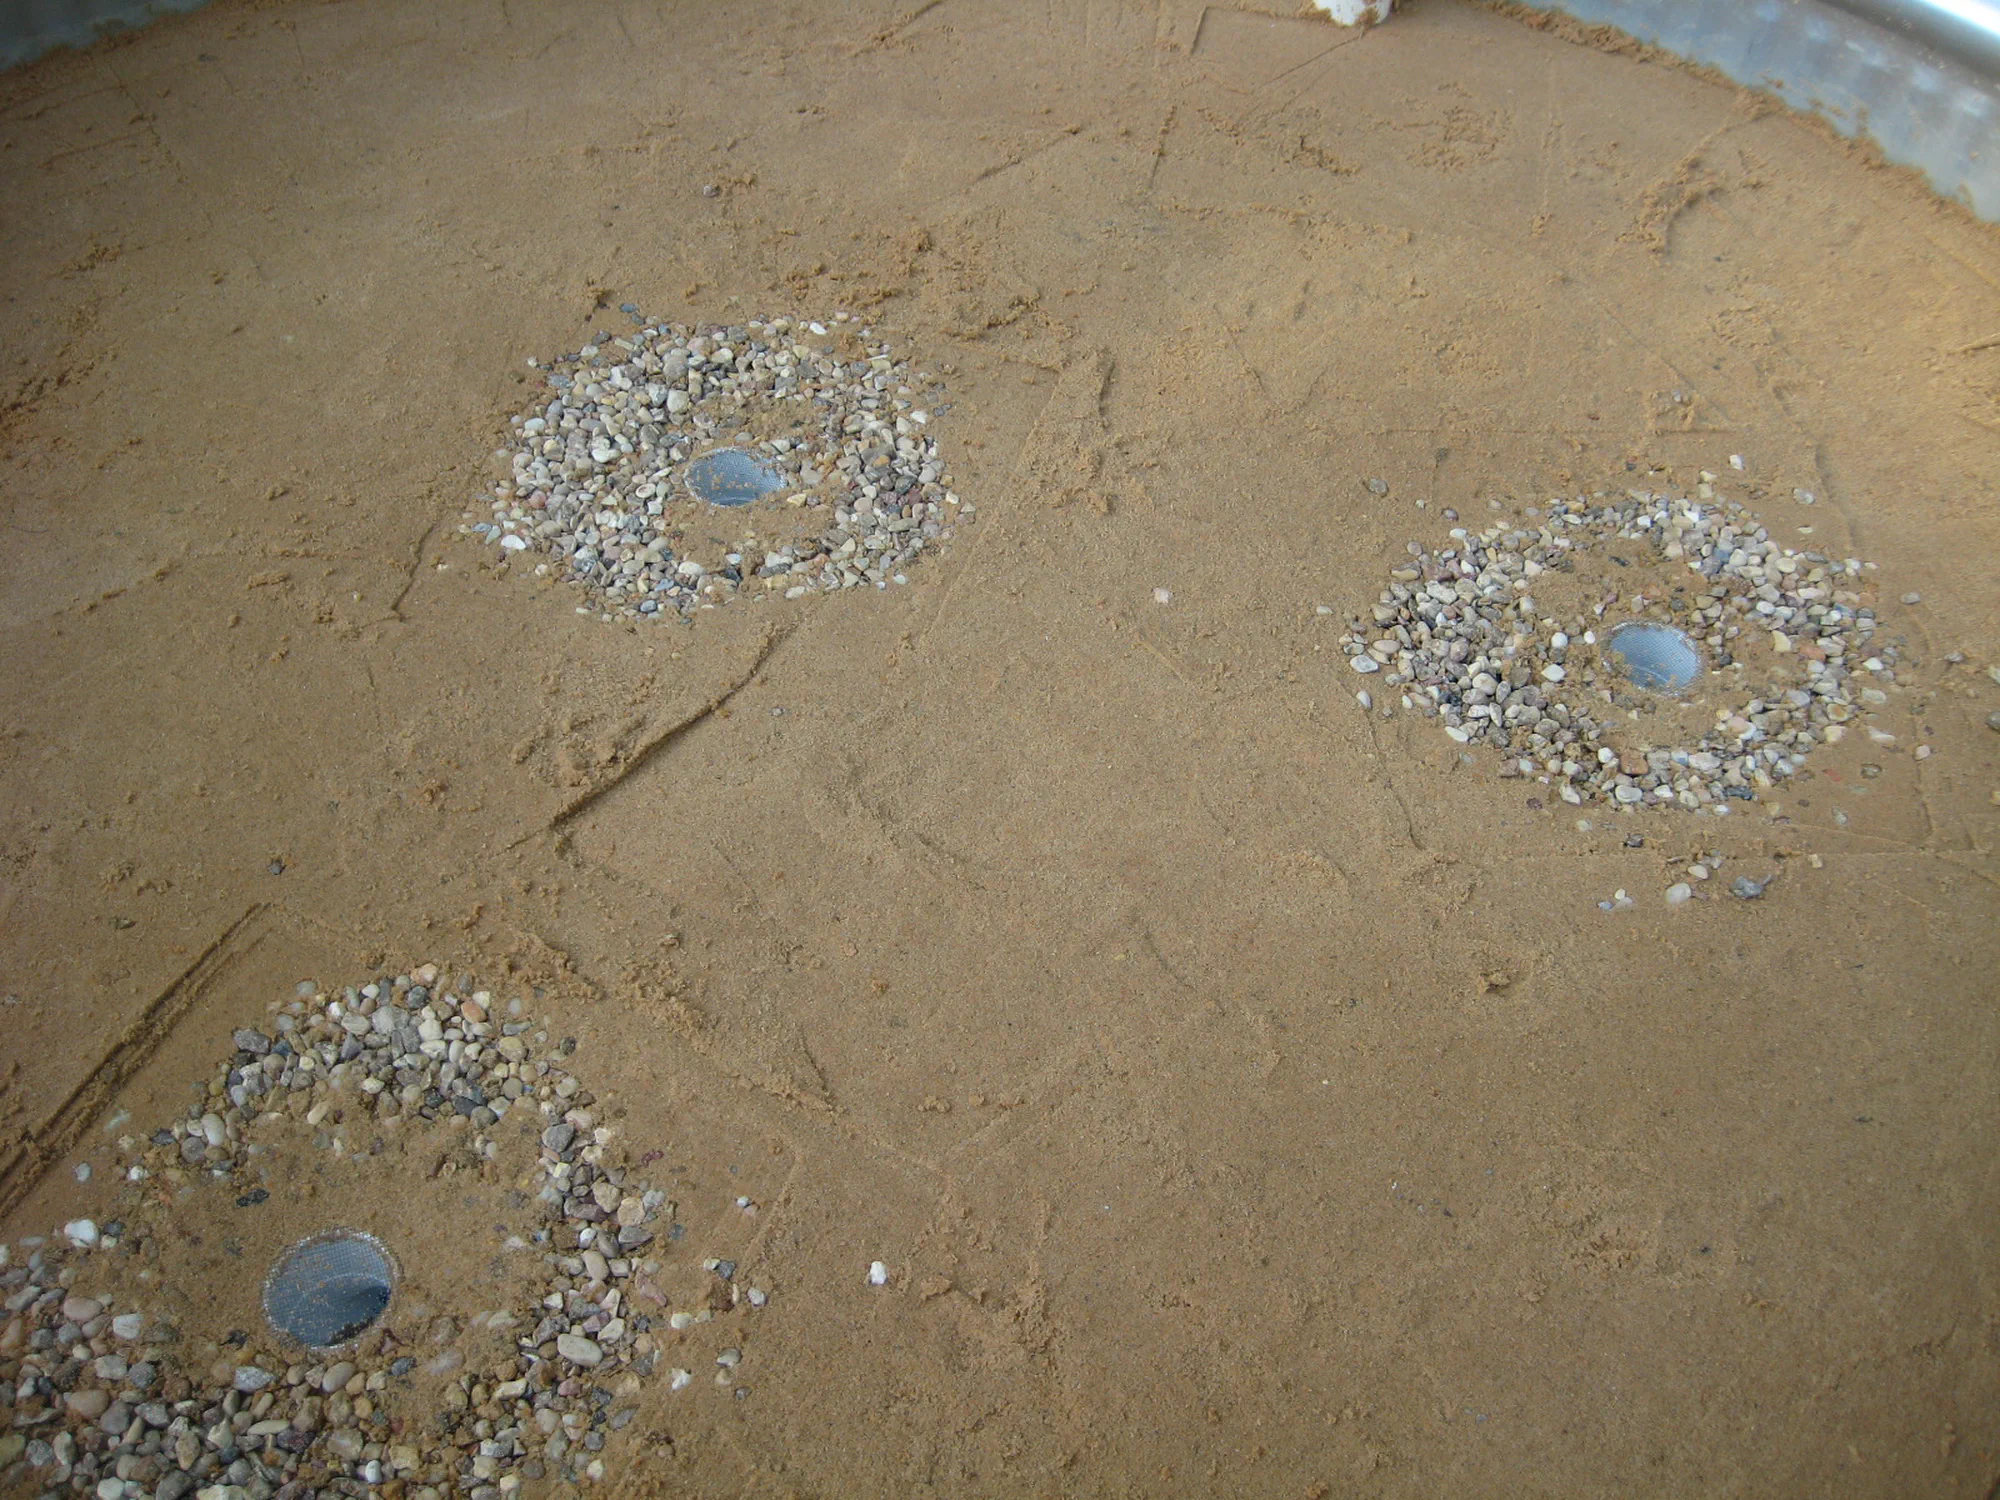
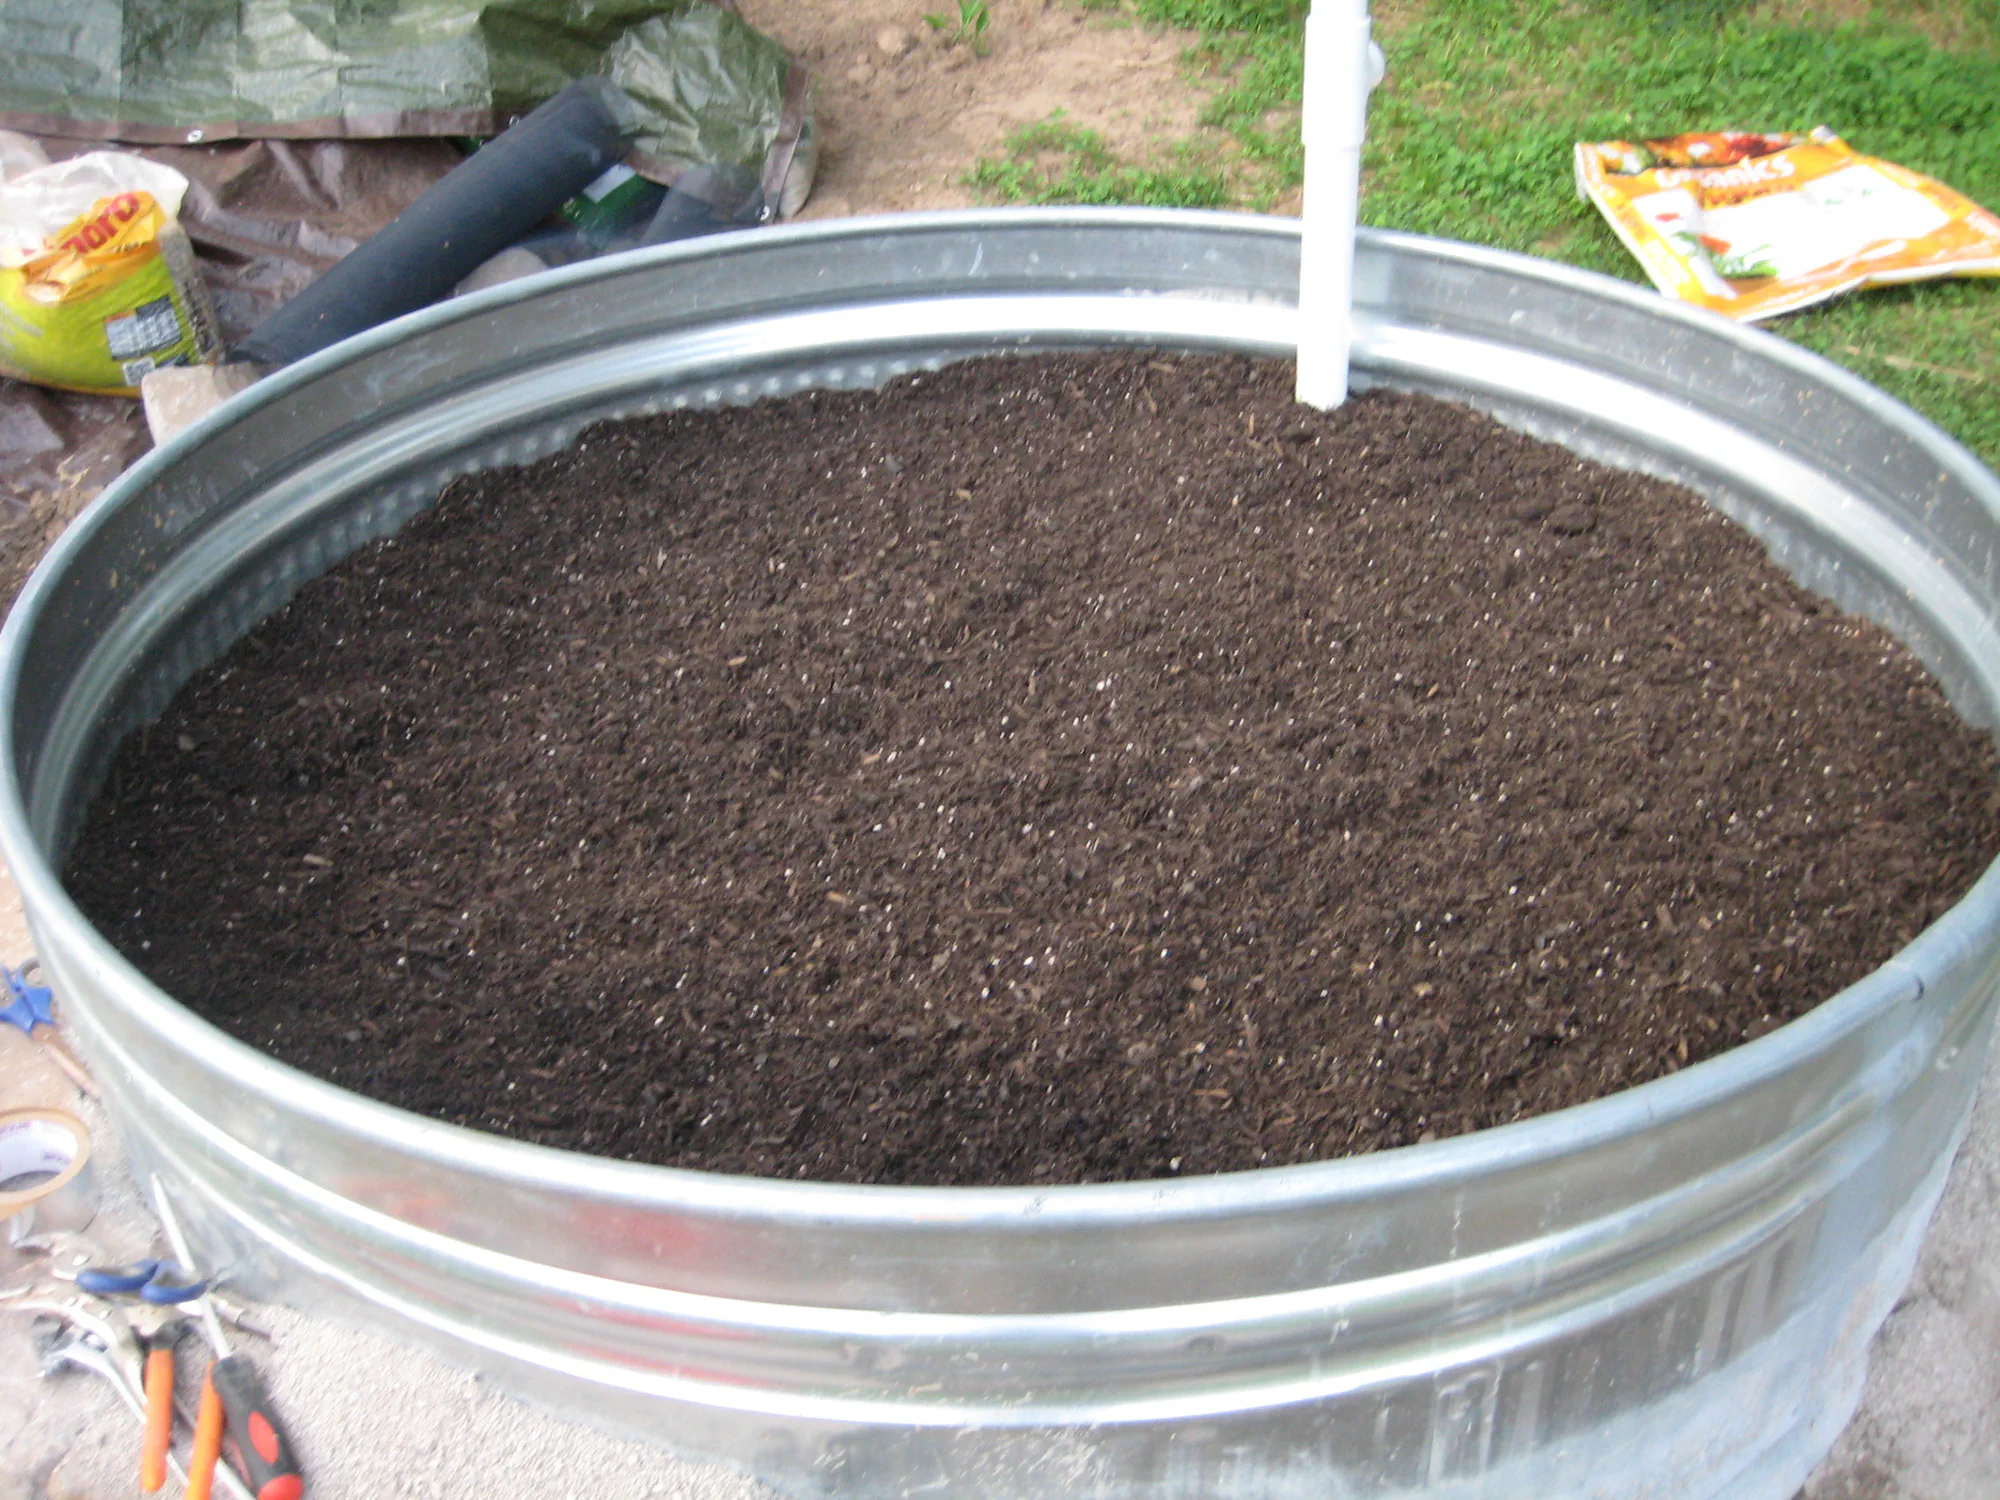
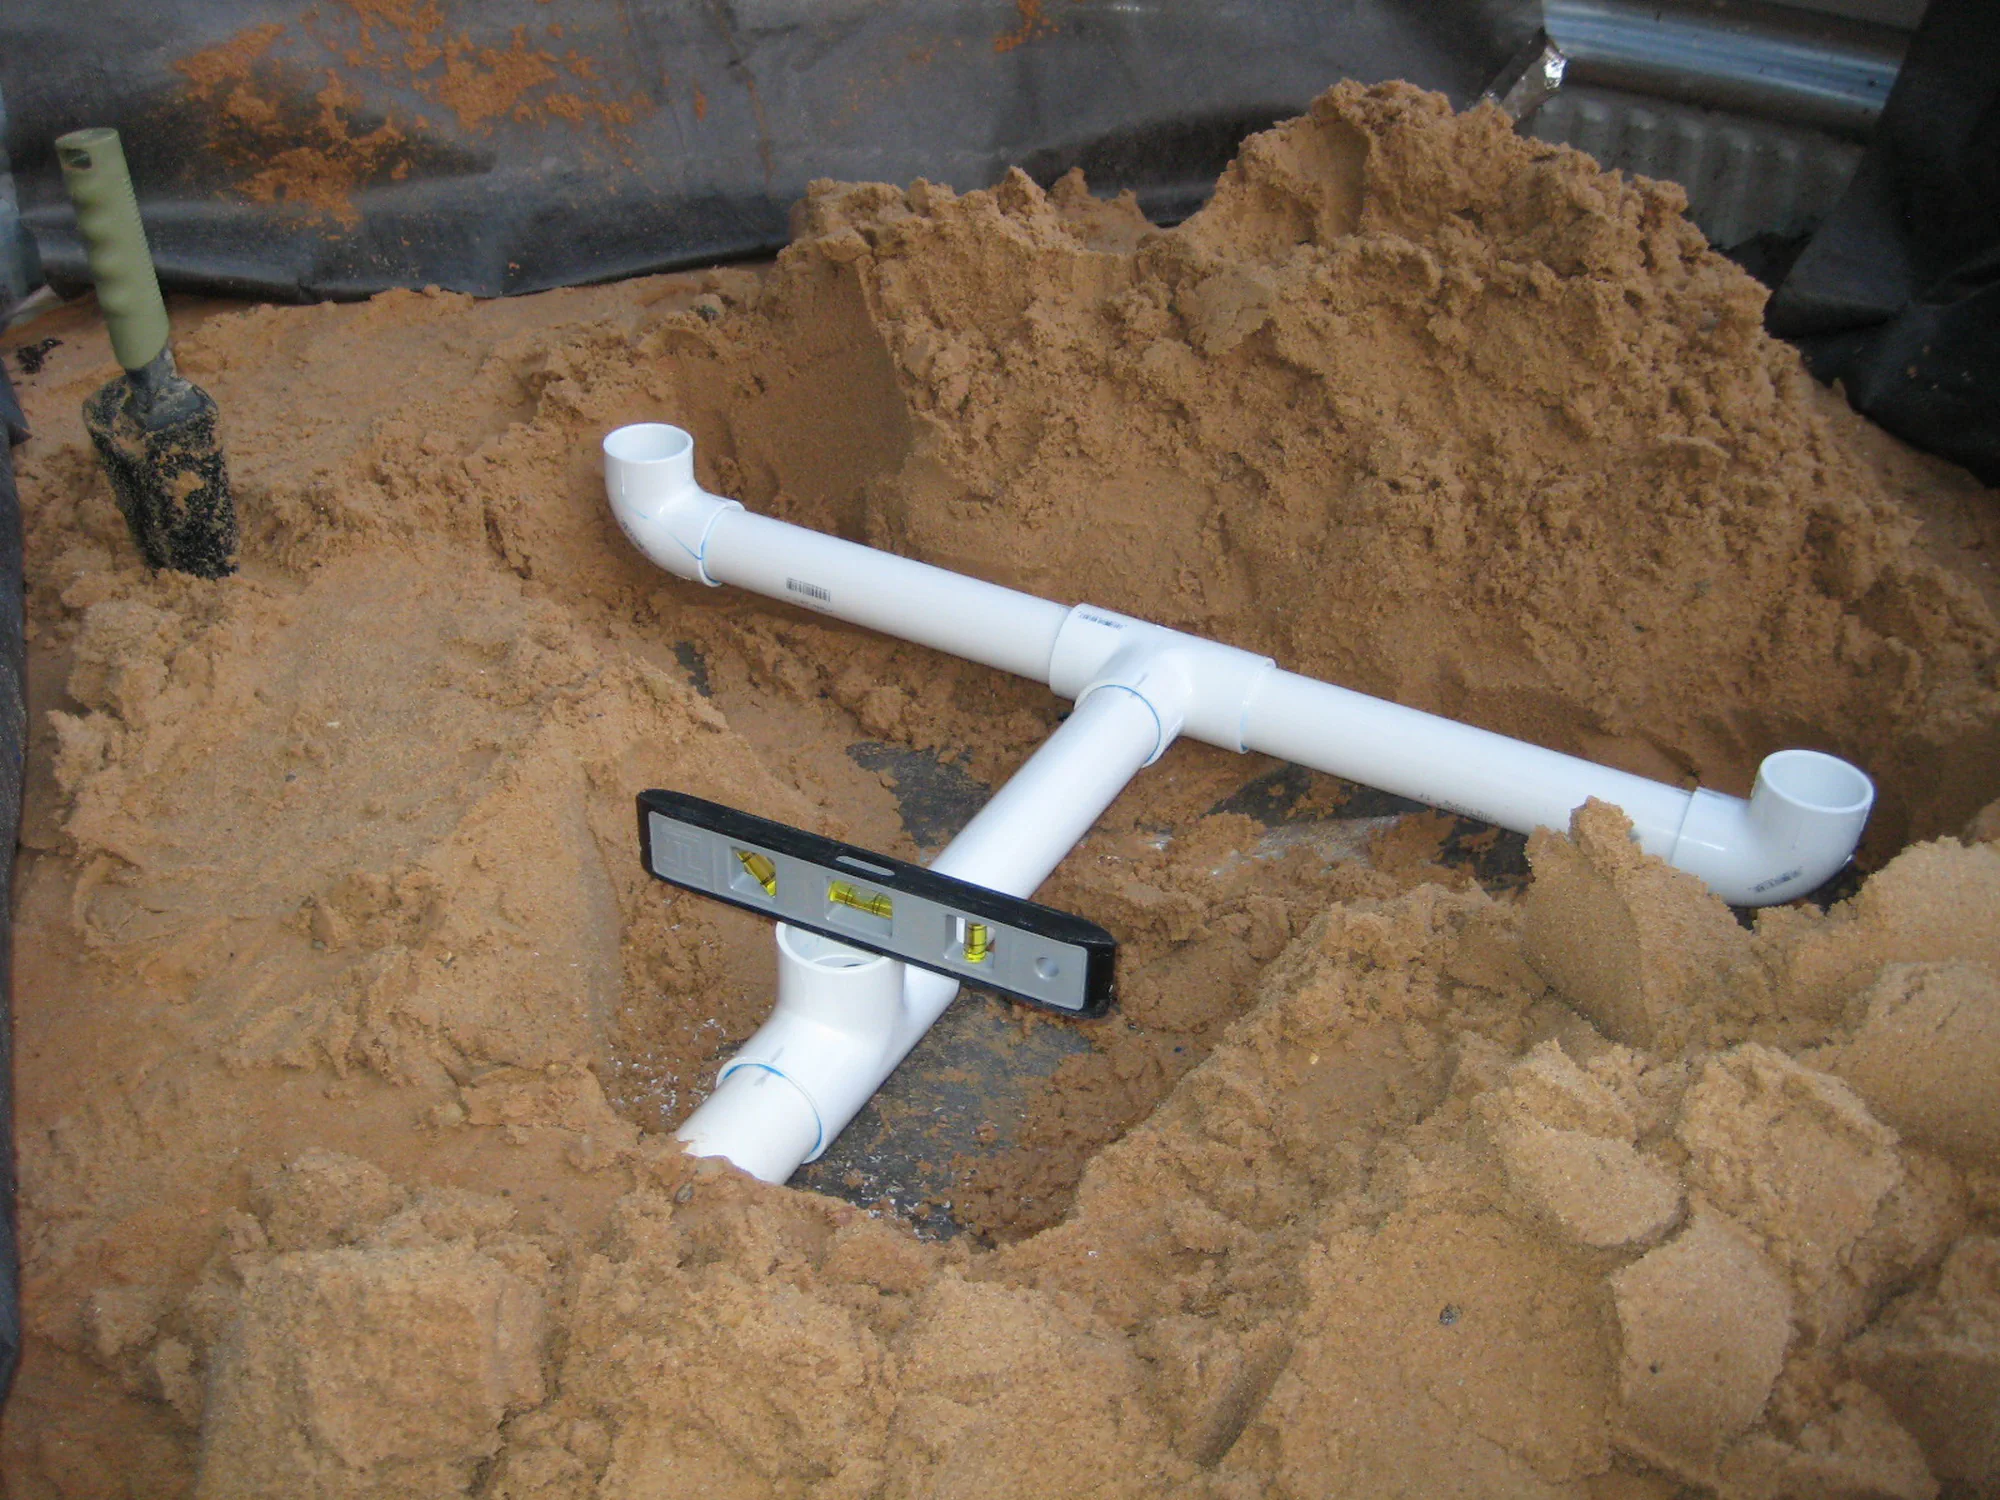
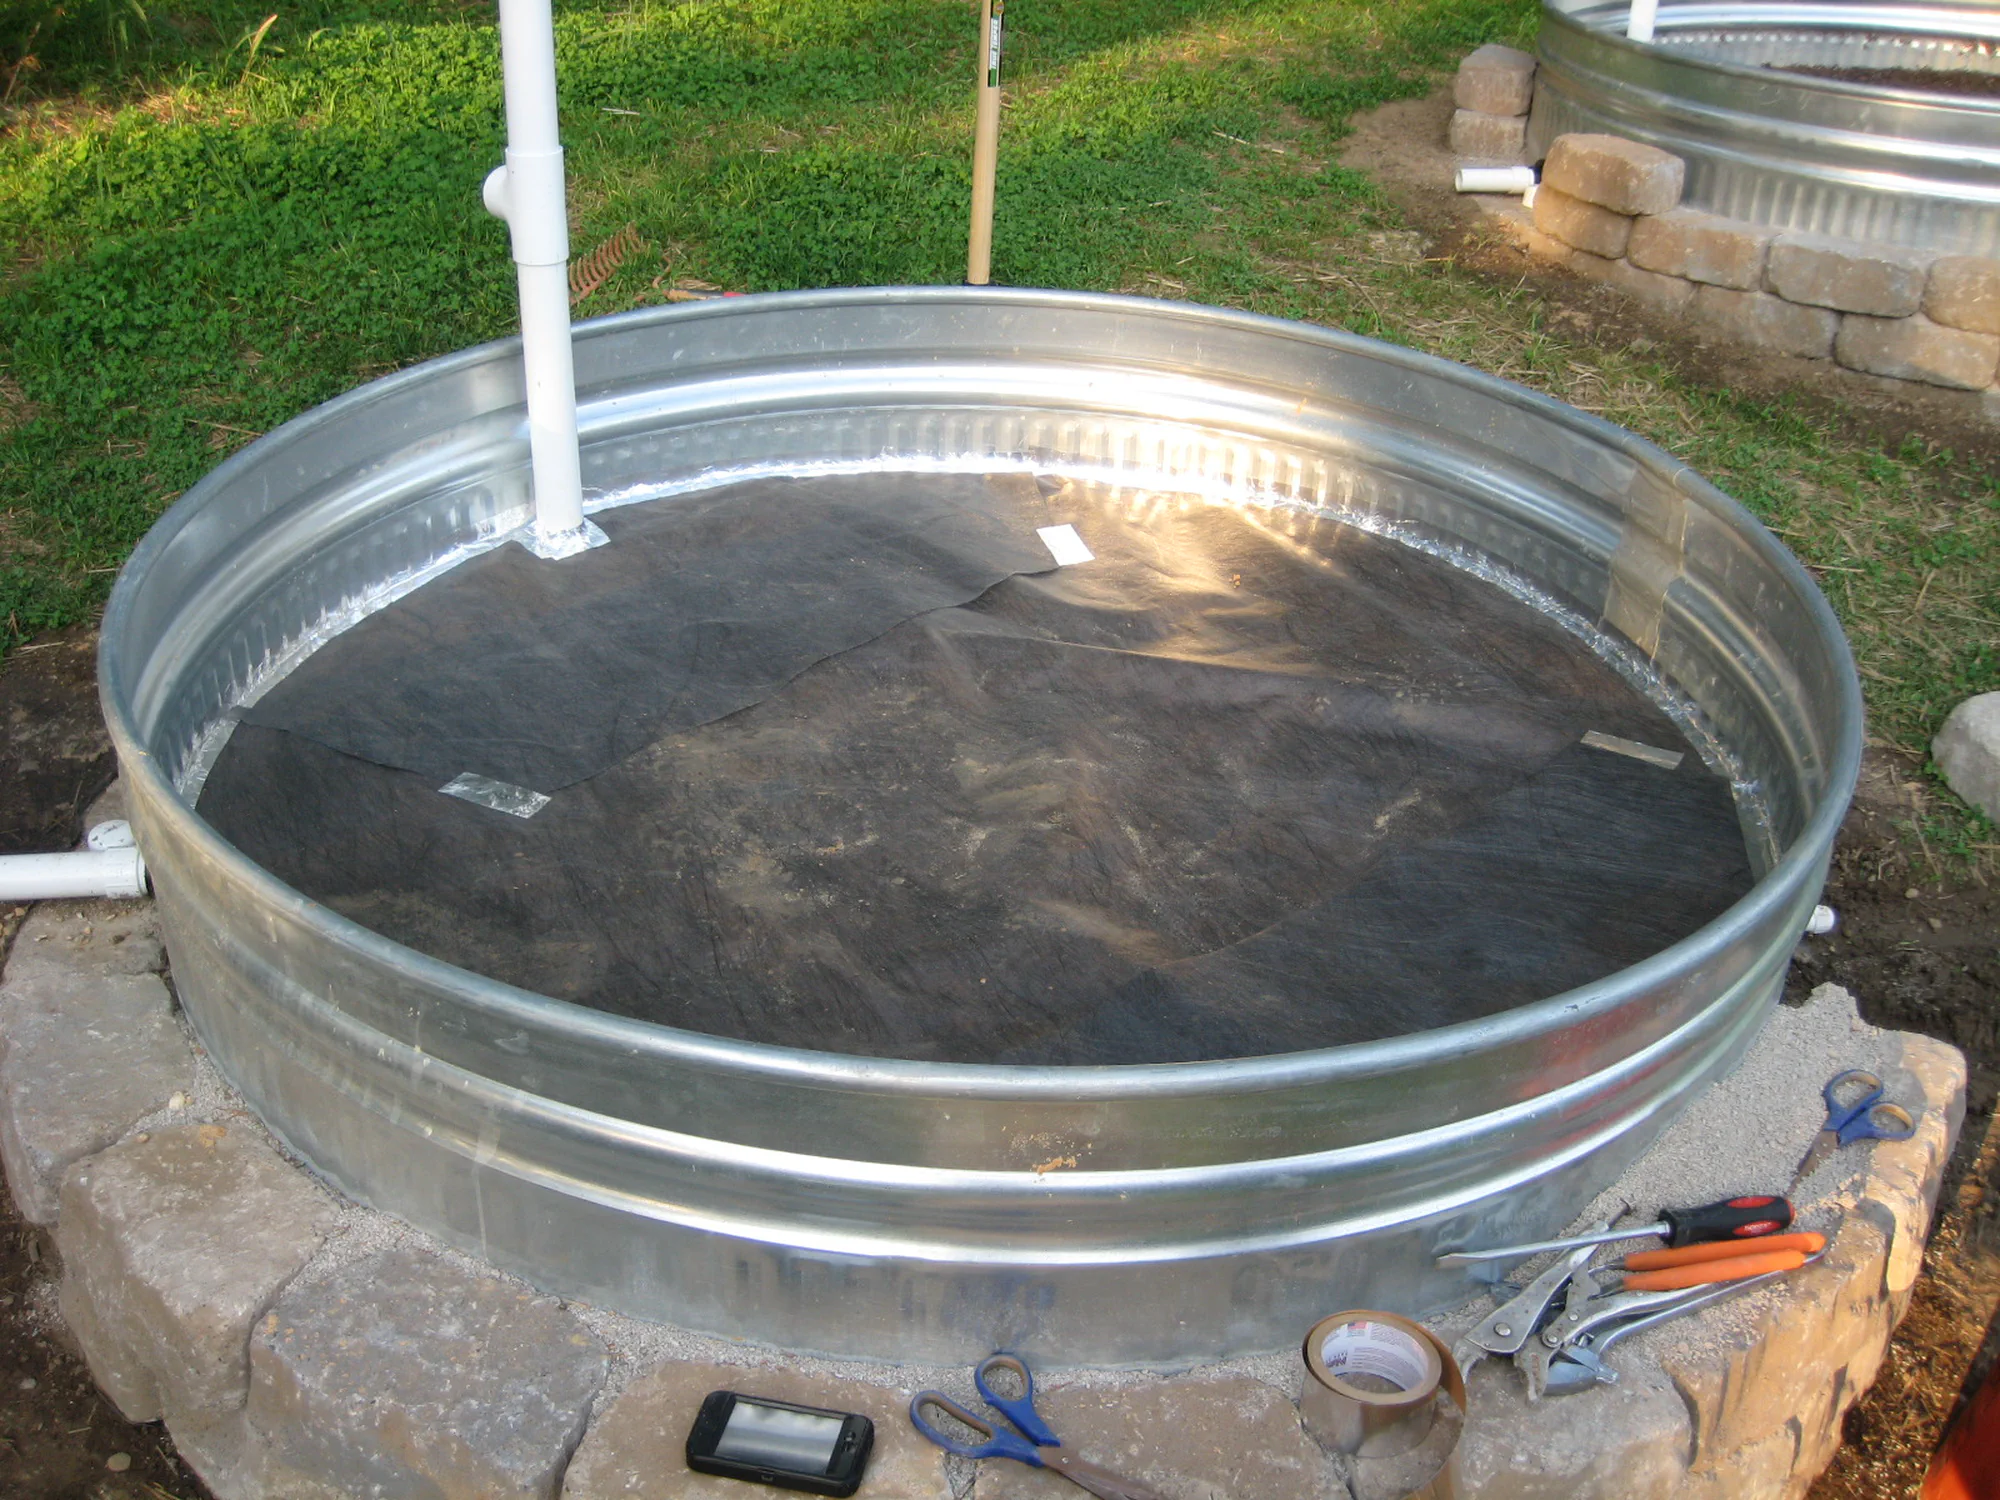
Building up the layers
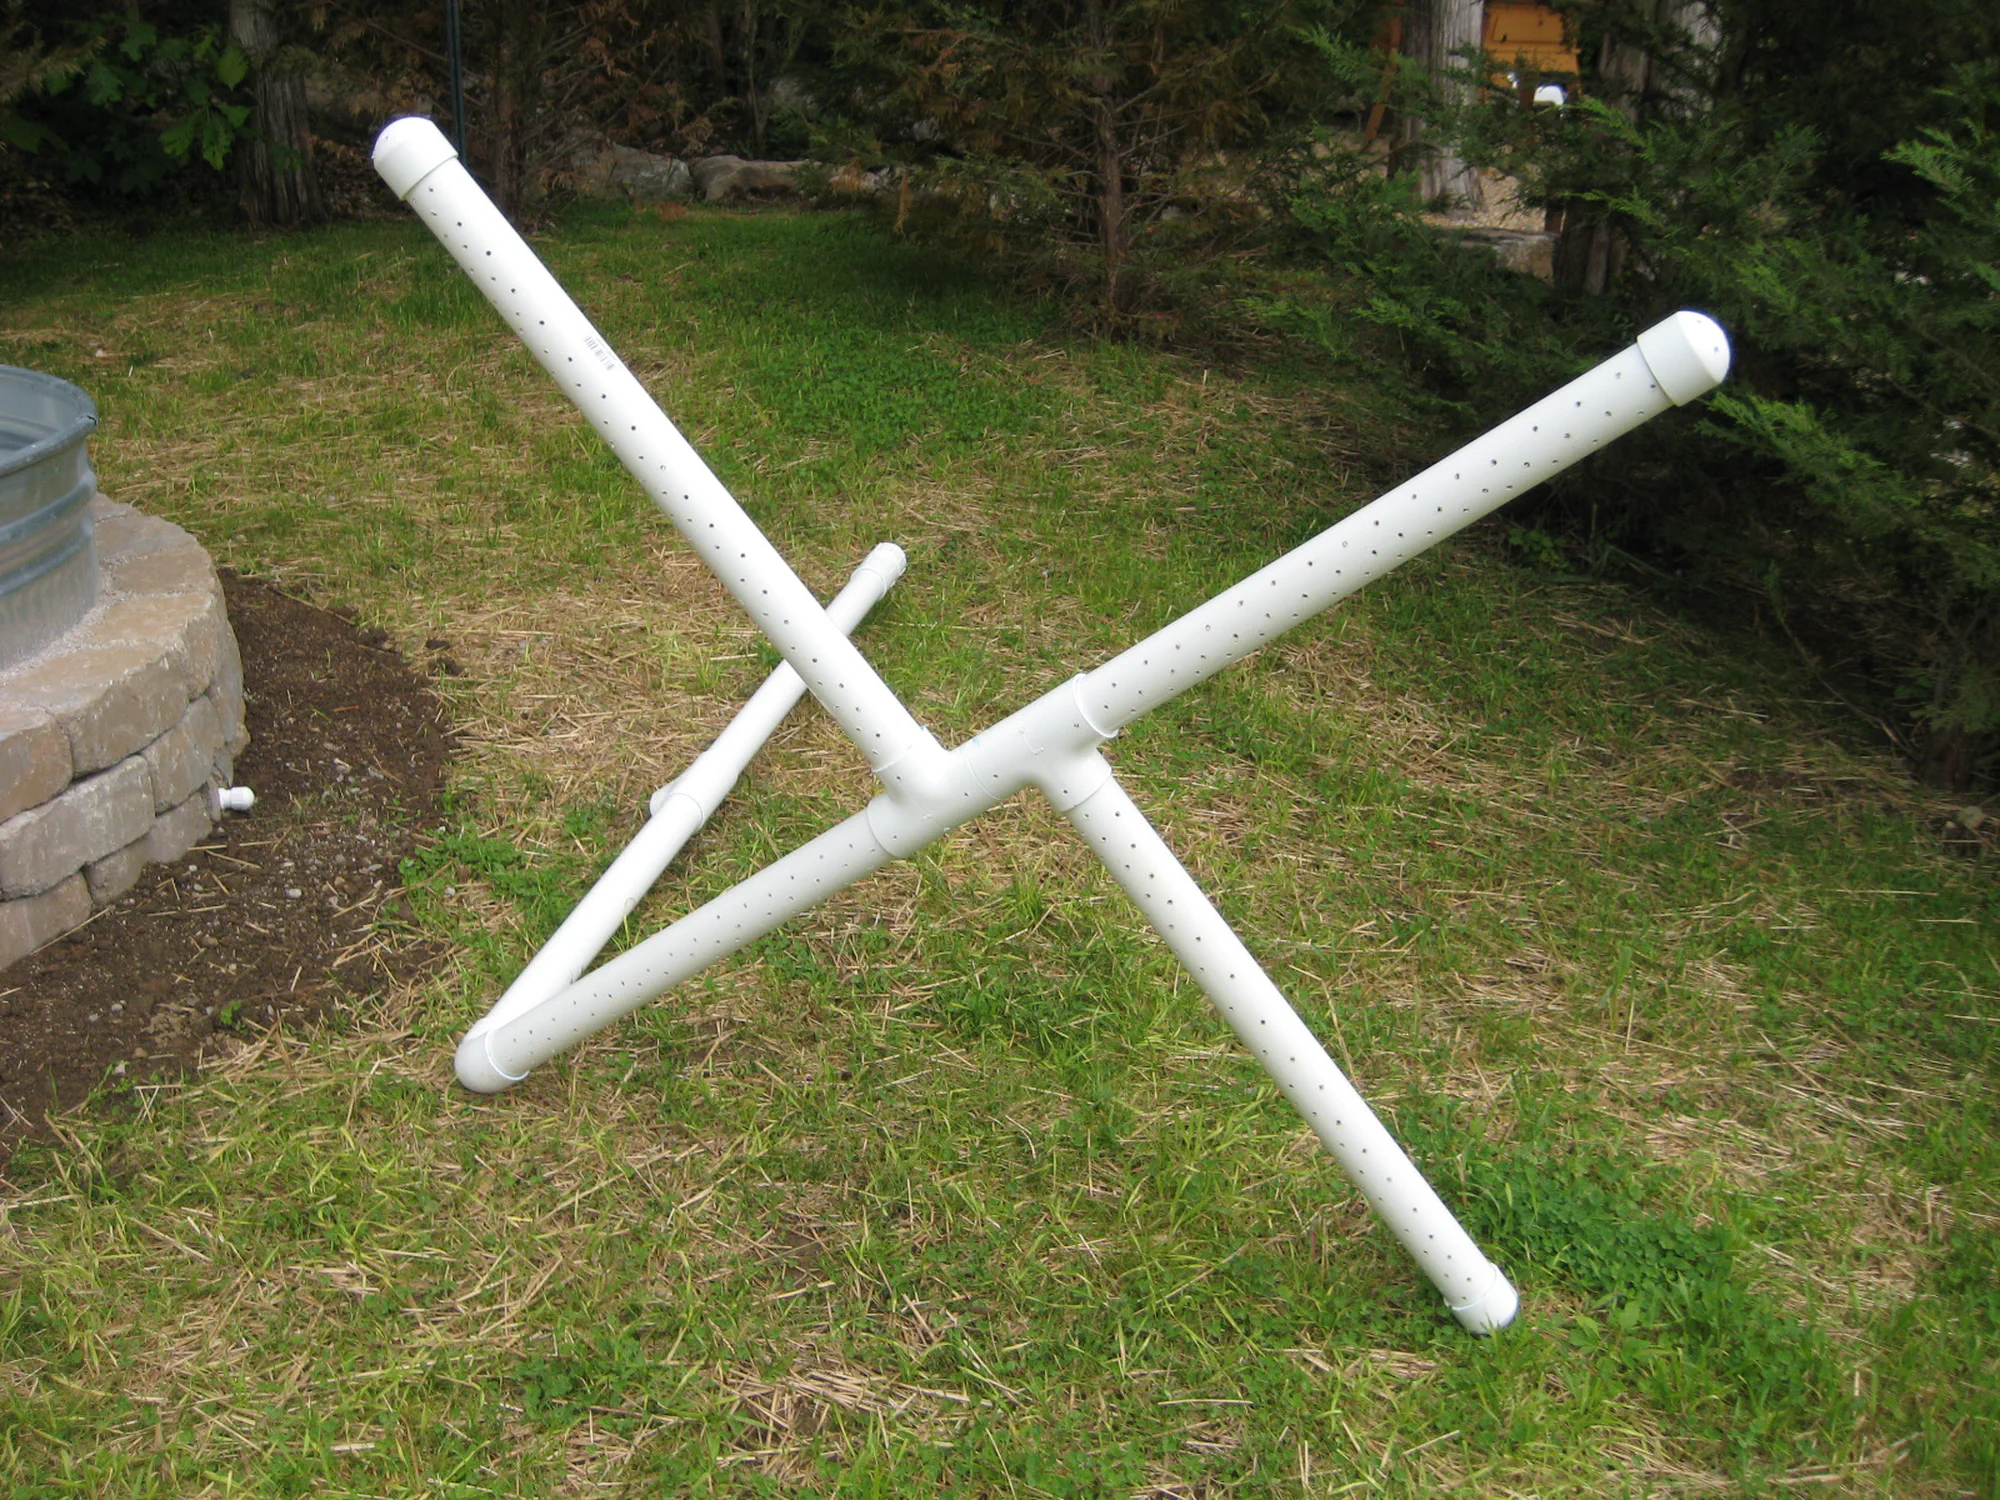
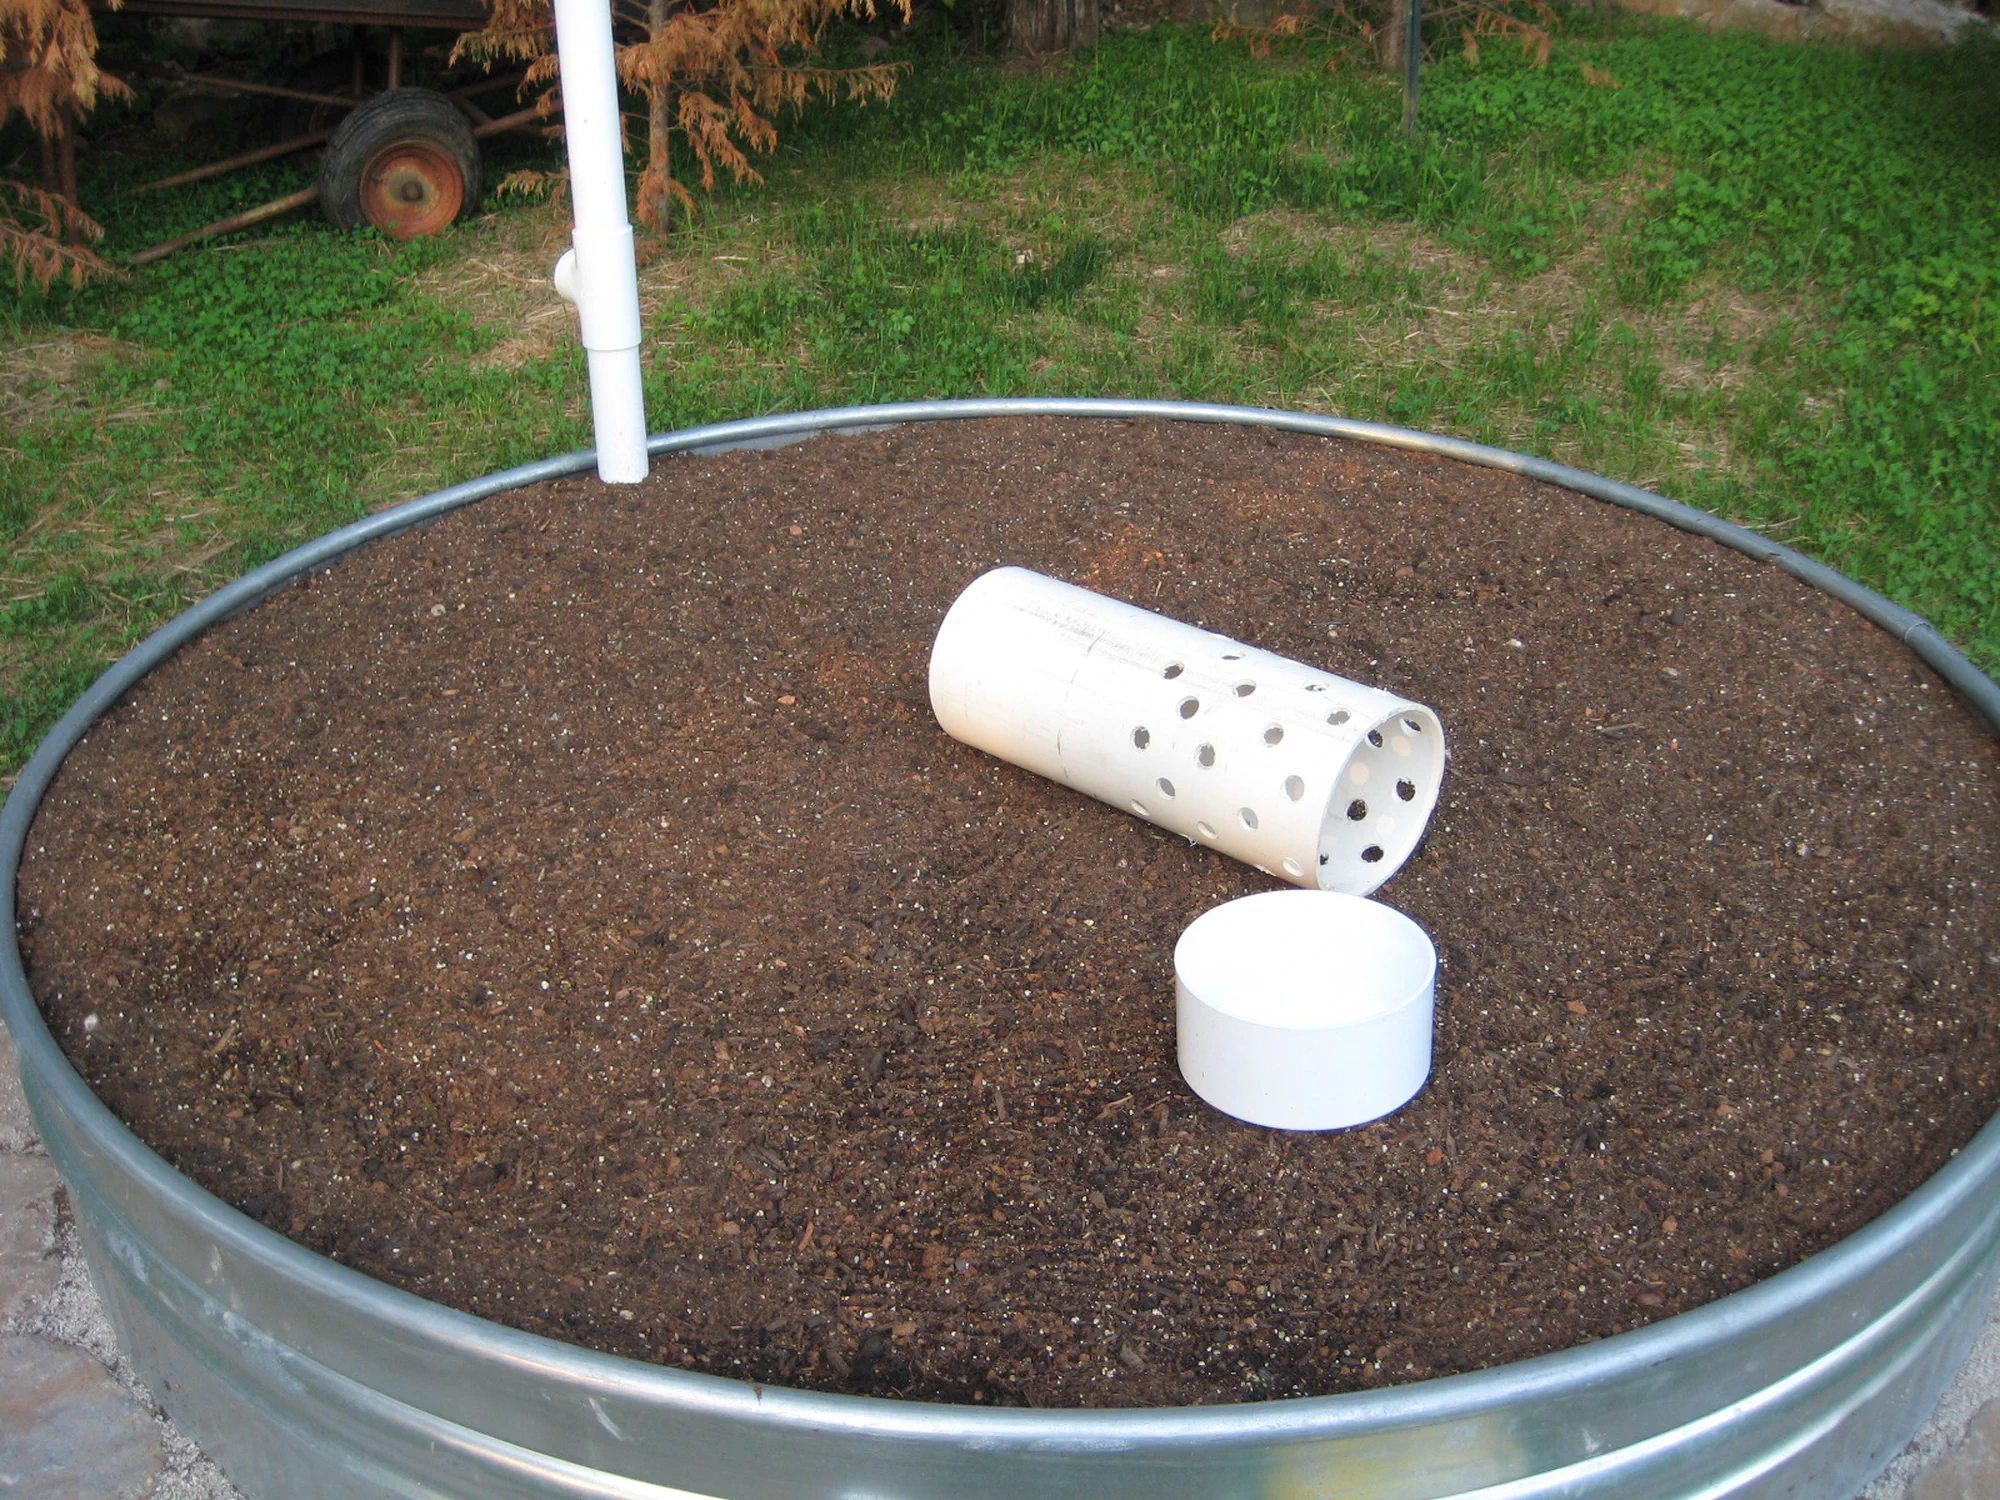
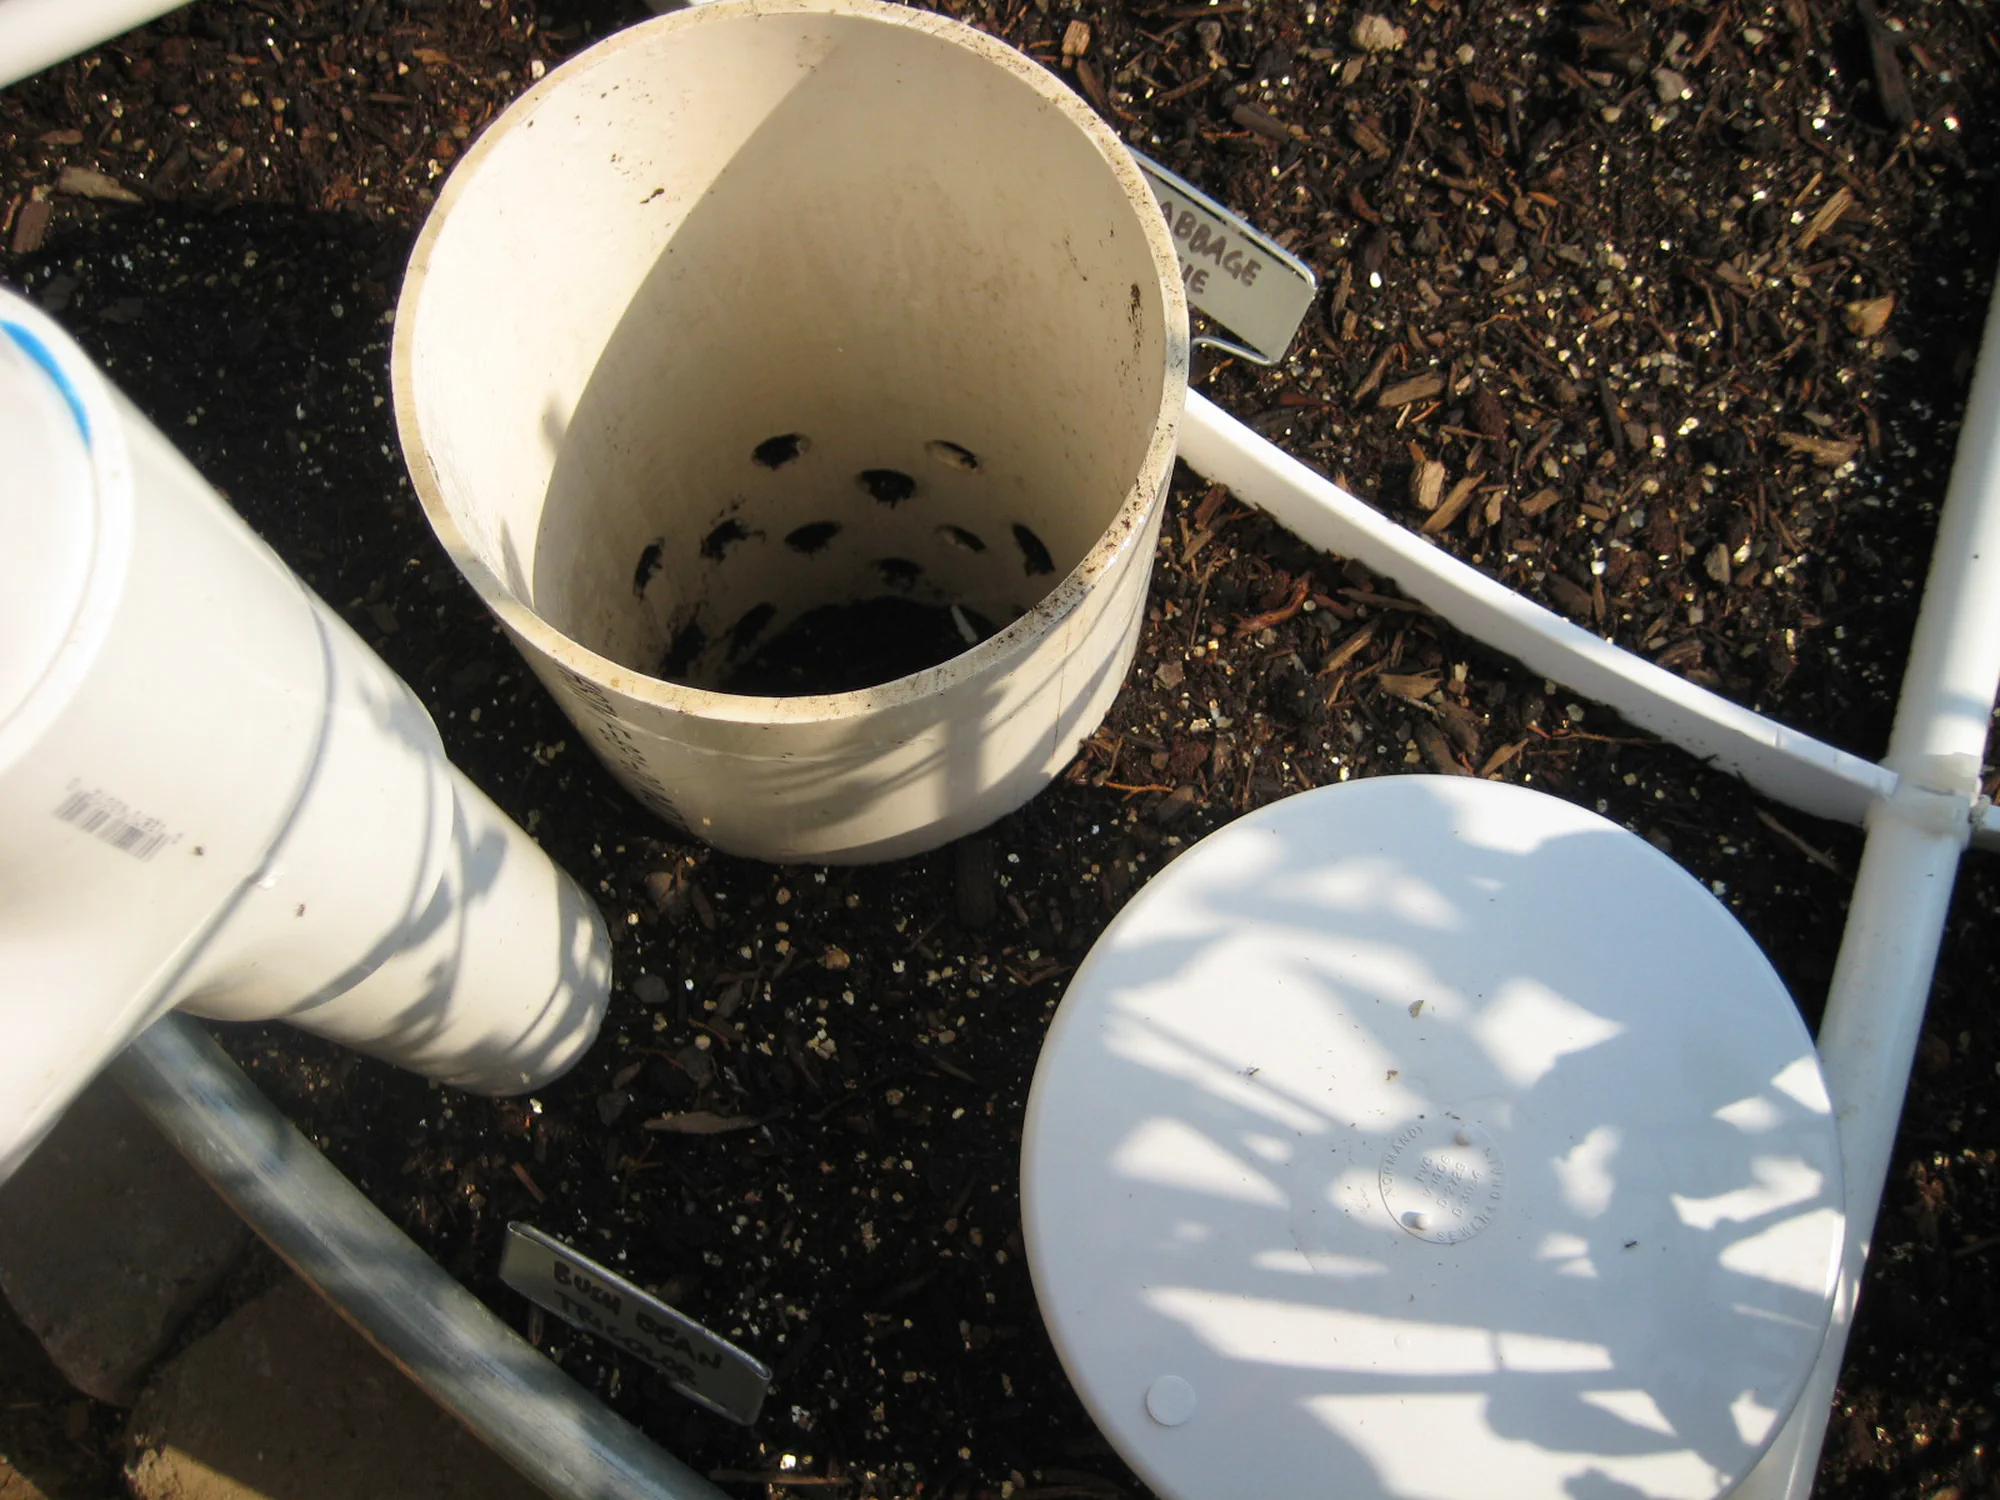
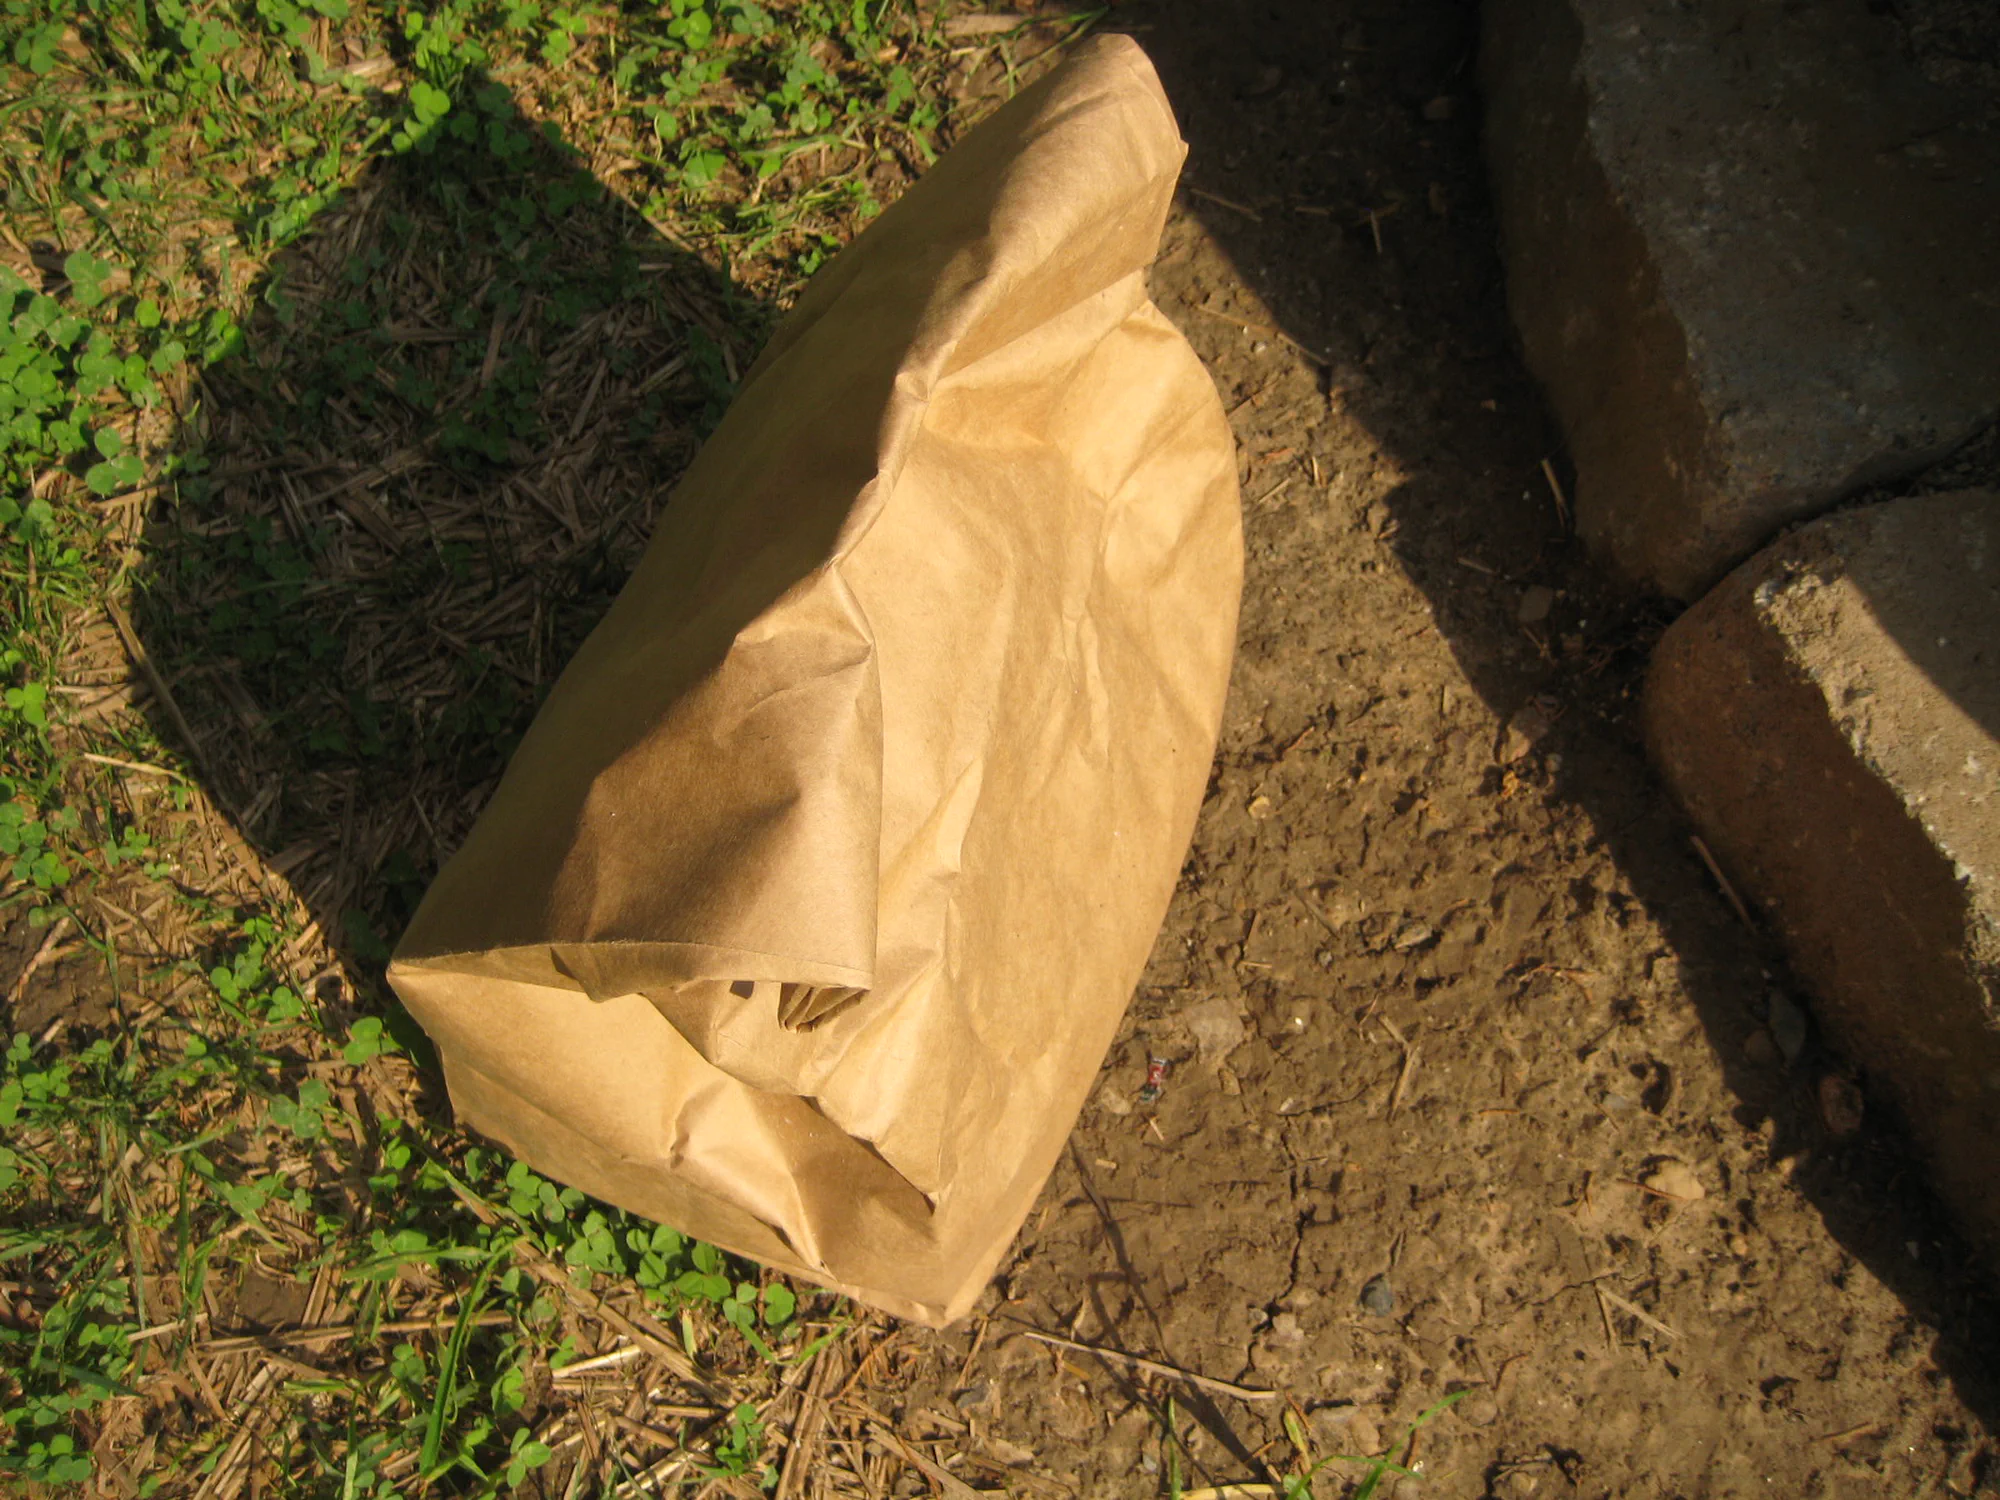
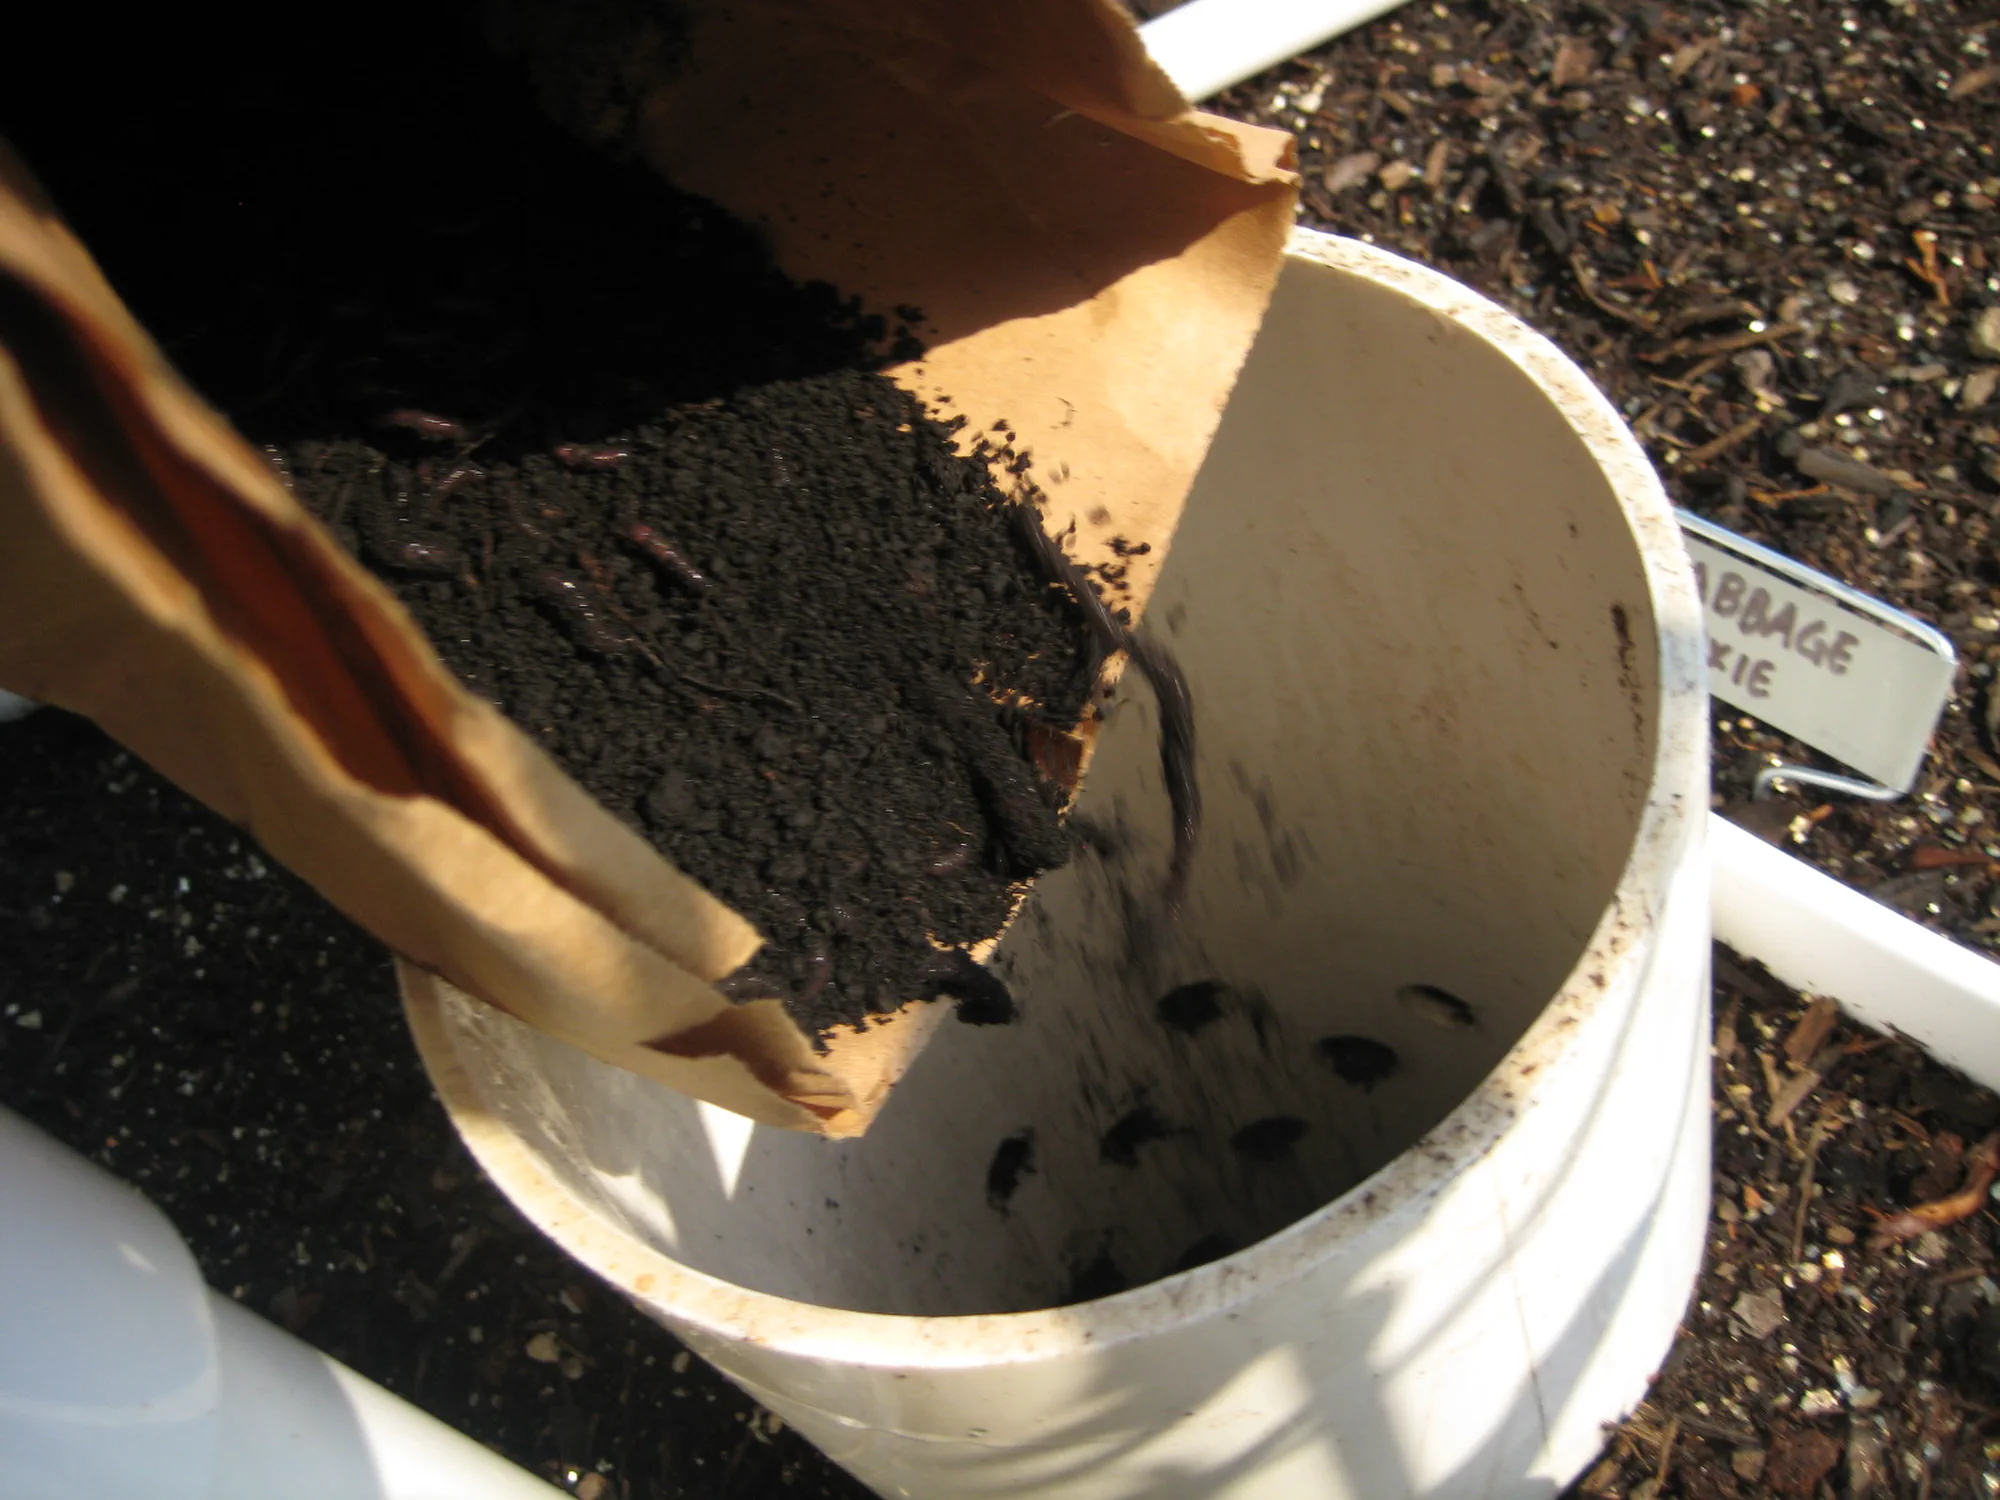
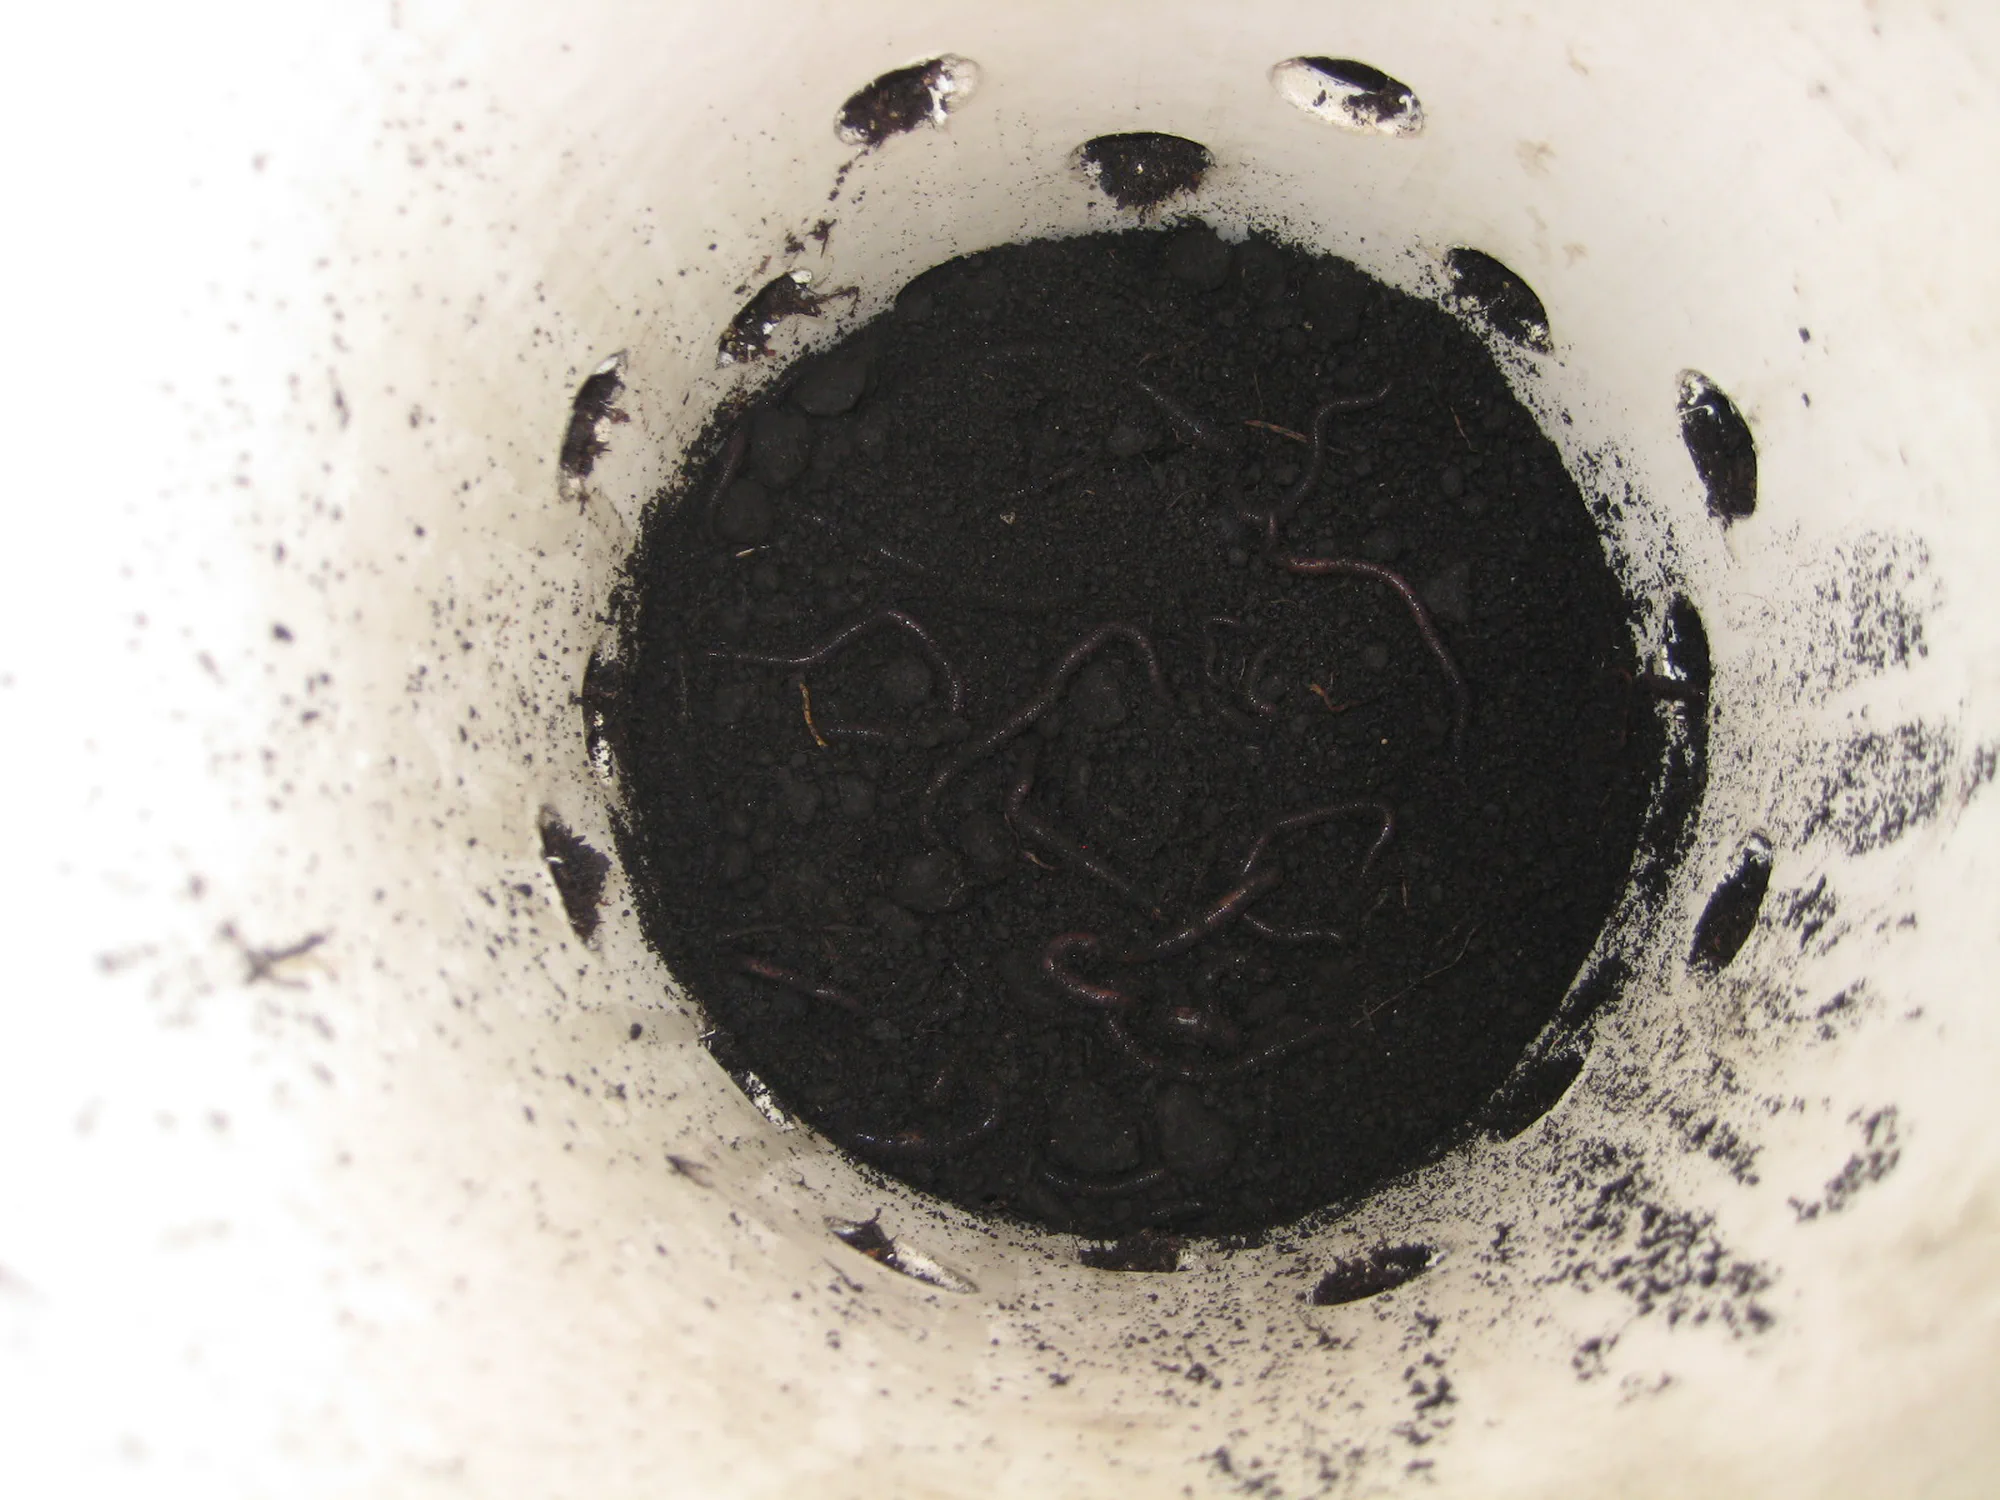
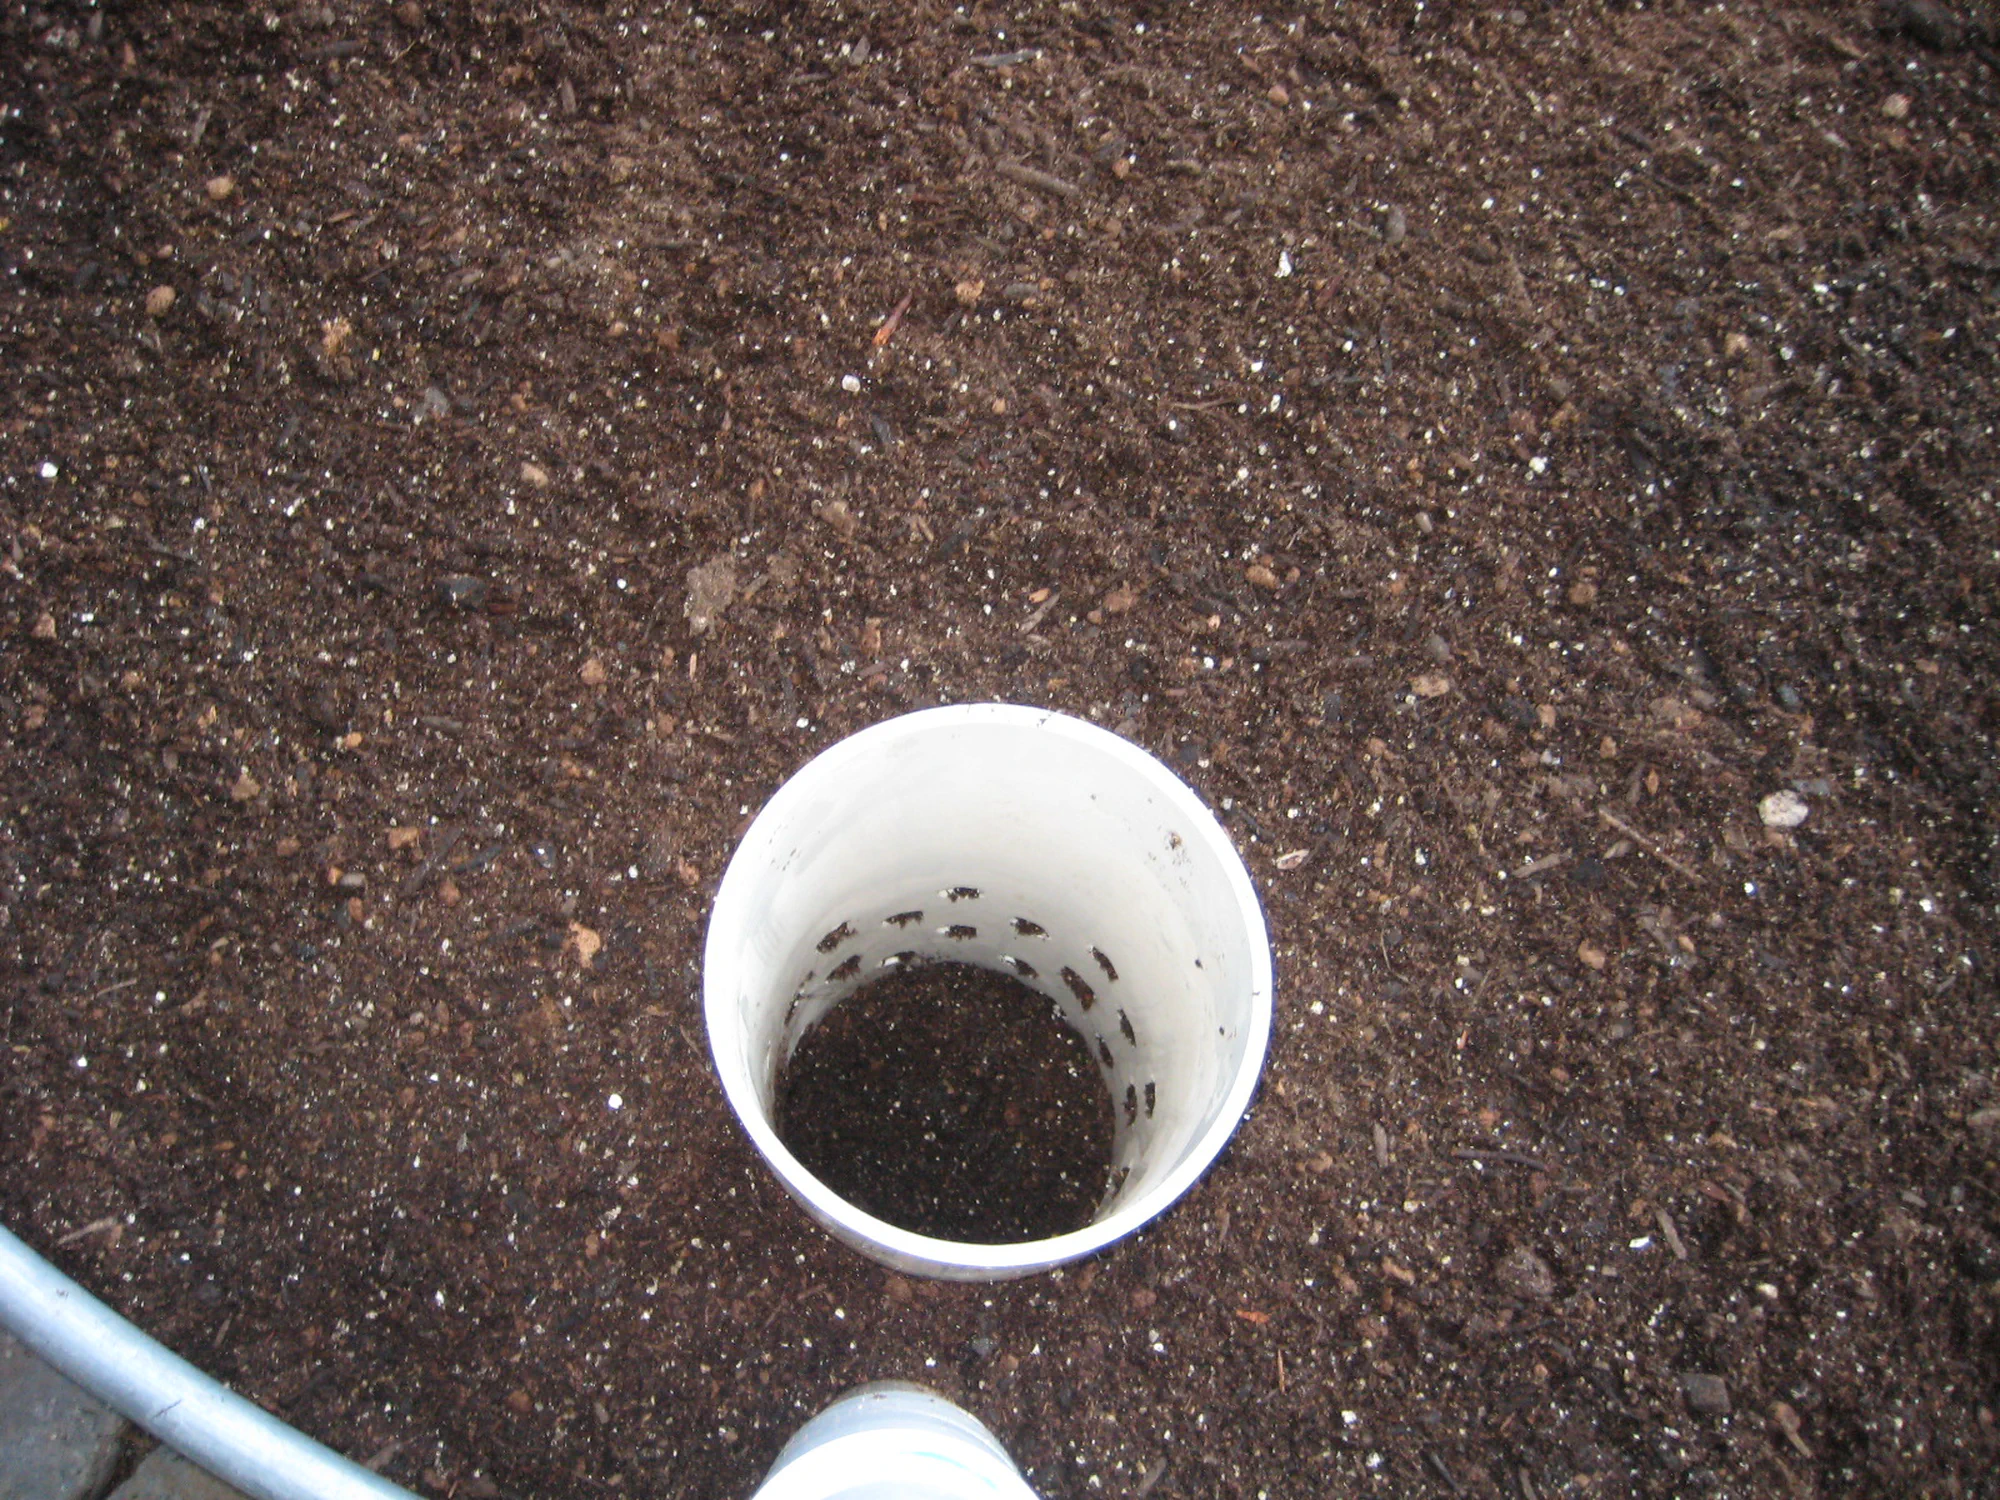
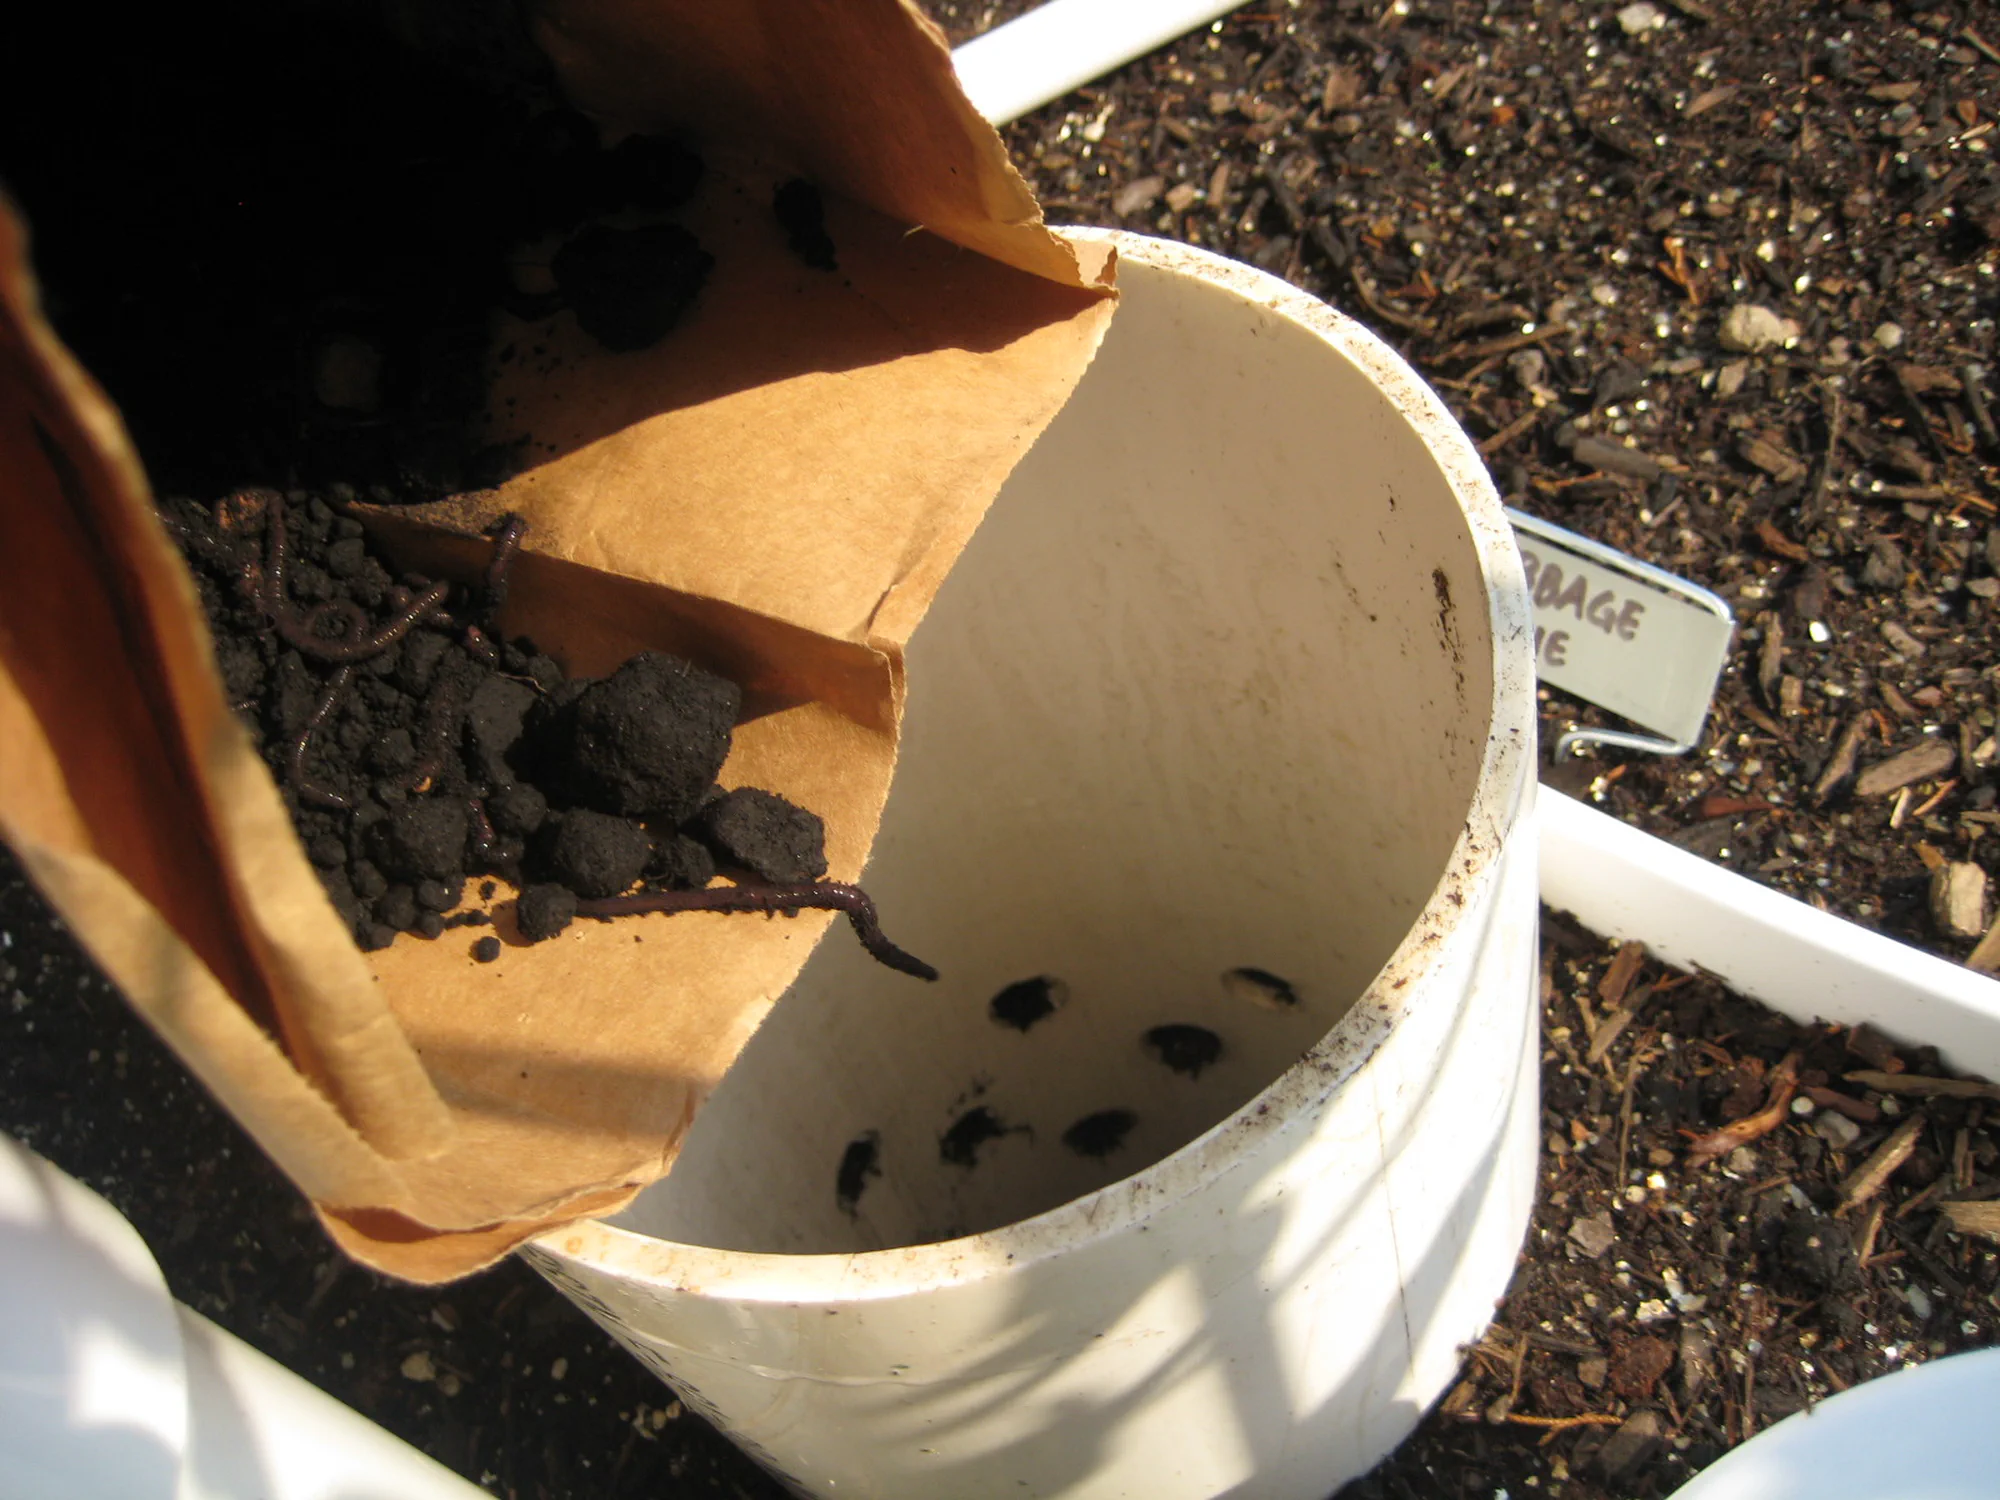
Landscape fabric over the reservoir. It keeps soil from migrating down and clogging the gravel while still letting water wick up.
A sand layer above the reservoir. Sand pulls moisture upward more evenly than soil alone; the gravel collar around the riser is a wicking well.
Fabric seams taped down before the next layer goes in.
On the second bed, leveling the manifold dead flat in the sand so the reservoir fills evenly end to end.
Three gravel wicking wells set into the sand — columns that pull water up toward the root zone.
Fabric down, tools on the cap stones, the second bed taking shape behind.

Worms

The towers are perforated PVC tubes run down into the soil, open at the top and drilled along the sides. Drop scraps in, and the worms move in and out through the holes, composting in place and casting straight into the surrounding bed.

A worm tower set into the soil — open at the top, drilled along the sides.
Charging a tower with compost and red wigglers. They live in the tube, work through the scraps, and cast into the bed.

Planted

Both beds planted, with the inverted-cone rain catchers mounted on their masts.
Top down: tomatoes caged and in, the PVC surface grid for layout using a hybrid square-foot garden approach, fill riser and overflow standpipe at the edge.

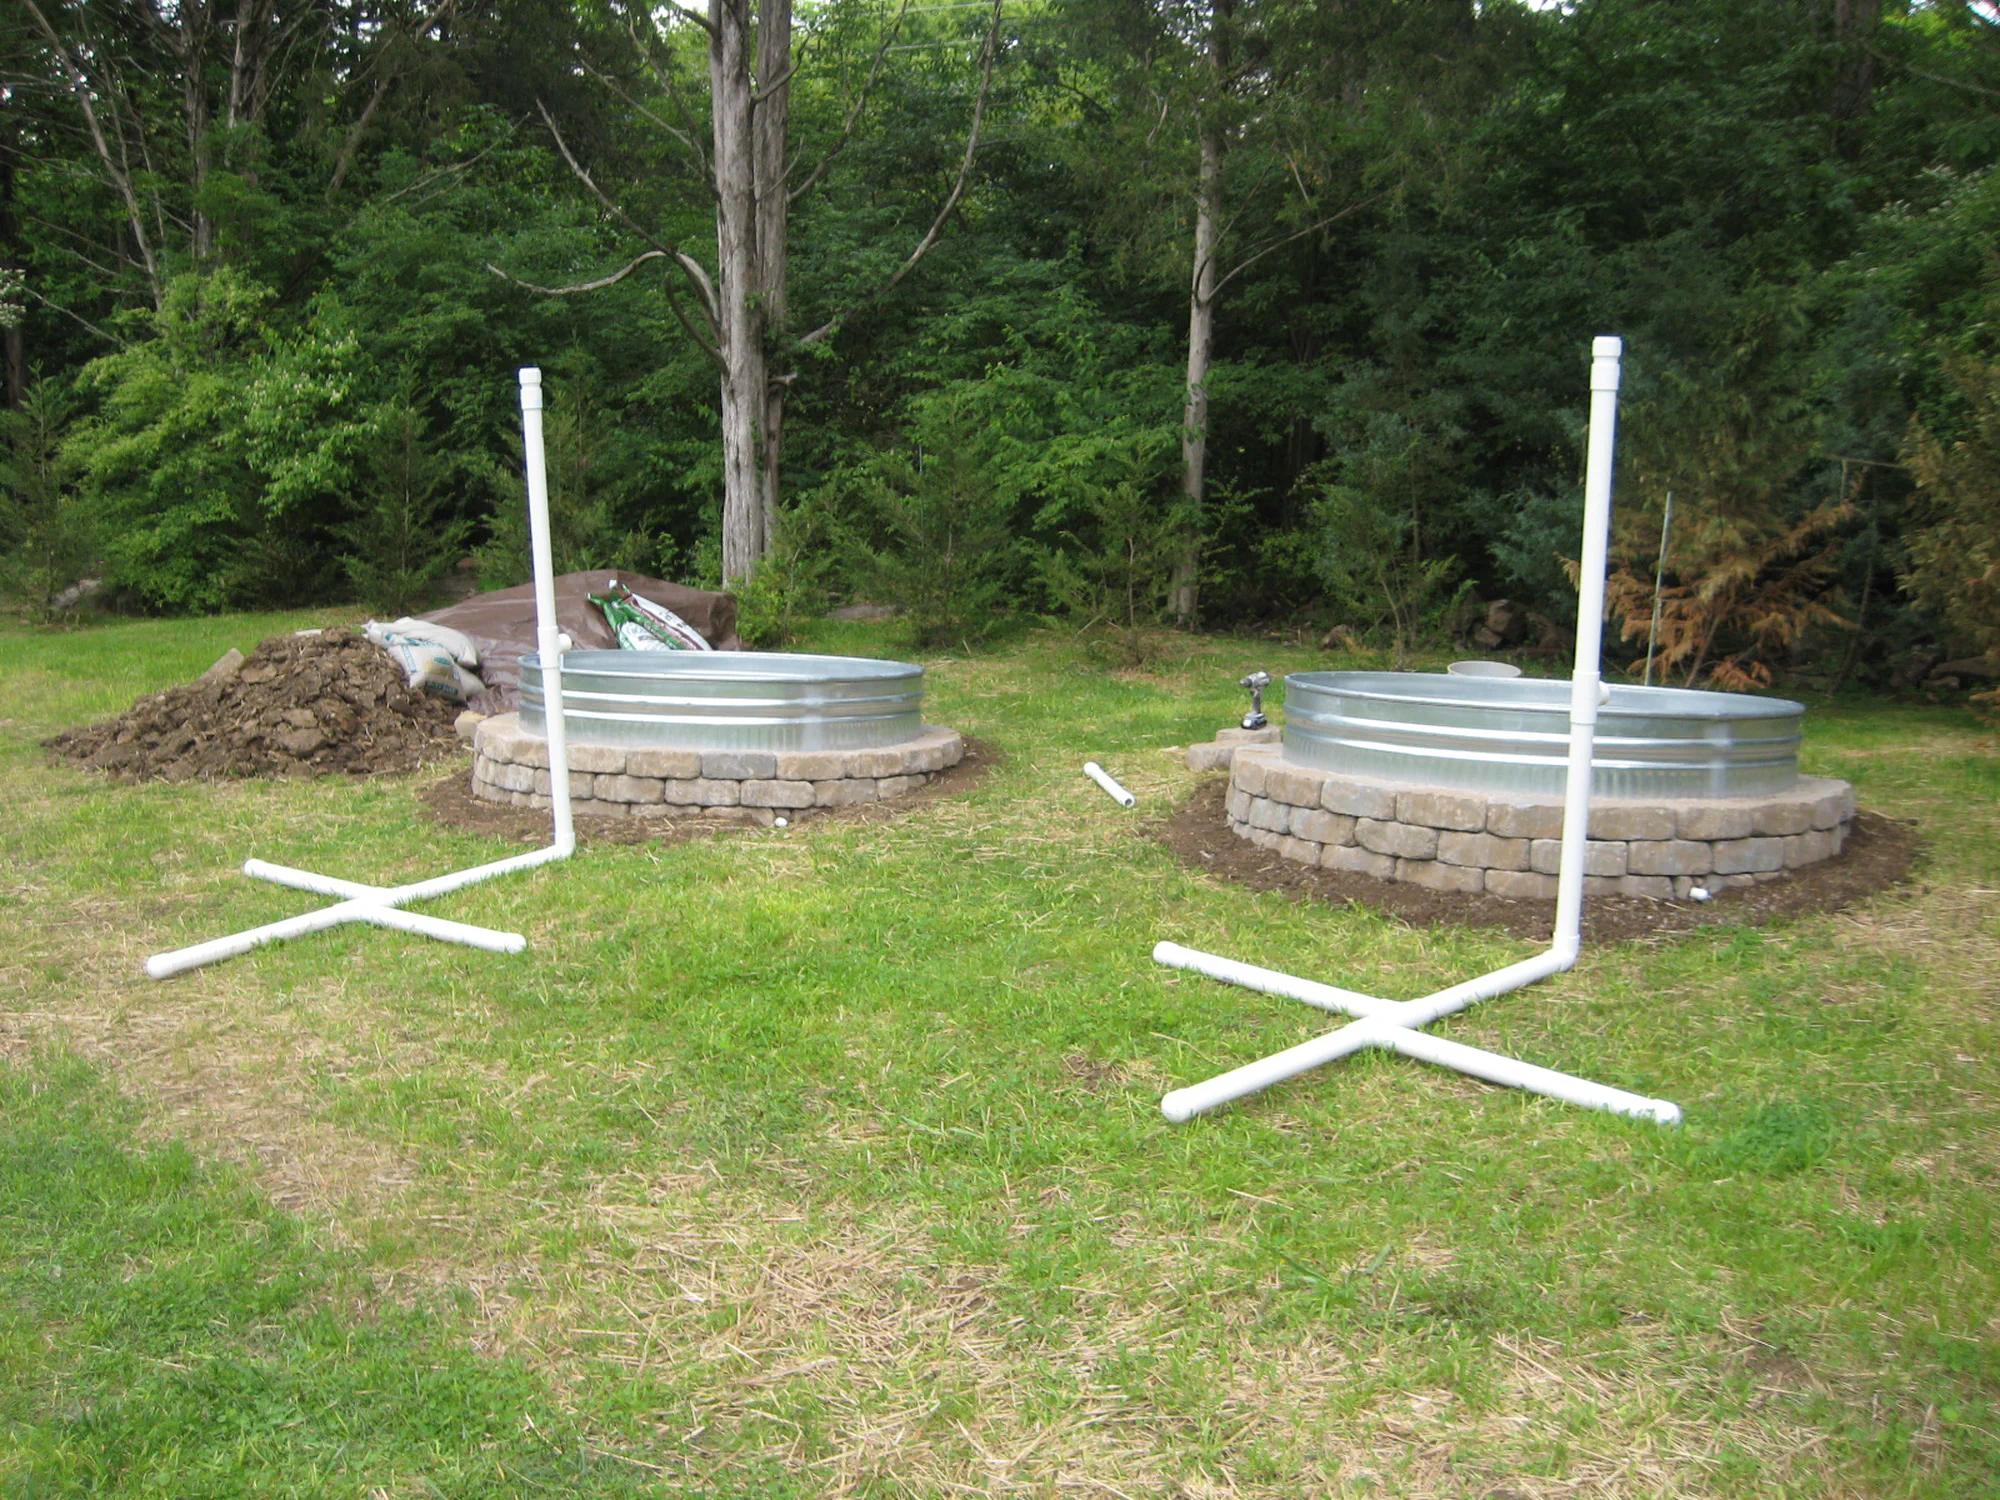
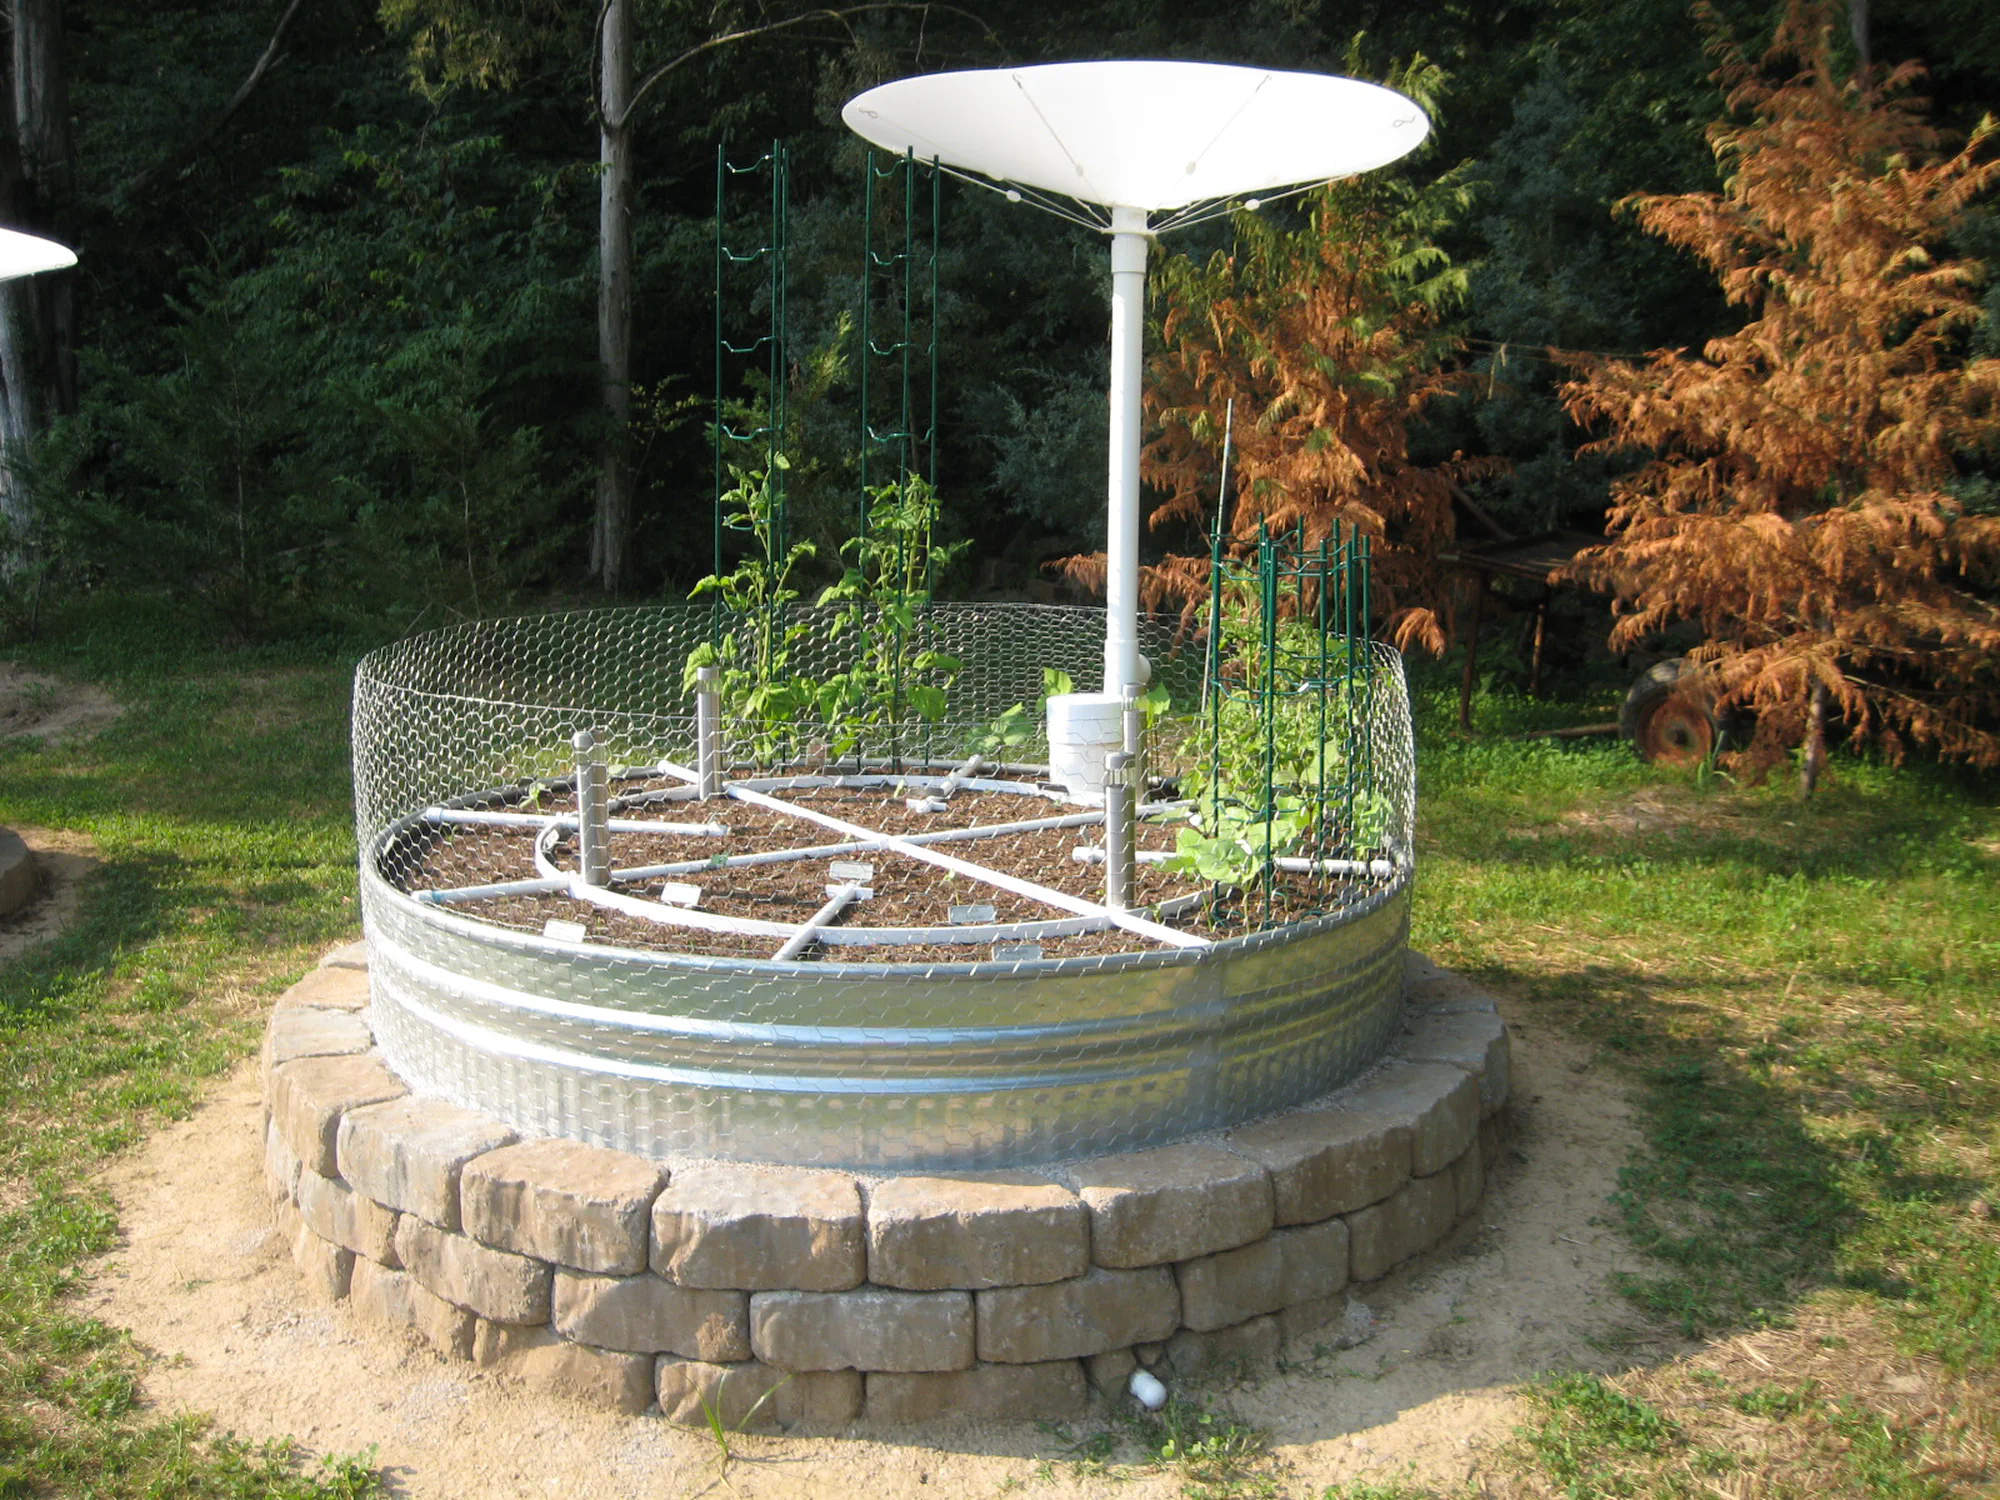
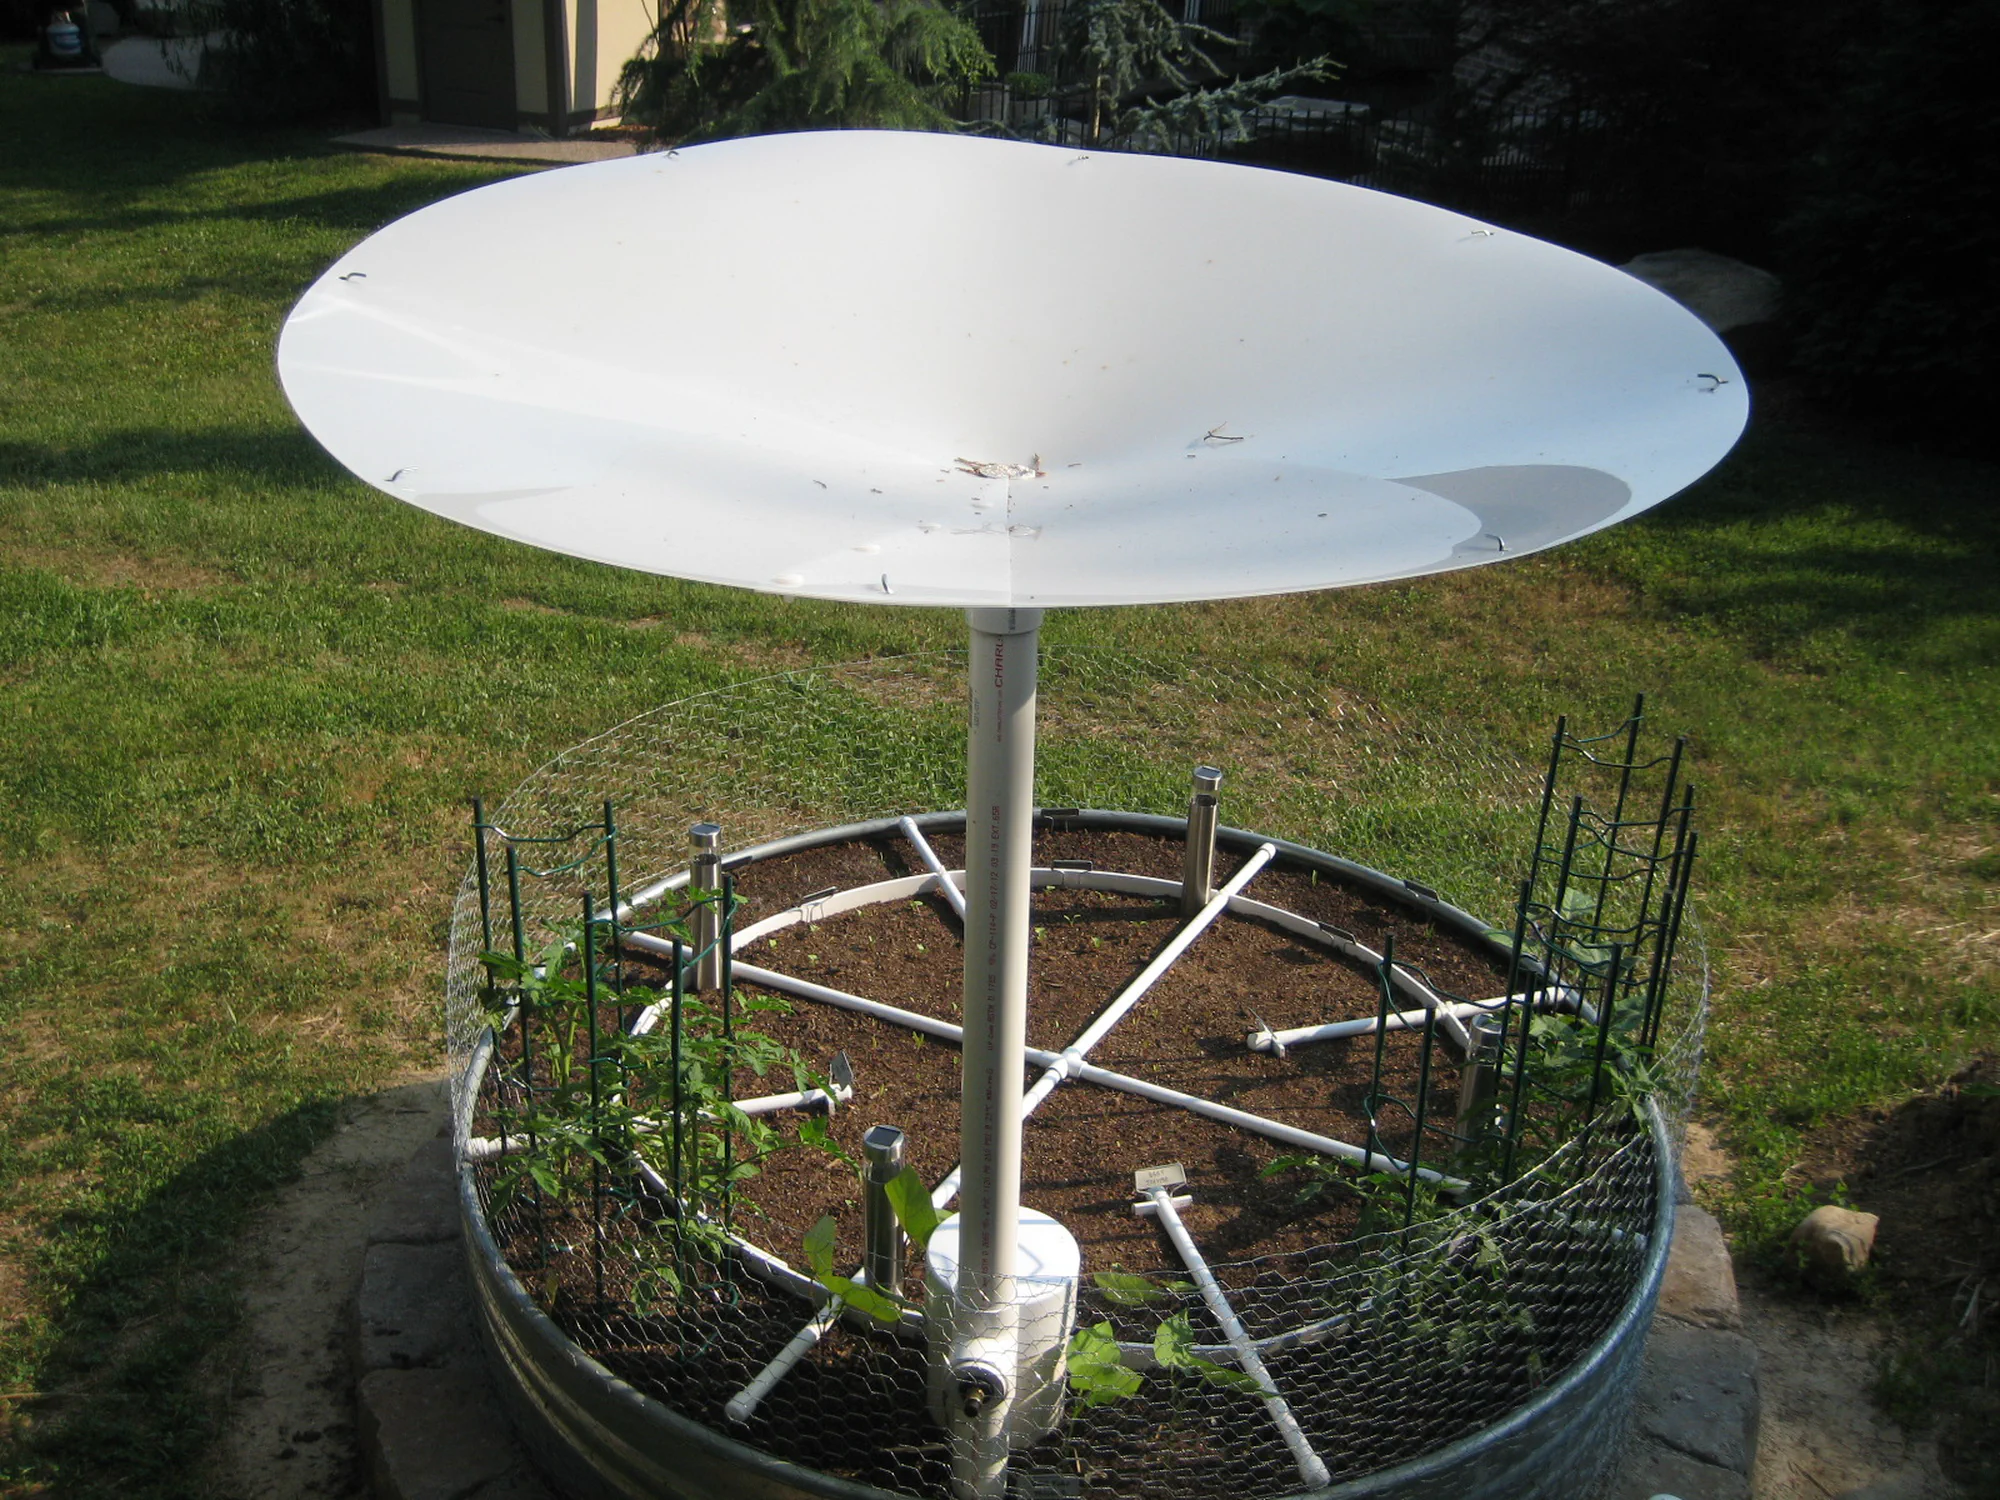
About those rain catchers

The third water source was the clever one and the one that didn’t last. The inverted cones up on the masts were meant to catch rain and funnel it down into the fill tube, topping up the reservoir on their own. They worked, but the cones were flimsy, and sitting high on a pole they caught wind as much as rain. Keeping them from getting battered or blown around was more fuss than the trickle of free water was worth, so I eventually pulled them. The beds still fill fine from above or by hose straight into the reservoir, and they wick the same either way.

More from the build